How To Dry Dill
If you love the flavor of dill weed, then you'll be excited to learn how to dry dill for a year-round supply of this delicious herb! Dill is a great addition to many recipes, and it's easy to dry yourself so you have plenty on hand.
One of my favorite herbs is dill.
I love the flavor of dill. You might be able to tell by my dill pickle chicken wings, dehydrated dill pickles, dill pickled carrots, and creamy cucumber dill salad. But the hits don't stop there.
I also love dill on my sous vide potatoes, and add dill to my brine when fermenting sour cabbage. There are more, but I won't list them all... lest you think I have a problem!
But I think my biggest problem is that I live in ZONE 3, where we have winter for what feels like 8 months a year and I can't grow dill year round!
Fresh dill is a perishable herb, and if improperly dried, the flavor isn't as intense. But did you know that there are ways that you can dry dill weed to preserve its flavor for year-round use?
This how to dry dill weed guide is dedicated to zone 3 problems!
Jump to:
Tips + Tricks
No. 1 --> As always, the freshest herbs make the best dried herbs! Try to harvest your dill immediately before processing, and if you can't, rinse it under cold running water, blot it dry and wrap it in a couple of damp paper towels before storing it in the fridge until you're ready to dry!
No. 2 --> Properly drying dill intensifies the flavor while poorly drying dill leads to massive flavor loss! The secret to properly drying is balancing out heat, airflow, and time. I find that the highest quality dried dill comes from my dehydrator vs oven drying, or air drying.
No. 3 --> Dill is delicate! Be gentle with your dill and always dry your fresh herb on the lowest temperature setting and avoid over-drying which can degrade the aromatic oils and flavors we're trying to preserve!
No. 4 --> Because dill leaves are so small, they do not need to be rehydrated before adding to a cooked recipe.
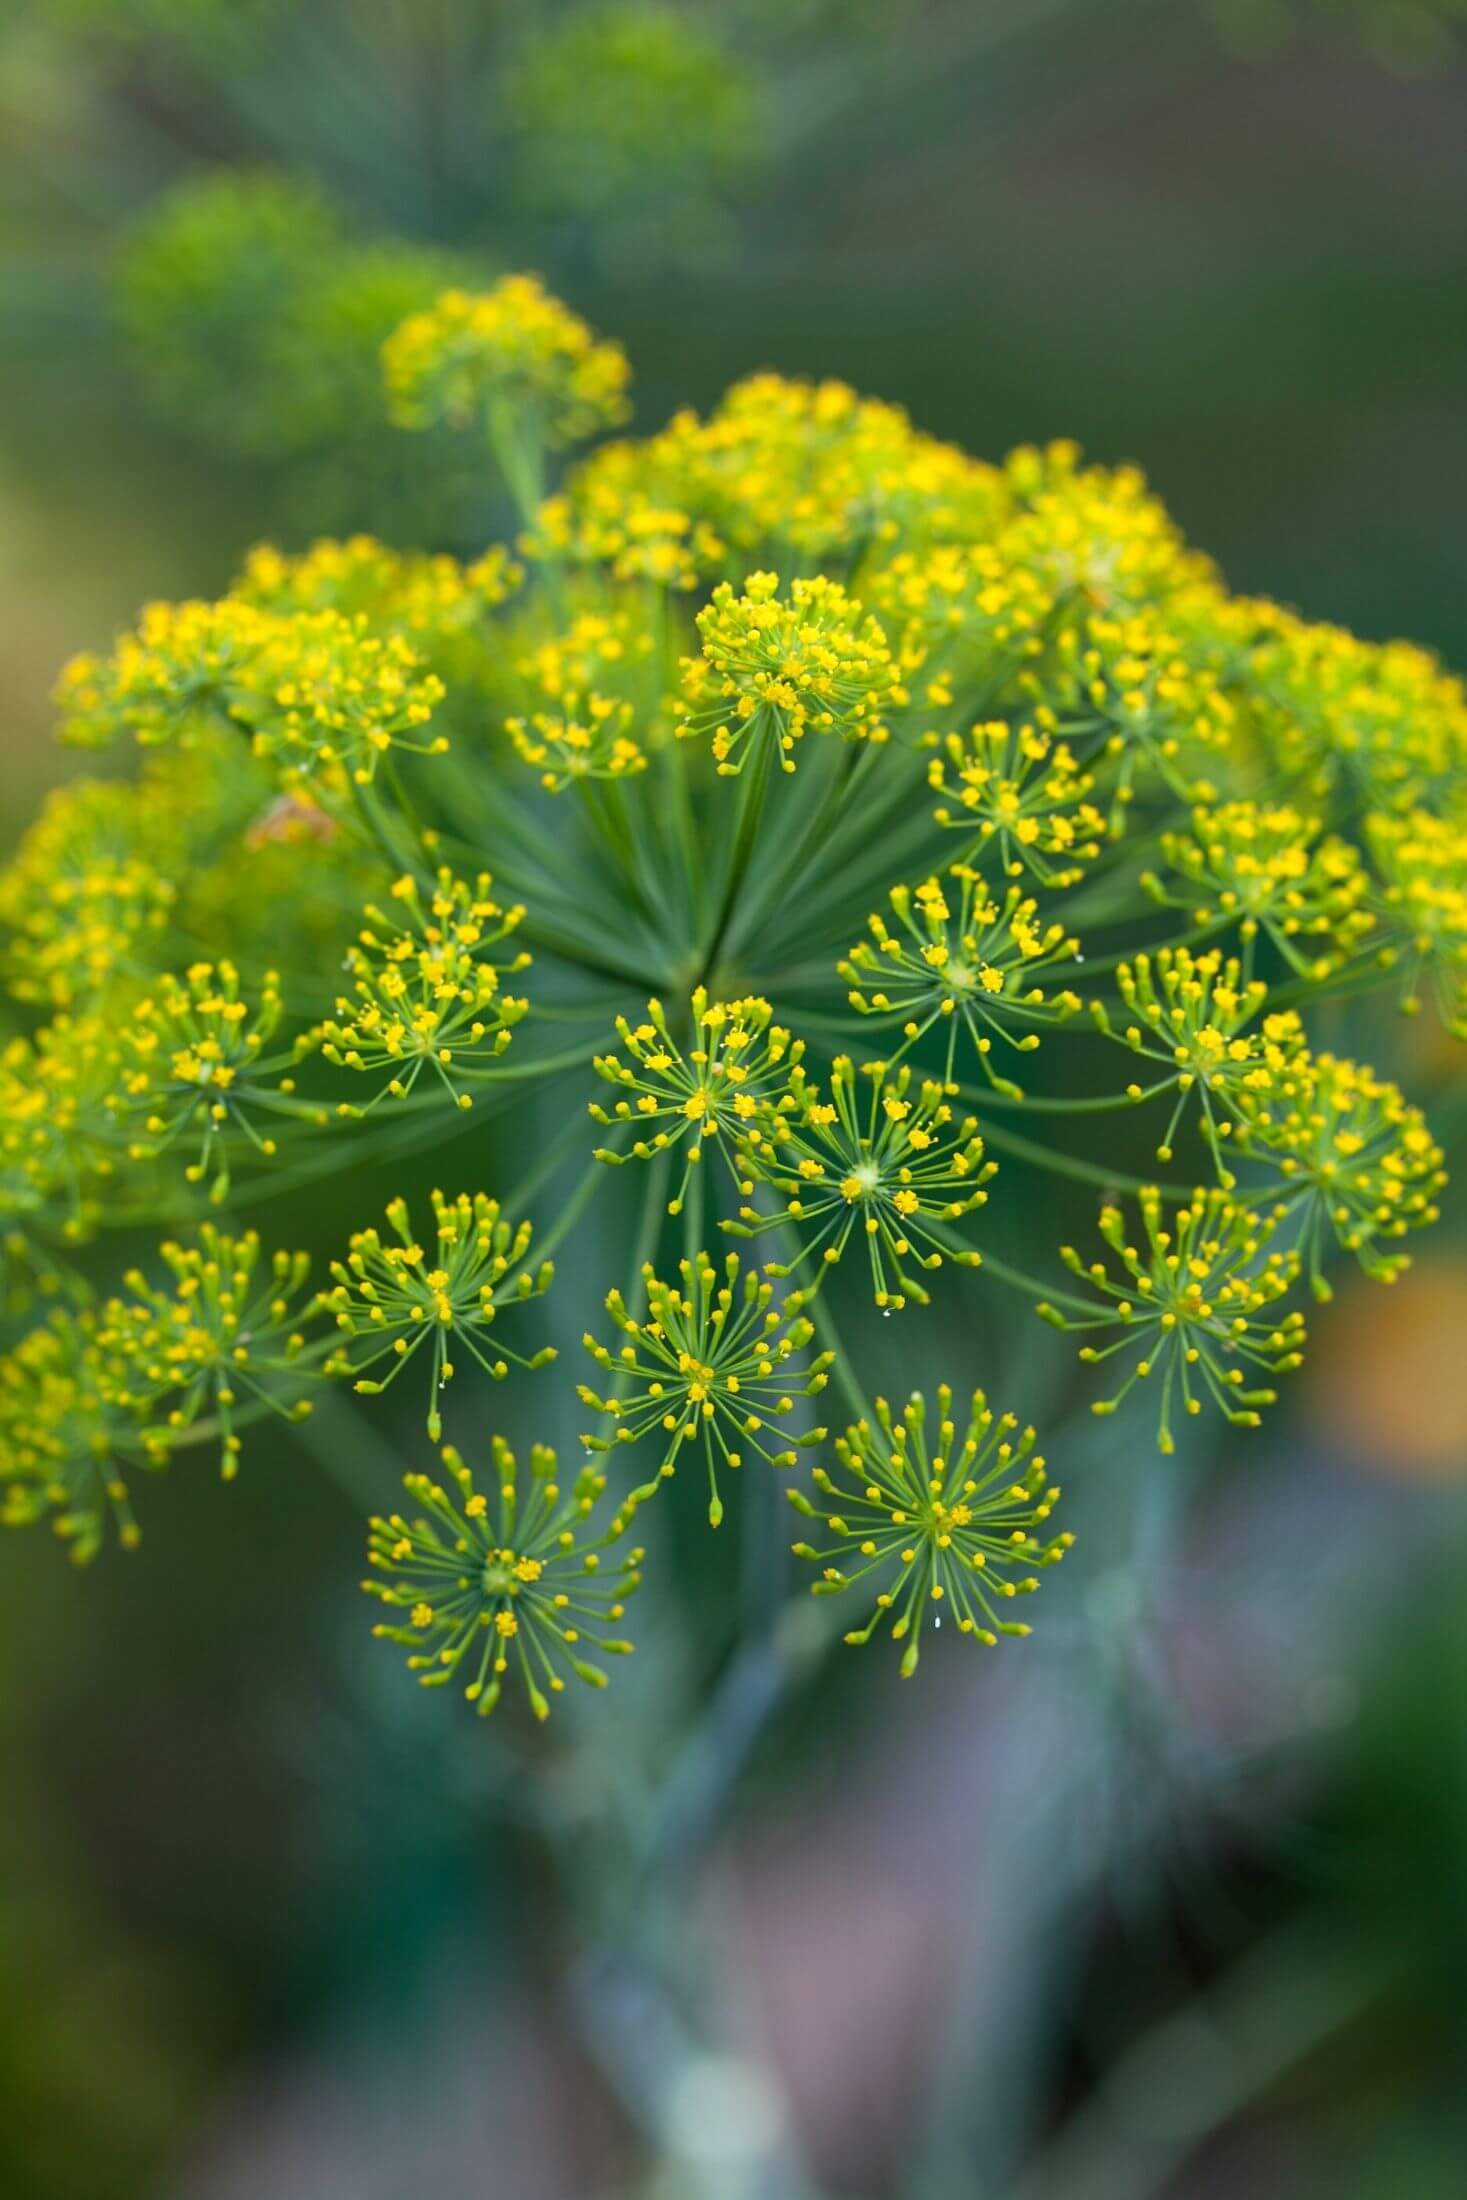
Dill Weed Vs Dill Seed Vs Dill
Dill weed is the green leaves and dill seed is, well, the seeds. Dill can refer to either!
Dill seed and dill weed don't taste exactly alike but they are similar in that they're both aromatic with a lemony flavor. The main difference you'll find is that dill weed is more subtle while dill seed is more potent.
Dill seed is often used in pickling recipes (like my sister's AMAZING fermented dill pickles!) while dill weed is used as a herb in cooking.
Key Ingredients
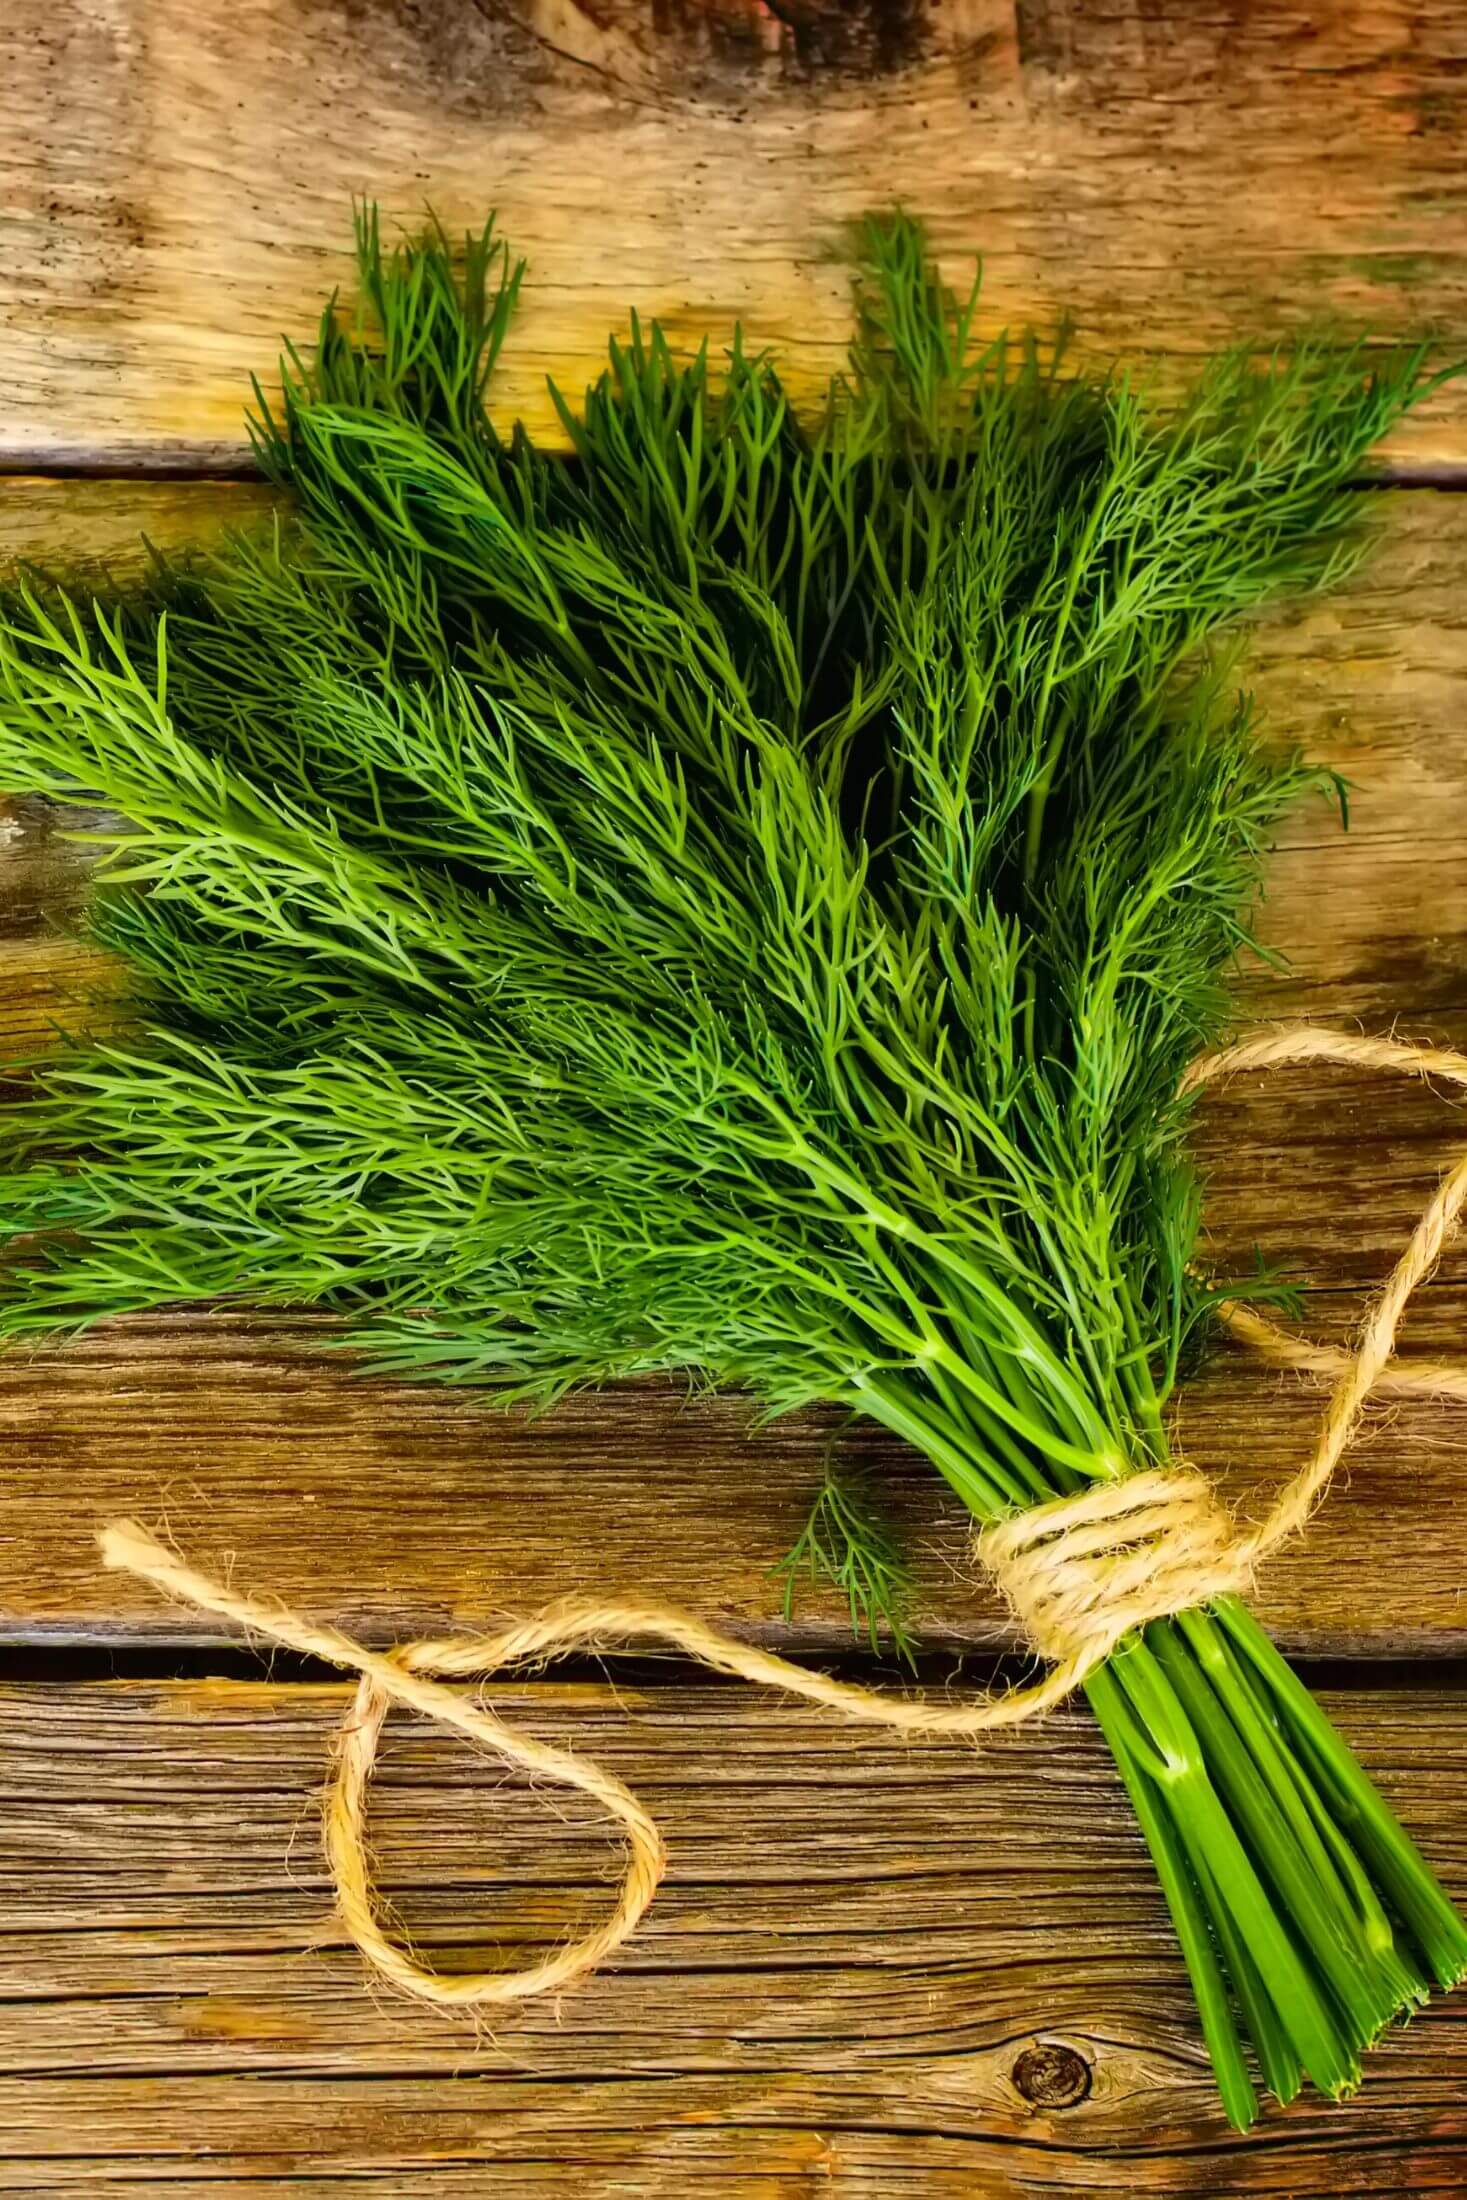
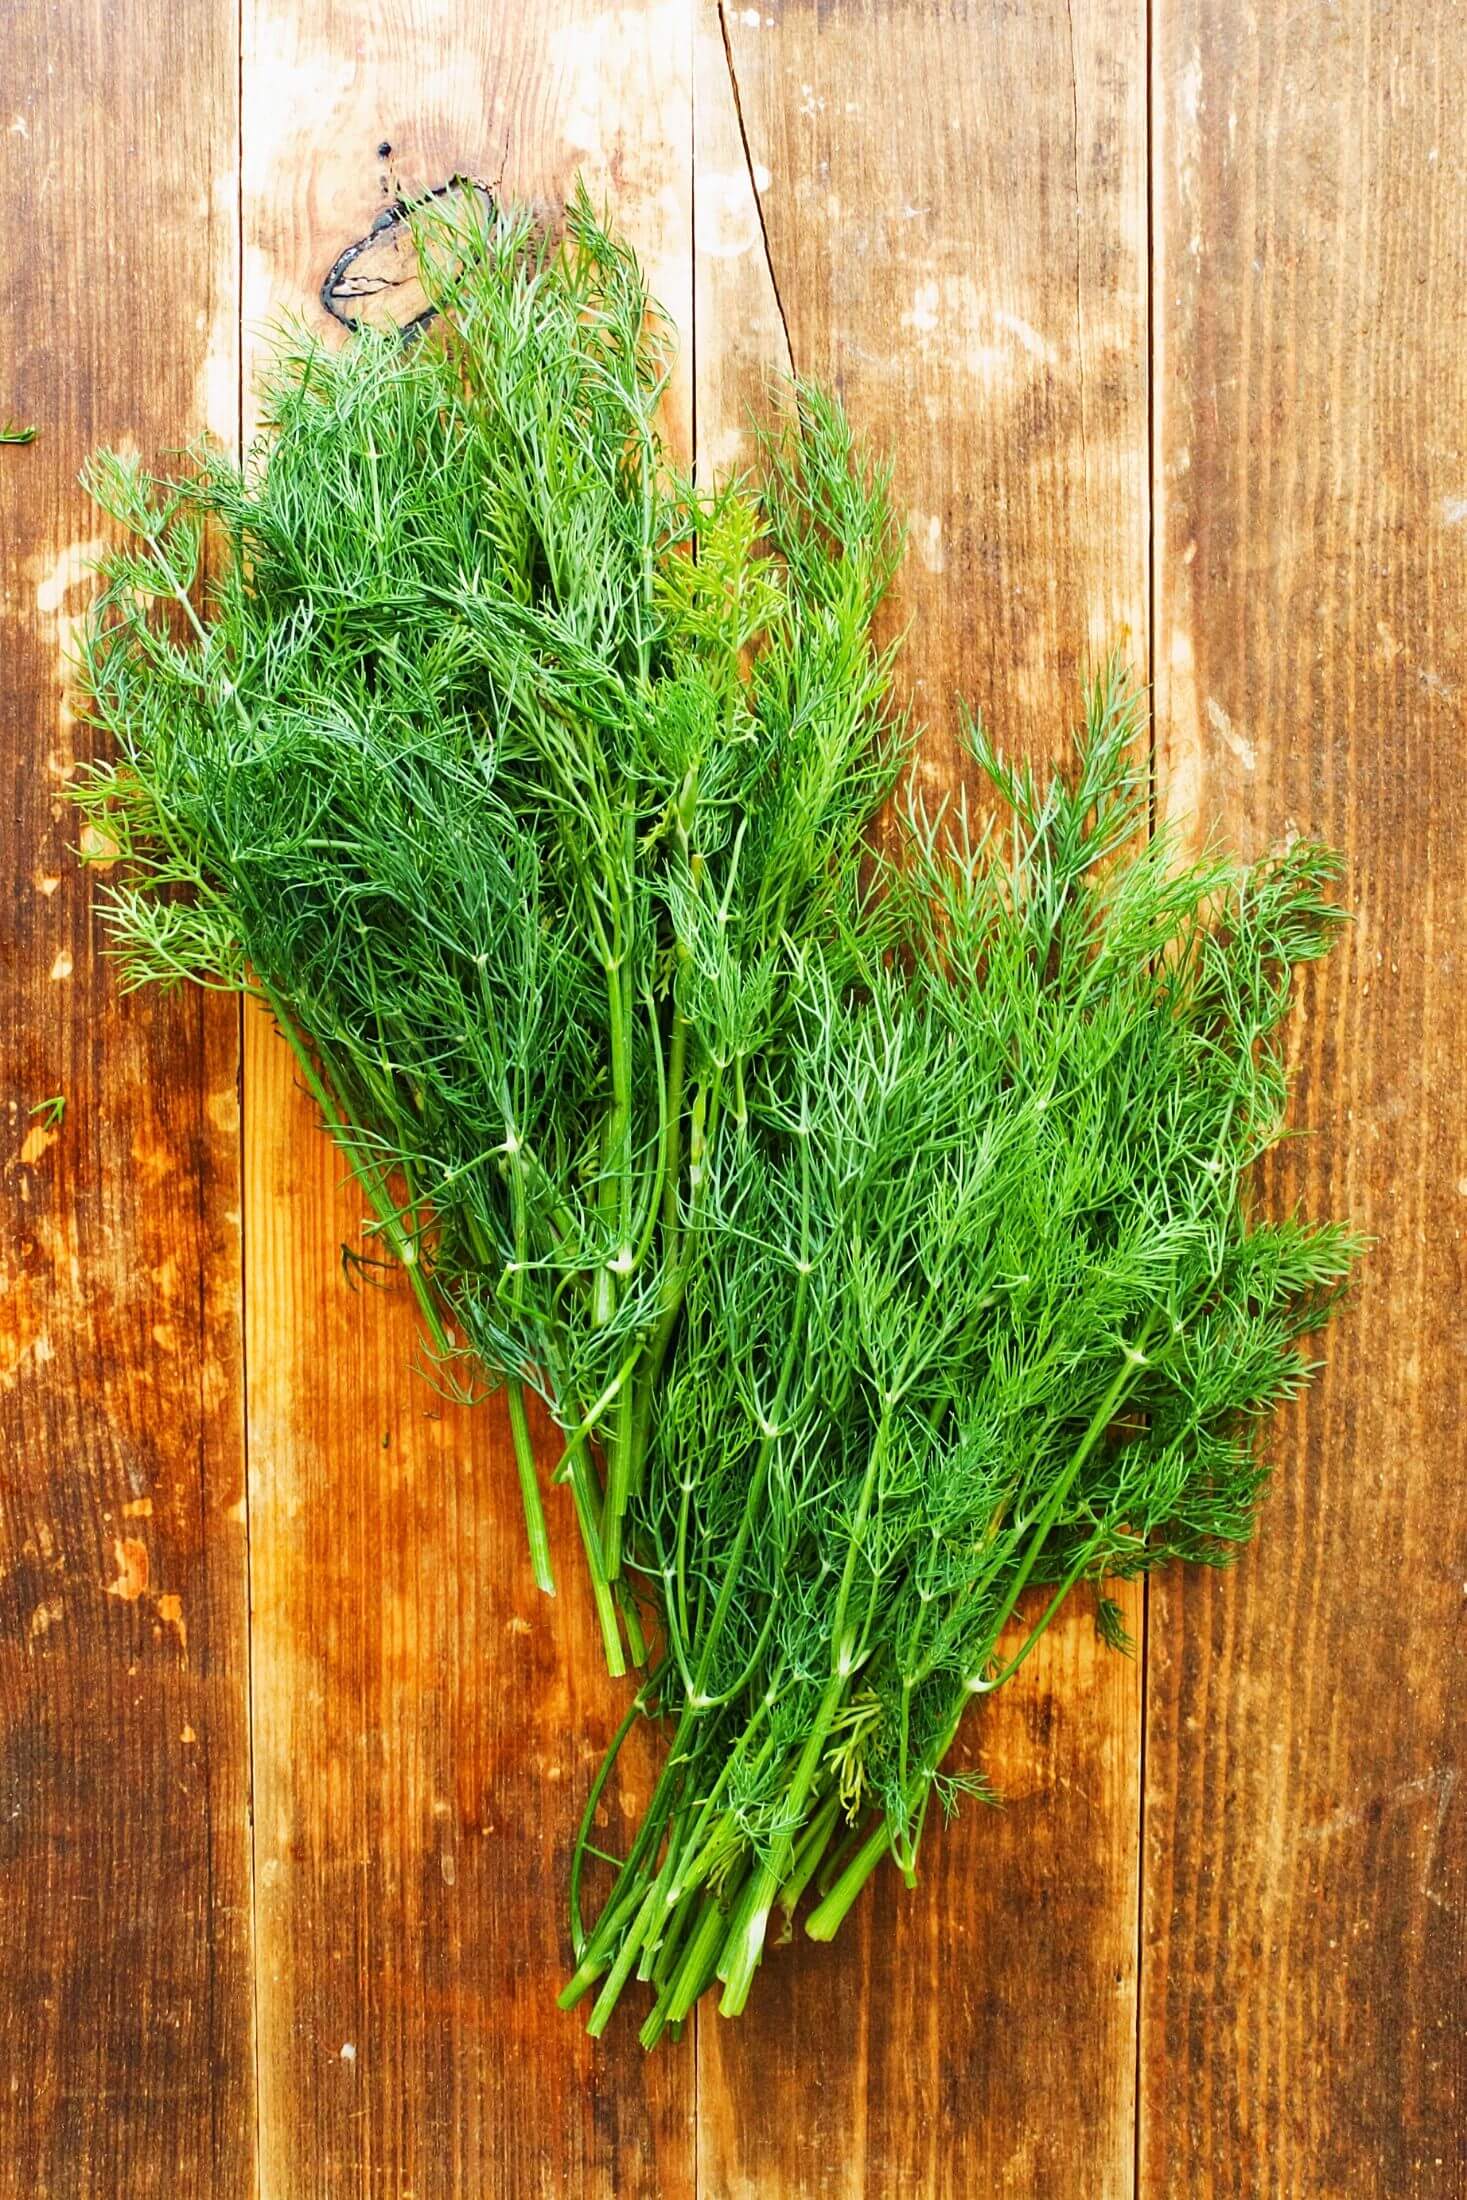
Dill: Choose high-quality dill whenever you're drying dill. If you don't have a garden, check the farmer's market for the freshest dill! The fresher the better, and the more flavorful you're dried dill weed will be. Avoid wilted, dull-colored dill that lacks a strong scent.
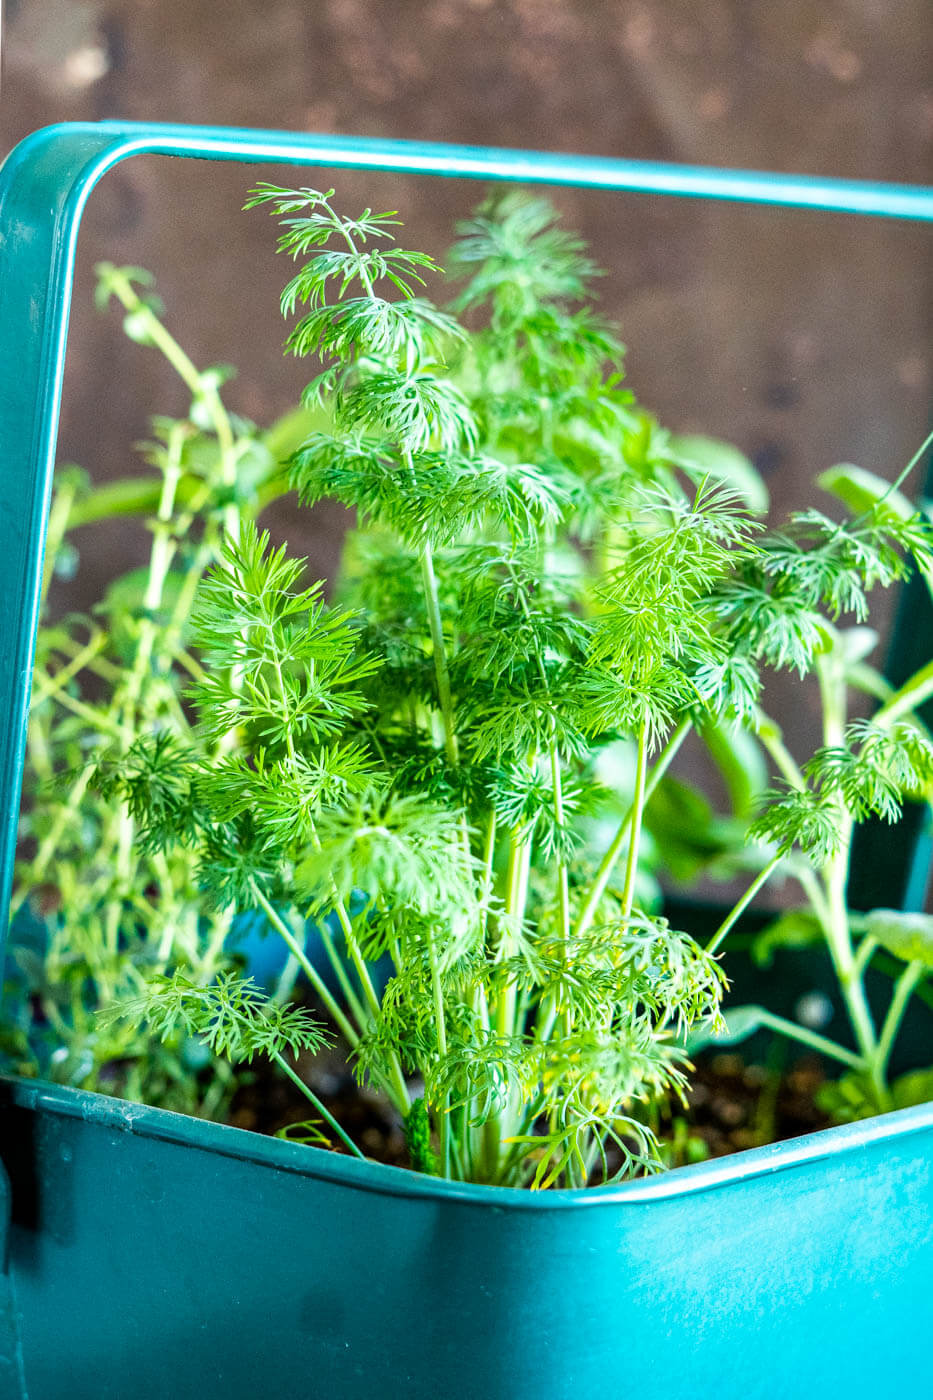
If you're harvesting dill from your own garden, the best time to harvest is in the morning before the heat of the sun has a chance to evaporate the flavorful oils in the leaves.
How To Dry Dill In A Dehydrator
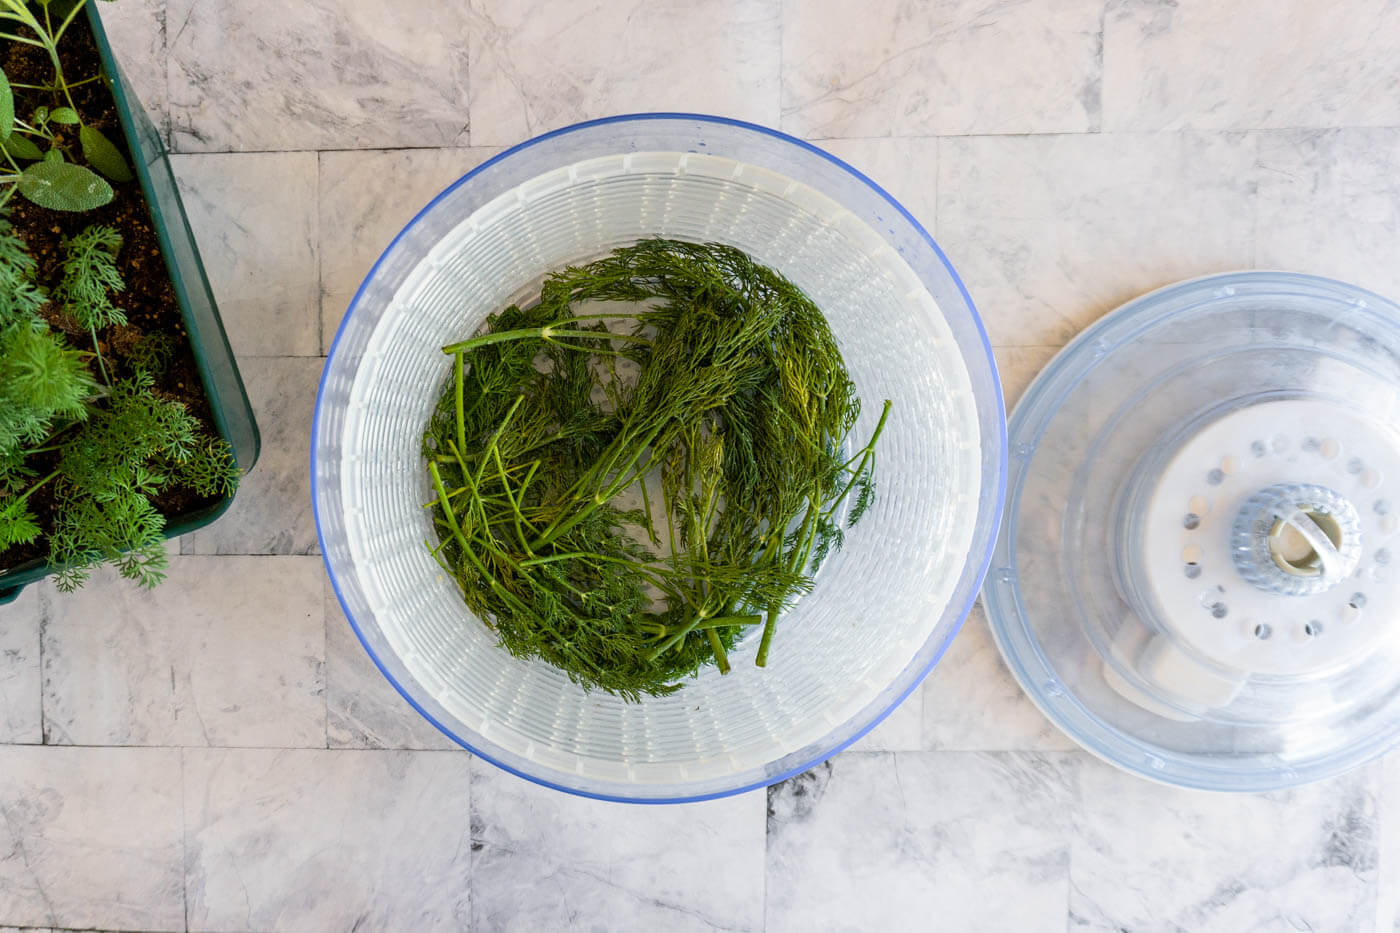
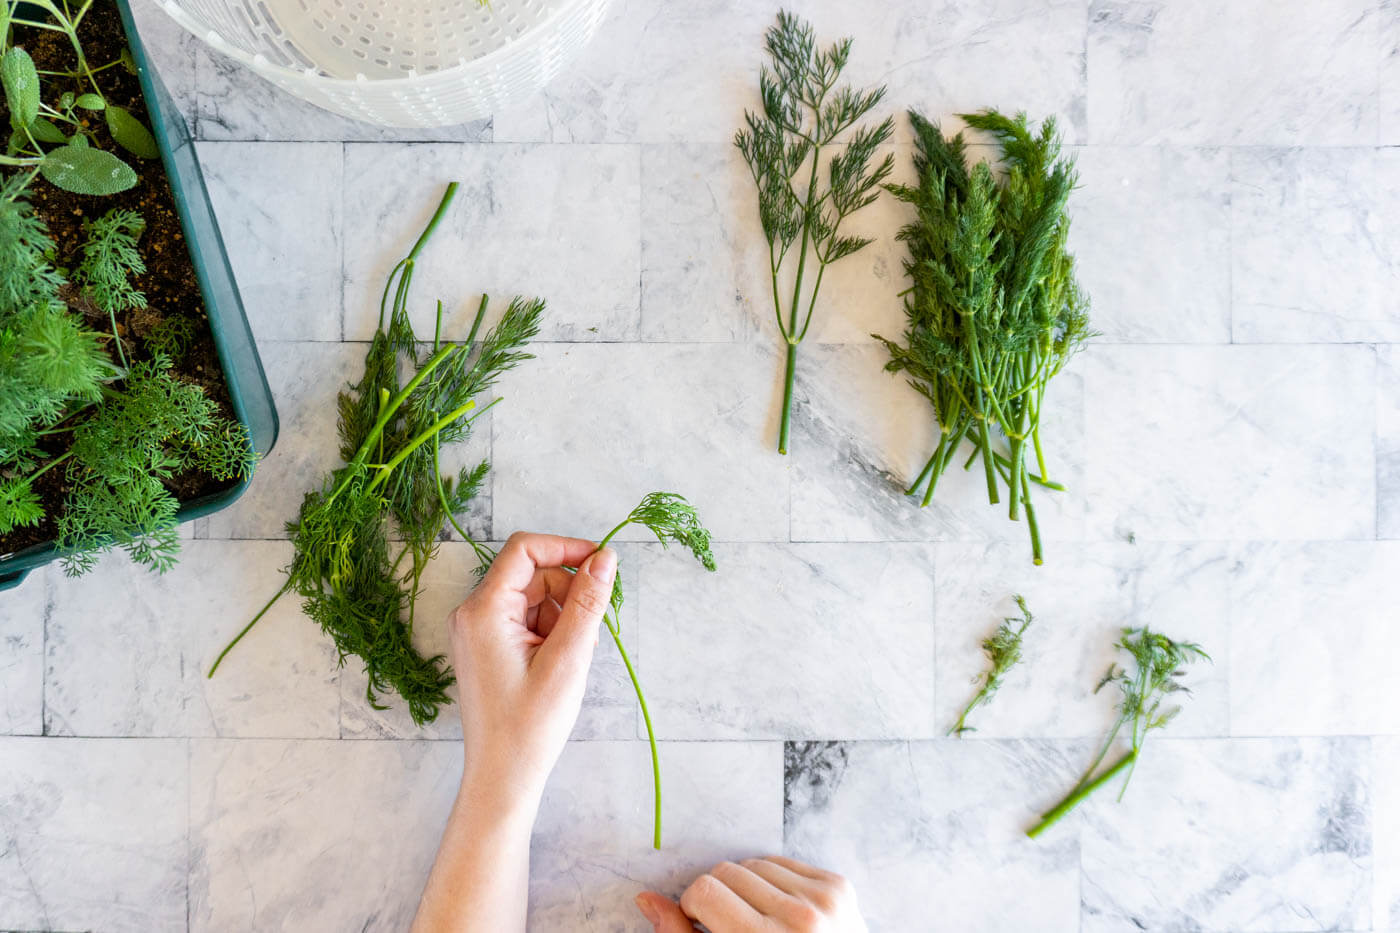
- Run the dill under cool water to remove any dirt and debris.
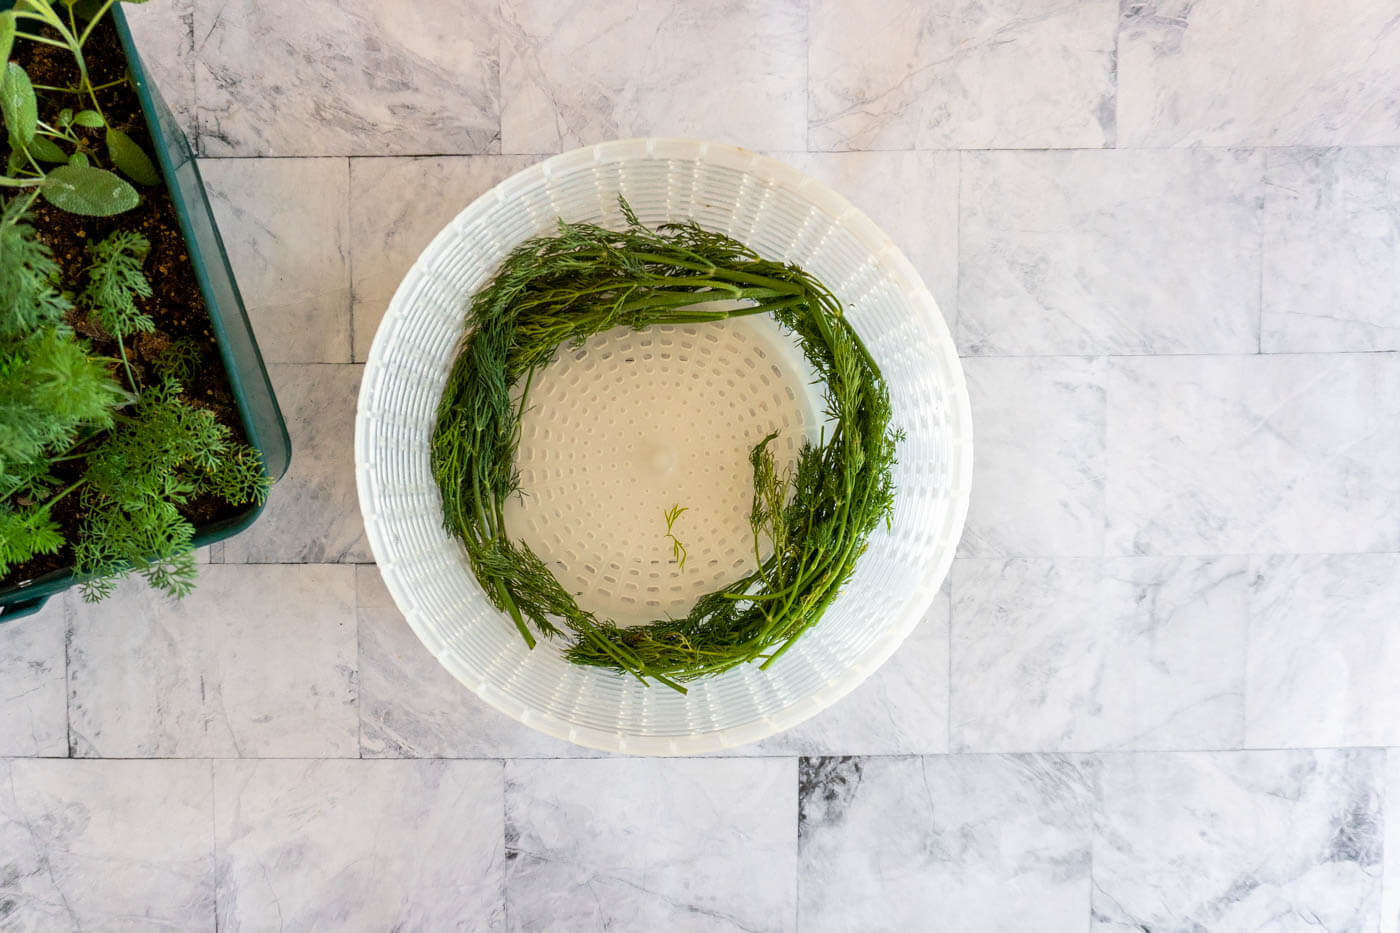
- Gently blot the dill dry with a paper towel or spin in a salad spinner to avoid bruising the dill leaves.
- Trim any dead or wilted leaves and branches.
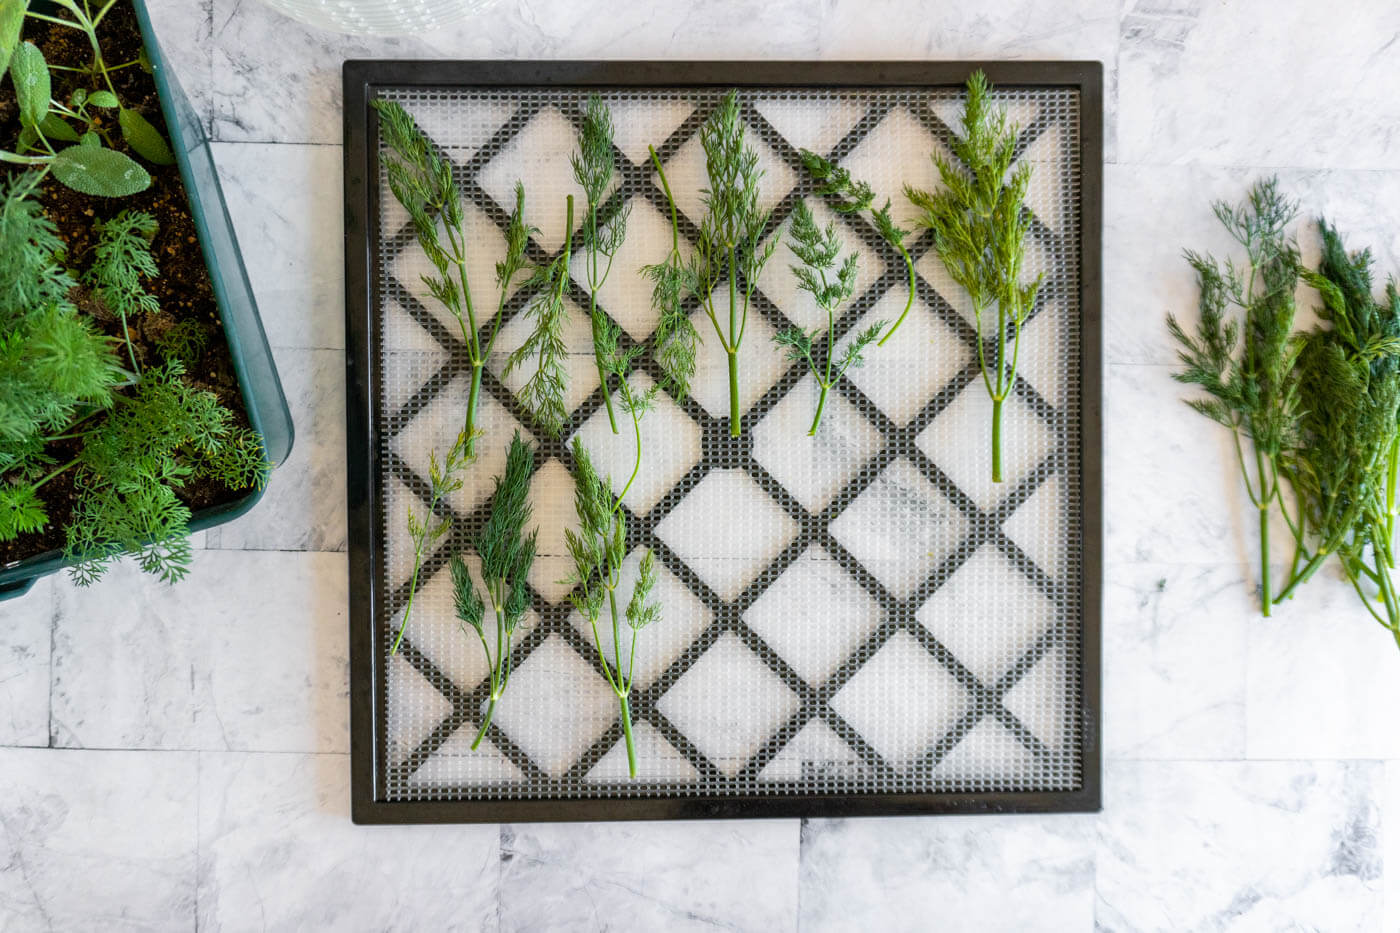
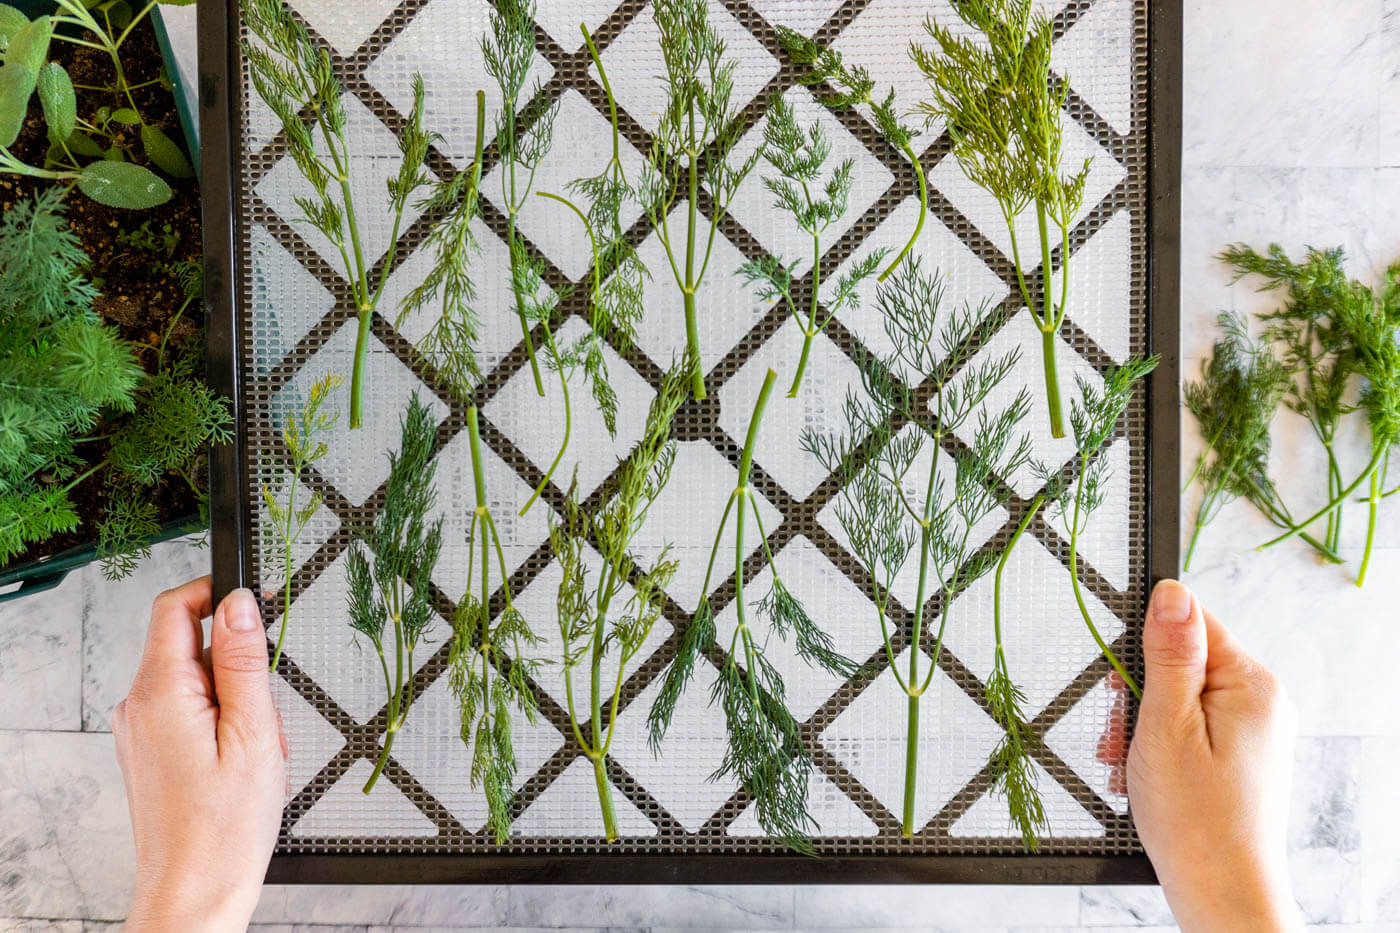
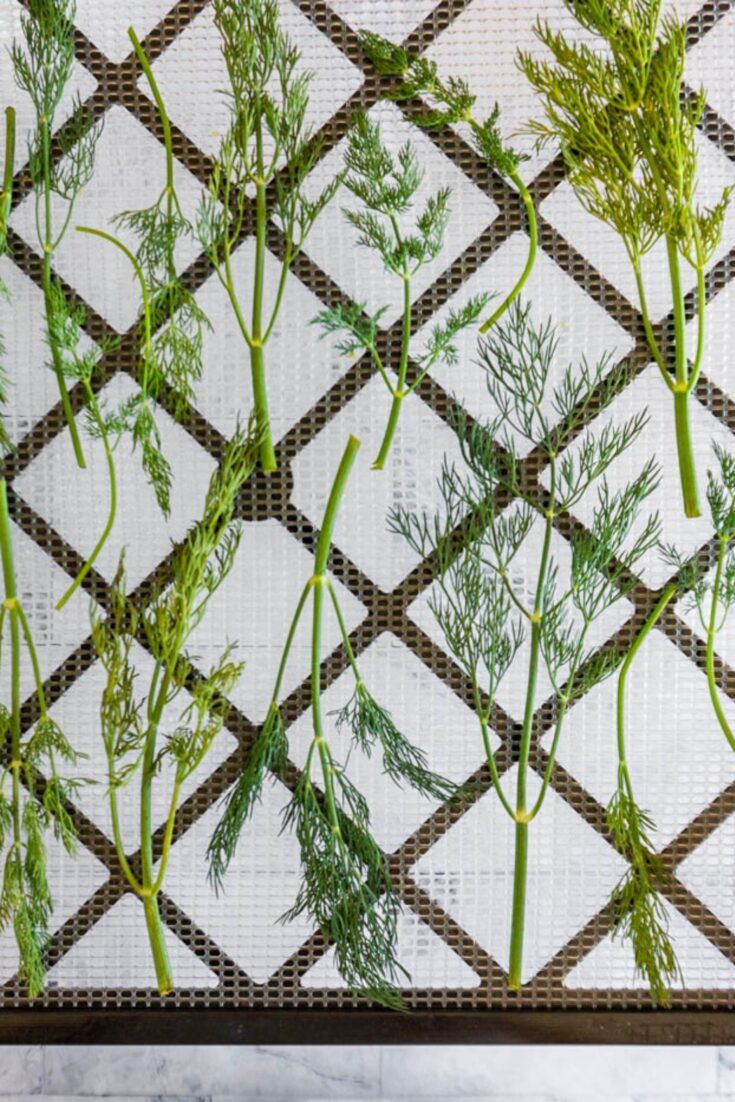
- Place the dill in a single layer on the dehydrator trays and place it in the dehydrator set at the lowest setting. My Excalibur dehydrator goes as low as 95f.
- Dry the dill for 2-4 hours, checking regularly, and remove once completely dry and the stems snap under pressure.
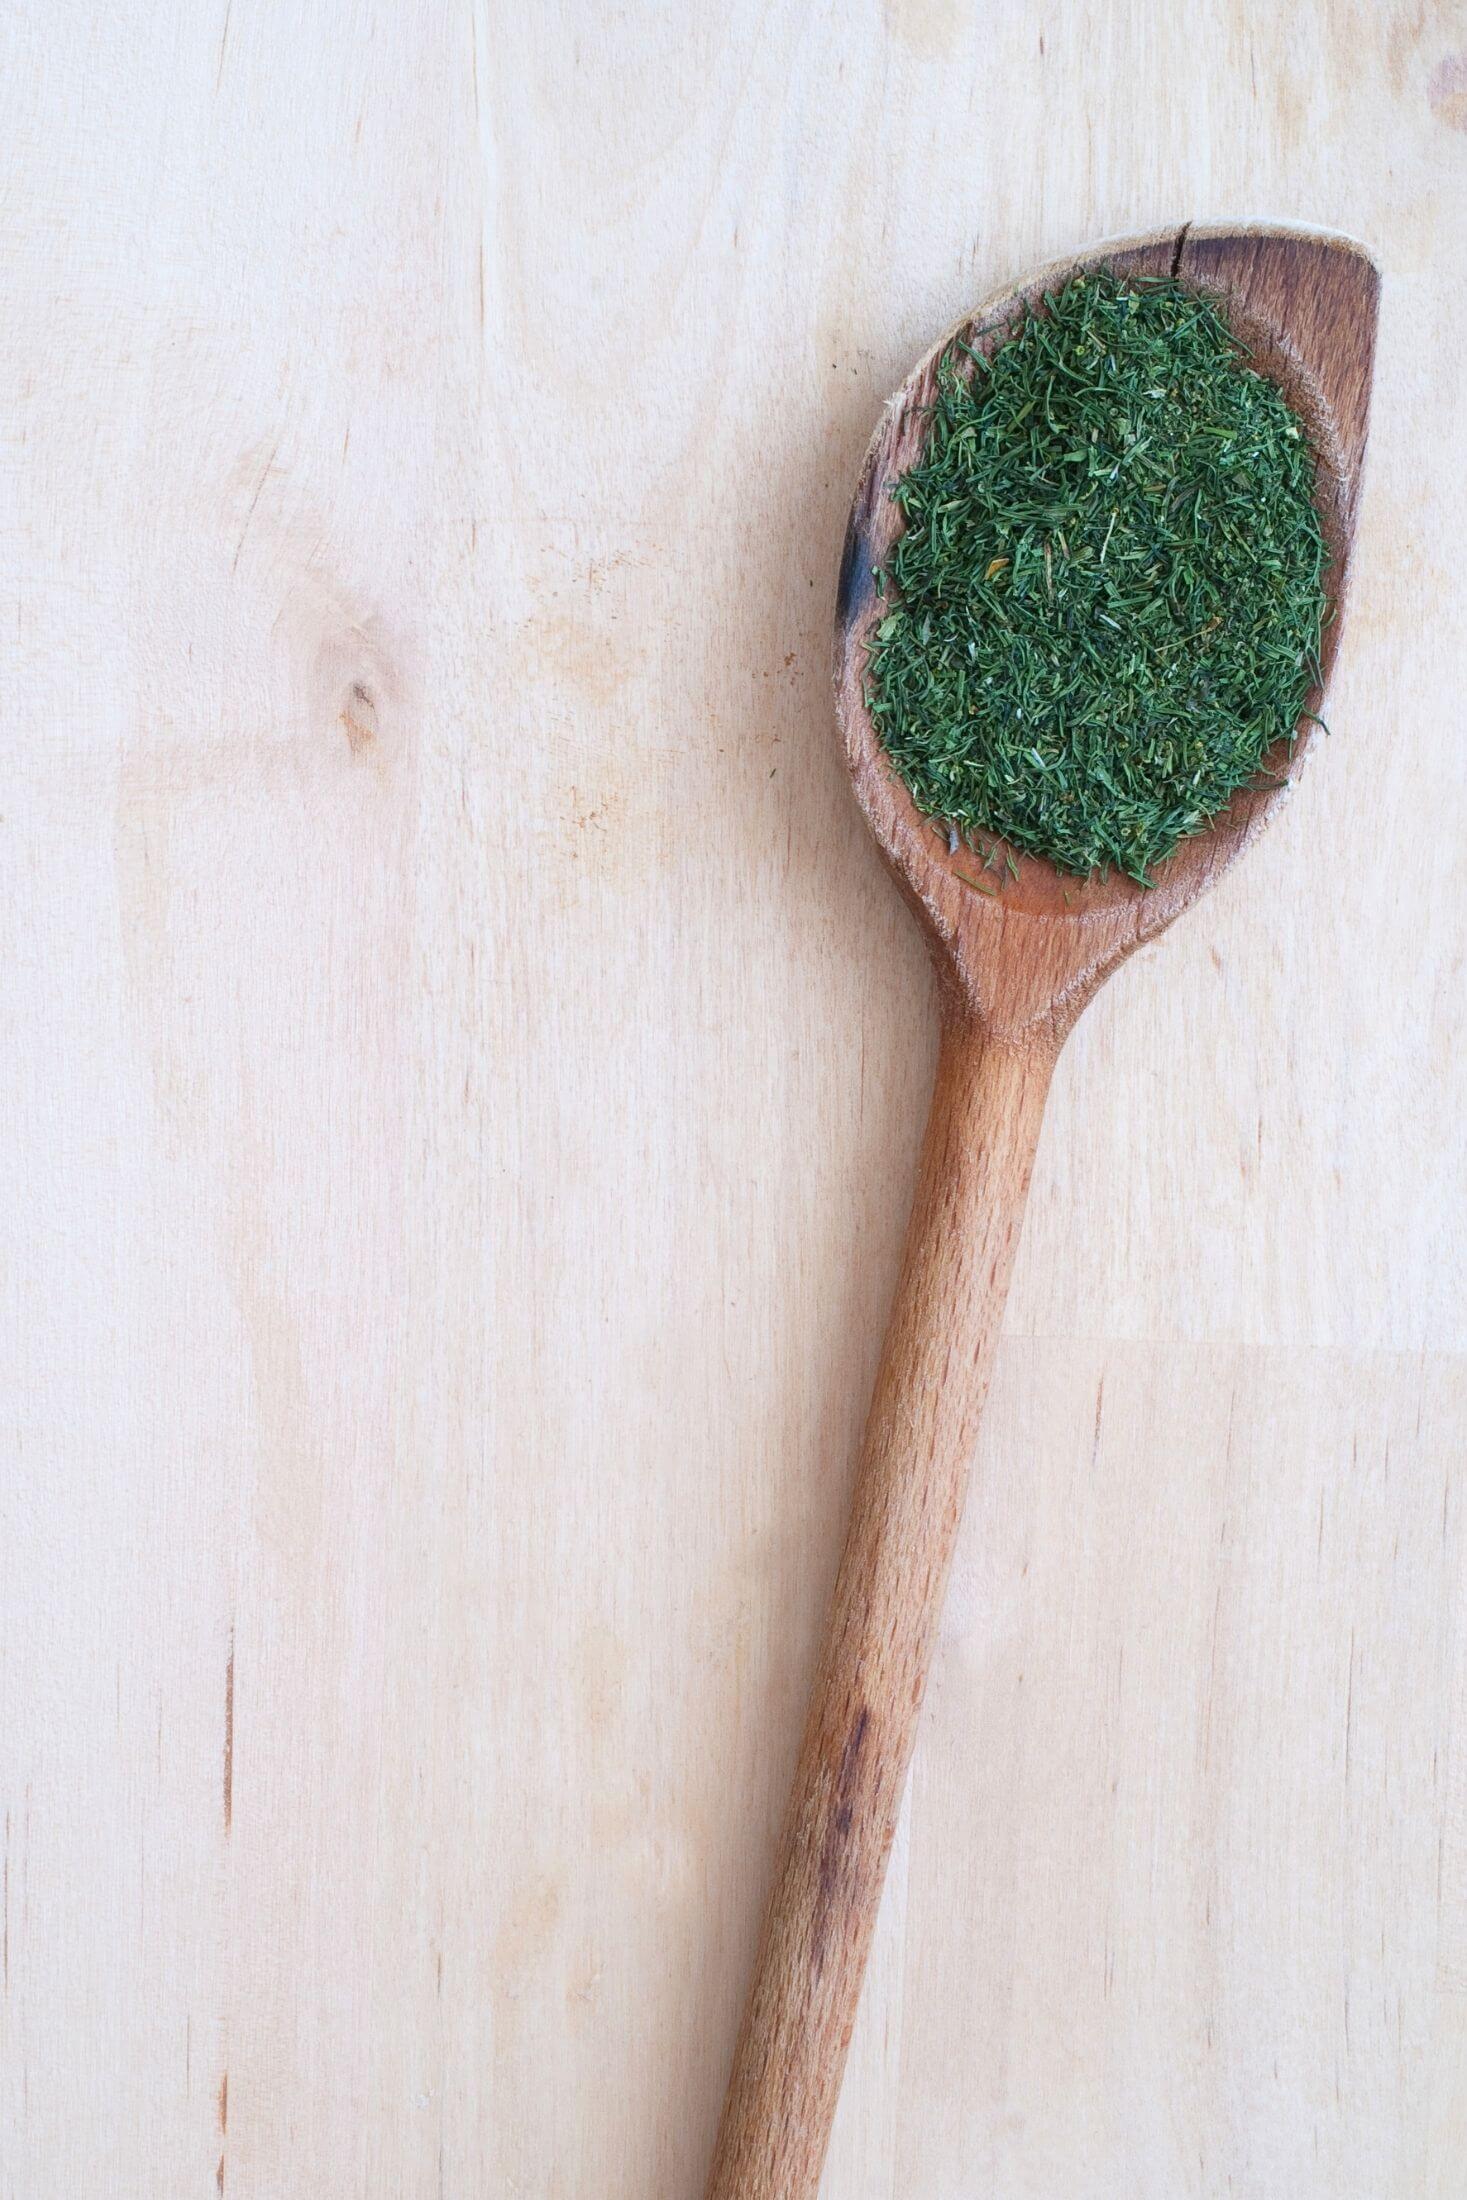
- Allow the dill to cool completely, then remove all the stems and crumble the leaves before transferring them to an airtight container for long-term storage.
How To Air Dry Dill
- Prepare the dill as described above, then gather a small bunch of dill and tie them together at the stems with a string or rubber band.
- Hang the dill bundle upside down in a warm, dry place with plenty of airflow.
- Check the dill every few days to ensure there is no mold or spoilage.
- Air drying dill will take 2 - 3 weeks. The dried dill is ready when the leaves are crumbly and the stems snap.
- Crush the dill leaves and remove stems before transferring them to an airtight container.
I don't use this method personally because it can cause spoilage if the humidity level is too high or the location lacks sufficient airflow. Plus, it takes forever! But it does work and my mom often uses this method.
How To Dry Dill In The Oven
- Prepare dill as described above.
- Spread the dill onto a parchment-lined baking sheet and place it in the oven pre-heated at its lowest temperature setting. If your lowest temperature is higher than 110f, check the dill every 20-30 minutes to ensure it's not over-drying.
- The oven-dried dill is ready once the leaves are easily crushed between your fingers and the stems snap under pressure.
- Allow the dill to cool completely before crushing the leaves and removing the stems, then transfer to an airtight container.
Substituting Dried Dill For Fresh Dill
Dried dill has a more potent flavor than fresh so you don't need to use as much. When substituting dried dill for fresh, use about a third as much as the recipe calls for.
If a recipe calls for dill seed, you can use dried dill weed but again, use about a third as much since the flavor is more potent.
Ex. If a recipe calls for 1 tablespoon (3 teaspoons) use 1 teaspoon of dried dill.
Batch + Storage
Batch:
Drying intensifies the flavor of herbs like dill and compresses their size! 8 oz of fresh dill will equal about 1 oz of dried dill.
Storage:
Dehydrated dill and other dried herbs need to be protected from sunlight as sunlight can have a direct negative effect on the color and flavor of the dill! Yes, even if it's in an airtight container!
Dried dill can be stored in amber glass jars or regular clear mason jars - but ensure the clear jars are stored in a dark cupboard away from damaging sunlight.
I like to go the extra step and vacuum seal my jars in my Avid Armor USV 32 chamber vacuum sealer - but that's not necessary. Simply screwing on a lid and storing it in a cool, dark place will work just fine!
Dill weed will last for about 12 months when properly stored and I find that my vacuum-sealed dill lasts even longer without any noticeable deprecation.
Recommended Equipment
Dehydrator: I have and love(!) a 9 RACK EXCALIBUR DEHYDRATOR. We use it to DEHYDRATE CITRUS WHEELS, GARLIC, STRAWBERRIES, PEARS, ONIONS, and even, DEHYDRATE MARSHMALLOWS, and much more. It's got a 24-hour timer and very precise temperature controls so it's great for dehydrating various foods.
Avid Armor Chamber Vac: I cannot say enough good things about my Avid Armor chamber vacuum sealer. We partnered up over a year ago, and I have been using my vac sealer religiously since then, and I can confidently say that I would not be able to live without it now!
AVID ARMOR is so awesome, they've generously offered a discount code just for my homestead buddies, like you! Use the coupon code CRAVE to save!
Thoughts From The Homestead Kitchen:
There is more than one way to dry dill but my personal preference is to use my food dehydrator to speed up the process. I've found that drying dill in the oven or air drying takes significantly longer and doesn't produce as consistent results.
Use what you have on hand and don't be afraid to experiment! The worst thing that can happen is you'll end up with a less than stellar batch of dried herbs - and you'll end up using more than usual to get the same flavor.
Happy dehydrating!
How To Dry Dill - 3 Ways!
Learn how to dry dill so you can always have this delicious herb on hand! Dill is a great herb to have on hand, it's perfect for adding flavor to your favorite dishes. Plus, it's easy to preserve.
Ingredients
- fresh dill
Instructions
prepare fresh dill for drying
- Trim dead and discolored leaves and branches from your dill.
- Run the dill under cool water to remove any dirt and debris.
- Gently blot the dill dry with a paper towel or spin in a salad spinner to avoid bruising the dill leaves.
how to dry dill in a dehydrator
- Place prepared dill in a single layer on the dehydrator trays and place it in the dehydrator set at the lowest setting. My Excalibur dehydrator goes as low as 95f.
- Dry the dill for 2-4 hours, checking regularly, and remove once completely dry and the stems snap under pressure.
- Allow the dill to cool completely, then remove all the stems and crumble the leaves before transferring them to an airtight container for long-term storage.
how to air dry dill
- Gather a small bunch of prepared dill and tie them together at the stems with a string or rubber band.
- Hang the dill bundle upside down in a warm, dry place with plenty of airflow.
- Check the dill every few days to ensure there is no mold or spoilage.
- Air drying dill will take 2 - 3 weeks. The dried dill is ready when the leaves are crumbly and the stems snap.
- Crush the dill leaves and remove stems before transferring them to an airtight container.
how to dry dill in the oven
- Spread the prepared dill onto a parchment-lined baking sheet and place it in the oven pre-heated at its lowest temperature setting. If your lowest temperature is higher than 110f, check the dill every 20-30 minutes to ensure it's not over-drying.
- The oven-dried dill is ready once the leaves are easily crushed between your fingers and the stems snap under pressure.
- Allow the dill to cool completely before crushing the leaves and removing the stems, then transfer to an airtight container.
Notes
substituting dried dill for fresh dill
Dried dill has a more potent flavor than fresh so you don't need to use as much. When substituting dried dill for fresh, use about a third as much as the recipe calls for.
If a recipe calls for dill seed, you can use dried dill weed but again, use about a third as much since the flavor is more potent.
Ex. If a recipe calls for 1 tablespoon (3 teaspoons) use 1 teaspoon of dried dill.
batch:
Drying intensifies the flavor of herbs like dill and compresses their size! 8 oz of fresh dill will equal about 1 oz of dried dill.
storage:
Dehydrated dill and other dried herbs need to be protected from sunlight as sunlight can have a direct negative effect on the color and flavor of the dill! Yes, even if it's in an airtight container!
Dried dill can be stored in amber glass jars or regular clear mason jars - but ensure the clear jars are stored in a dark cupboard away from damaging sunlight.
I like to go the extra step and vacuum seal my jars in my Avid Armor USV 32 chamber vacuum sealer - but that's not necessary. Simply screwing on a lid and storing it in a cool, dark place will work just fine!
Dill weed will last for about 12 months when properly stored and I find that my vacuum-sealed dill lasts even longer without any noticeable deprecation.
Recommended Products
As an Amazon Associate and member of other affiliate programs, I earn from qualifying purchases.

Nutrition Information:
Yield:
1Serving Size:
1Amount Per Serving: Calories: 0Total Fat: 0gSaturated Fat: 0gTrans Fat: 0gUnsaturated Fat: 0gCholesterol: 0mgSodium: 1mgCarbohydrates: 0gFiber: 0gSugar: 0gProtein: 0g
Pin this guide to dehydrating fresh dill!
Comments
No Comments