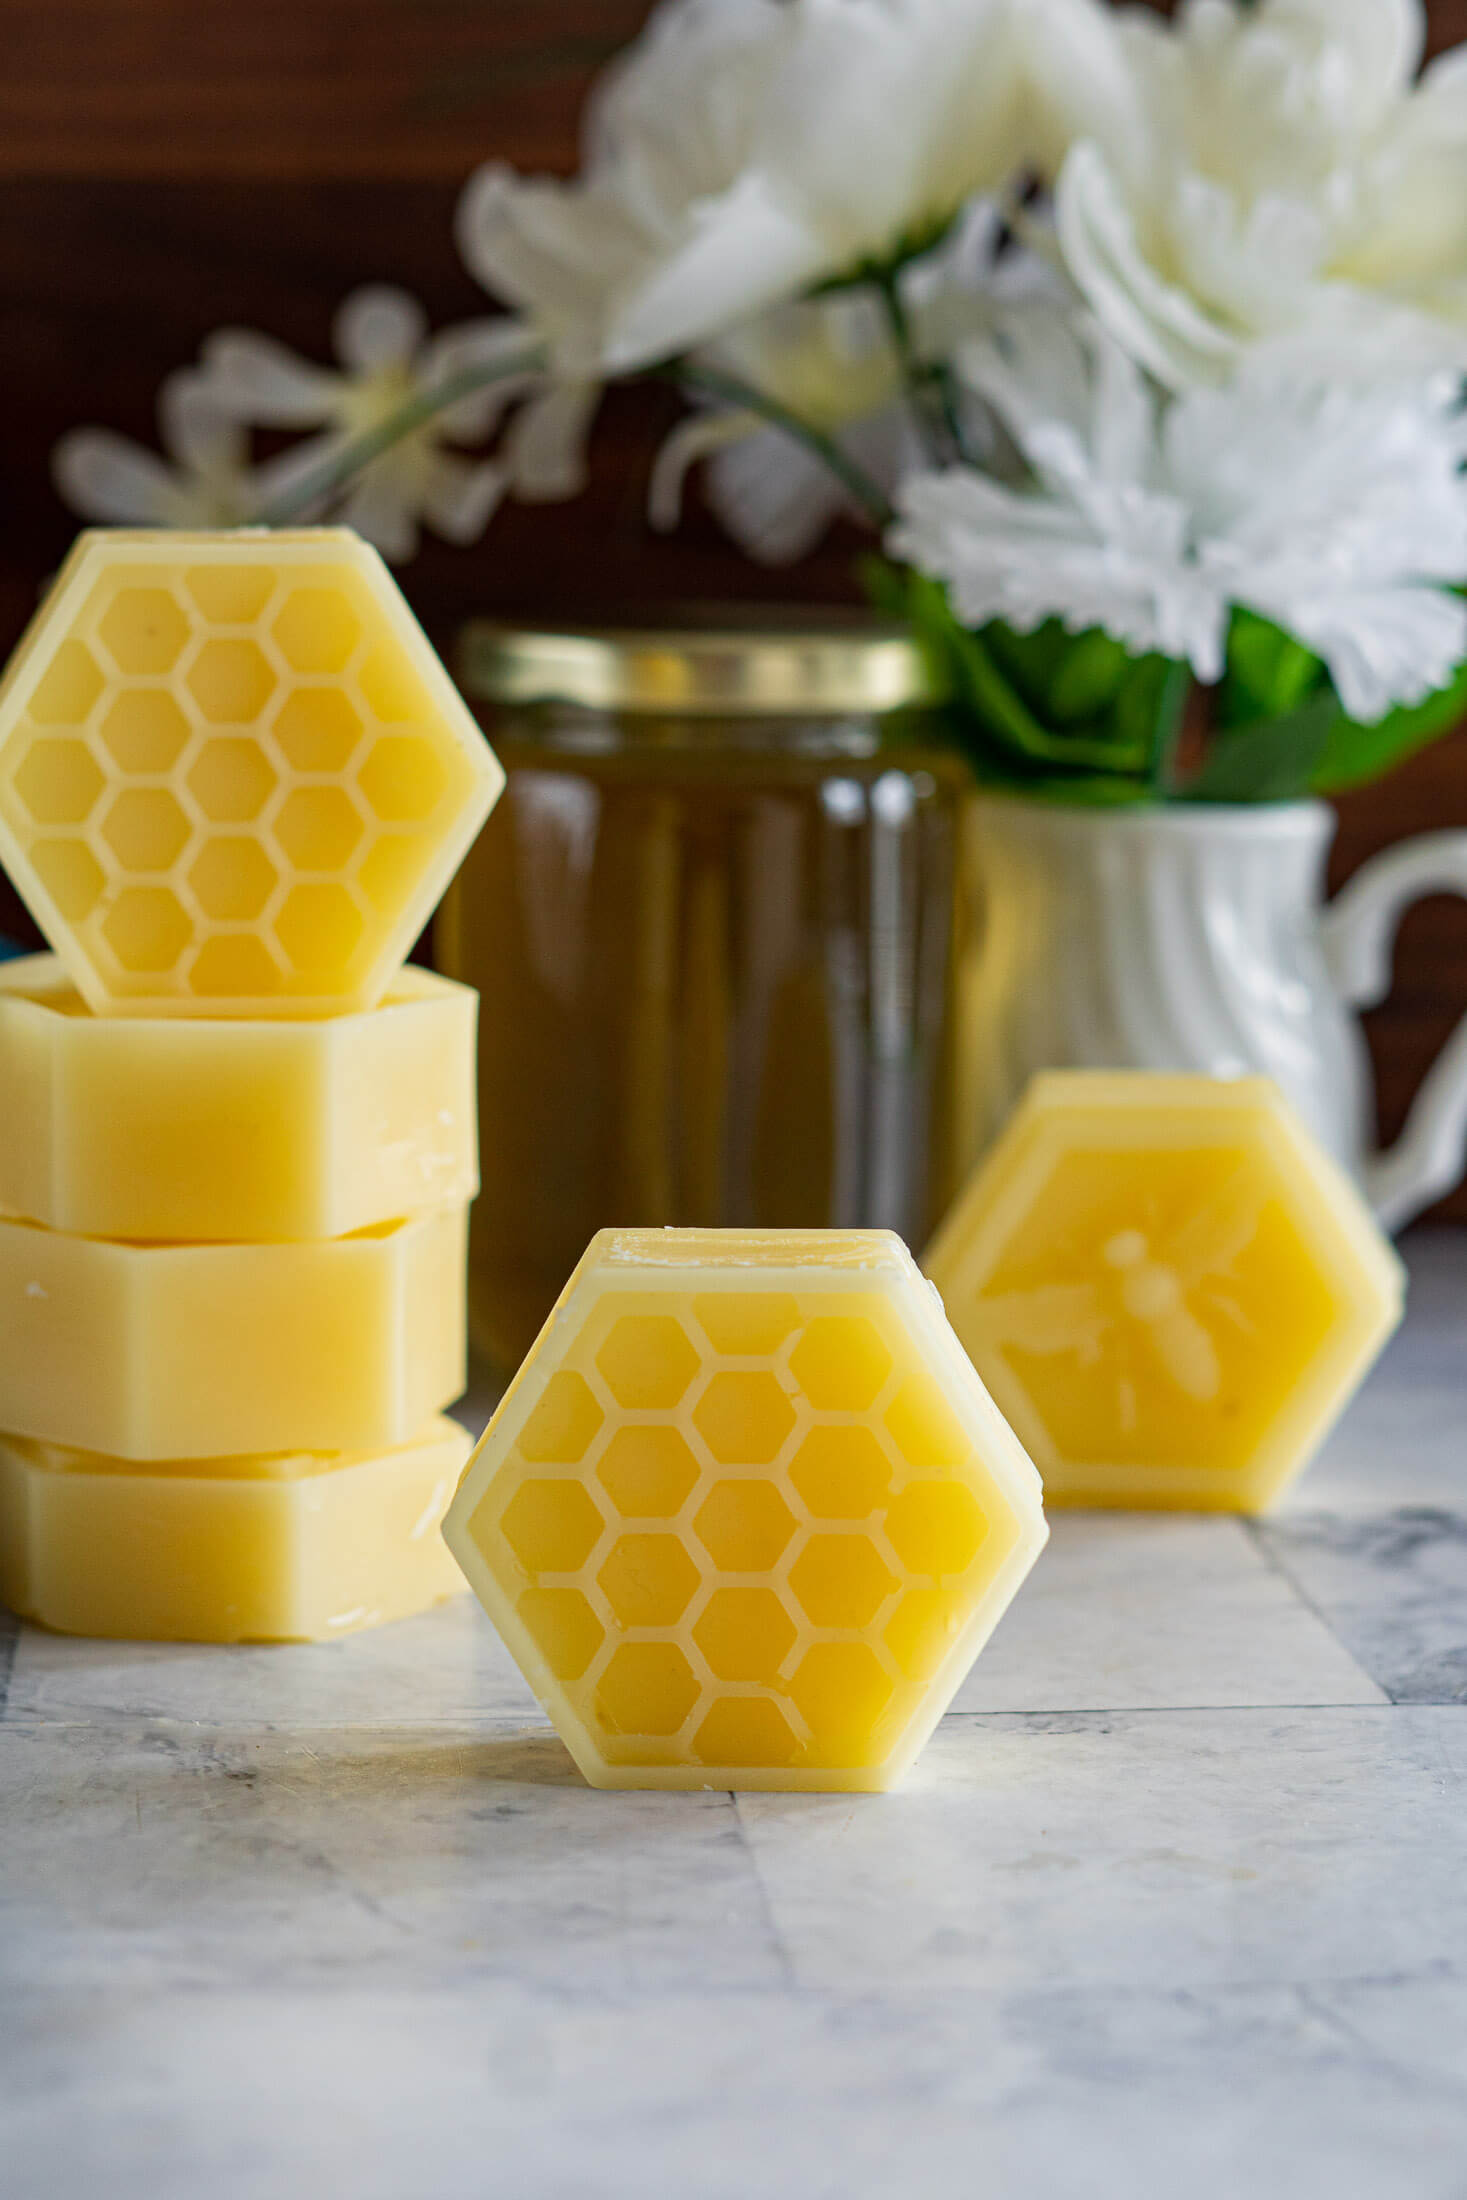
How To Render Beeswax
After many years of discussions, we FINALLY introduced honeybees into our growing homestead in the spring of 2023 and oh, what a delightful addition they have been!
I initially wanted to bring bees to the property for their unparalleled pollination services. But as many of you know, the gifts of honeybees extend far beyond pollination.
The most obvious perk? Homegrown honey! I can honestly say that tasting our very first batch was a moment to remember - it was, without question, the sweetest, most flavorful honey we've ever had.
Now, as we head deeper into the beekeeping journey, it's time to explore another fantastic byproduct - beeswax.
Jump to:
What Is Beeswax And How Do You Get It?
Beeswax is secreted by worker bees and used to build honeycomb cells. Bees use these cells to house brood (eggs and larva), pollen, bee bread, and honey within the hive. Worker bees build up these hexagonal cells on foundation frames.
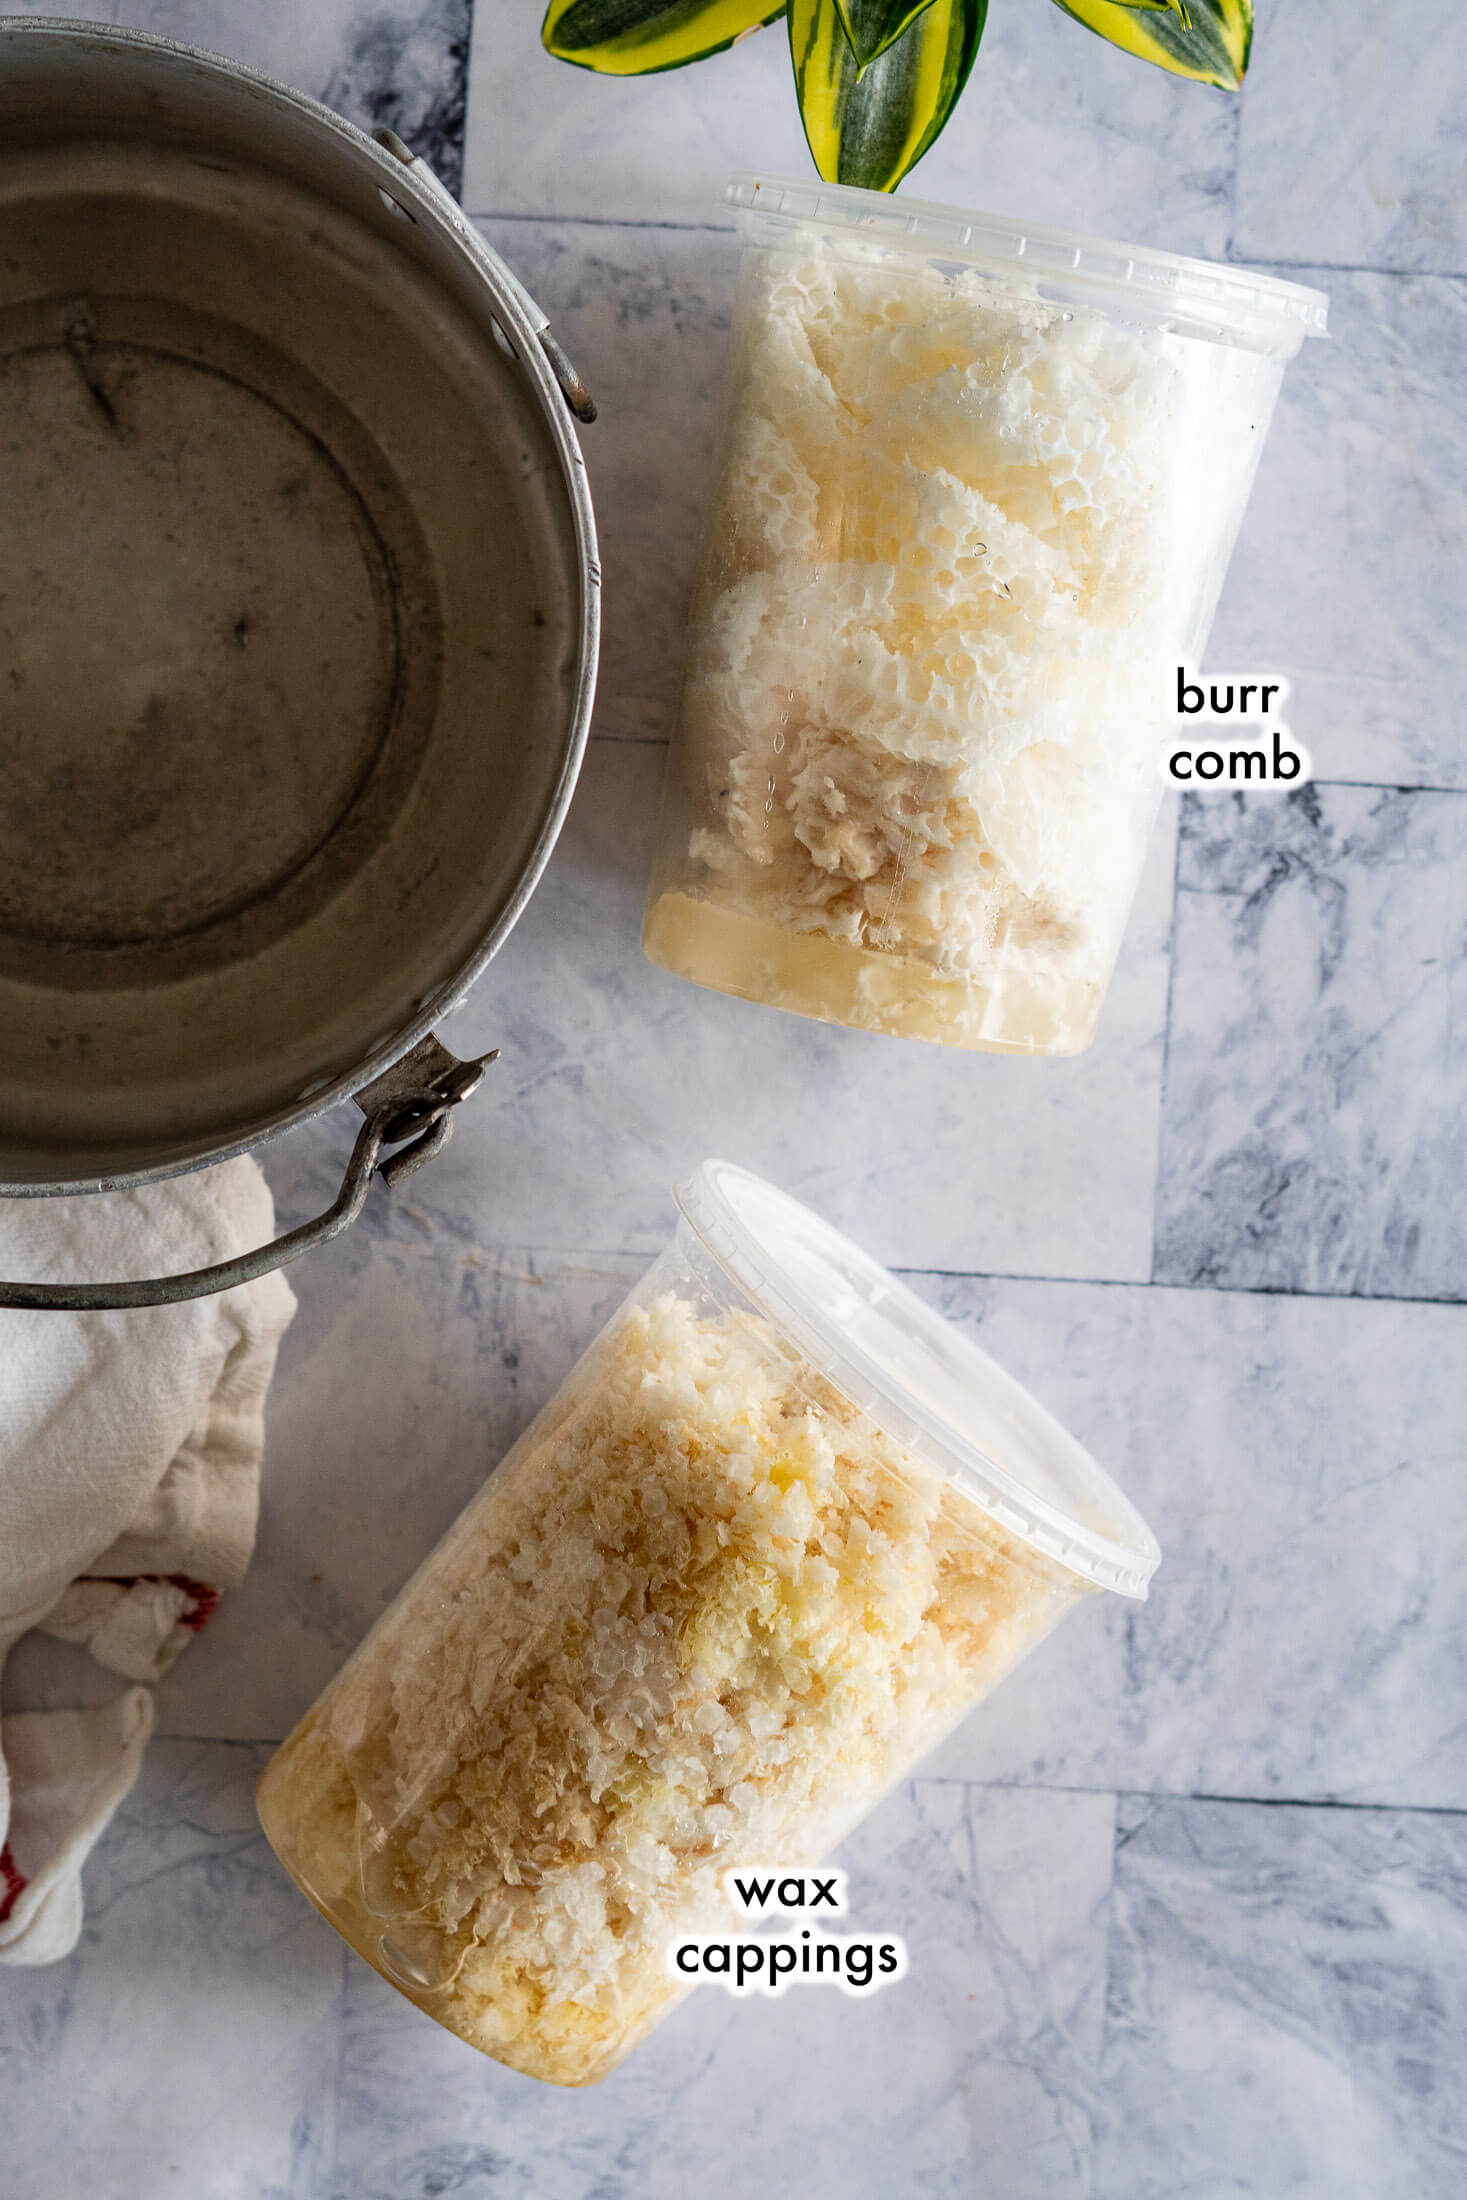
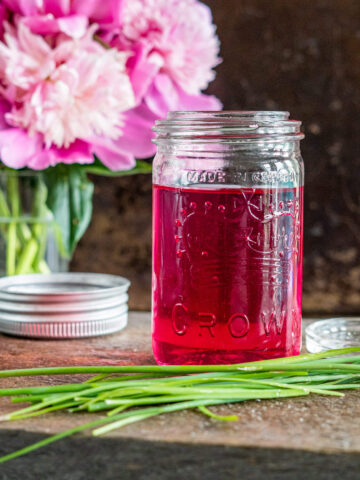
There are a few main harvesting points for beeswax. The most obvious source is wax cappings. When we harvested our honey, we carefully removed the wax coverings from each wax cell before sending it through the extractor and filtering the wax from the honey. These cappings are an awesome place to get beeswax.
Another great source of beeswax is burr comb or brace comb. As beekeepers, it is our job to ensure that things in the hive stay tidy and functional. Harvesting comb that is built up where you don't want it is a good way to do keep everything easy to work!
Comb from damaged foundations is another source of wax. We use one piece plastic frames in the hopes that they will not become damaged. Wood frames with wax foundation are the most likely to be damaged.
What Color Is Beeswax?
The color of beeswax is highly variable and it really depends on a few different things.
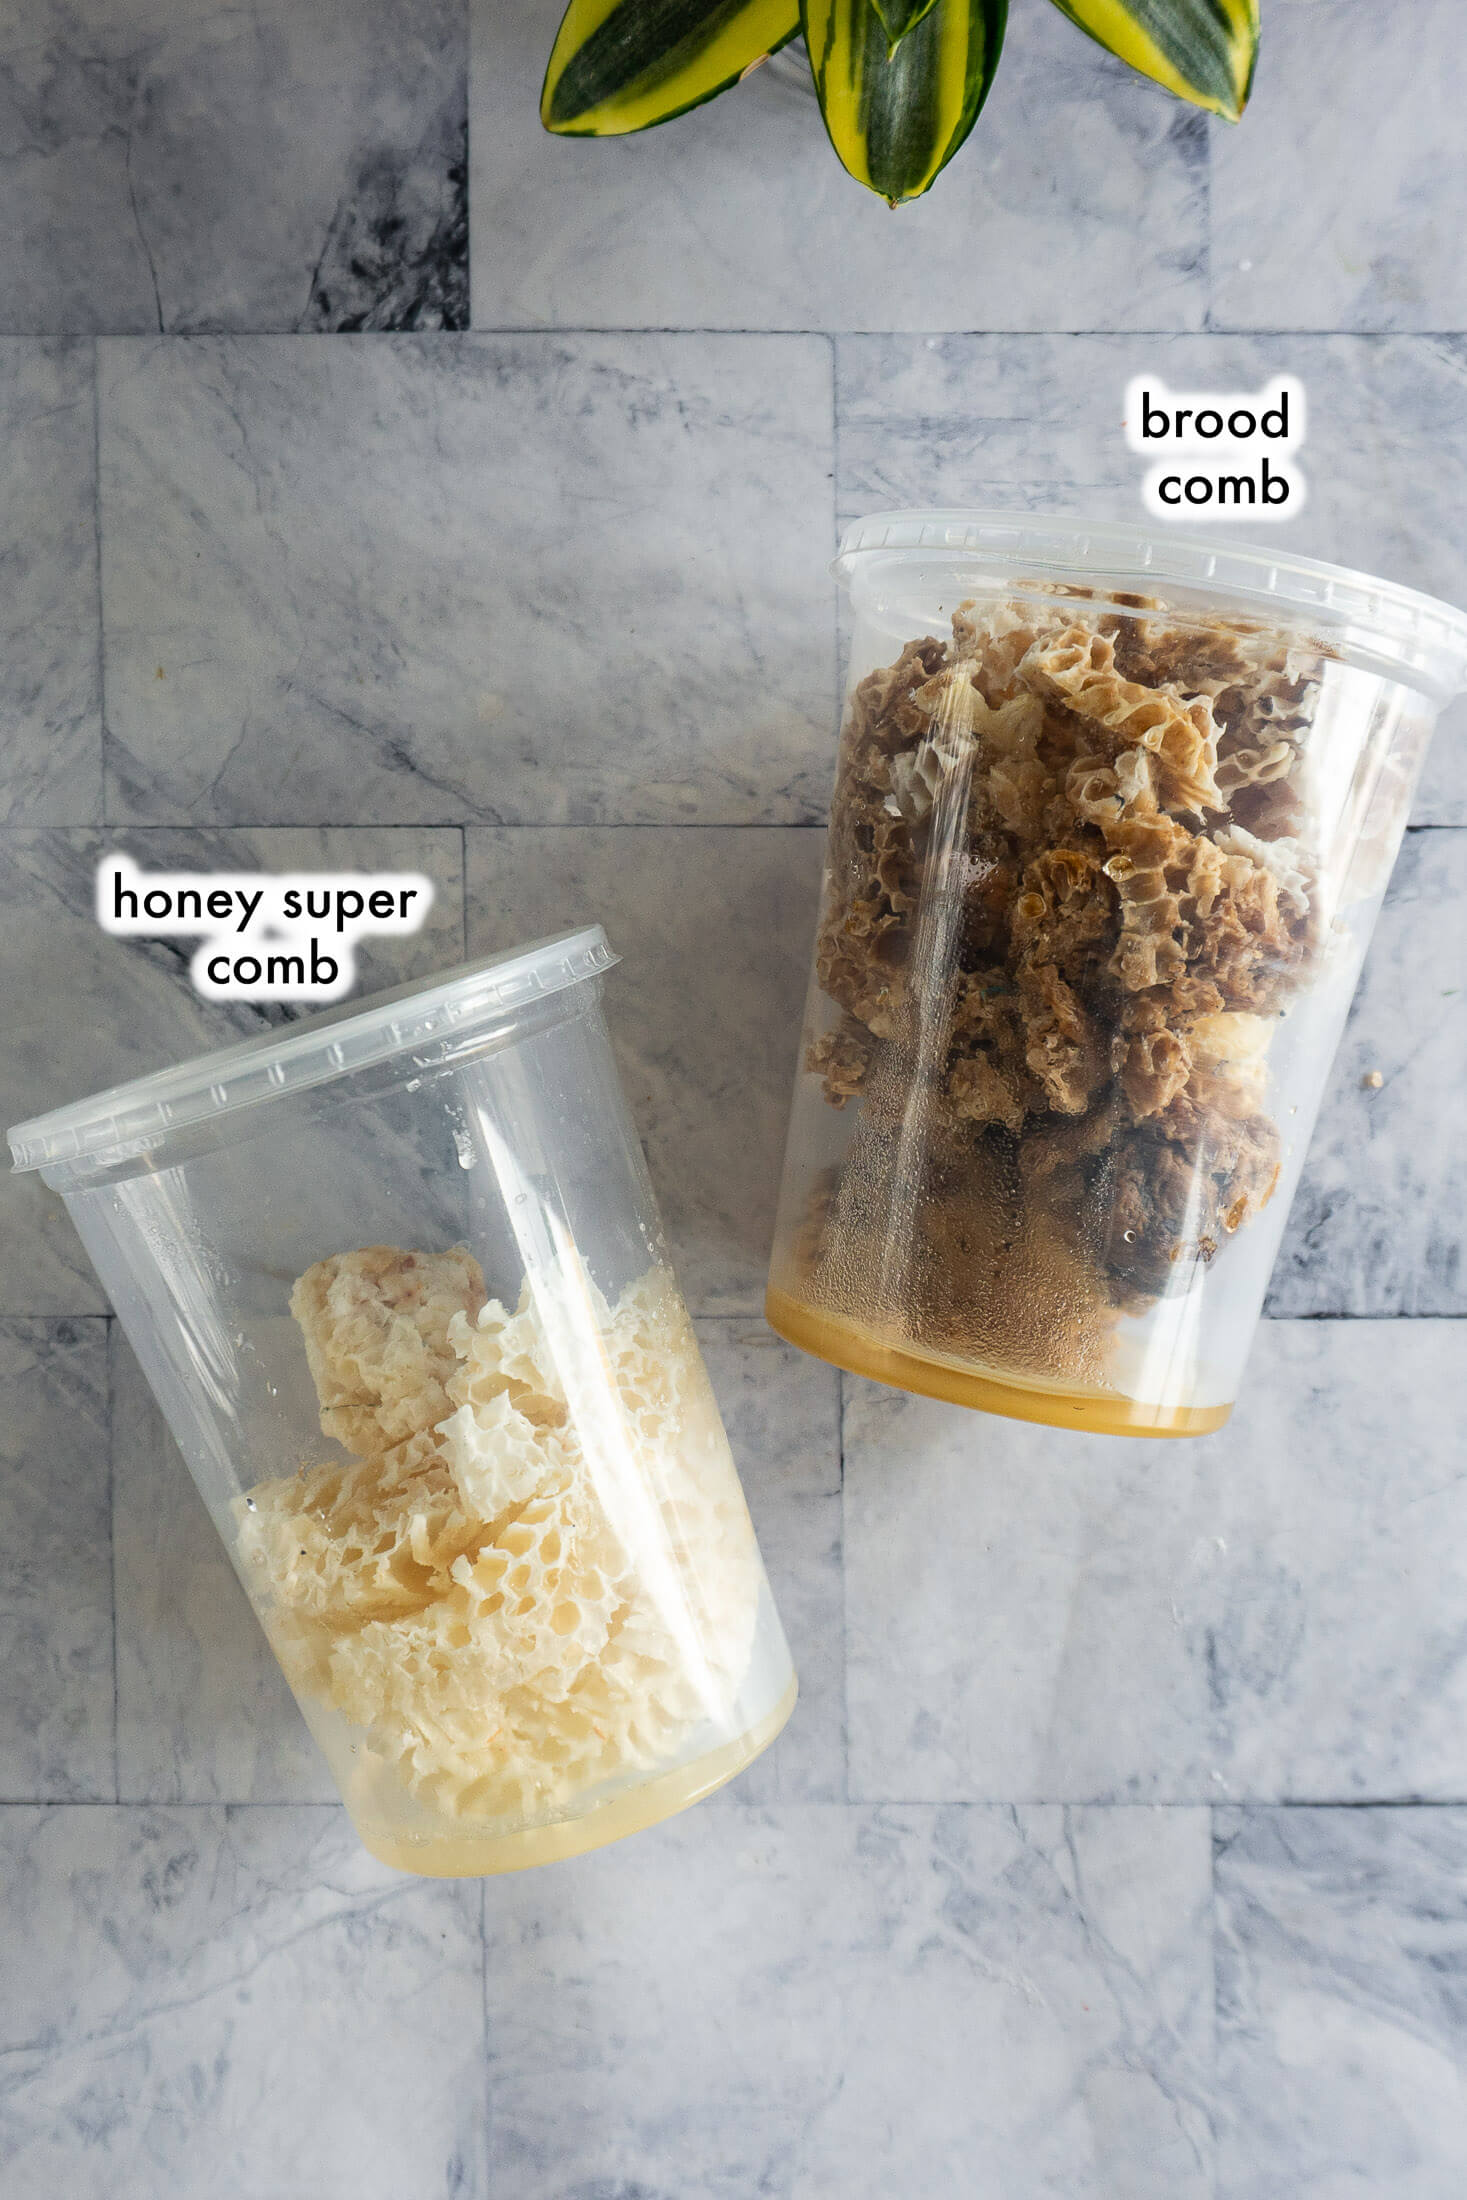
Location in the hive has a huge impact on the color of the wax. Honeycomb harvested from the brood chamber will likely have the darkest color, it is the most likely to be contaminated by debris and stained by bees walking across the surface. Brood comb is also used over and over as brood chamber as well as storage.
Comb sourced from the honey super or supers is likely to be much lighter in color. In fact, ours is a creamy white. The bees have no reason to walk over the wax in the honey supers unless they are dropping off honey, which means they are less likely to be contaminated with pollen granules or stained because it's a lower traffic area.
The region the bees live and the flowers they prefer to visit actually play a role in the wax appearance as well. Each region has different flowering and pollen bearing plants which can not only create differences color of pollen harvested, and in the taste of honey, but also the color of the honey and wax produced.
Why Harvest Beeswax?
Beeswax has an array of applications that makes it a worthwhile harvest.
When crafted into candles, beeswax burns longer and cleaner than its synthetic counterparts, typically emitting a subtle, sweet aroma.
In natural skincare, beeswax is often a key ingredient in lip balms, lotions, and salves due to its ability to lock in moisture and form a protective barrier on the skin. Beeswax also stabilizes the formulation, to keep it solid at room temperatures, making it easier to use and apply.
The benefits of beeswax are numerous. It has anti-microbial properties and has been used in Ayurvedic medicine as an anti-inflammatory and to hasten healing of bruises, burns, and cracked skin.
Tips + Tricks
No. 1 --> Get yourself a dedicated set of utensils just for working with beeswax. It's a really messy project and your kitchen tools may never be the same. I picked up a really inexpensive non-reactive camping pot at a thrift store for three dollars. Silicone utensils are the easiest to clean!
No. 2 --> The mess doesn't stop with the utensils. Errant wax drips and a carelessly set down spoon can spell cleaning disaster! Laying down a drip cloth, kraft paper, or even newspapers can help reduce the clean up. Likewise can keeping all the supplies and work contained to a smaller area.
No. 3 --> Beeswax is flammable, and care needs to be taken to avoid bringing it to its flash point of 400F. I recommend using an electric burner or double boiler to render your beeswax versus a gas flame if at all possible.
No. 4 --> Beeswax has a really low melting point and needn't be overheated. It melts at around 145F and can actually discolor if it's heated above 185F, underlying the importance of taking it slow and steady while melting beeswax.
Rendering Beeswax
There are a couple of steps involved when you're melting down beeswax. The first one is critical, the second one is optional and reminds me of purifying beef tallow.
Stage 1:
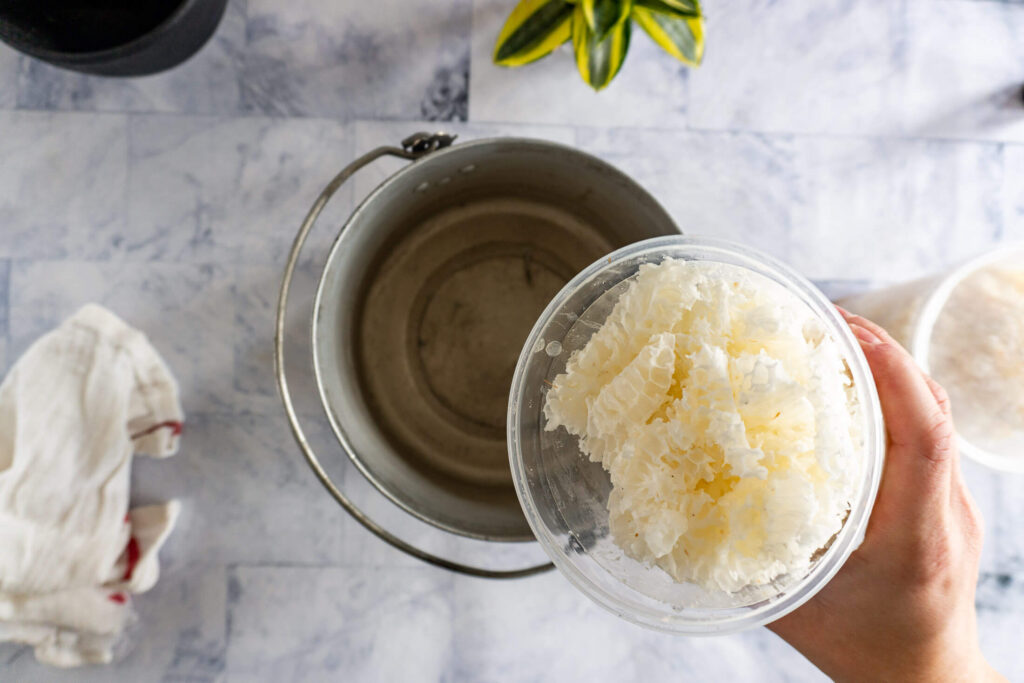
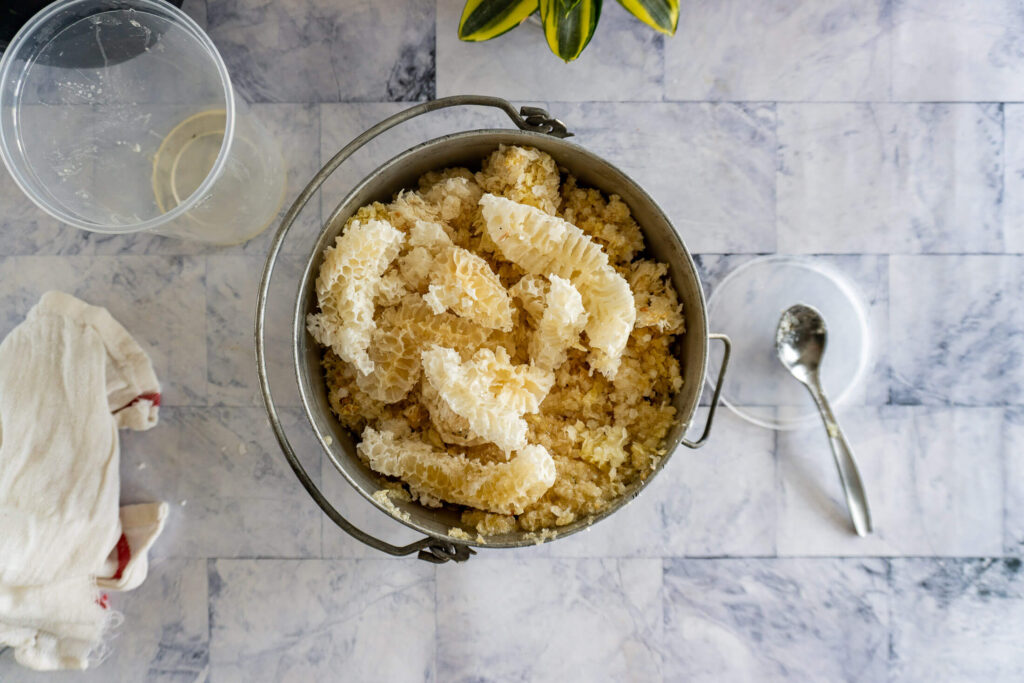
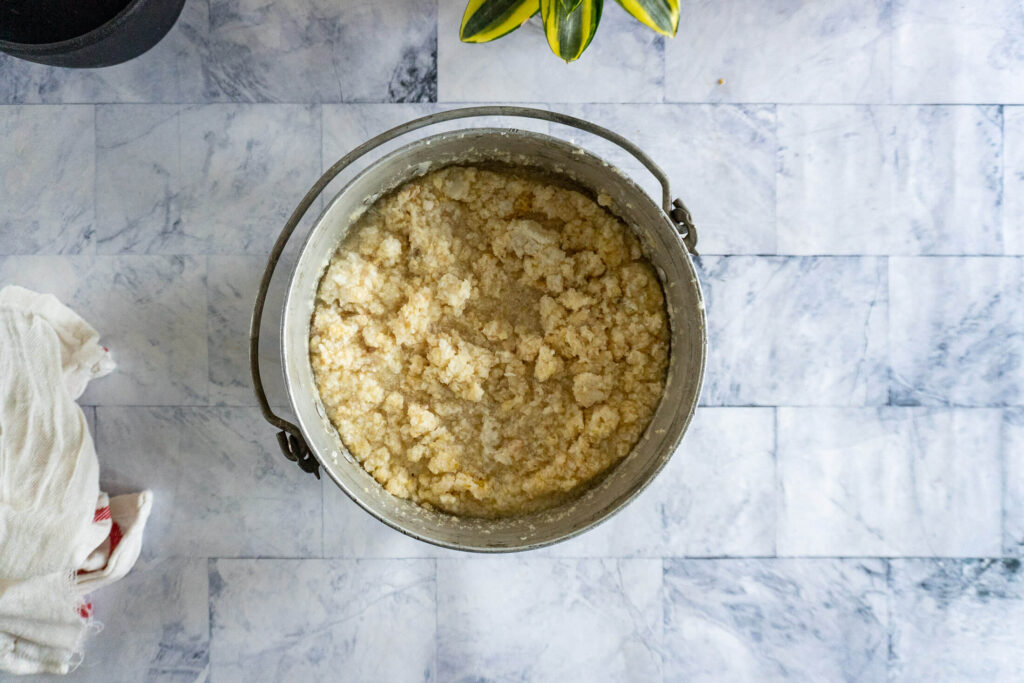
In this stage, you'll gather your harvested wax, whether it be strained cappings or burr comb, and place them in a saucepan. Add 4-8 cups of warm water to the wax, depending on size of pot and volume of wax to be rendered.
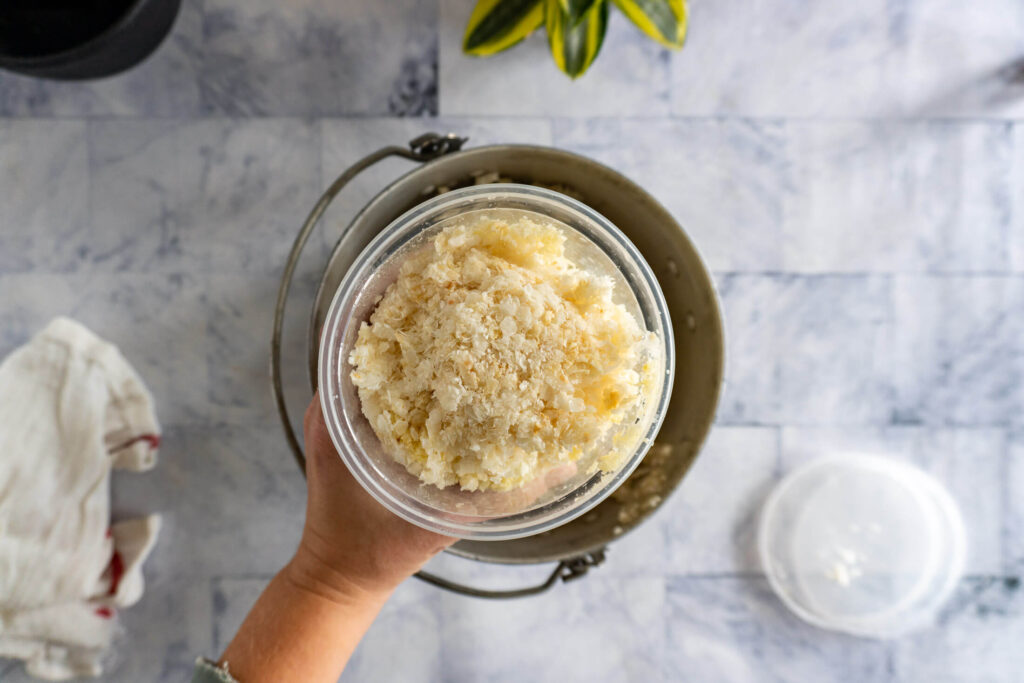


Place the pot over low heat on the stove, and stir regularly to distribute the wax. Because wax is flammable, it shouldn't be left unattended. Gently melt beeswax over low heat - the water should not boil. The pictures below are the wax melting progression over a 50 minute span.

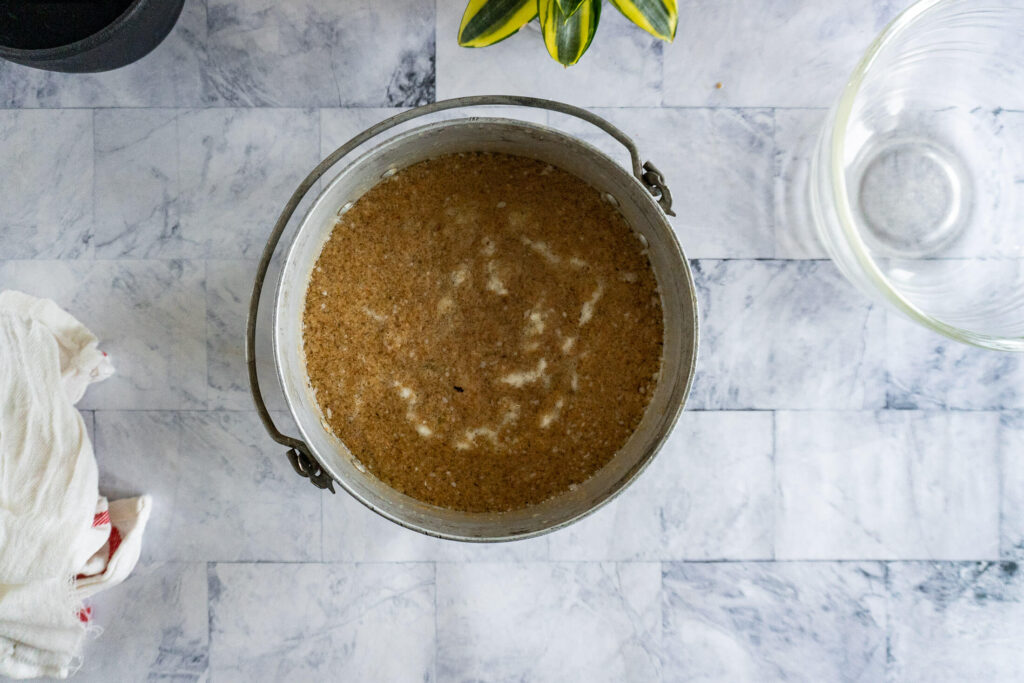
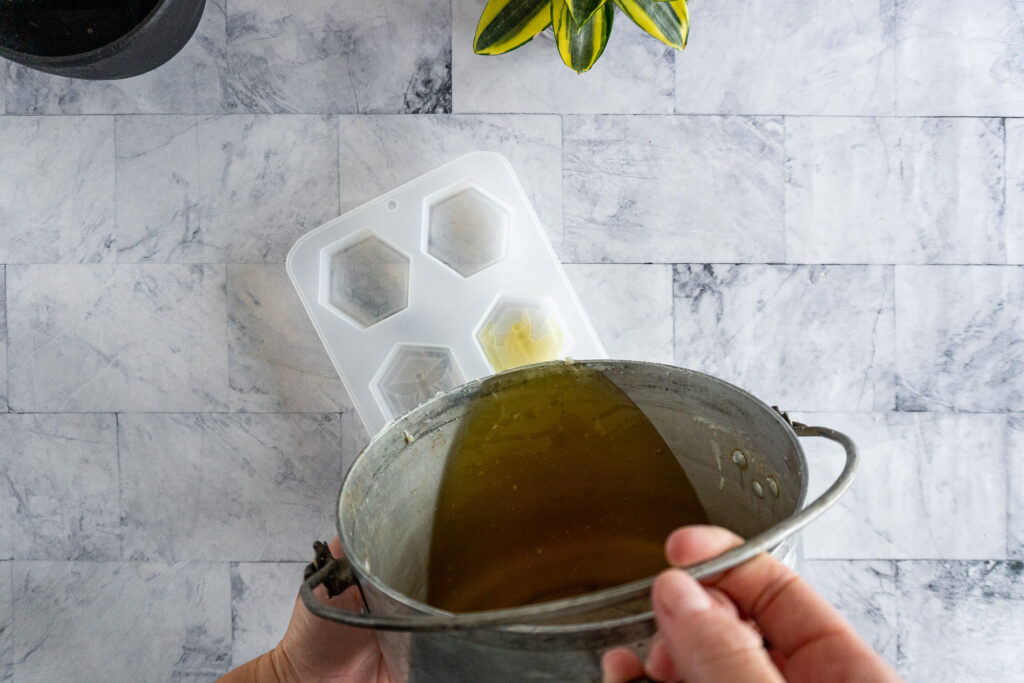
Once the wax is completely melted, pour it through a mesh strainer lined with a layer of cheesecloth or flour sack towel into a large bowl. I actually use my bucket strainer from honey extracting, for this, to avoid "waxing" my kitchen strainers.
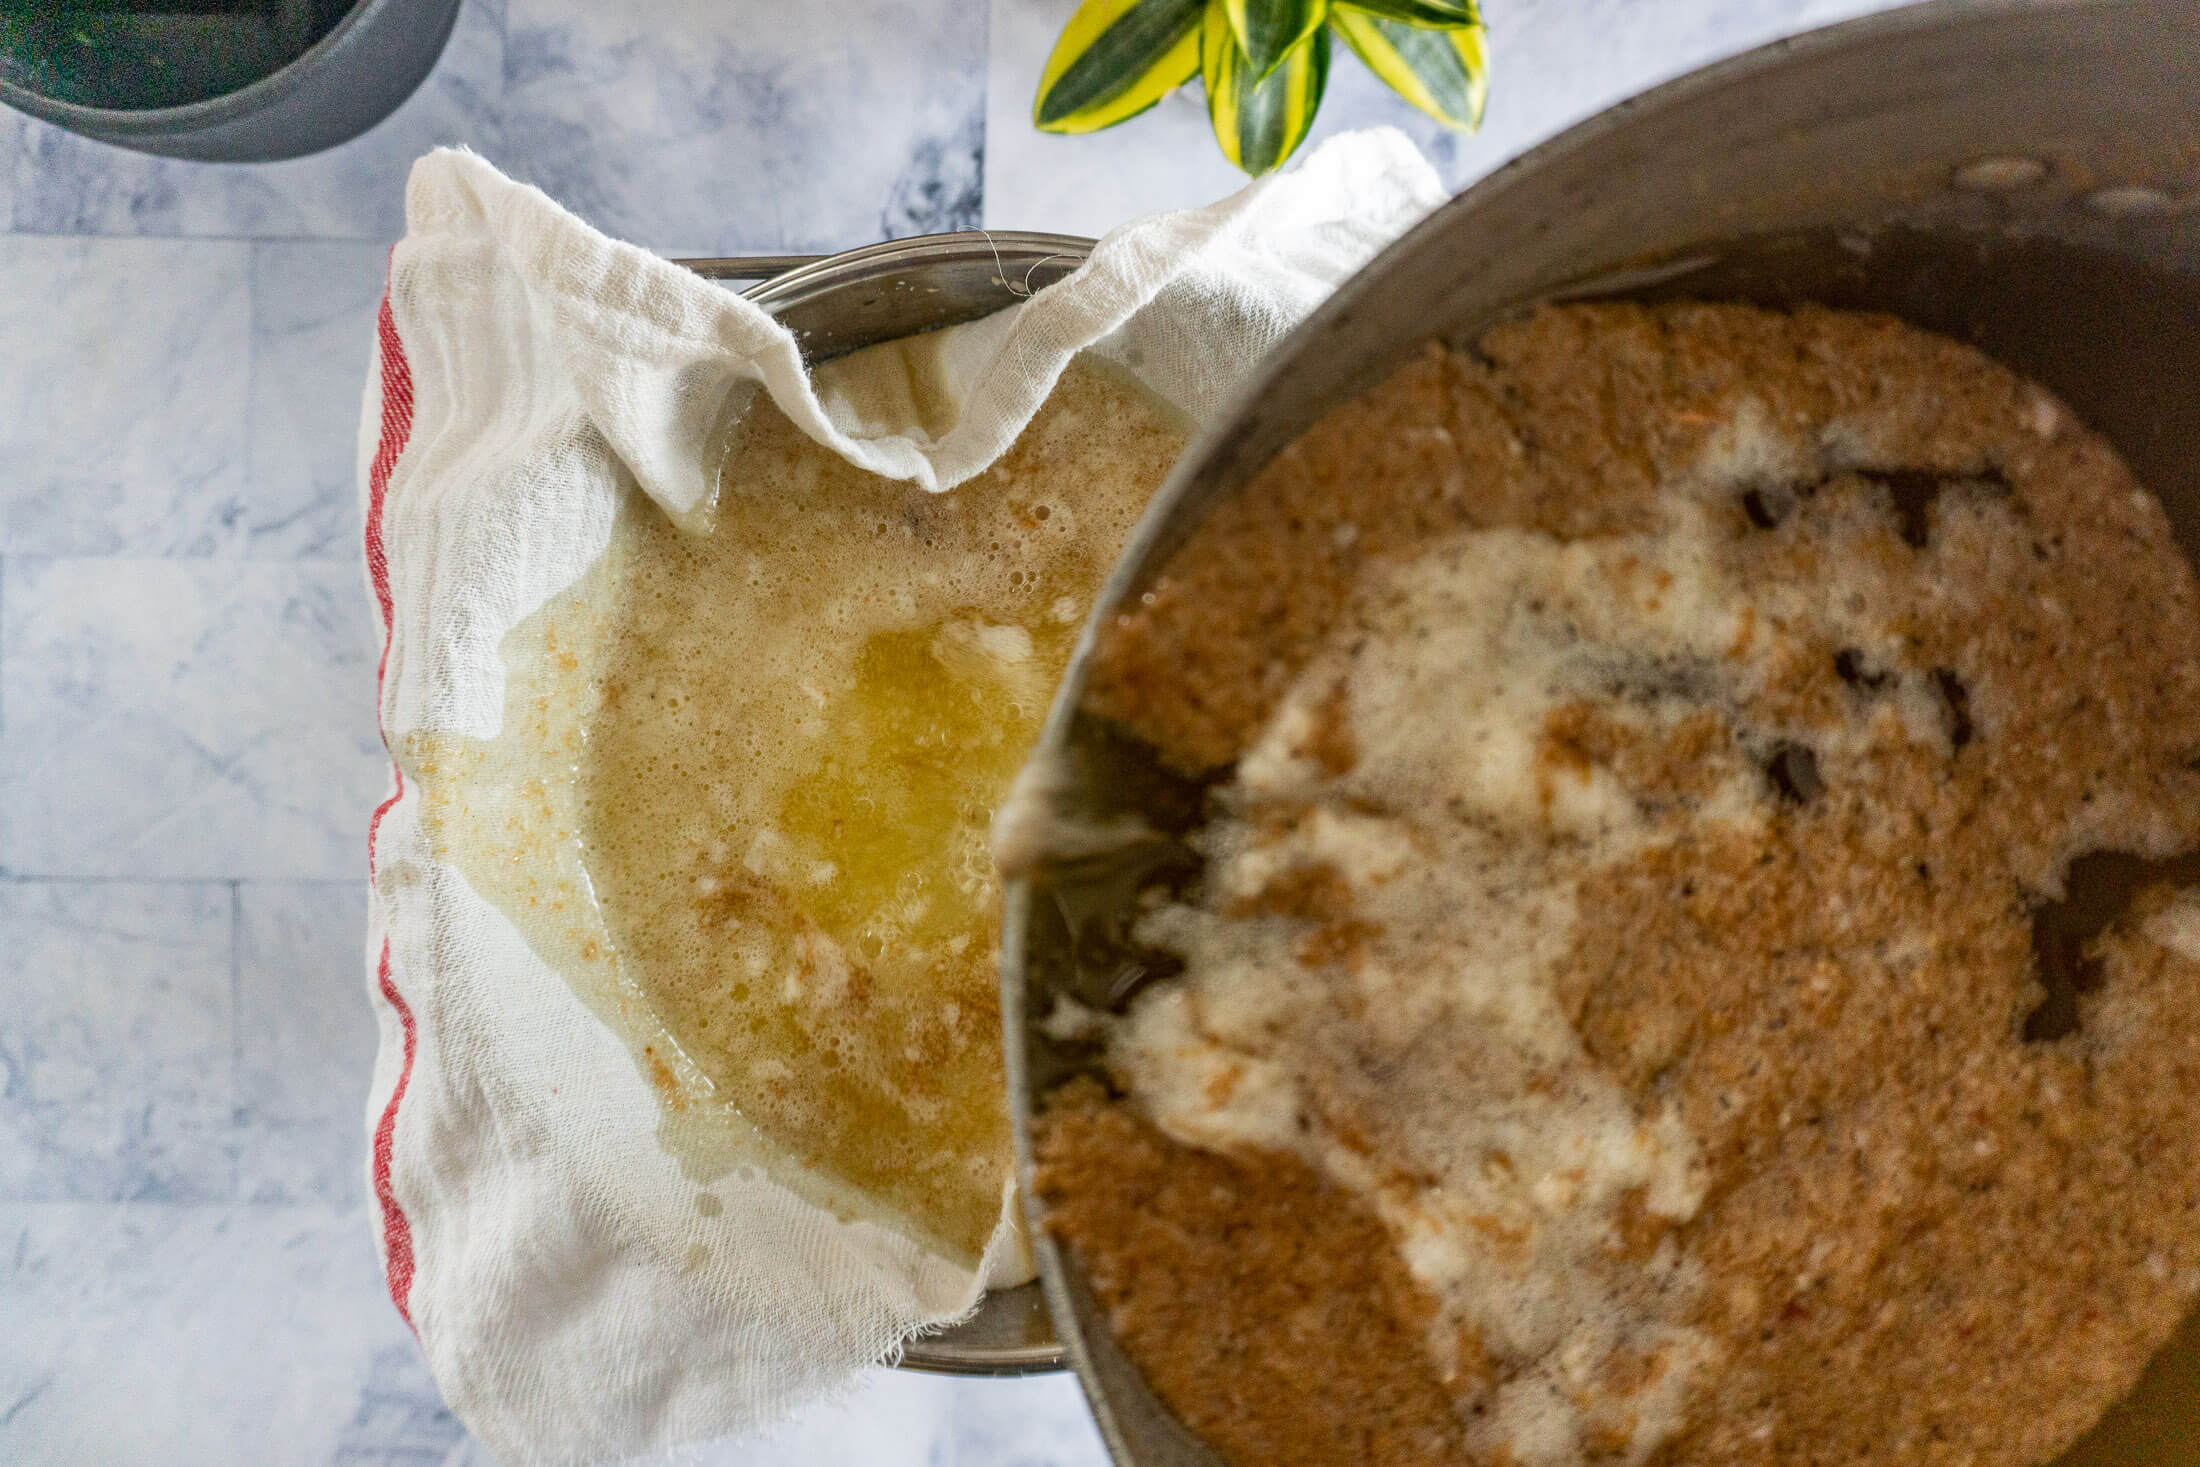

Allow the hot water and wax to cool for at least 3 hours, during this time, the contaminants in the wax will drop to the bottom of the bowl, the heavier honey water will stay below and the melted wax will solidify on top of the bowl.

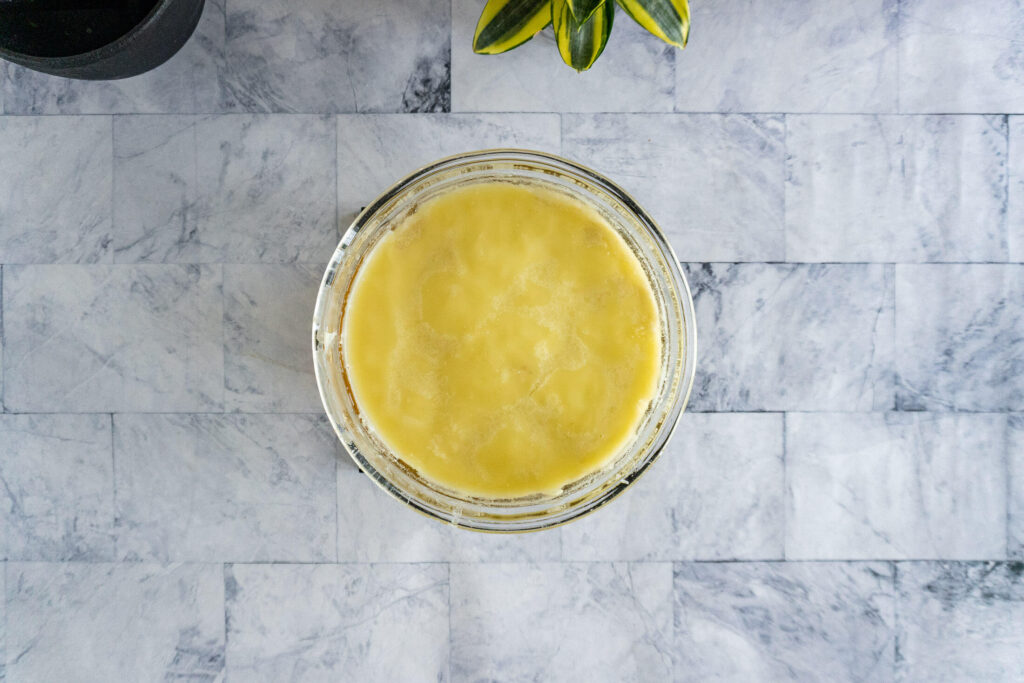
After the wax has solidified and cooled, it can be removed from the bowl by inserting a knife between the wax and the edge of the bowl and the wax cap. And from here, you can blot the wax cap dry and prepare for storage as is, or you can continue on to stage 2.
Stage 2:
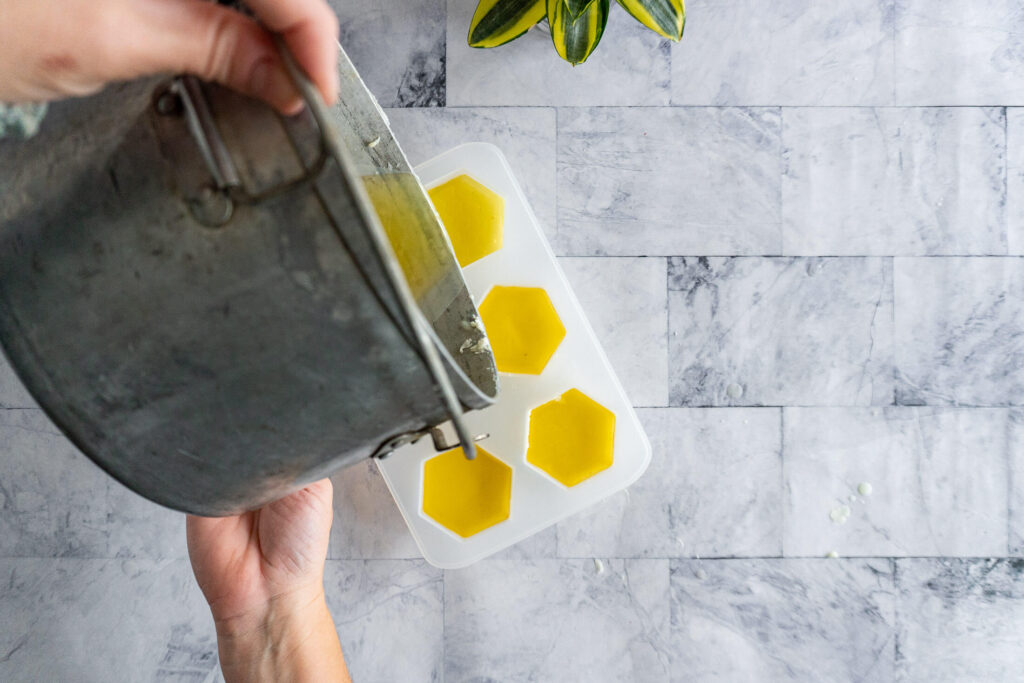
Heat the beeswax pot over low heat and wipe the interior well with paper towel, ensuring to remove all impurities from the first rendering process. Then, add cooled wax from stage 1 back into the pot and melt the wax over low heat.


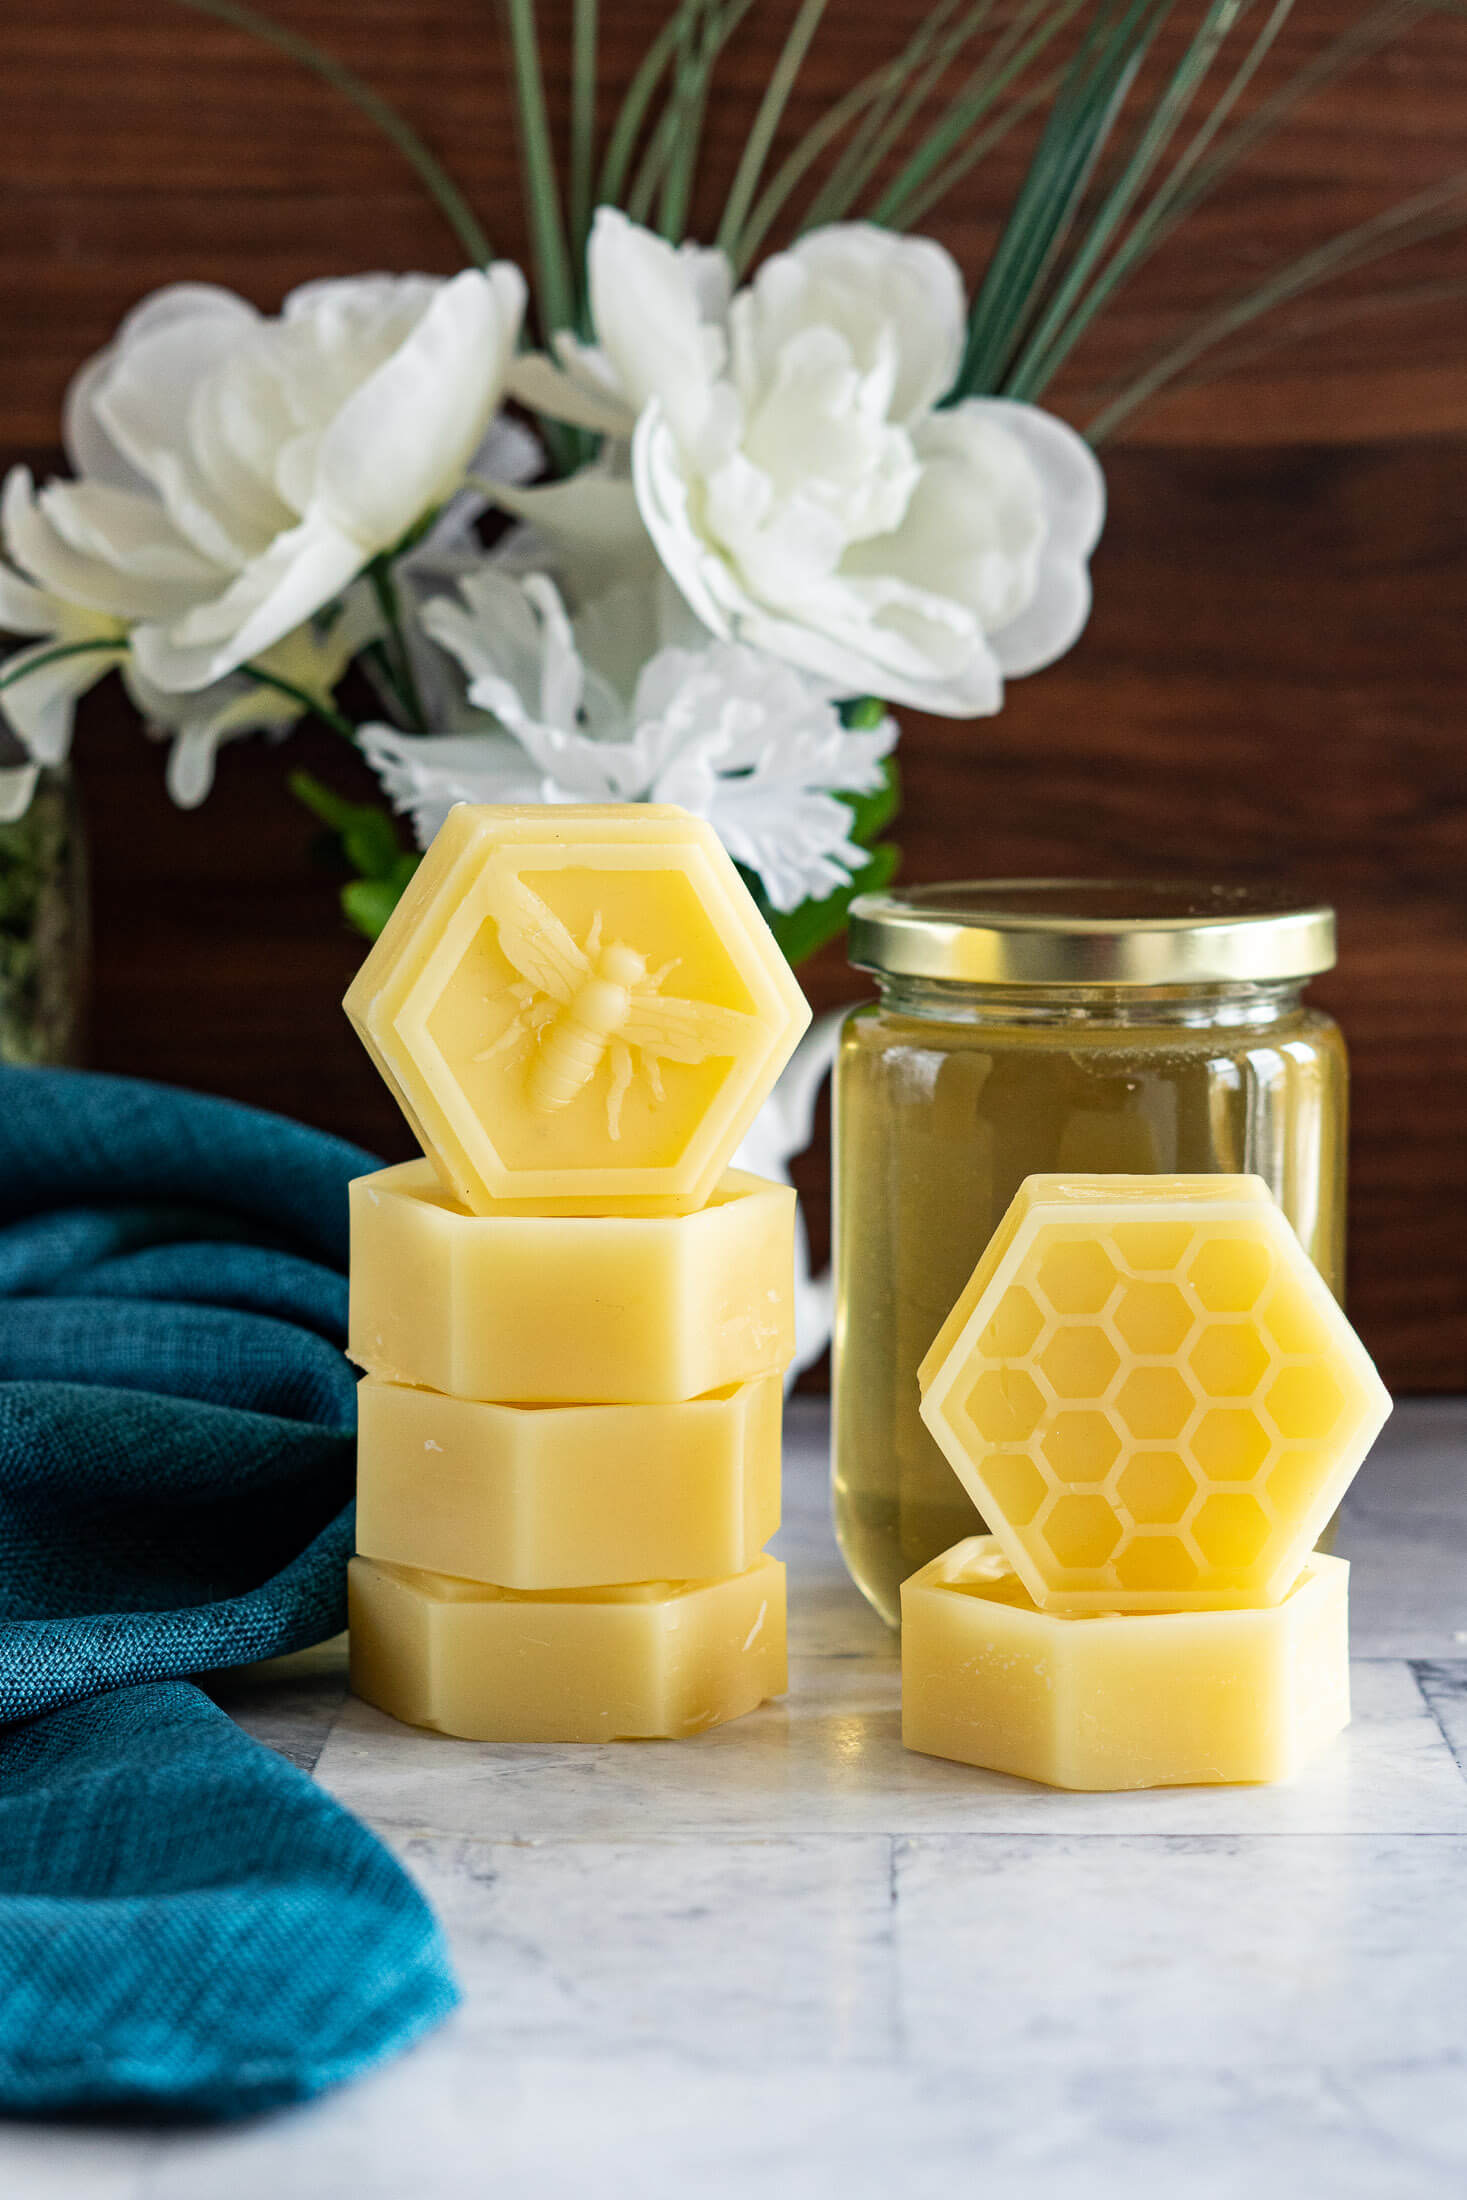
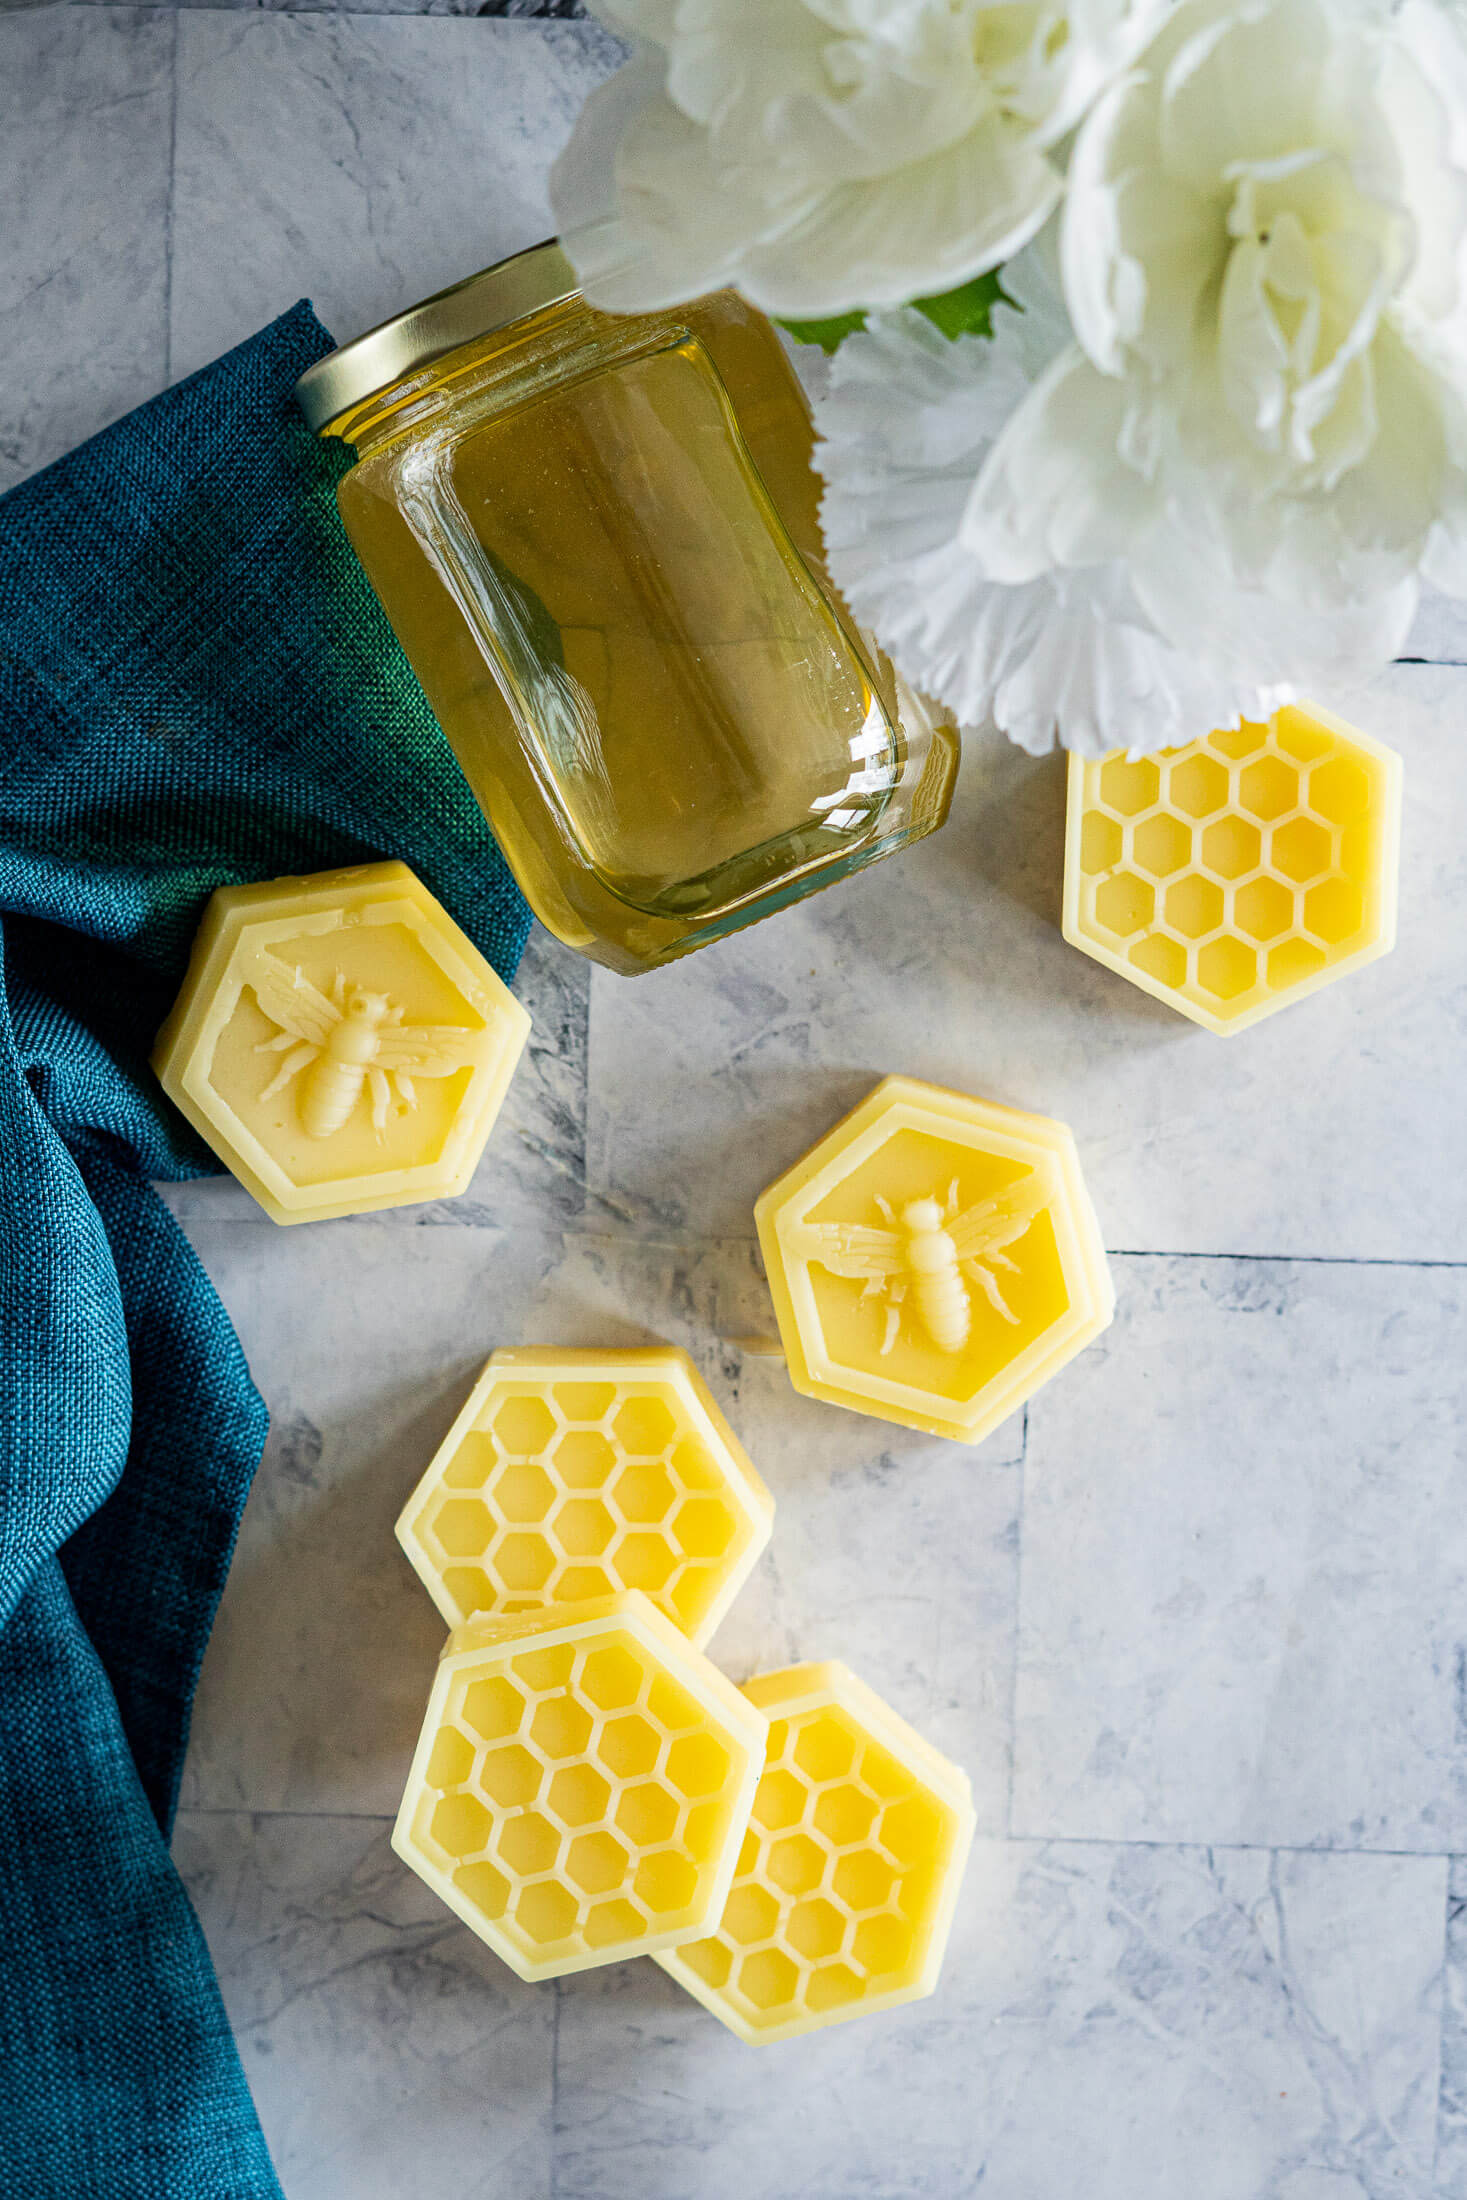
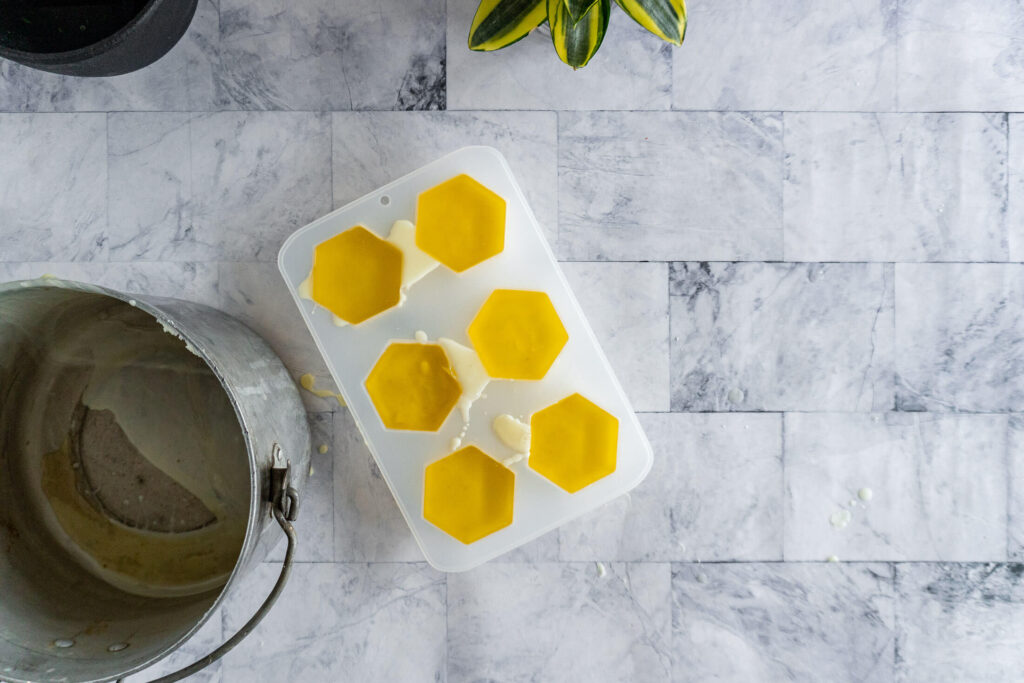
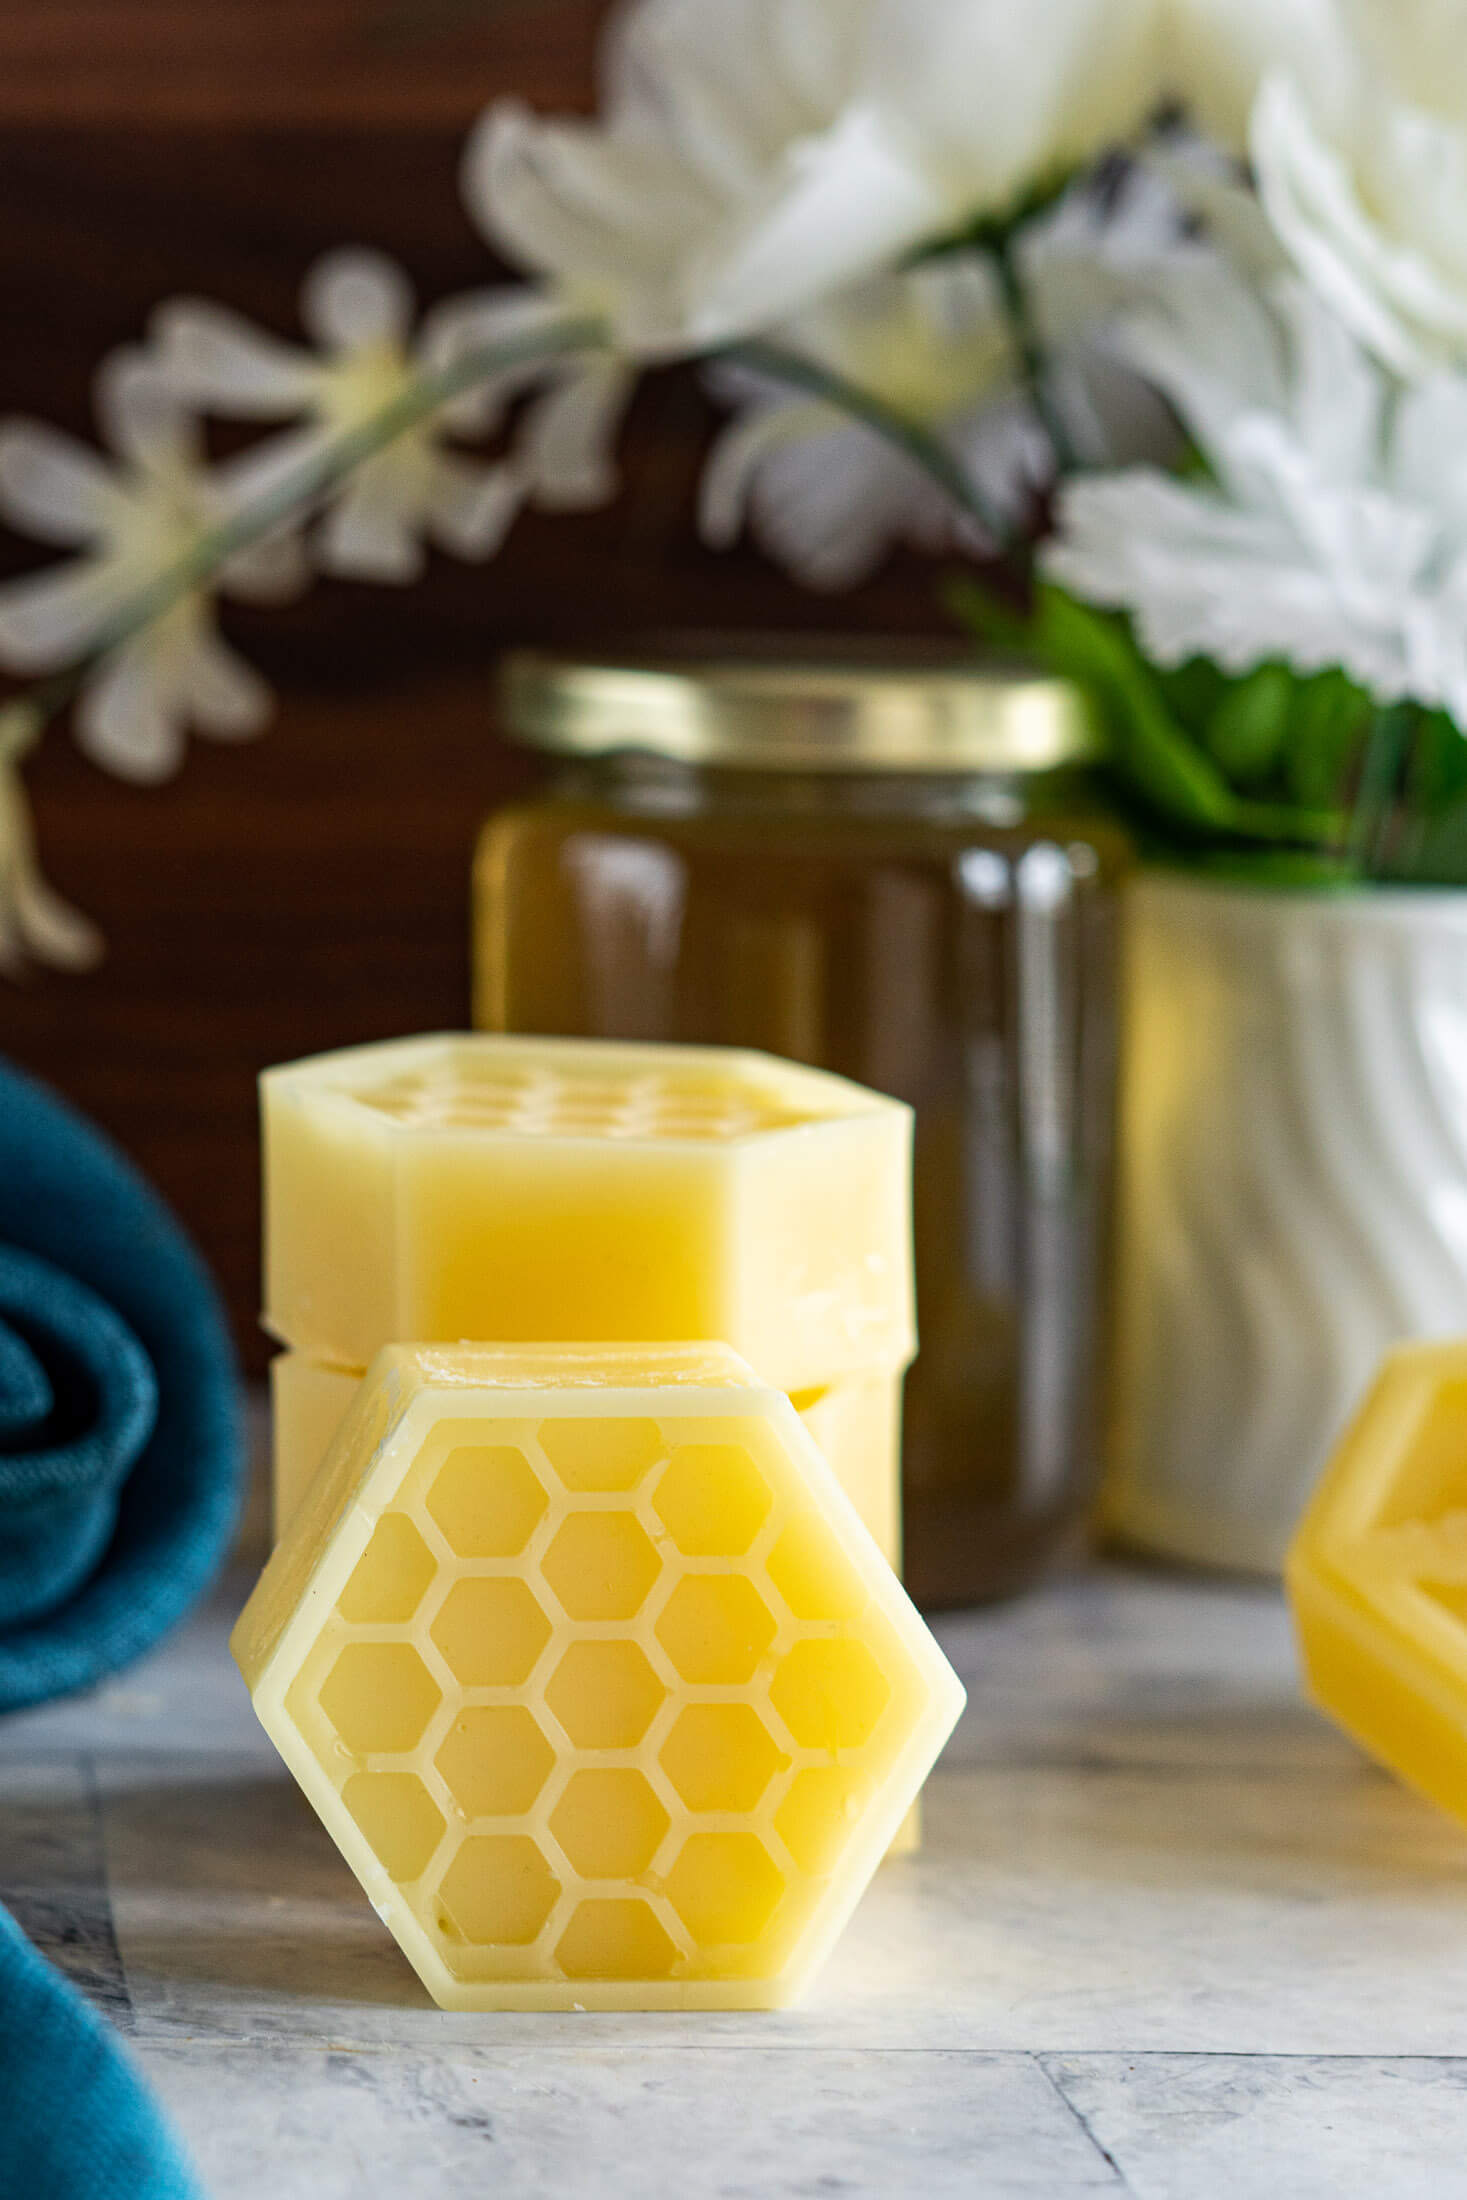
Once the wax is completely melted, pour it from the saucepan into your desired molds. Allow the wax to cool before removing from molds and preparing for storage. For this batch, I used a bee themed 6 cavity silicone soap mold - aren't they they cutest?!
Storing Cleaned Beeswax
Store your cleaned and ready to use beeswax at room temperature in a dark, temperature stable location. This could be the back of your pantry or even down in your canning room.
The wax should be wrapped in plastic or placed in sealable containers to protect from dust and debris as well as insect and pest damage. That irresistible beeswax scent is just as effective on bugs and animals as it is on us!
Avoid contact with direct sunlight while in storage, as the sunlight can break down and even melt the wax, or fade the scent and color. It may even degrade the beneficial compounds in the wax, so the best bet is tucked away!
You Might Like These Guides:


Cleaning Wax Messes
Obviously, not dripping during the process is ideal, but I am guilty of hands and knees scraping wax out of the grout with a butter knife, making my entire ceramic cooktop sticky, and touching my camera with waxy fingers. Learn from my mistakes, ha!
Definitely DON'T clean beeswax laden supplies in your kitchen sink, or any sink for that matter! Wax can easily melt in hot water and resolidify in your pipes causing annoying and expensive clogging. It's best to wash outdoors with hot soapy water - take care when dumping the water as hot water can kill your lawn.
If you've got stubborn drips, start by scraping as much as you can (if possible, depending on the surface) and then heating the wax up with a hair dryer to soften and melt it quickly enabling you to wipe it with a paper towel. Once the wax is gone, any sticky residue can be cleaned up with a vinegar cleaning product and fresh paper towel.
Thought From The Homestead Apiary
Rendering and storing beeswax properly is essential for maximizing its utility. Whether you're using it for candle-making, medicinal purposes, or cosmetic products, the power of beeswax lies in its purity.
Remember to keep safety a priority when handling beeswax due to its flammable nature, ensure you have dedicated utensils for working with beeswax to avoid annoying cleanup. With these tips and tricks, you're well on your way to mastering the art of working with beeswax.
Pin This Guide To Rendering Beexwax From Your Backyard Bees!

I enjoy your website, obviously, but you should check the spelling on a number of your posts. A number of them have numerous spelling errors, which makes it difficult for me to tell the truth, but I will definitely return.
Hey thanks for the note. I really do my best to catch all of the spelling errors, but sometimes when you've been reading the same article for 8+ hours, you miss some, I guess that comes with being human! Always happy to fix errors that are pointed out.