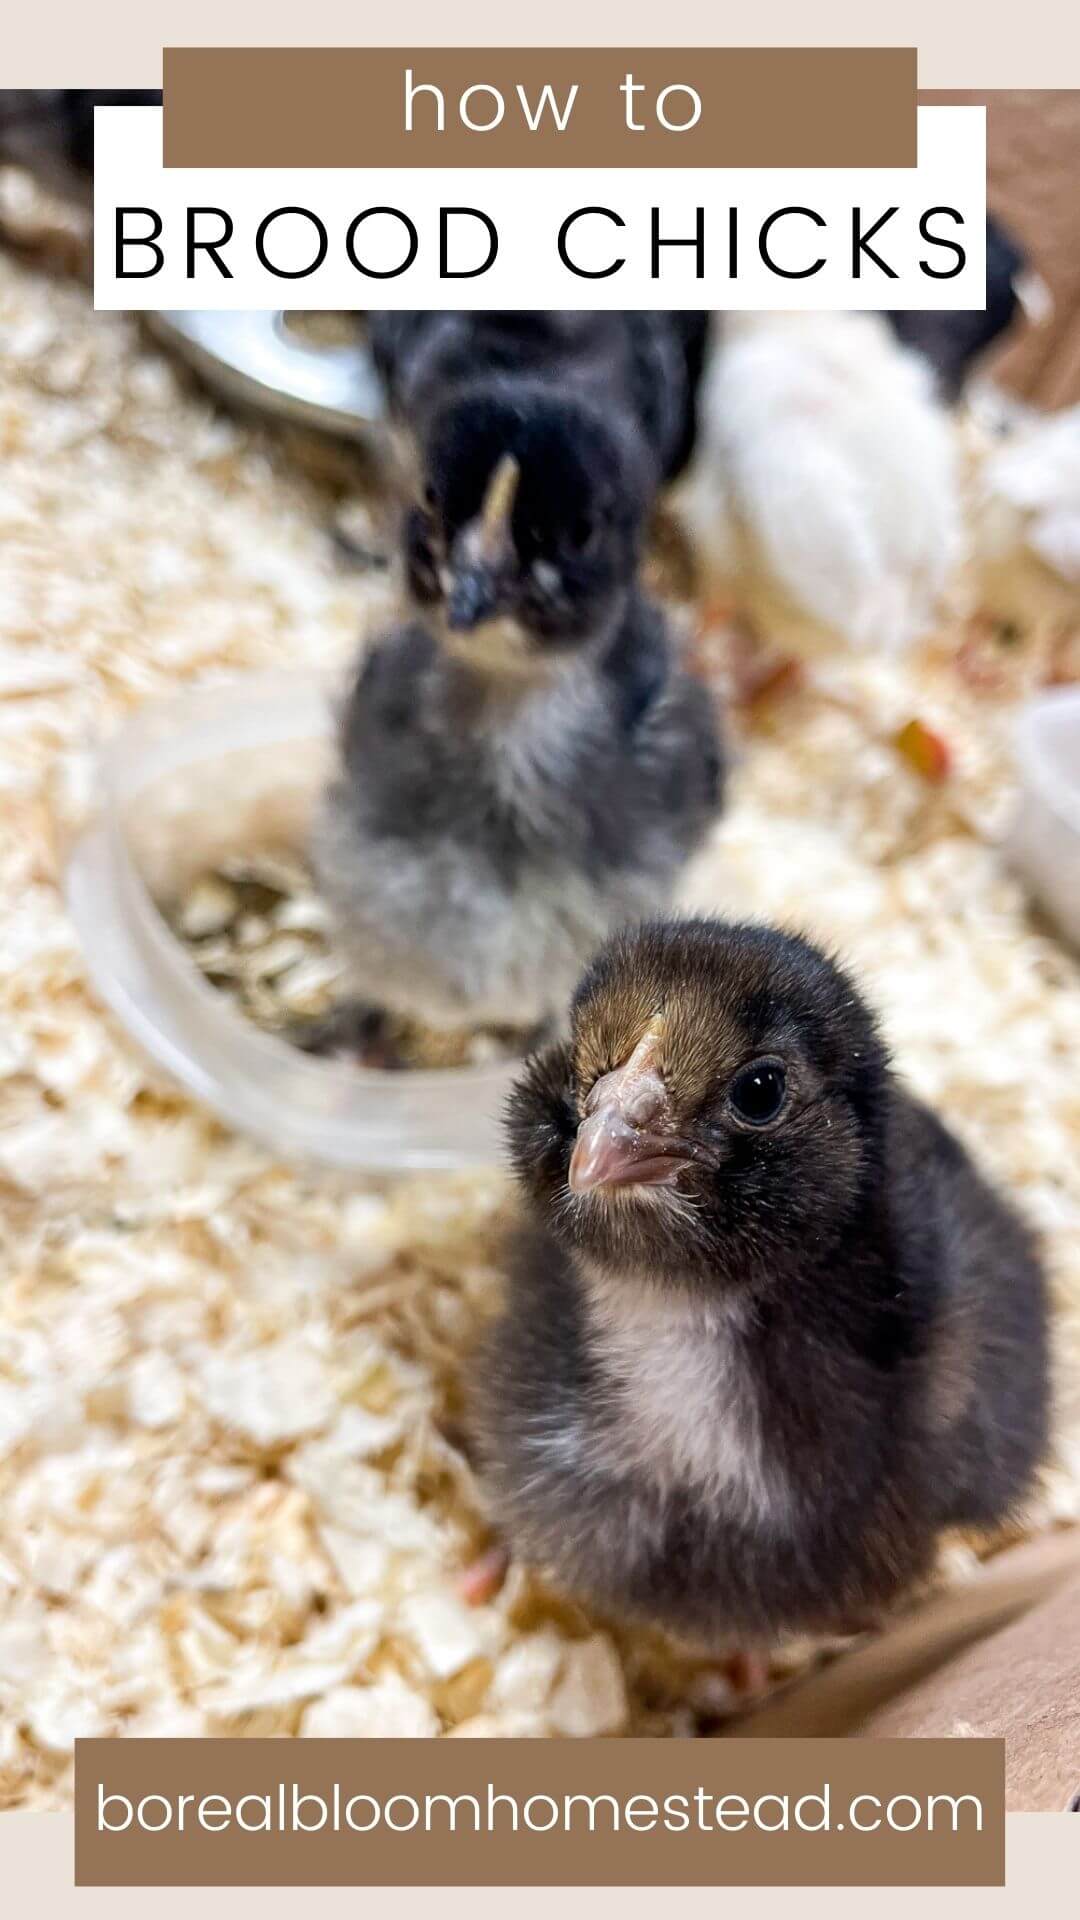
Brooding Chicks 101
If you're like most people, the idea of raising baby chicks is both exciting and a little daunting. In the beginning, I refused to entertain the idea.
In fact, I swore I wasn't getting chicks at all, I wanted pullets near egg-laying age.
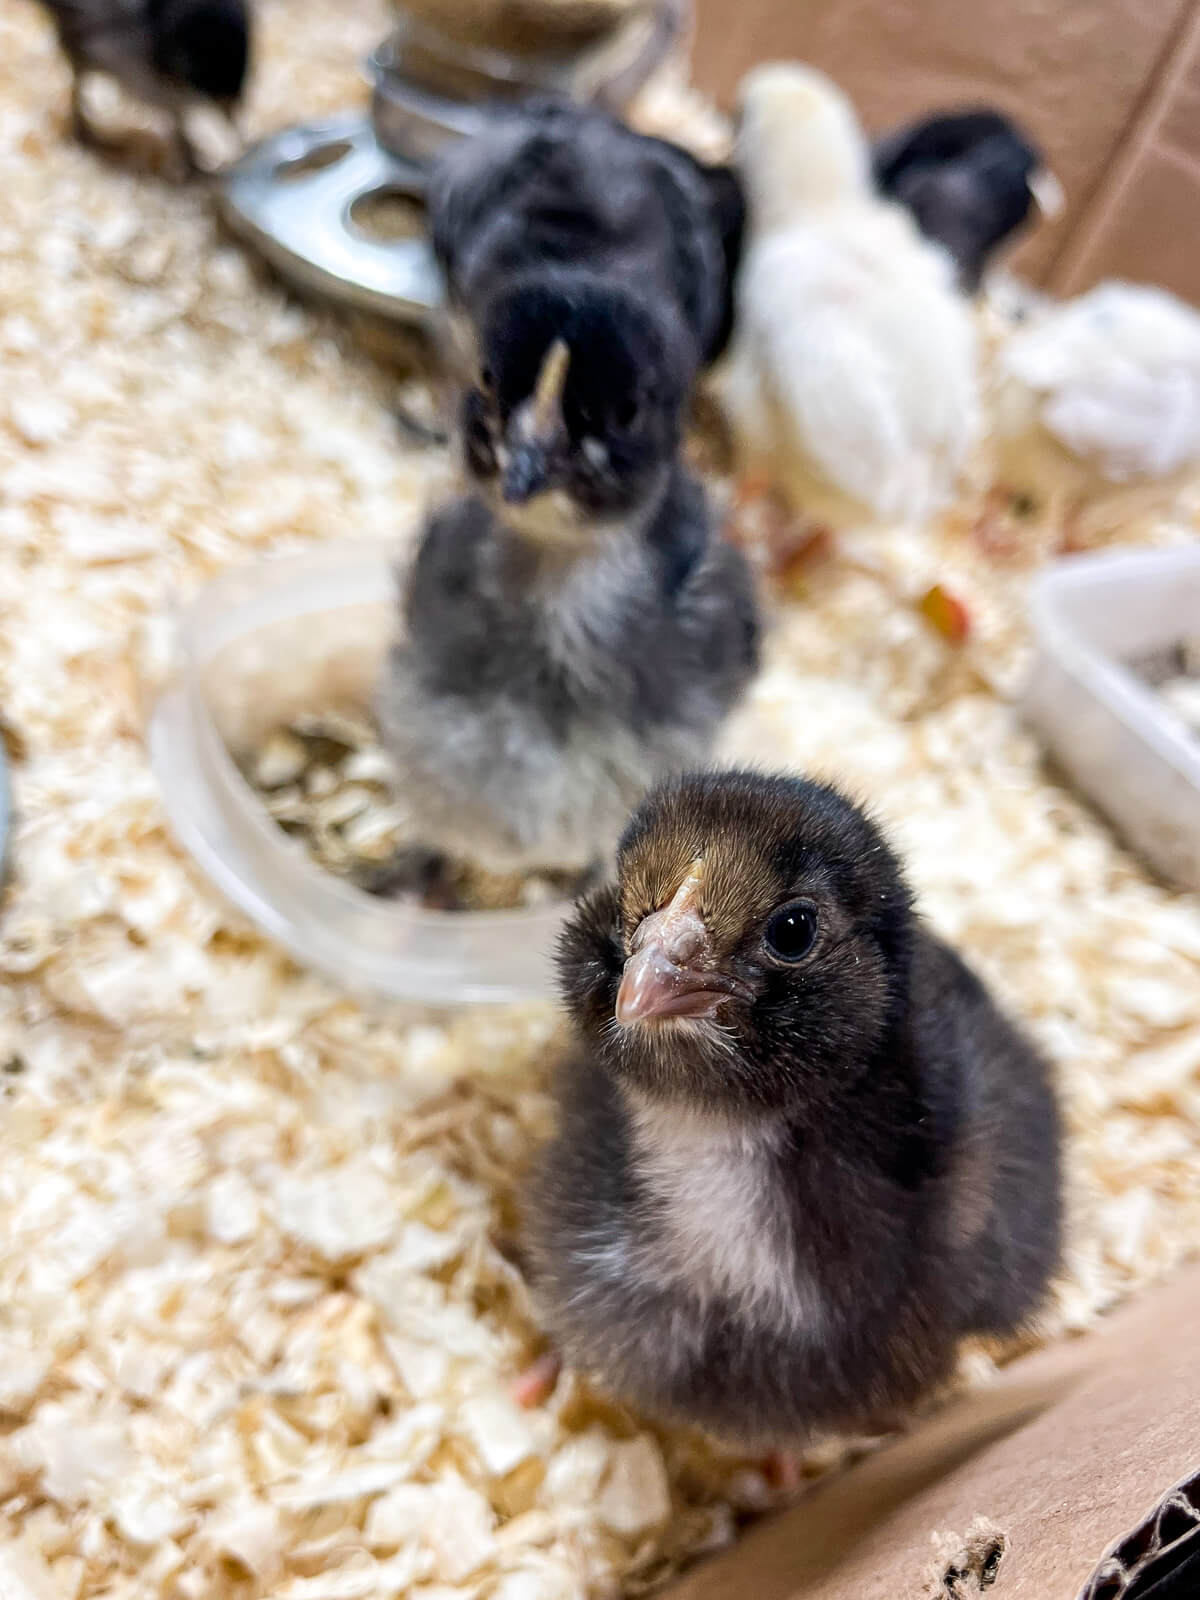
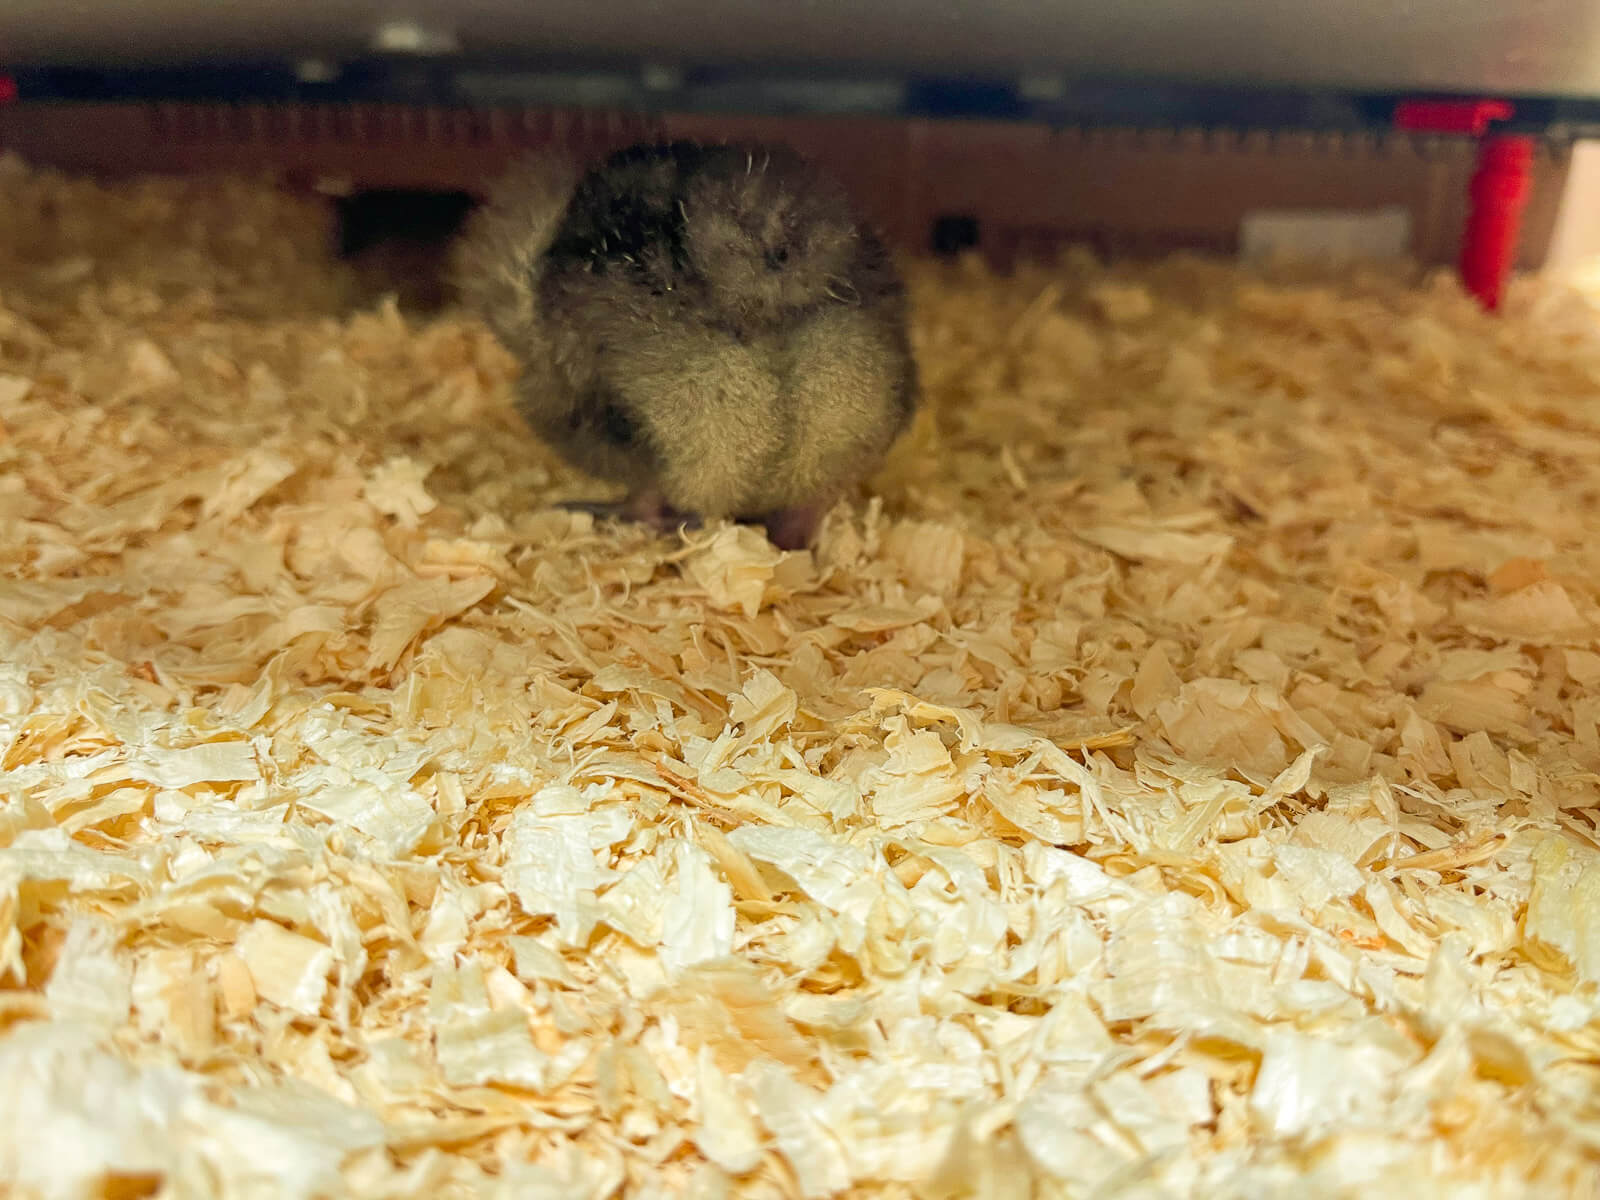
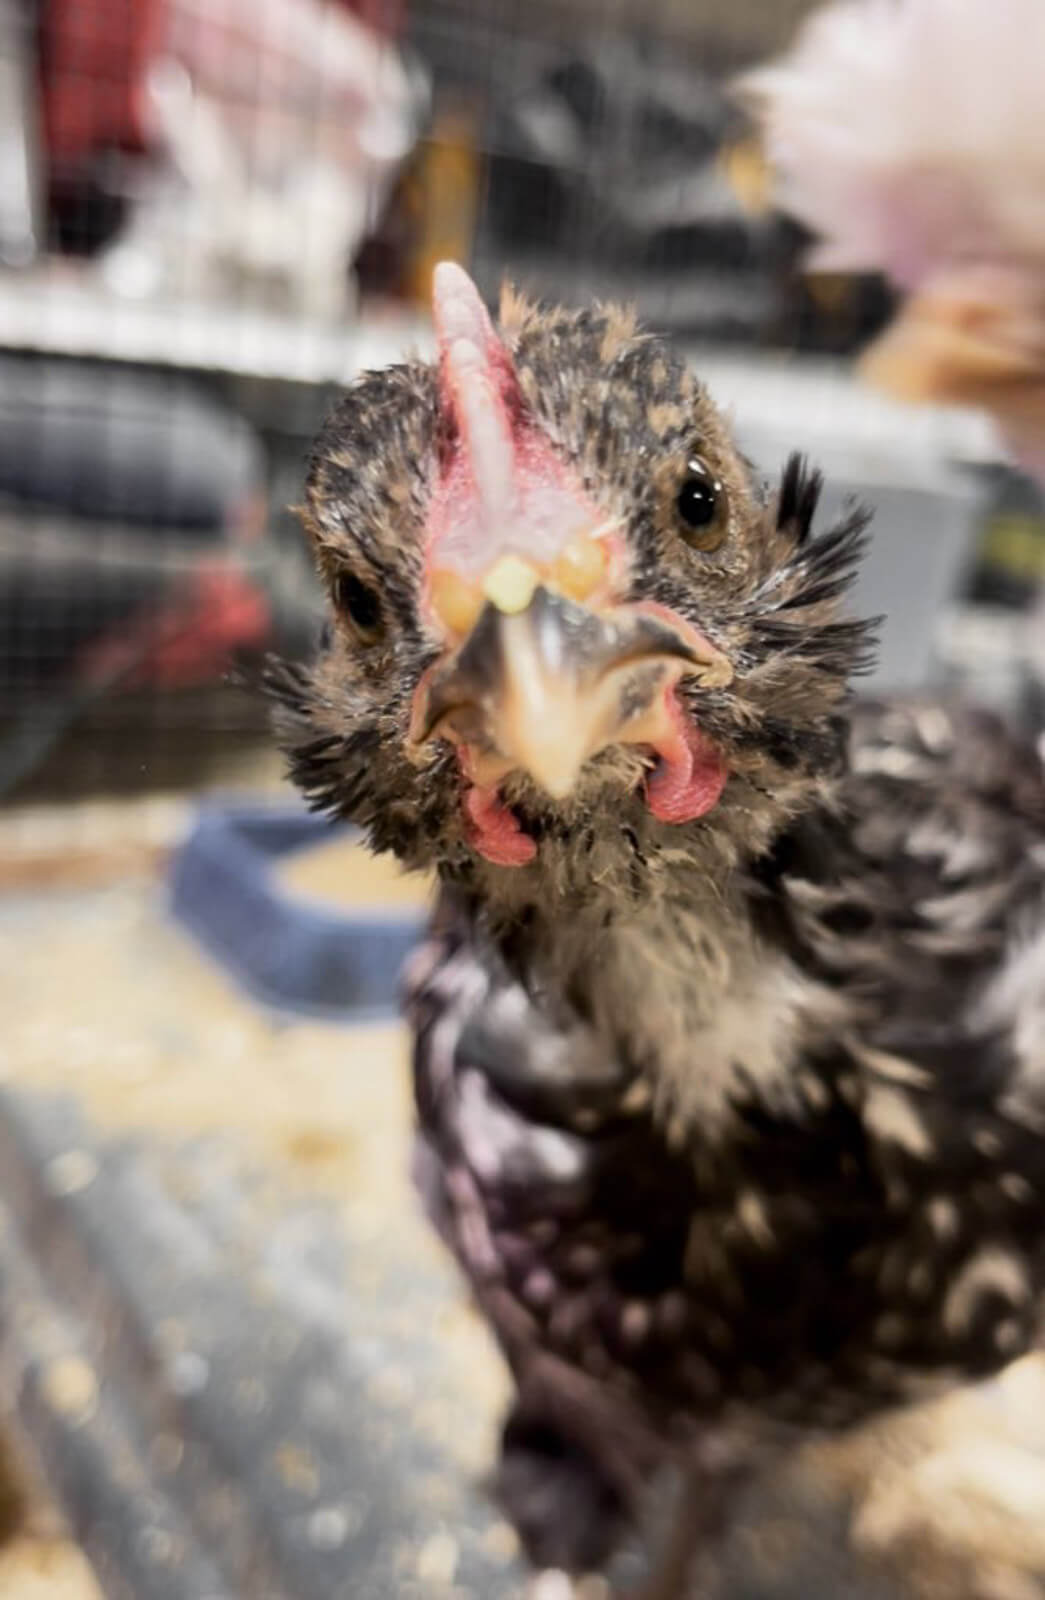
Then I saw a picture of an Ameraucana chick with fluffy muffs (cheeks) and I melted. I figured if I had managed to raise two kids so far, I can handle some brooding chicks, right?!
In the end, I'm super grateful that we are set up to brood chicks at home. It's a really fun and rewarding process. Plus it's great to grow with your chicks - they will be used to you preventing any culture/owner shock!
It's caring for baby chickens definitely not hard to do, but there are a few things you need to know in order to make it a success.
What Is Brooding Anyways?
Technically, brooding is raising chicks from hatching until they no longer need supplemental heat. Baby chicks cannot regulate their body temperatures until they are fully feathered and have no more down or baby fuzz. Usually, this takes 6-8 weeks and depends partly that outdoor conditions are sufficiently warm for the babies to go to the coop.
A brooder is basically a controlled environment - it keeps the chicks safe from environmental stressors like temperature highs or lows, and disease. This process gives them the head start they need to grow healthfully on to adulthood and move into the chicken coop.
What Makes A Good Brooder?
During the brooding period, we are looking to control the environment as much as possible, so picking the right brooding container/ space is very important!
A good brooder should have:
- 4 walls
- a floor
- be easy to clean/disinfect
- sufficient space or be able to grow with the chicks
- a cover
There are many things you can use to brood chicks, from a purpose-built brooder to a modified dog crate, to a stock tank. Even a large tote, hamster cage, or kiddie pool will work.
Choose your brooder based on your needs, I only brood 10 or so chicks at a time, because that's what I feel I can manage without overwhelm. If you're brooding 3-5 bantam chicks a hamster cage would work great. If you're brooding 100 meat chickens, you're going to need something more substantial.
My sister, Kate @ Modern Harvest, and her husband built a beautiful chick brooder from the Polyface Designs book by Joel Salatin. It's a huge, gorgeous, brooder that will last them a lifetime. They are currently brooding over 50 heritage breed chickens and will be brooding meat birds starting next spring.

I, on the other hand, use a large wire dog crate with a plastic floor that I modified by adding cardboard around the edges to hold in the bedding chips and minimize drafts. It's also wrapped in plastic hardware cloth to keep my young chicks in and my cats out!
All are perfectly acceptable, as long as your chickens have sufficient clean, warm space and constant access to food and fresh water.
If you're using an open-topped stock tank, tote, or another brooder box it's a good idea to use hardware cloth or chicken wire to enclose the top of your brooder. These materials allow sufficient airflow and keep your birds safe from themselves and other animals!
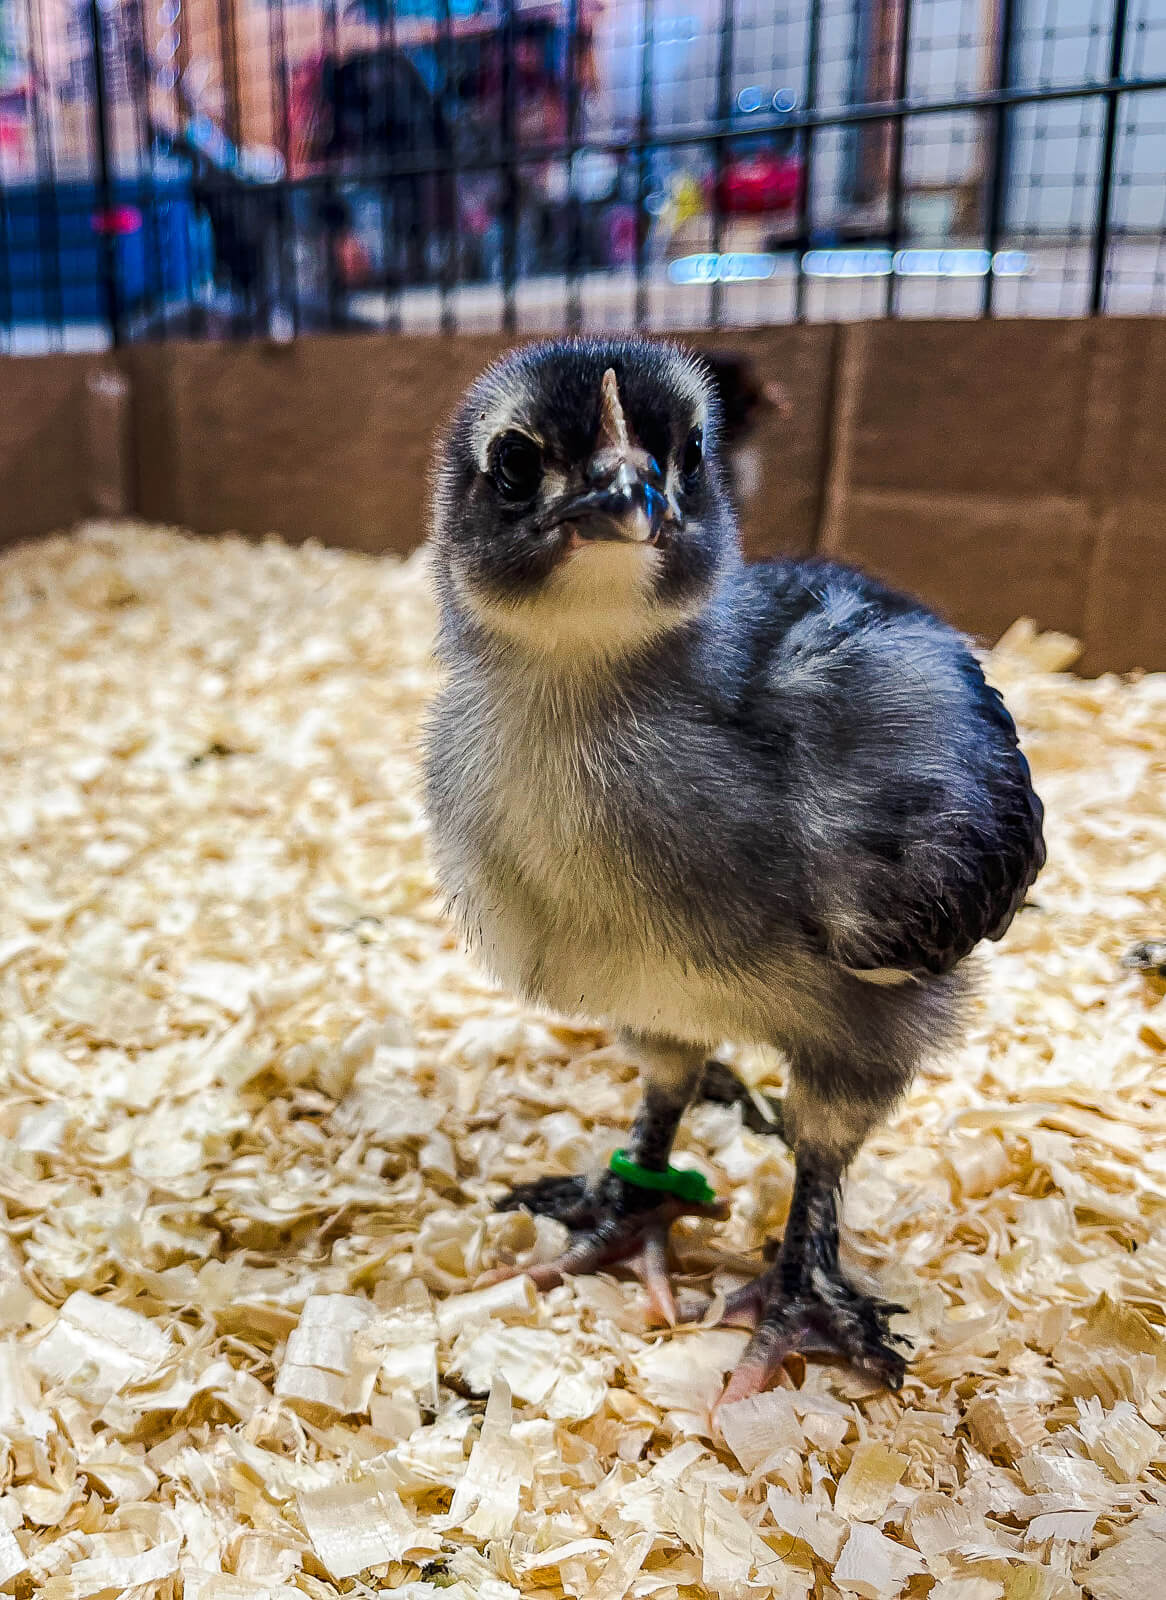
Young chickens are curious little creatures, they start to climb, jump, and test their wings at only a couple of weeks old. It's important to keep them safely contained while they explore their environment. This is especially important if you're using a heat lamp, it's necessary to protect them from being burned or dislodging the heat lamp and causing a fire.
Bedding
Bedding in the brooder serves a few functions:
- keeps the chicks warm
- absorbs waste and odors
- gives the chicks steady footing
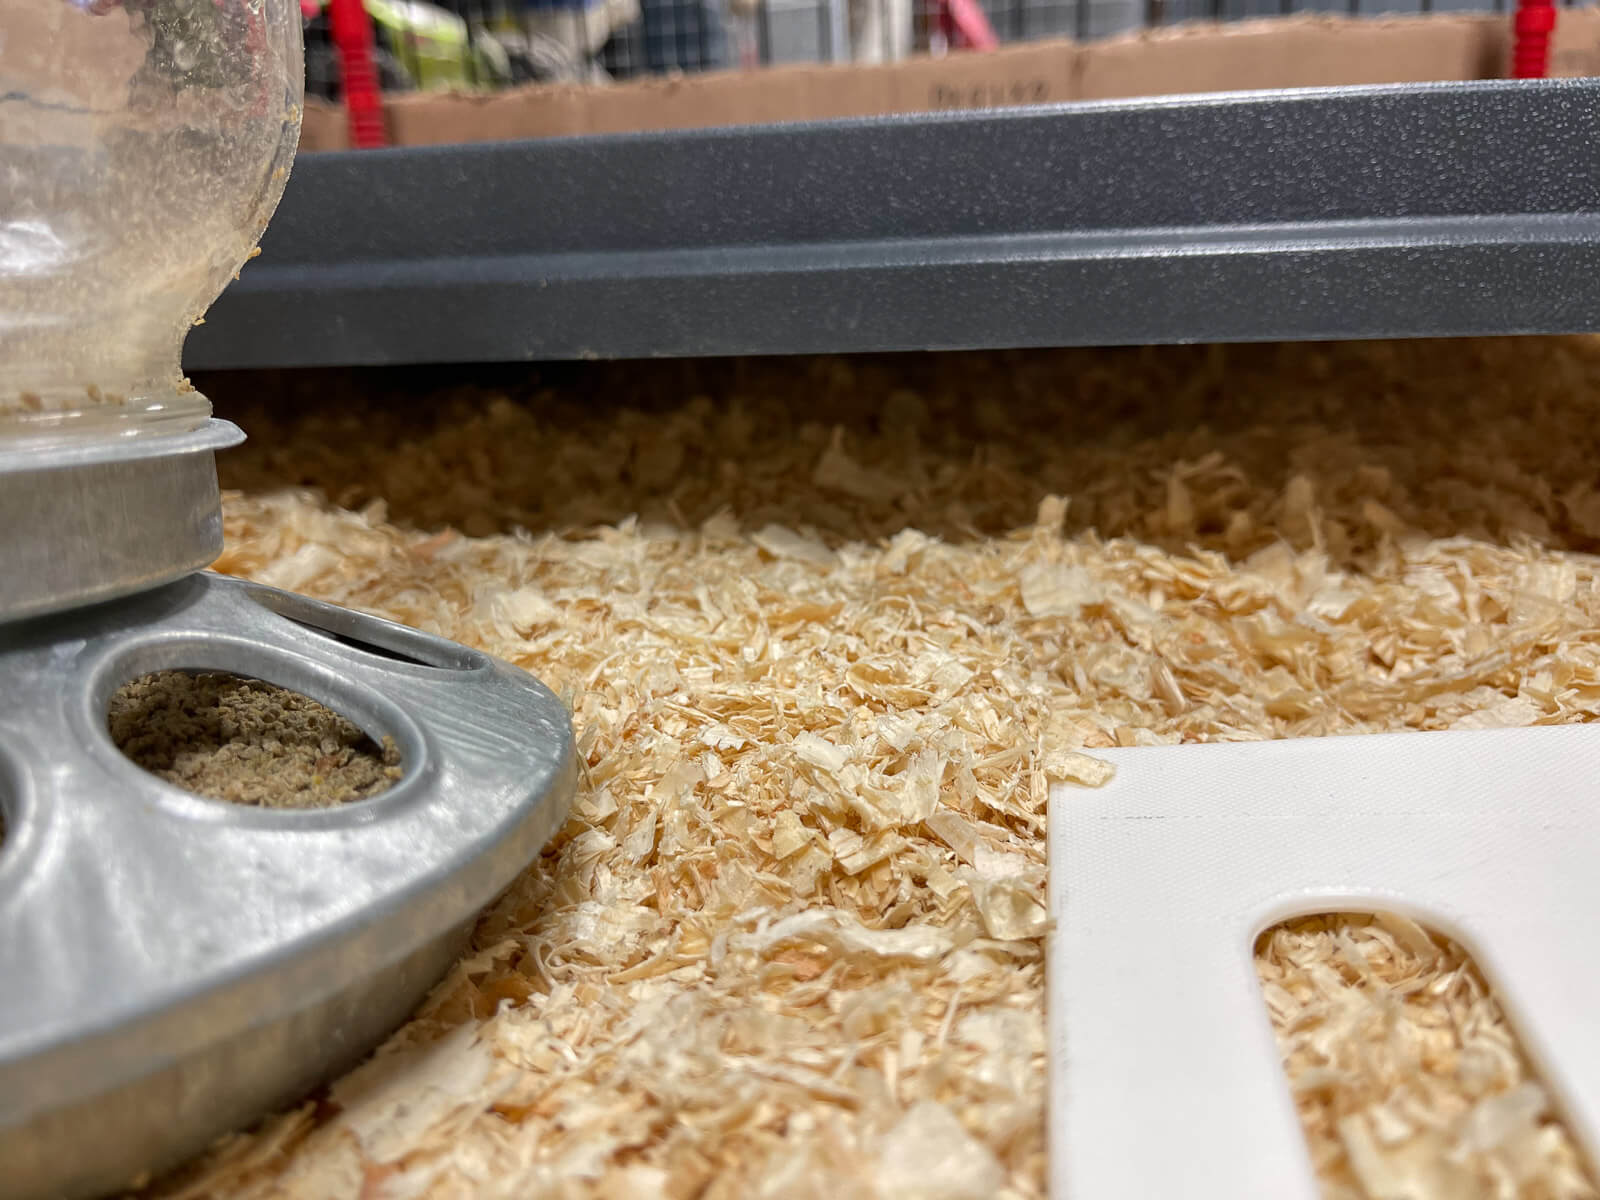
There are many options for brooder bedding, such as pine shavings, hay or straw, and corn cob bedding. Most commonly, people use pine shavings. They're inexpensive, easy to find, easy to handle, and do exactly what they're meant to do! We use pine shavings both in the brooder and in the coop using the deep litter method.
When picking up pine shavings, look for large flake versions and avoid small flakes or sawdust, as those can be eaten by curious new chicks and cause illness or injury. Avoid cedar shavings as they have a strong scent that can cause respiratory distress in chickens.
Hay and straw can work but are less absorbent than wood shavings and don't mask the smells - and trust me, your cute little fluff butts' poop does stink! This type of bedding can mat or mold if left wet for too long, getting awfully gross - awfully quickly.
Paper towels and newspapers should also be avoided, neither are absorbent enough to keep the chicks clean and dry or to mask the smell. Newspaper is also very slippery and can actually cause injuries like spraddle leg or splay leg in your chicks which can be difficult to repair.
Regardless of the bedding used in the brooder, one of the most important things about the bedding is to clean it regularly! What regularly means to you is highly dependent on the number of chicks, the size of the chicks, and the size of your brooder.
I probably go overboard cleaning my brooder, because they are housed in my garage, so I like to keep it ultra-clean and smell-free! As the chicks grow larger, so do their messes. It's important to clean more regularly as they grow.
Speaking of cleaning, it's good practice to clean and disinfect your brooder between each use. Chicks are more susceptible to disease and illness when they are little so this small step helps ensure the health of your flock. I like to use a 10% bleach water solution when cleaning and disinfecting my brooder.
Heat
There are some overwhelming rules about heating the brooder, and that's one of the reasons I held out on brooding for as long as I did.
Many places tell you to keep the chicks' environment or brooder temperature at 95 degrees Fahrenheit for the first week, during the second week, and each week there after, drop the temperature by 5 degrees every week until they are ready to go to the coop.
I mean, that's pretty complicated considering a mother hen doesn't have a thermometer handy.
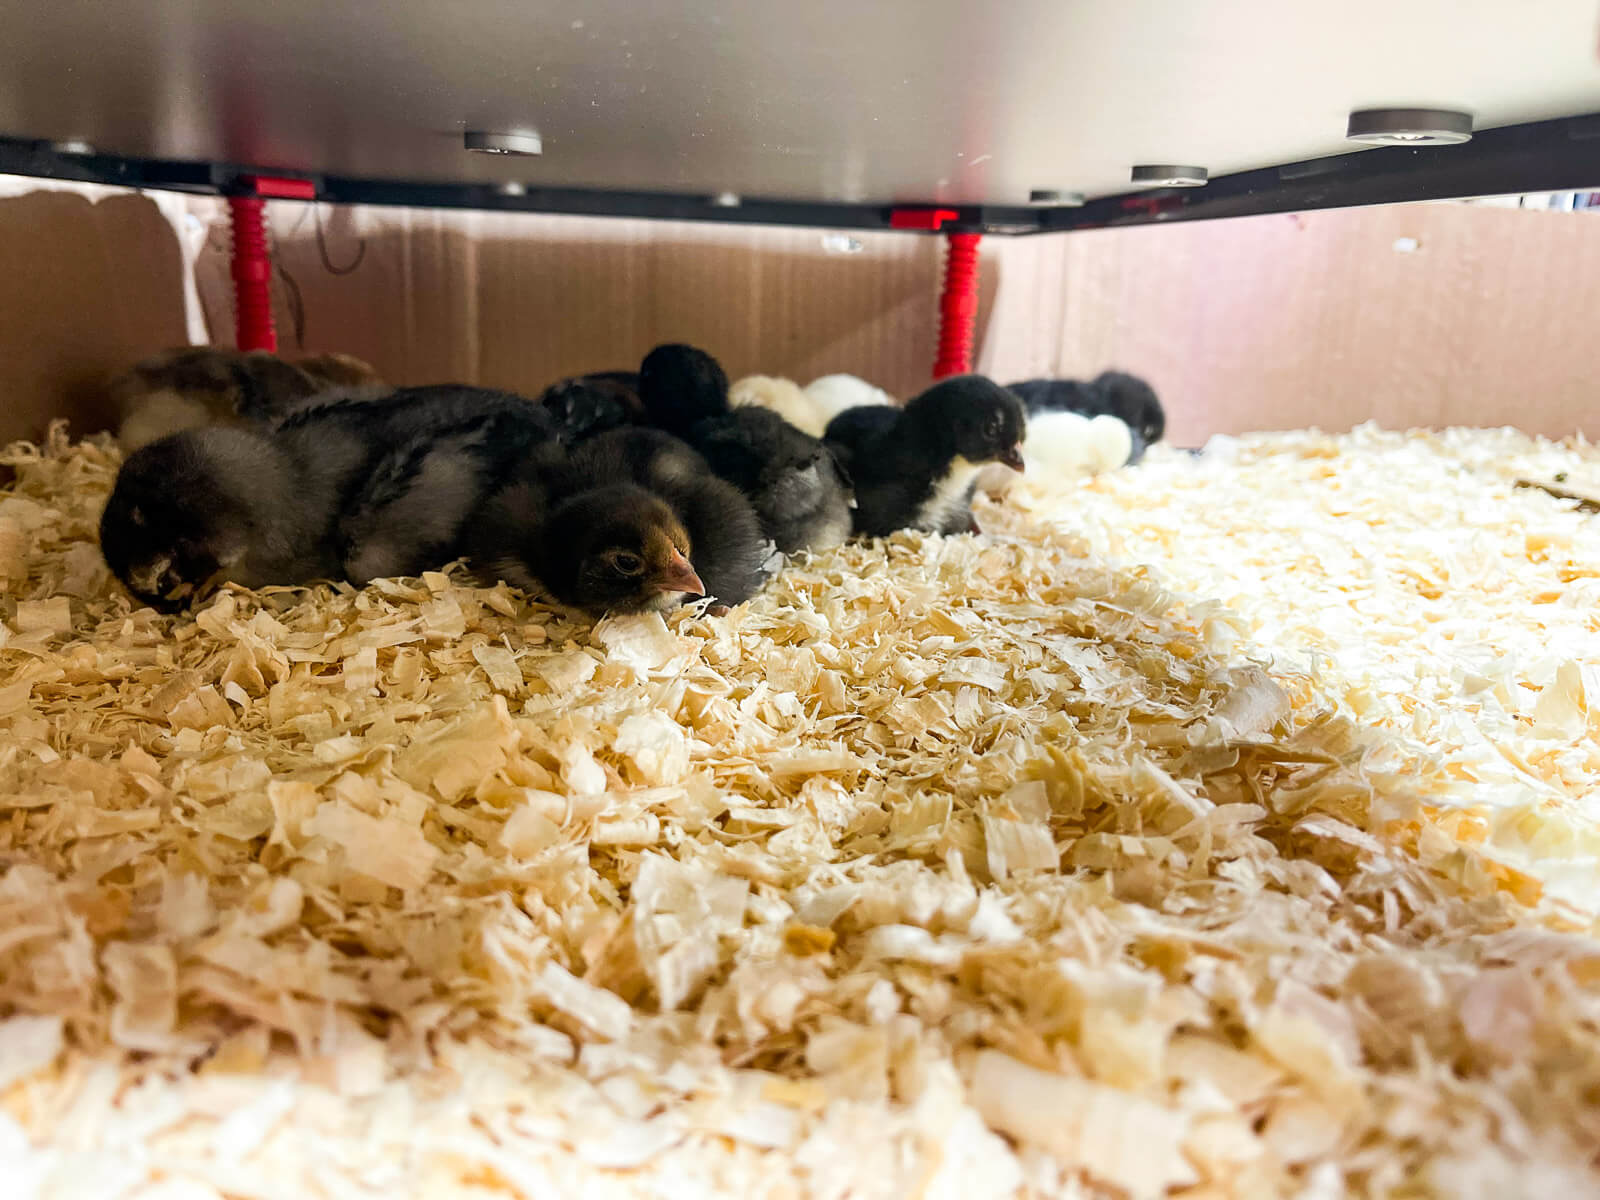
Here's what I do: observe the babies.
This is the easiest way to tell what they need. Regardless of the heat source, you can tell they are cold when they cluster together under the heat. You can tell they are hot when they spread apart far away from the heat source. Loud cheeping is a sure sign of unhappiness, they will vocally tell you when they need something.
Happy chicks are active and move freely around the brooder, returning to the heat source to sleep or as required. They make some noise, but it's mostly soft peeping and does not sound distressed in any way.
Heat Lamps
Heat lamps are the most commonly used heat source for chicks. They are inexpensive, easy to find, and relatively easy to use. Heat lamps do require a large degree of care because the surface of the lamp is very hot and can easily cause fires if not properly secured and maintained. They can also burn the chicks if they fly up into the lamp.
When choosing a heat lamp, avoid food heat lamps as they are coated in Teflon and heated Teflon releases toxic fumes that can absolutely kill your chickens. Avoid the white heat lamps as the heat lamp is required to be on 24 hours a day and constant white light may affect your chick's ability to sleep and settle into a natural circadian rhythm.
When using heat lamps, you'll know if the lamp needs to be raised or lowered by the behavior of the chicks. If they are clustered in the middle directly under the heat lamp, it is too far away for them and needs to be lowered. If they are spread out along the outside of the brooder as far away from the lamp as possible, they are too hot and it needs to be raised.
Brooder Plate
Brooder plates mimic the mama hen. In nature, chicks stand up tall to touch the underside of their mother to keep warm, and brooder plates act exactly the same way. This also gives them a "safe zone". I find whenever my chicks are startled, they run for cover underneath the brooder plate!
The chicks are free to nestle down in the pine shavings underneath the brooder plate to sleep and stand up to warm up quickly if required.
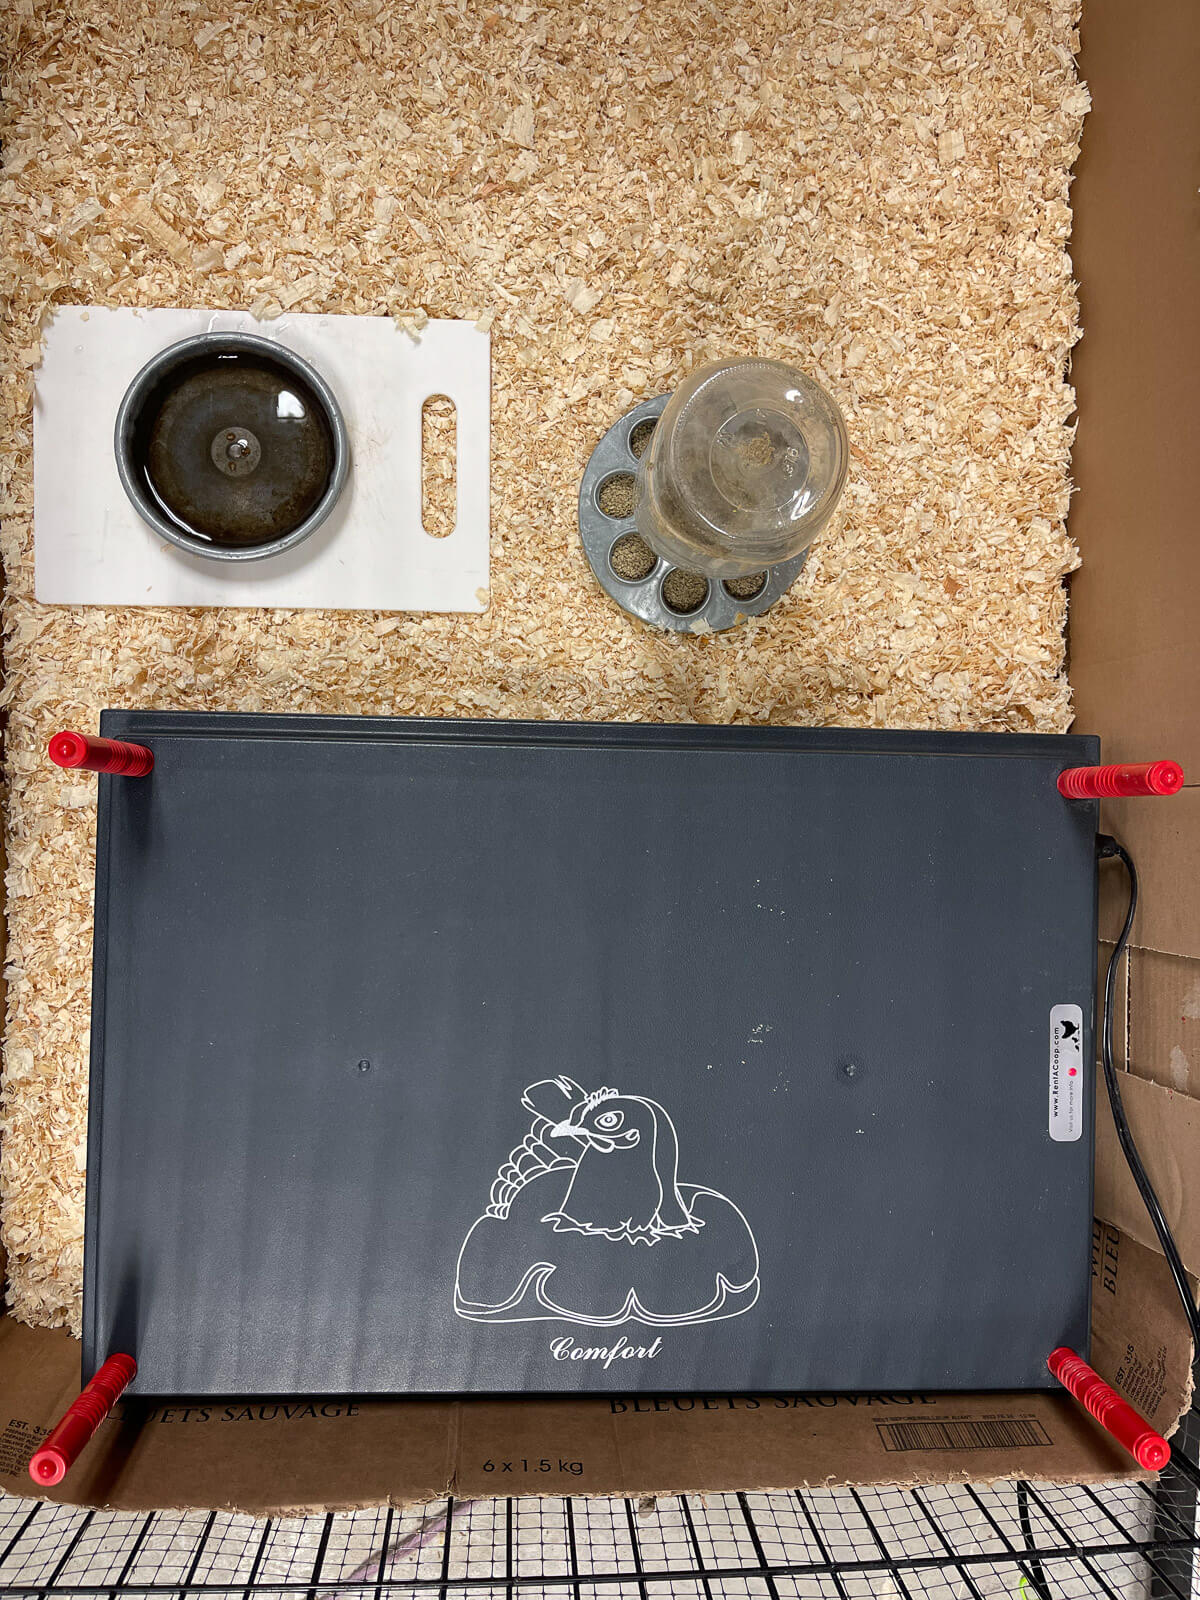
I use a Rent-A-Coop brooder plate, I felt that it was a safer, more intuitive way to keep my chicks warm. It was more expensive, but it will last me a lifetime of use, I am sure! One thing to be aware of when purchasing the brooder plate is that I feel the companies overestimate the number of chicks that can be served by the plate. My 16 X 24" plate is rated for 50 chicks, but day-old chicks grow, and quickly. At some point, there wouldn't be enough space for all 50 underneath the plate.
These heat plates are adjustable and can be raised or lowered as required. I always start mine quite low - just enough for the chicks to duck and walk underneath and raise the plate as they grow. I also have my plate offset by about half an inch or so, with the back lower than the front so they have a temperature gradient, and like Goldilocks, can find just the right temperature.
You'll know it's time to adjust the heat plate if your chicks are all clustered in the center together underneath the heat pad, or if all of them are standing tall to warm up underneath. It's time to raise the heat plate when you check on them and they are all sleeping just outside of the plate.
Feed
During the brooding weeks, chicks grow incredibly quickly and they require a specific diet to help meet their body's needs to thrive and sustain their rapid growth and development. Chick feed has a few different names, so look for chick starter, chick feed, or chick crumble at your local feed store.
Use a chick starter with around 20% protein that is developed to meet those needs! Your baby fluffs will be on chick starter ration for the duration of their time in the brooder, between 5 and 8 weeks - depending on the breed and how quickly they feather and grow.
Once the chicks are fully feathered and ready to join the big birds or leave the brooder for the coop, they can be switched over to layer feed for laying flocks or finisher feed for meat flocks.
I like to use a mason jar feeder for the first few weeks with my chicks - the holes tend to slow them from spreading the food all over the entire brooder. Once they grow and start eating more, I upsize to a larger feeder.
Medicated vs Unmedicated Feed
One of the common diseases that affect chicks is called coccidiosis. It is caused by protozoa found in almost every environment. It infects their intestinal tract and can lead to sickness or death.
We choose to use a medicated feed which is simply a chick starter feed with the proper dosage of Amprolium (an anti-parasitic medicine) to help fight against coccidiosis in our babies.
This is a personal choice, as there are unmedicated options out there - I encourage you to do the research either way.
During the brooding period, at about 3 weeks of age, we introduce our chicks to plants and soils native to our property, like pulled-up dandelions or lettuces grown in the garden. This slowly acclimates their immune systems to the microorganisms found here.
Grit
Do not introduce anything other than chick feed to your chicks until you provide them with chicken grit!
Chickens digest food by eating grains of sand and small pebbles which are stored in the crop, these coarse sand and rock particles pulverize the food in the crop and allow the chicken to digest the food.
Chick crumble is designed to be digested without grit, but when giving the chicks treats, or local plants, to nibble on, you'll need to provide grit for them.
I buy large bags of chick grit, but, parakeet sand works great and can be purchased in smaller quantities.
Water
Chicks need 100% 24/7 uninhibited access to fresh, clean water. No exceptions, unless you're removing the waterer to clean it and return it within a few minutes. Not only do the chicks require a lot of water to survive, but their food is also water-soluble, so they need water to be able to digest the chick feed.
The waterer should be changed at least once a day, and preferably twice. This will help keep down contamination from food, feces, and bedding. Yes, your chicks will get poop and other gross stuff in their water. A lot of it. It must be cleaned out regularly.
I personally dump and rinse the waterer twice a day, and scrub it clean with hot soapy water once a week to help prevent the build-up of mold or bacteria.
I start my freshly hatched chicks out with a very small shallow water dish and within a couple of days, I upgrade them to a larger, bell-style waterer. Many people place small stones or marbles in the waterers to prevent chicks from drowning, but I haven't seen the need to do so.
Ensure that the waterer for your chicks is the same style as the coop - you don't want to cause unnecessary stress on the chicks when they move to the coop if they've got nipple waterers in the coop and bell waterers in the brooder.
One way to keep the water dish and food dish cleaner in the coop is to raise them up above the bedding once the chicks are tall enough. A small piece of 2x4 works great. In this last batch that I brooded, I actually placed a boot tray on top of 2 pieces of wood and then placed the food and water inside the food tray - that has been the best so far for keeping everything clean.
Preparing The Brooder
This is the fun part!
Now that you know everything you need to know about brooding chicks, it's time to get down to it!
Whether you're incubating chicks, collecting chicks from the post office, choosing chicks from local farmers, or picking up freshly hatched chicks from a hatchery, it's important to set up the brooder before you need it.
I like to have my brooder ready well in advance of my hatch date or pick-up date. If you don't have it ready, at least have the supplies on hand before starting the incubator or purchasing chicks.
Here's how I prepare for a new batch of chicks:
- Clean and disinfect the brooder thoroughly. For me, this includes washing down my entire crate with 10% bleach water solution and replacing the cardboard I use to hold in the bedding with fresh brooder roll or a recycled cardboard box.
- Add the bedding and turn on the brooder plate for at least 12 hours before placing chicks in the brooder. This allows everything to come up to temperature and be nice and warm for the itty bitties when I put them in the brooder.
- Place a freshly cleaned and disinfected water dish and food dish in the brooder near the heat source so the chicks can eat and drink without getting chilled within the first few hours.
Adding Chicks
Ok, I lied, this is actually the fun part!
Once your chicks are ready to leave the incubator, have arrived in the mail, or have been picked up, they should be immediately placed in the prepared brooder.
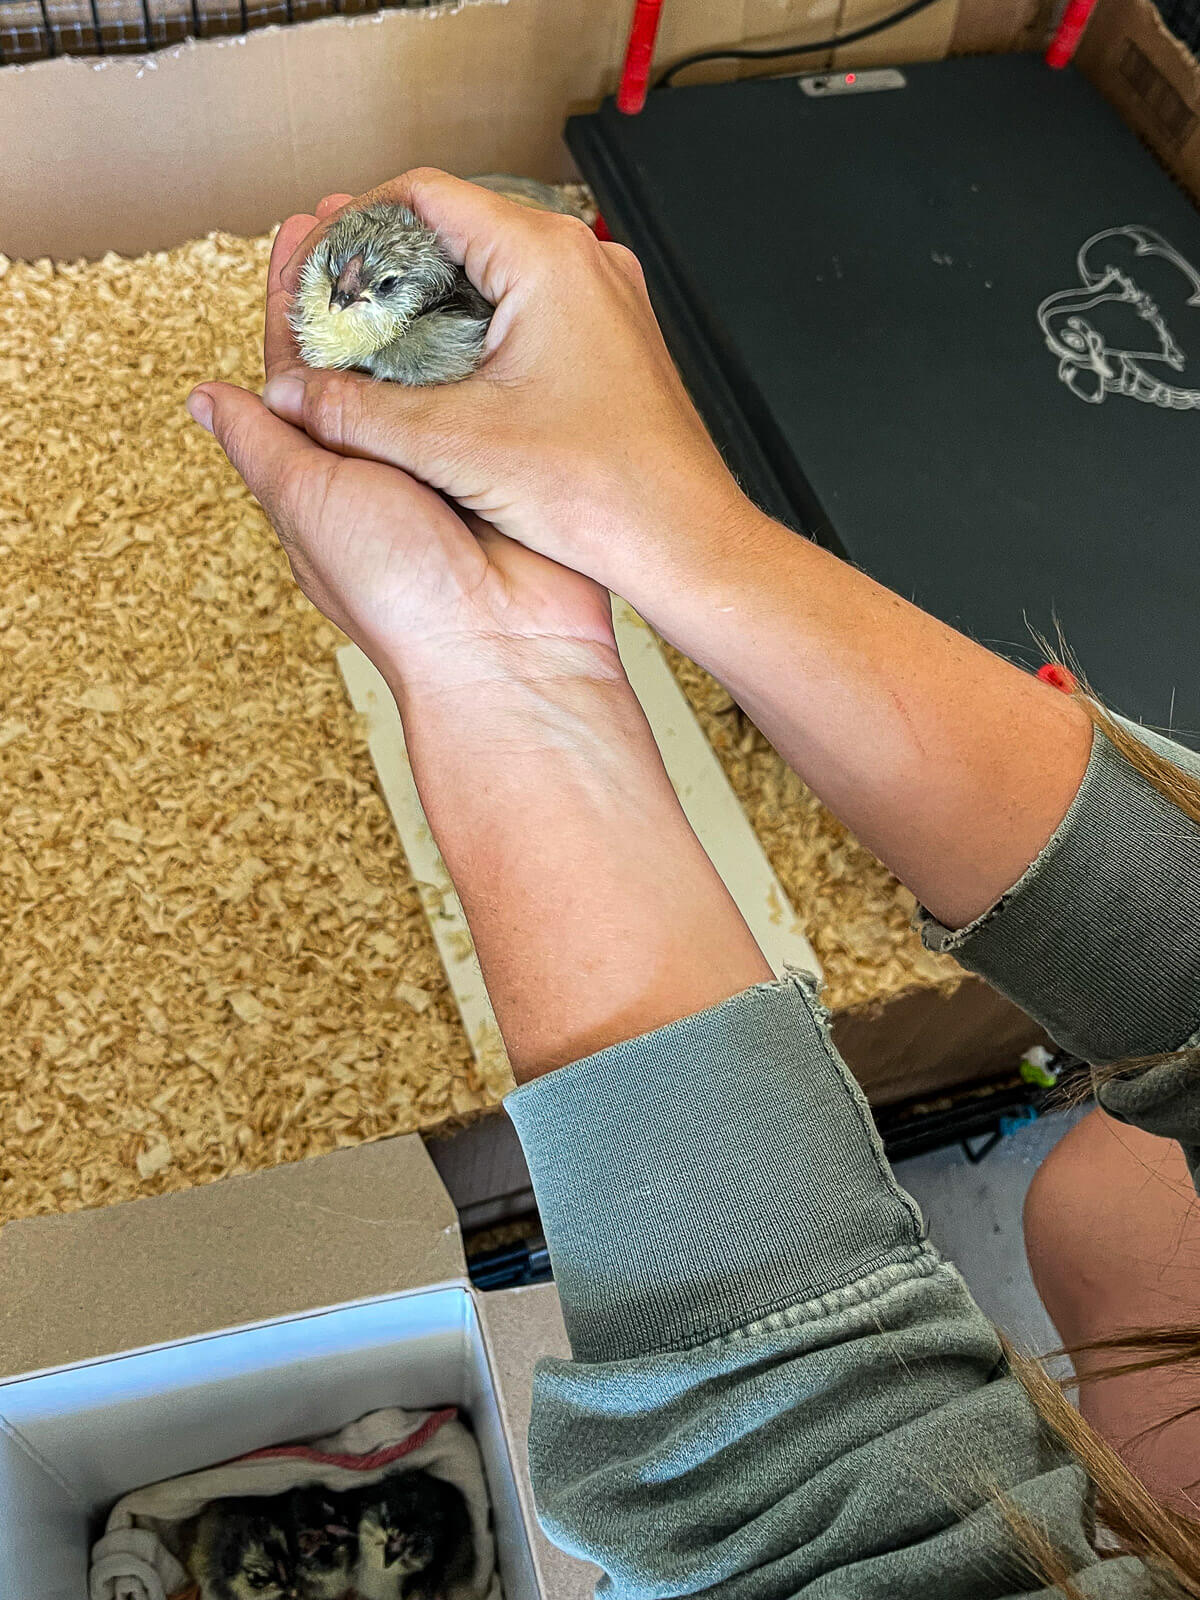
The first thing I do is individually place each chick into the brooder and while doing so, I dip their beak into the water so they can locate it in the future, and then I gently place them under the brooder plate so they can find the warmth quickly and easily. Within a few hours, I return to the brooder and observe the chicks - some have usually already discovered the feed, but if not, I tap at the feed with my finger to help show them the food.
This is a great time to observe their behavior. Are they clumped together chirping loudly? They may be cold. Are they spread out against the outside walls of the brooder? They may be hot.
The Boreal Brief
Now that you know everything you need to know about brooding chicks, it's time to get down to it! Just be sure to have everything prepared in advance and pay close attention to the behavior of your chicks. Ensure they have easy access to both food and water, absorbent bedding, and the proper temperature, and they'll thrive!
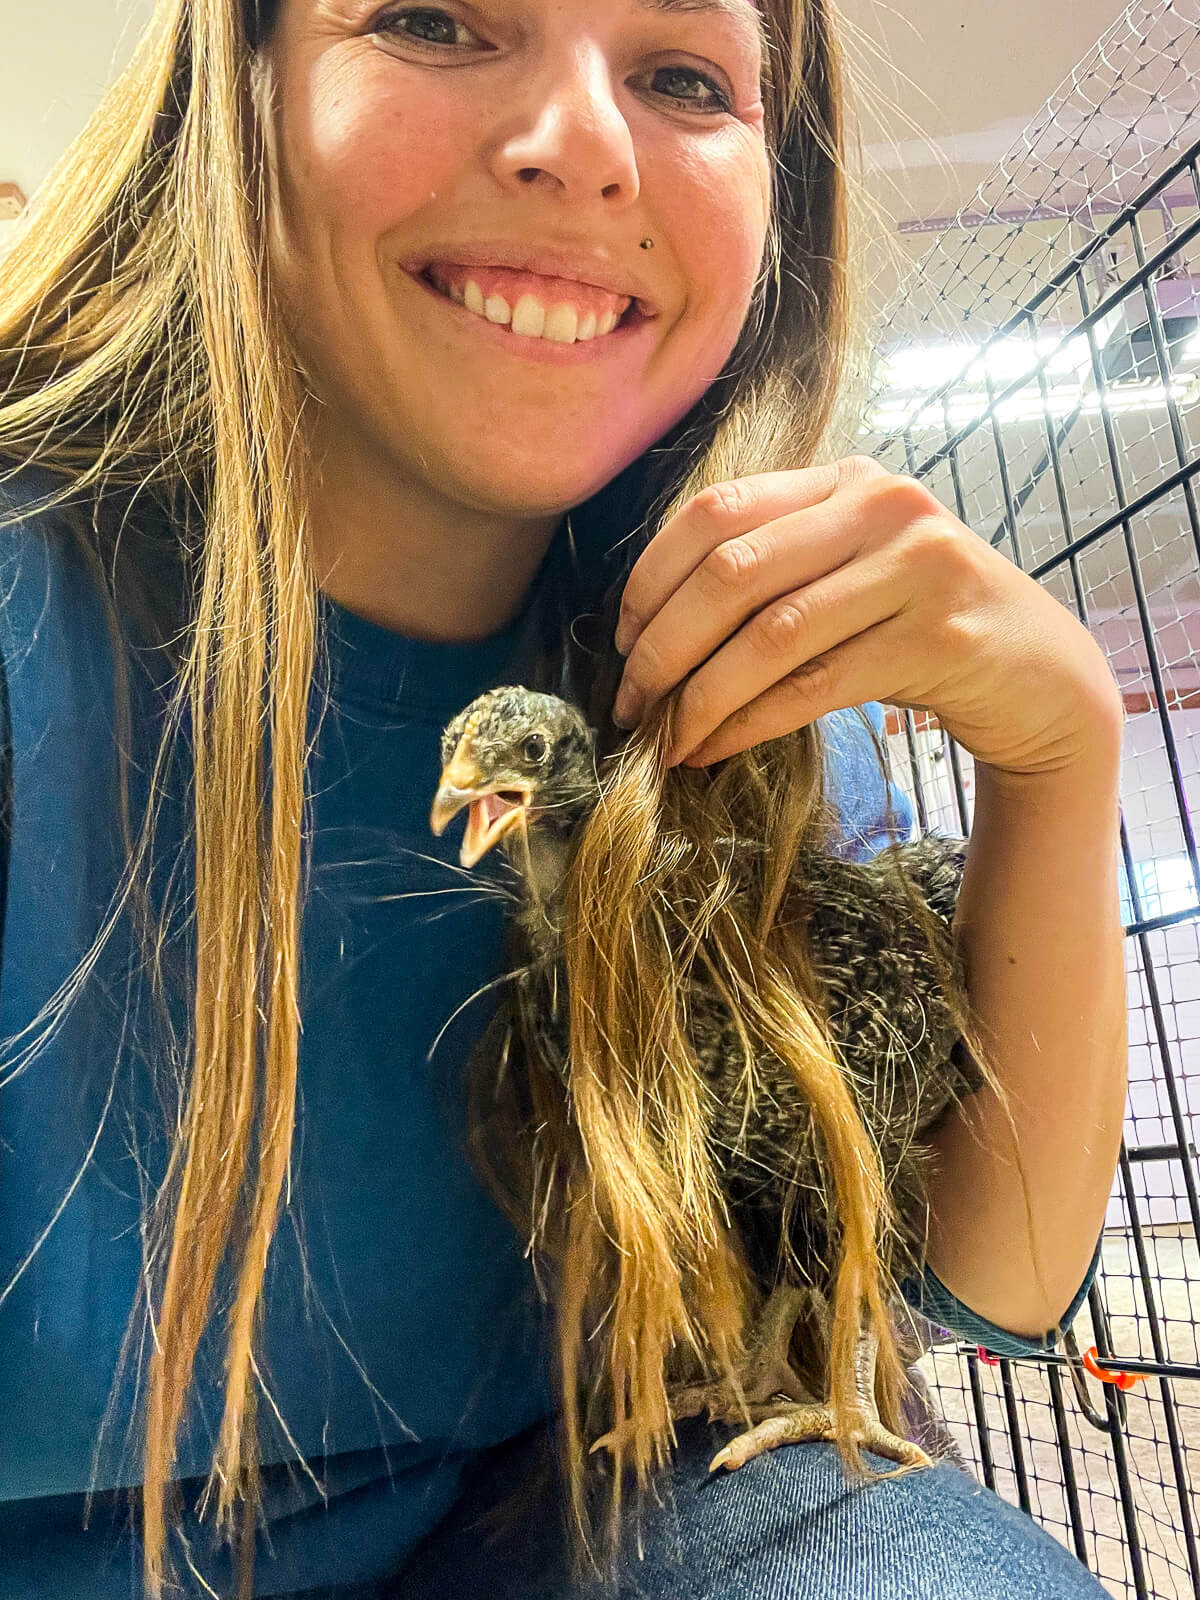
Brooding chicks is so rewarding and it's incredibly fun to watch them grow and flourish! You get to create a relationship with the chicks you would have missed had you purchased pullets or cockerels, see my pictures above with Jules, she took a shine to me right away and we are best buds.
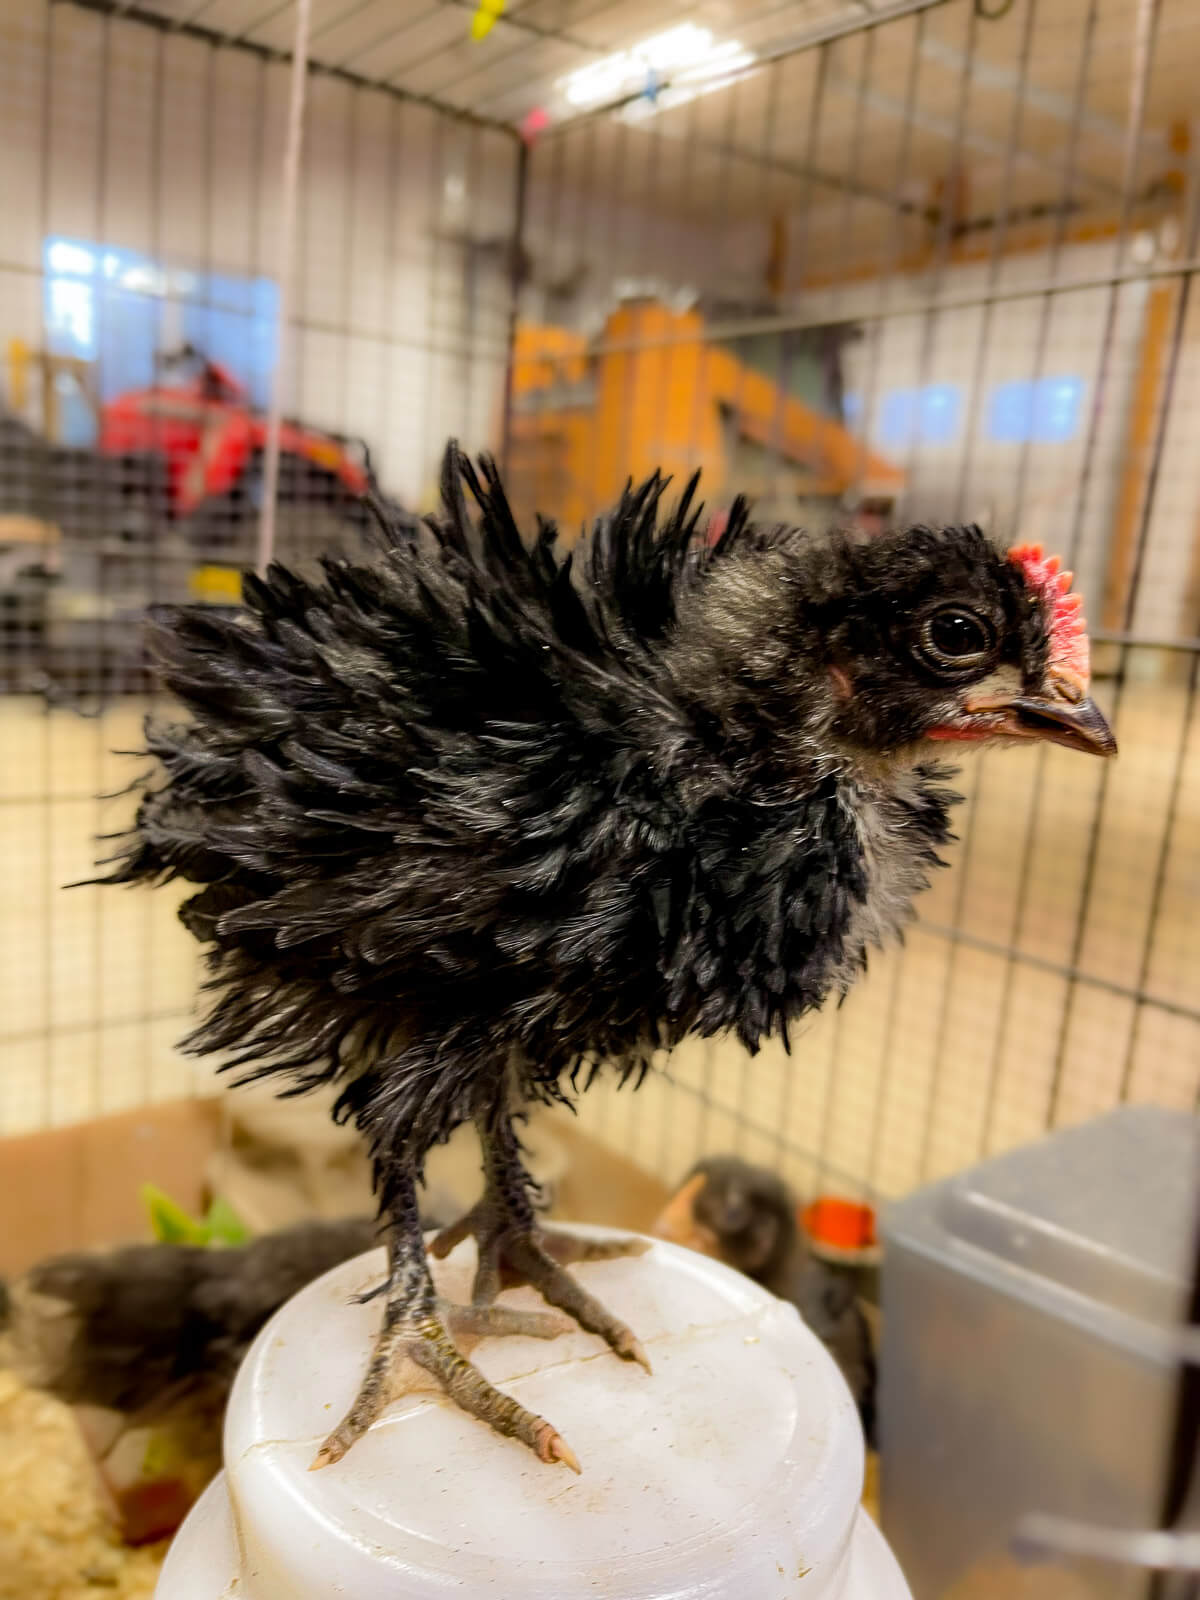
As much as I resisted the brooding process, I absolutely love raising these tiny raptors. And I think you will too!
Pin This Guide To Brooding Chicks!
I’m so happy that I read the section about grit- I almost gave my babies some table scraps but had to run to the store to get them some grit before.
I'm sure they appreciated the scraps and the grit <3
I put a mother hen in with them and don’t need to bother with heat lamps!
The local chicken and pheasant flocks round here don’t have heat lamps!
I am brooding a batch with a hen right now, and I tend to agree with you that it's much easier to use mother nature! But unfortunately, it doesn't always work that way!
When we started with our first batch of chicks we had no hen to keep them warm so they needed a heat plate to be safe and healthy. This spring we purchased a number of purebred chicks from a breeder and had no broody hens to mother them, so again, we had to use the heat plate. They are all happy, healthy and have been integrated into the coop.