Deep Litter Bedding
The deep litter method of chicken coop bedding management is a simple and effective way to keep your chickens healthy and their coop clean.
We all love our chickens, I know this is true, but if we're being perfectly honest, I think that we can admit that there are some less-than-glamorous aspects to raising chickens.
I happily hustle out to the coop (multiple times) every day to collect eggs, offer treats, check and refill waters or feeders, and sometimes just talk to my chooks.
But one chore I could skip is mucking out the coop, and I bet you feel the same way.
I'm here to tell you that there is a quicker, cheaper, easier, more environmentally friendly, and healthier way to manage your chicken coops.
It's called the deep litter method.
Jump to:
What Is The Deep Litter Method?
The deep litter method or built-up bedding method is a way to manage both chicken manure and bedding by controlling the decomposition process within the chicken coop itself instead of in the compost pile.
The principle behind it is very similar to regular composting, requiring appropriate amounts of carbons and nitrogens. As an added bonus, your birds will likely help to manage the process - mine are constantly digging through and turning the mulch in our coop.
What Are The Benefits?
It's Easy!
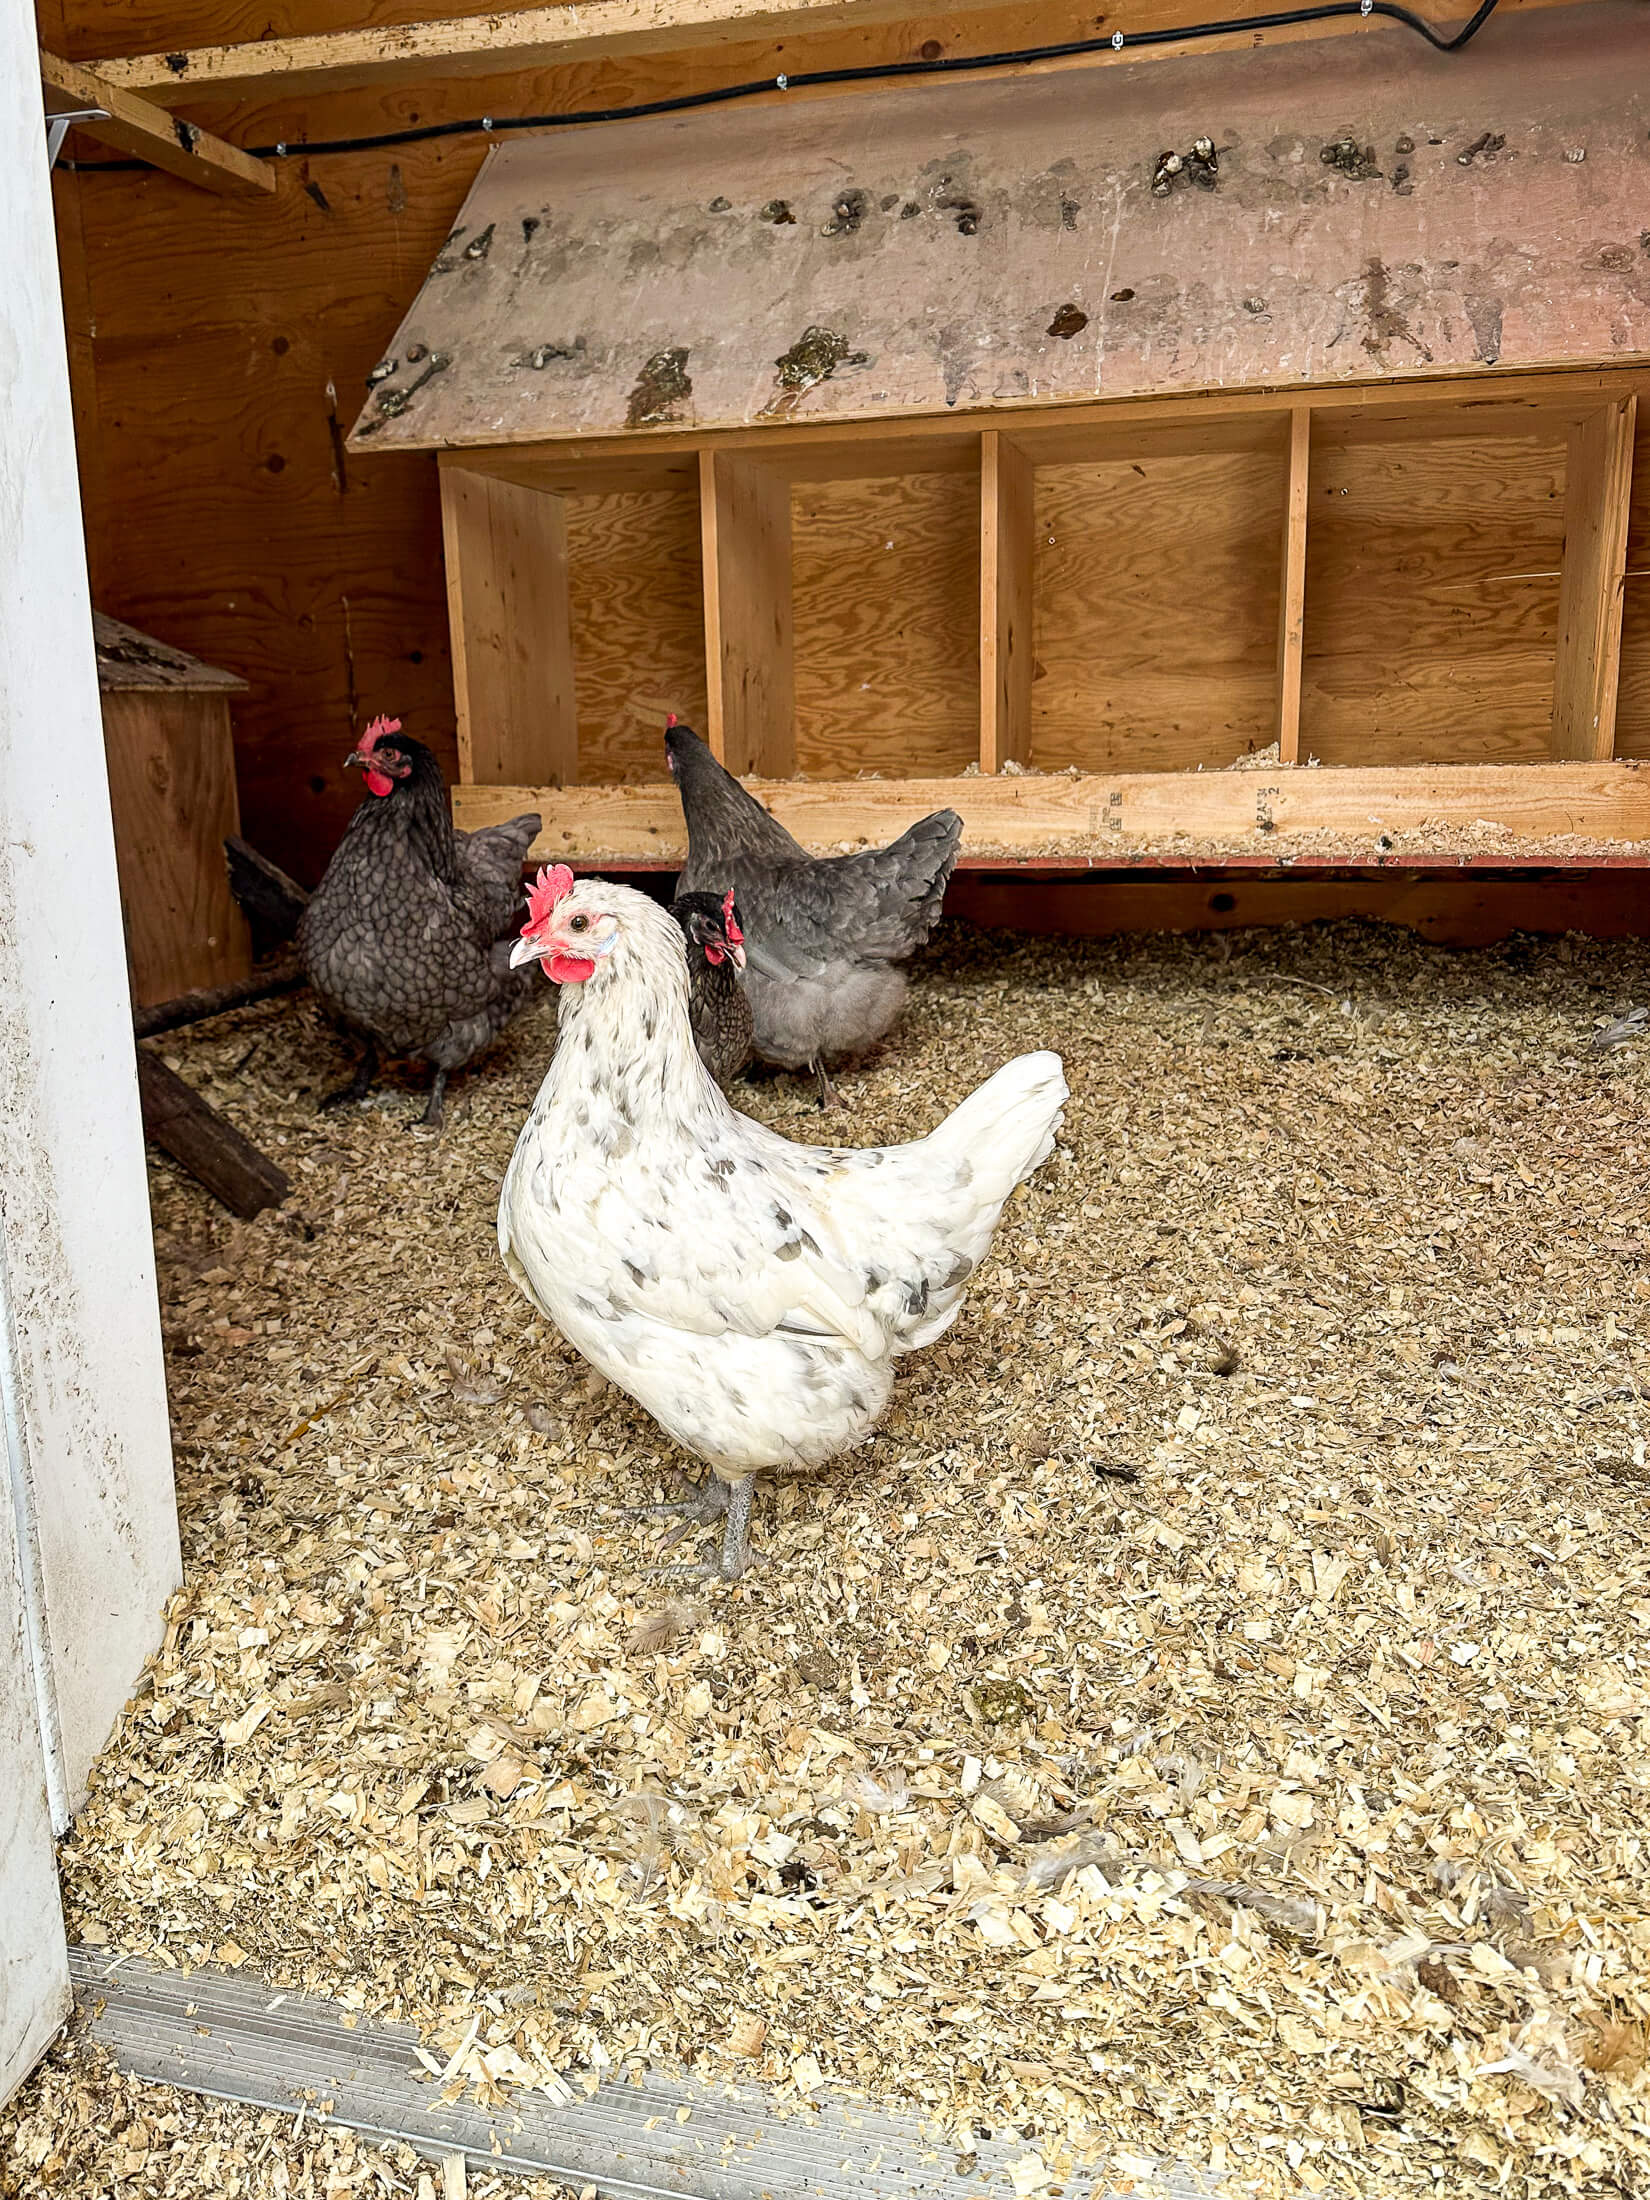
Using deep litter in the coop helps to reduce the amount of work involved in keeping your coop clean. Sounds too good to be true? It's not! With the deep litter method, you start with a thick layer of bedding in the coop and over time, continue to add clean bedding without removing the old bedding. Coop clean-out in the deep litter method is generally performed twice a year!
For cold climate dwellers like us, this is an extra bonus. Alberta doles out some extreme weather in the winter and although I adore my cluckers, I could not fathom shoveling out our chicken coop several times through the cold and snow season!
It's Cheap, Economical, + Reduces Waste
Pick any of the above and you're right! This method is cheaper because it actually requires fewer bedding materials overall. It reduces waste by using the bedding chips until they are completely spent rather than replacing them every few weeks.
It Results In Amazing Fertilizer
Composted chicken manure is incredibly nutritious for your garden. Poultry litter improves soil structure, nutrient availability, and soil nutrition, according to the University Of Vermont! When removing soiled but un-composted litter from the coop, there is a long cool-down period required prior to using it to amend the soil in your garden.
Fresh chicken poop is "too-hot" to use straight from the coop because it has such a high level of volatile nitrogen and salts, it can actually overdose your plants causing them to burn. Raw chicken manure can also contain salmonella and E. coli bacteria which take approximately 120 days to break down and become inert.
Deep litter composts that high-nitrogen, smelly gold for your garden so it's ready to use without the worry of plant burn!

It's Warmer
For chicken keepers in warm climates, this may or may not present as a pro. But for those of us who live in cold climates that experience devastatingly cold temperatures in the winter, dropping as low as -40C /-40F, any heat gains can be a huge plus.
Composting creates heat as a byproduct of the process as long as the process is active. I have noticed that our deep litter bedding breaks down more effectively in warmer weather, especially when our heat lamps are on over the winter months.
If it is too cold in the coop, the microbes in the litter will absolutely cease decomposition and go dormant - which isn't the end of the world, because just like in winter composting, they'll resume again once conditions are favorable for their activity
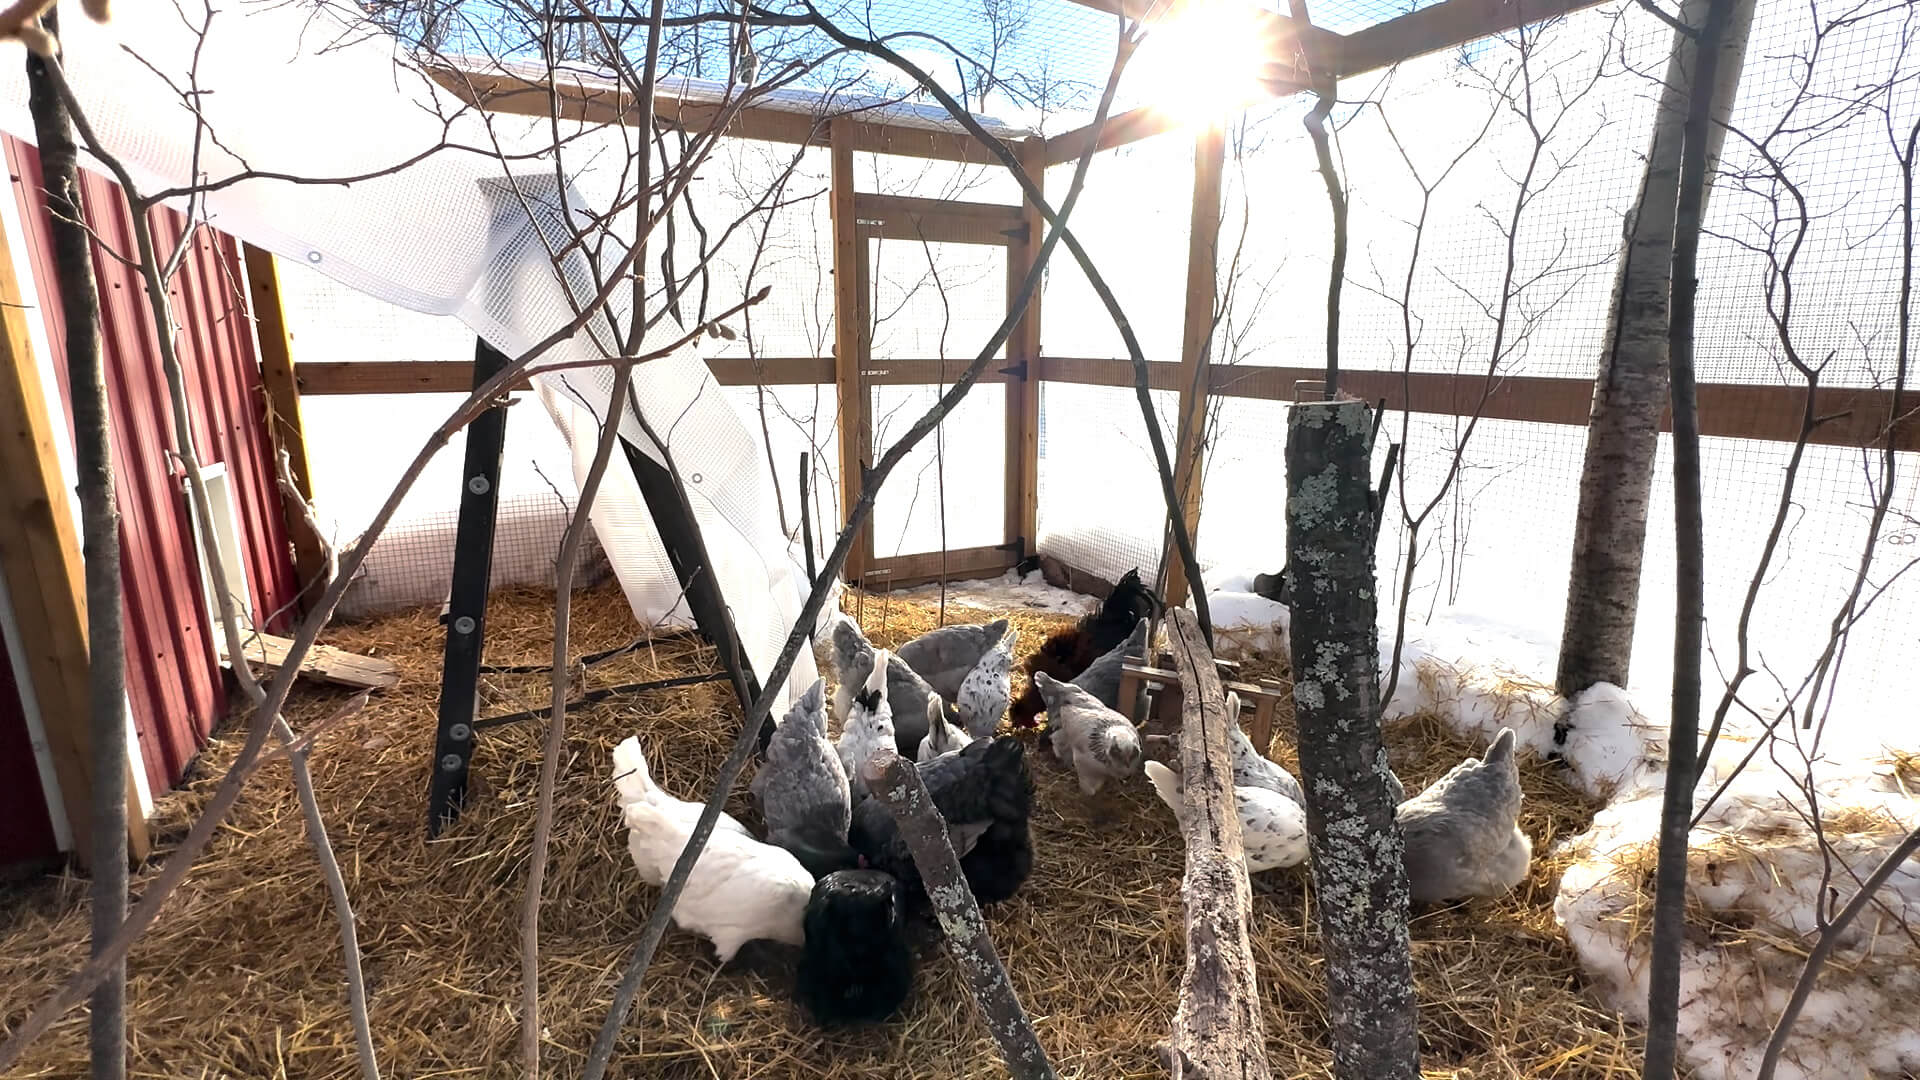
If it is cold in the coop, even though decomposition has slowed or halted, this doesn't mean that deep litter isn't valuable. Having a thick layer of bedding on the floor will absolutely add an insulation factor to the coop, protecting cold from coming up from the floor and creating a warm bedding area for the birds.
It's Healthier For Your Birds!
Believe it or not, this method can improve the health of your flock.
Just like in composting and fermenting, beneficial microbes help to break down the organic matter. The good germs outnumber the pathogens and help to keep their populations under control.
Deep litter can increase the ability to fight off coccidiosis. Psst. did you know that chicken poo has high rates of ammonia which can actually kill coccidiosis bacteria?
It can also help to reduce the likelihood of lice and mites in your favorite flock!
A study done in the 1940s says, rightfully, that old built-up litter is drier, more absorbent, and less obnoxious than fresh litter after a few days of use.
Check out our Winterizing Our Chicken Coop YouTube Video - where we discuss starting the deep litter method.
What Makes Good Deep Litter Material?
Starting the deep litter system requires some consideration of the bedding. In today's market, there are several chicken litter options, but I'll only include the ones I believe will work for built-up bedding.
Before you choose bedding, you need to know what makes a good bedding candidate. Your bedding material should be:
- absorbant
- non-toxic
- compostable
- lightweight
- inexpensive
- carbon-rich
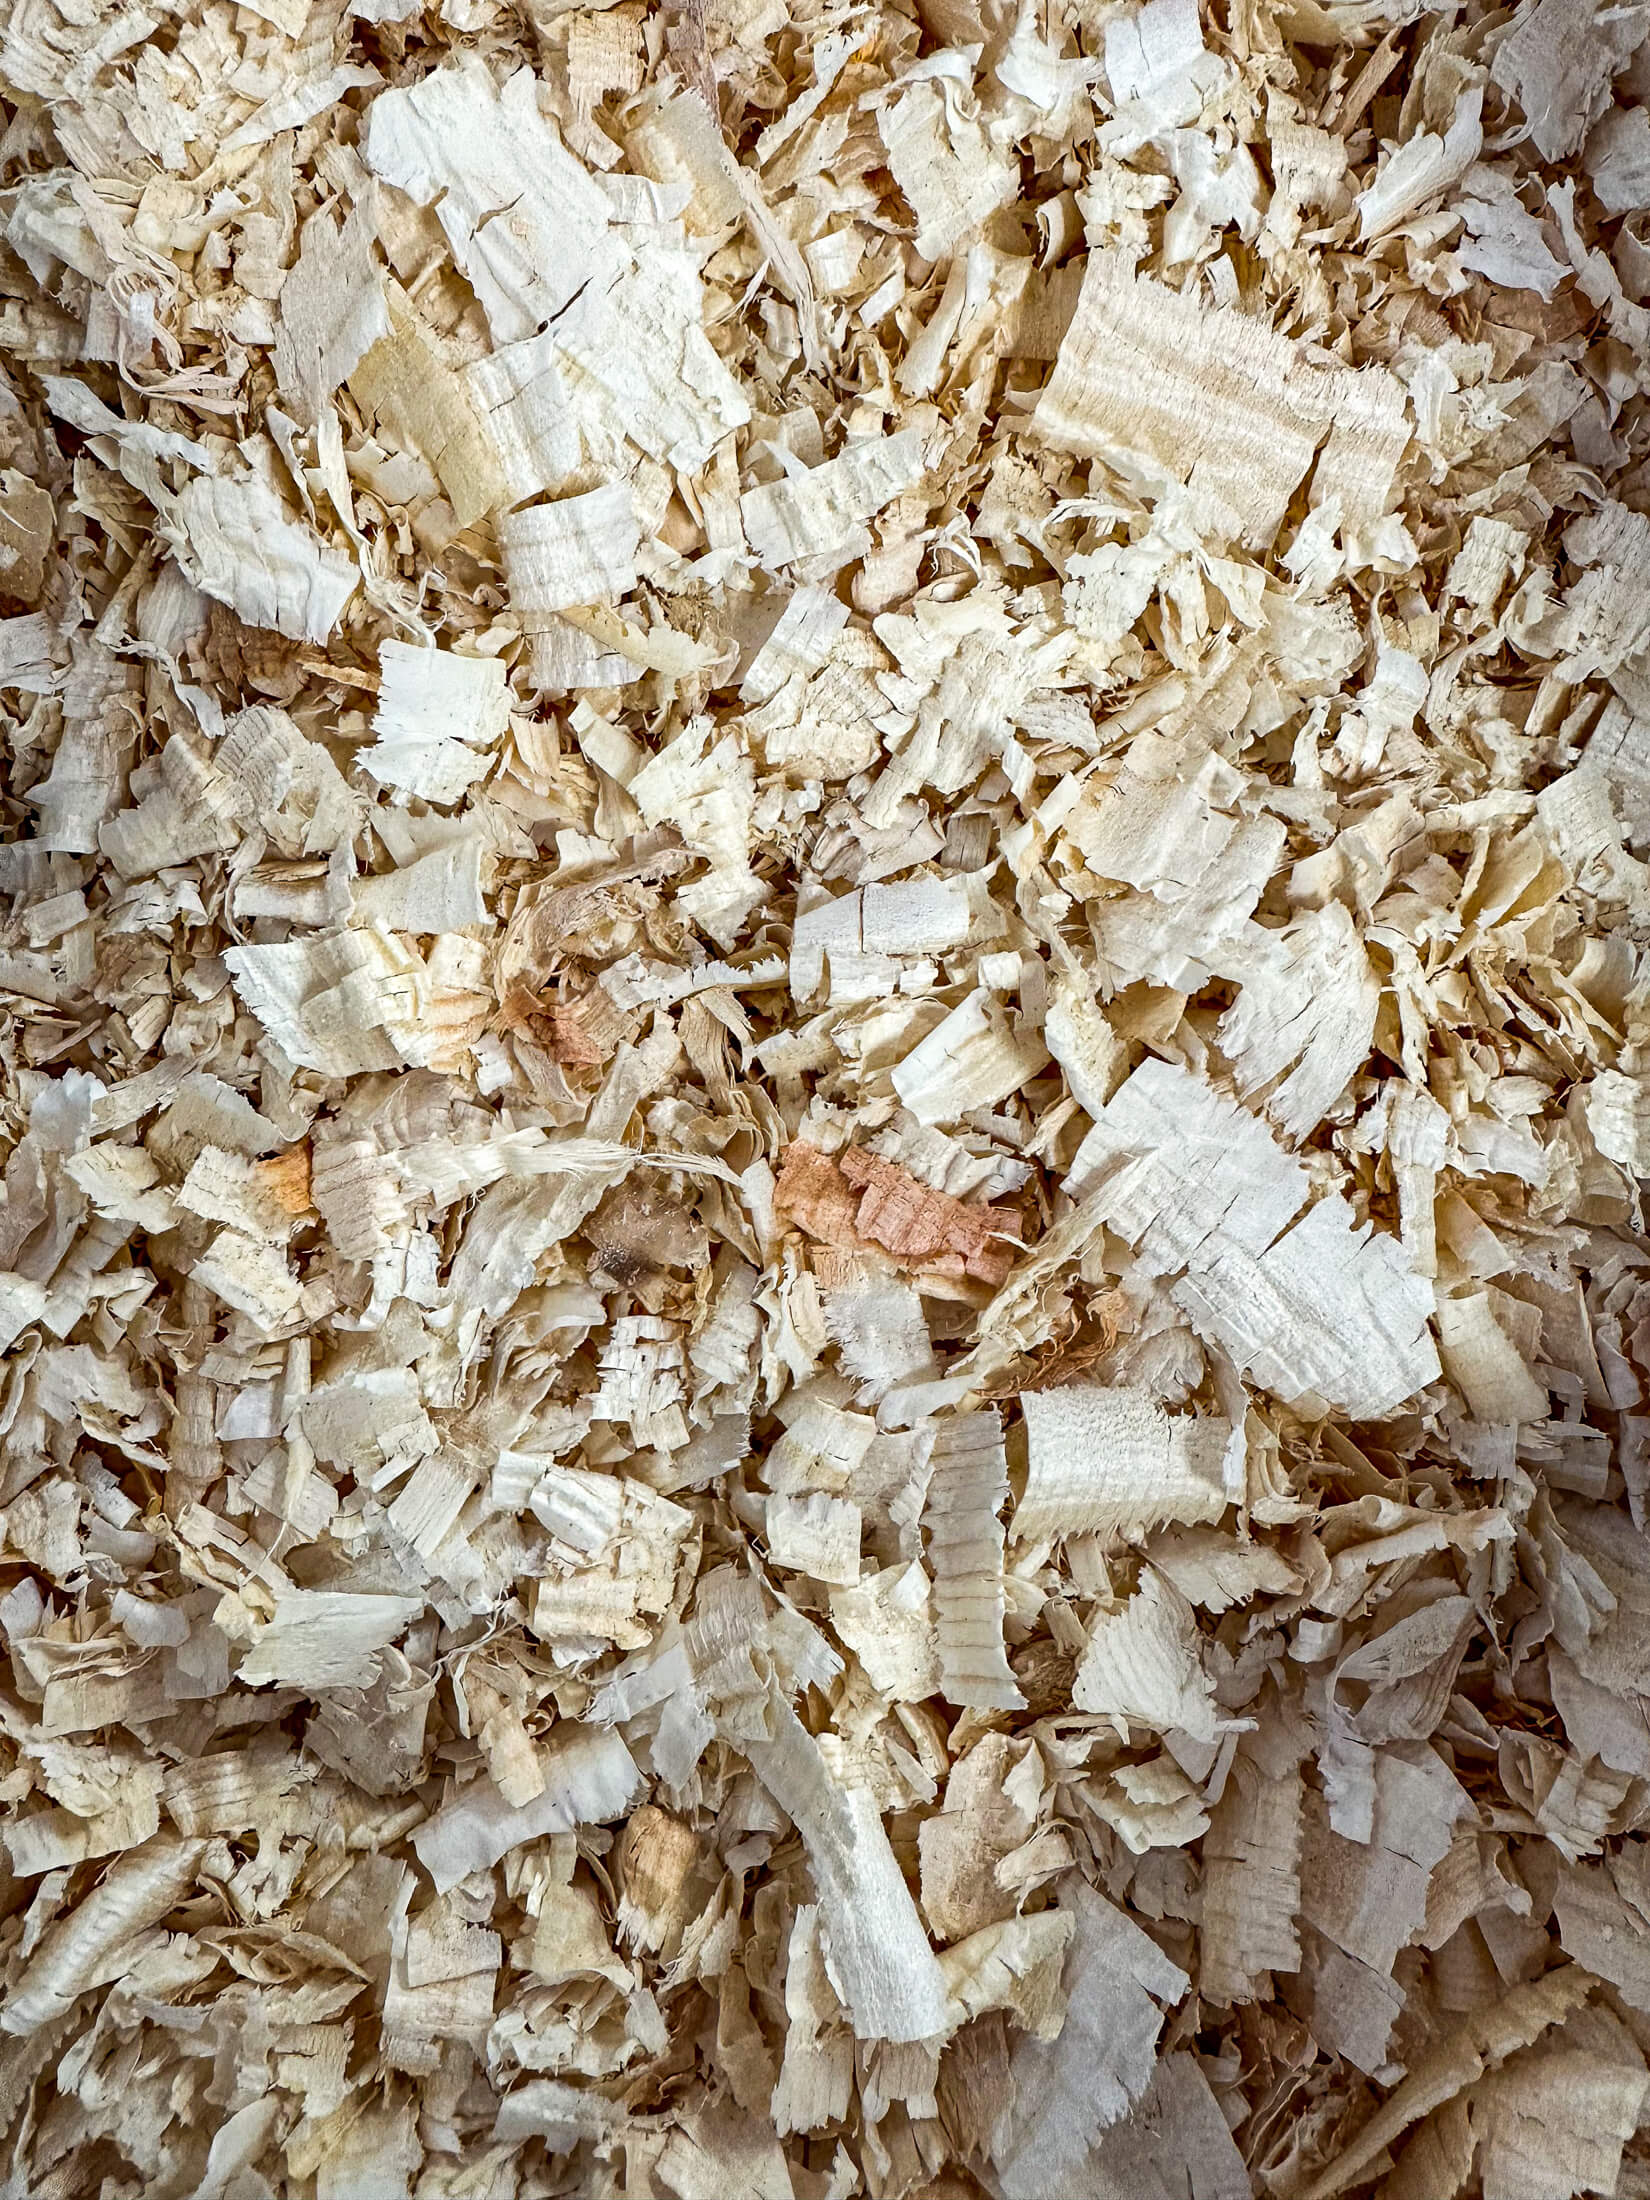
Wood Shavings:
Choose kiln-dried softwood shavings from pine or spruce. Avoid cedar chips as they are toxic. Pine shavings are easy to find at most feed stores, pet stores, and even some big box stores may stock wood shavings if you're in a pinch.
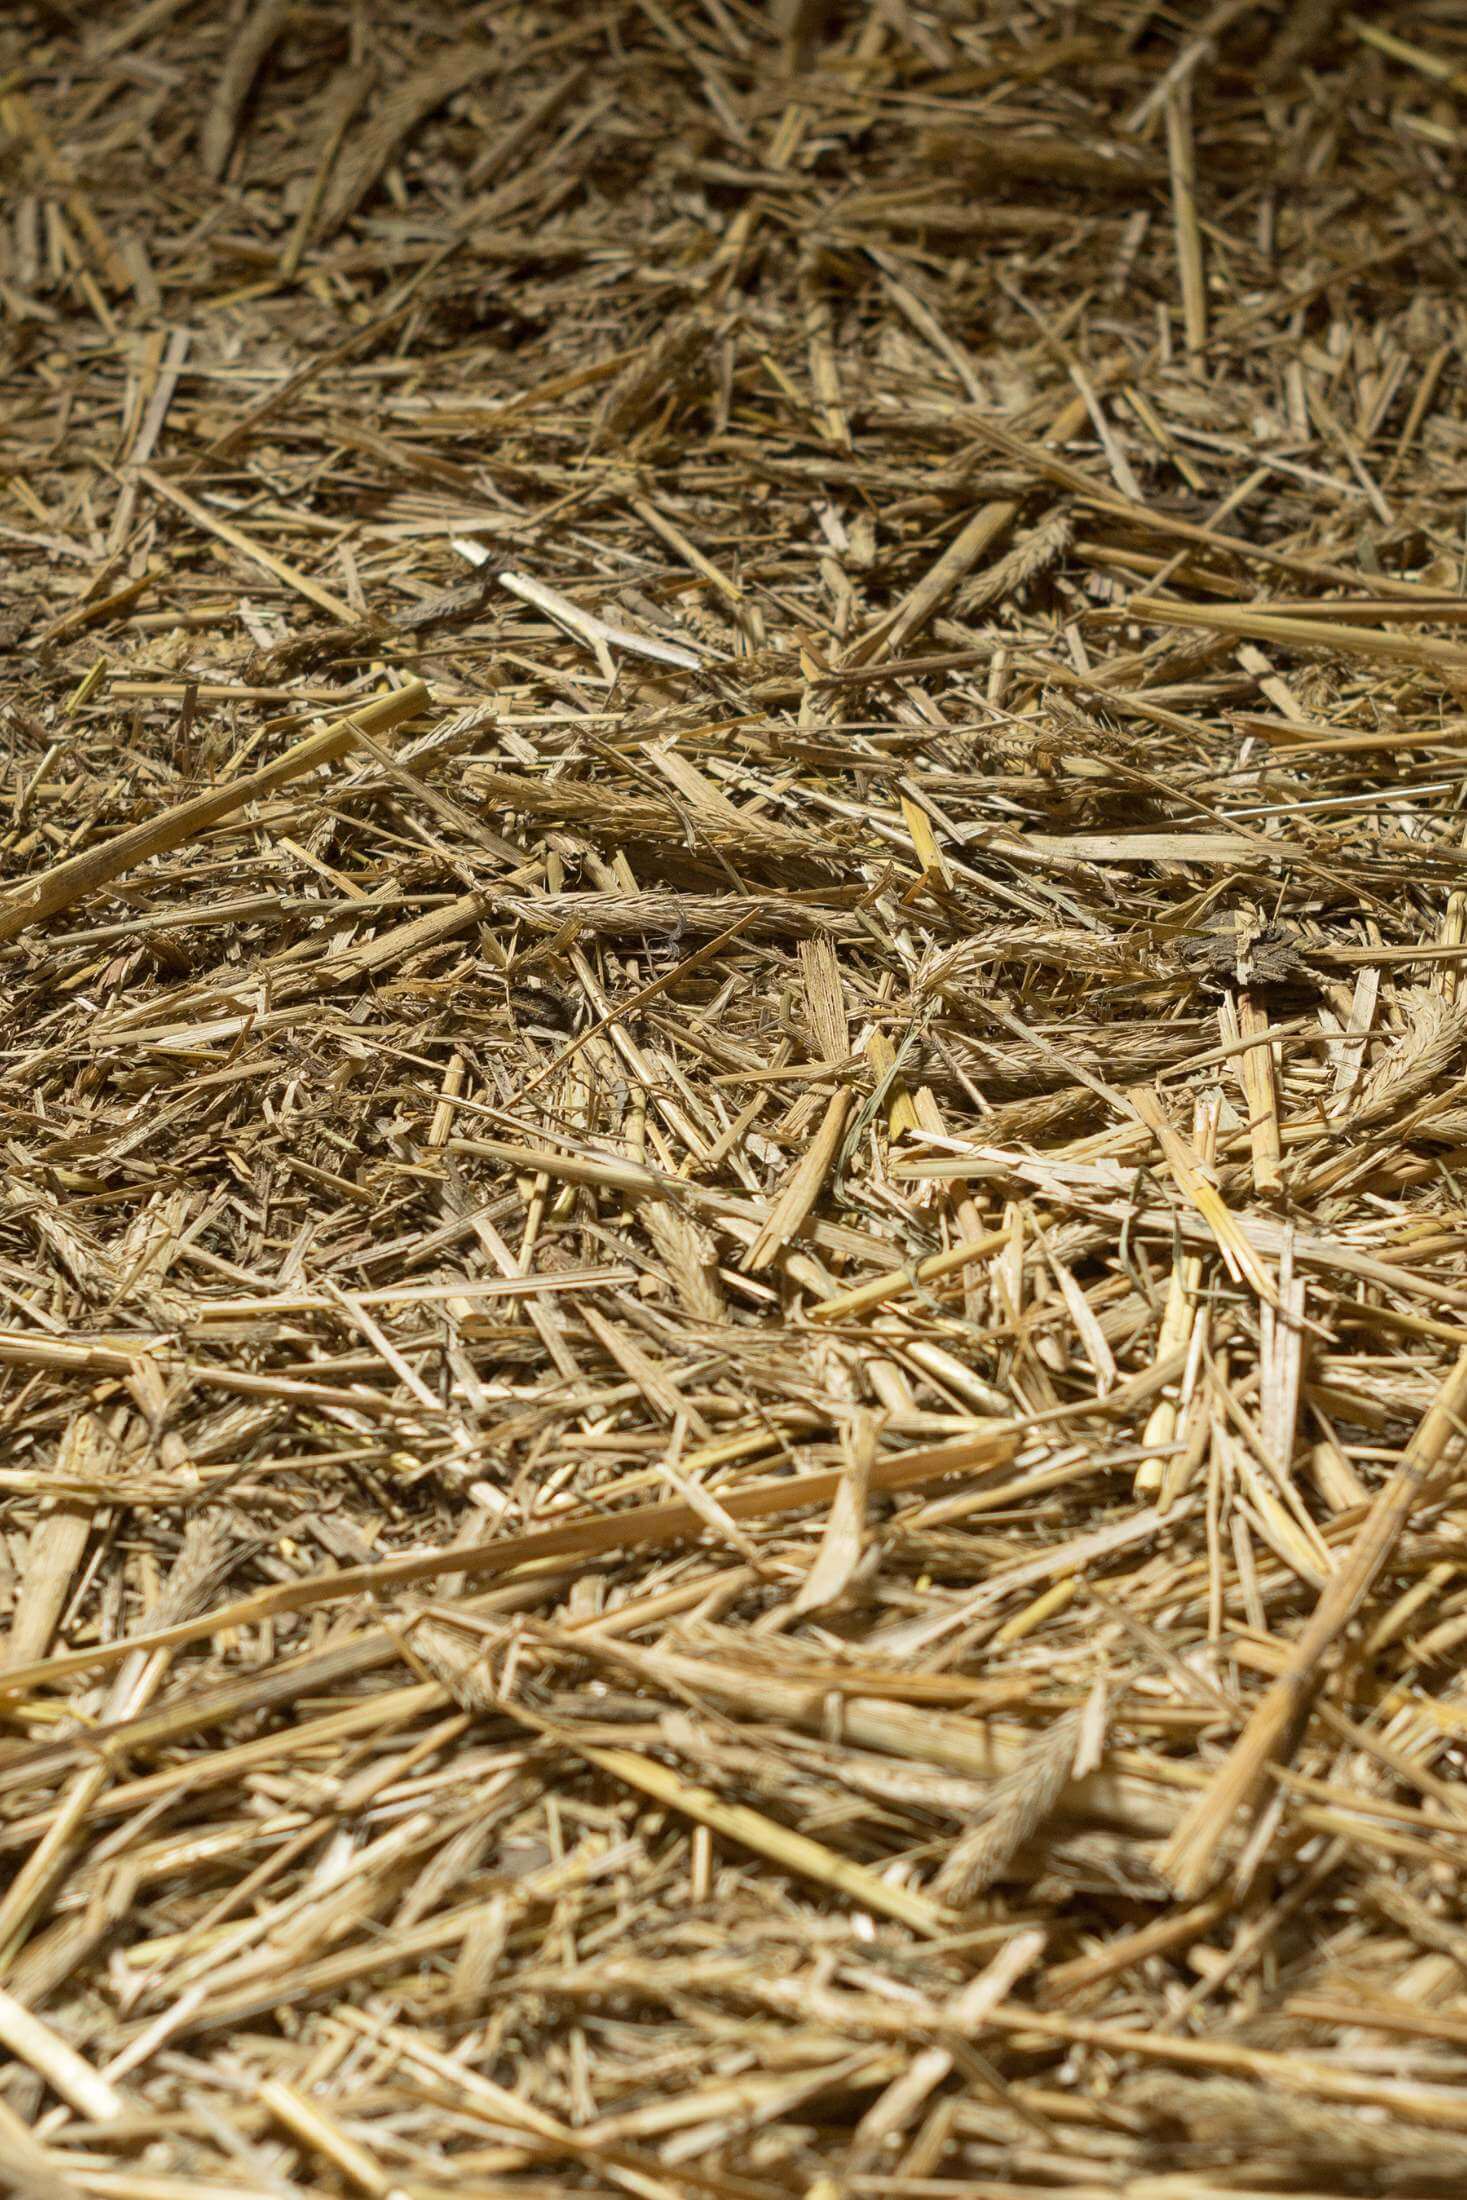
Chopped Straw:
Straw includes stem material from grain crops like barley, wheat, or flax. While an organic compostable material, straw can be prone to caking and matting. Once wet, caked, or matted straw creates anaerobic environments that molds and fungi love to visit!
If straw is the bedding you choose, look for chopped straw, with pieces an inch or shorter in length as they are less likely to mat together and create fungus and mold growing conditions.
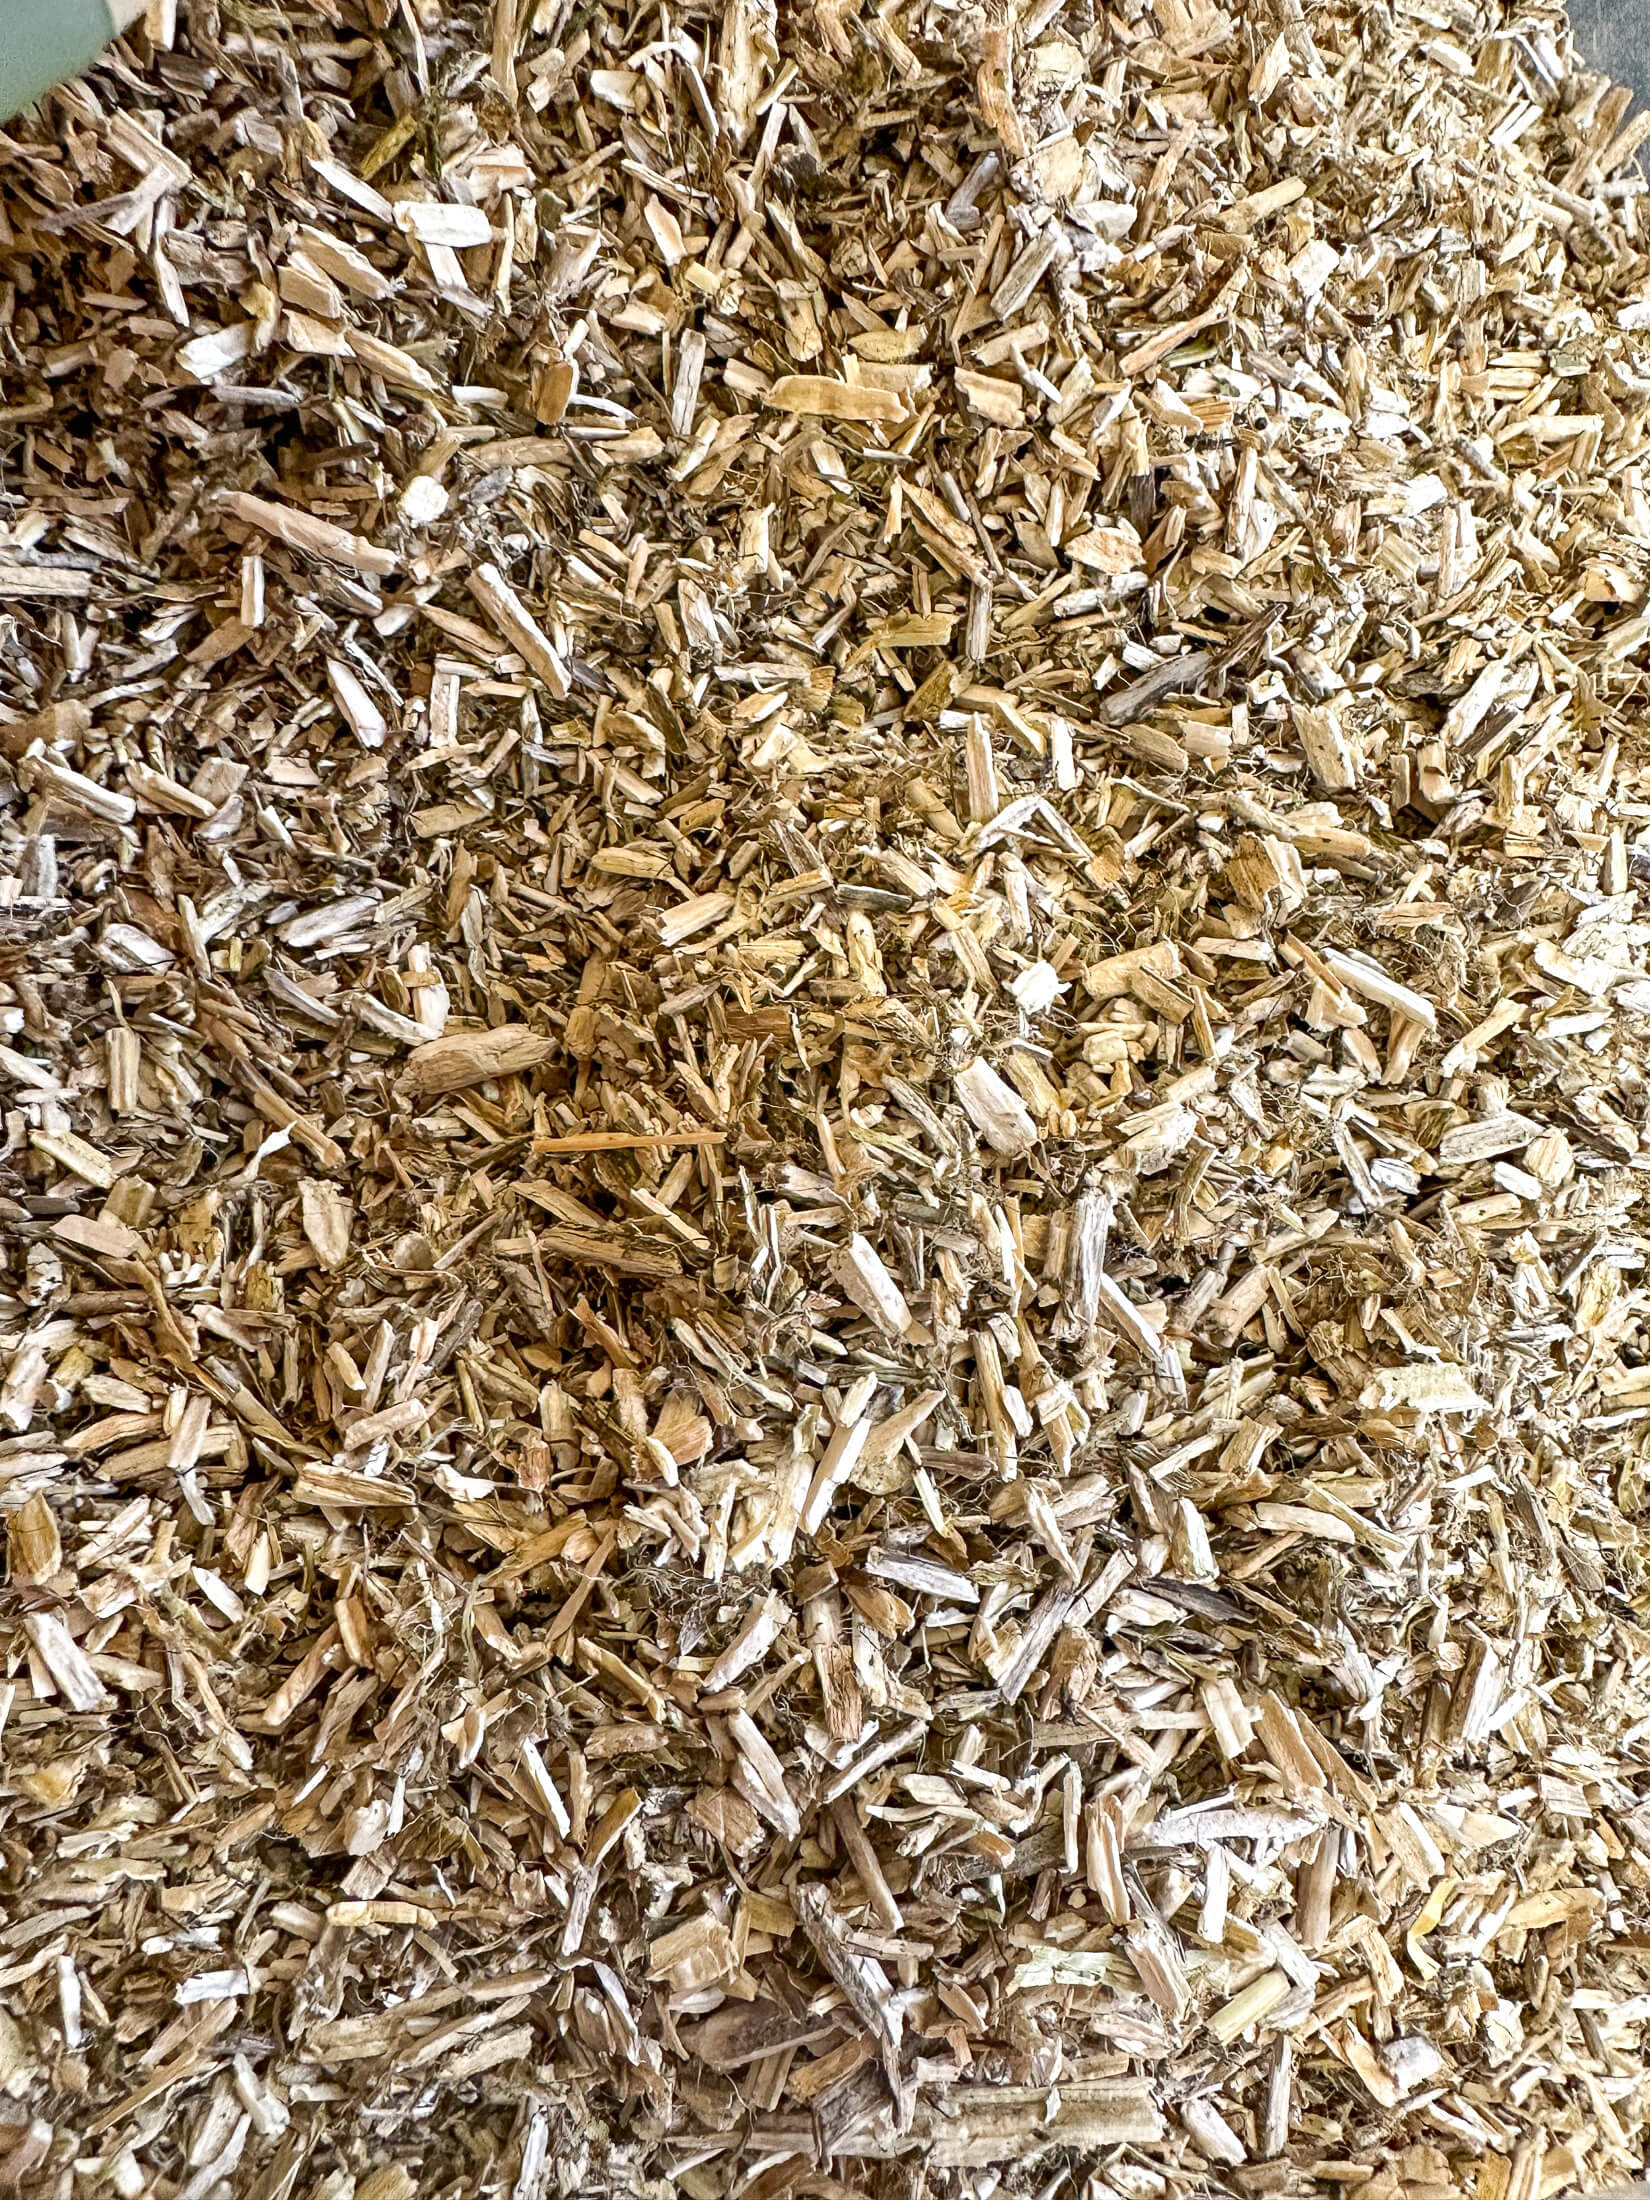
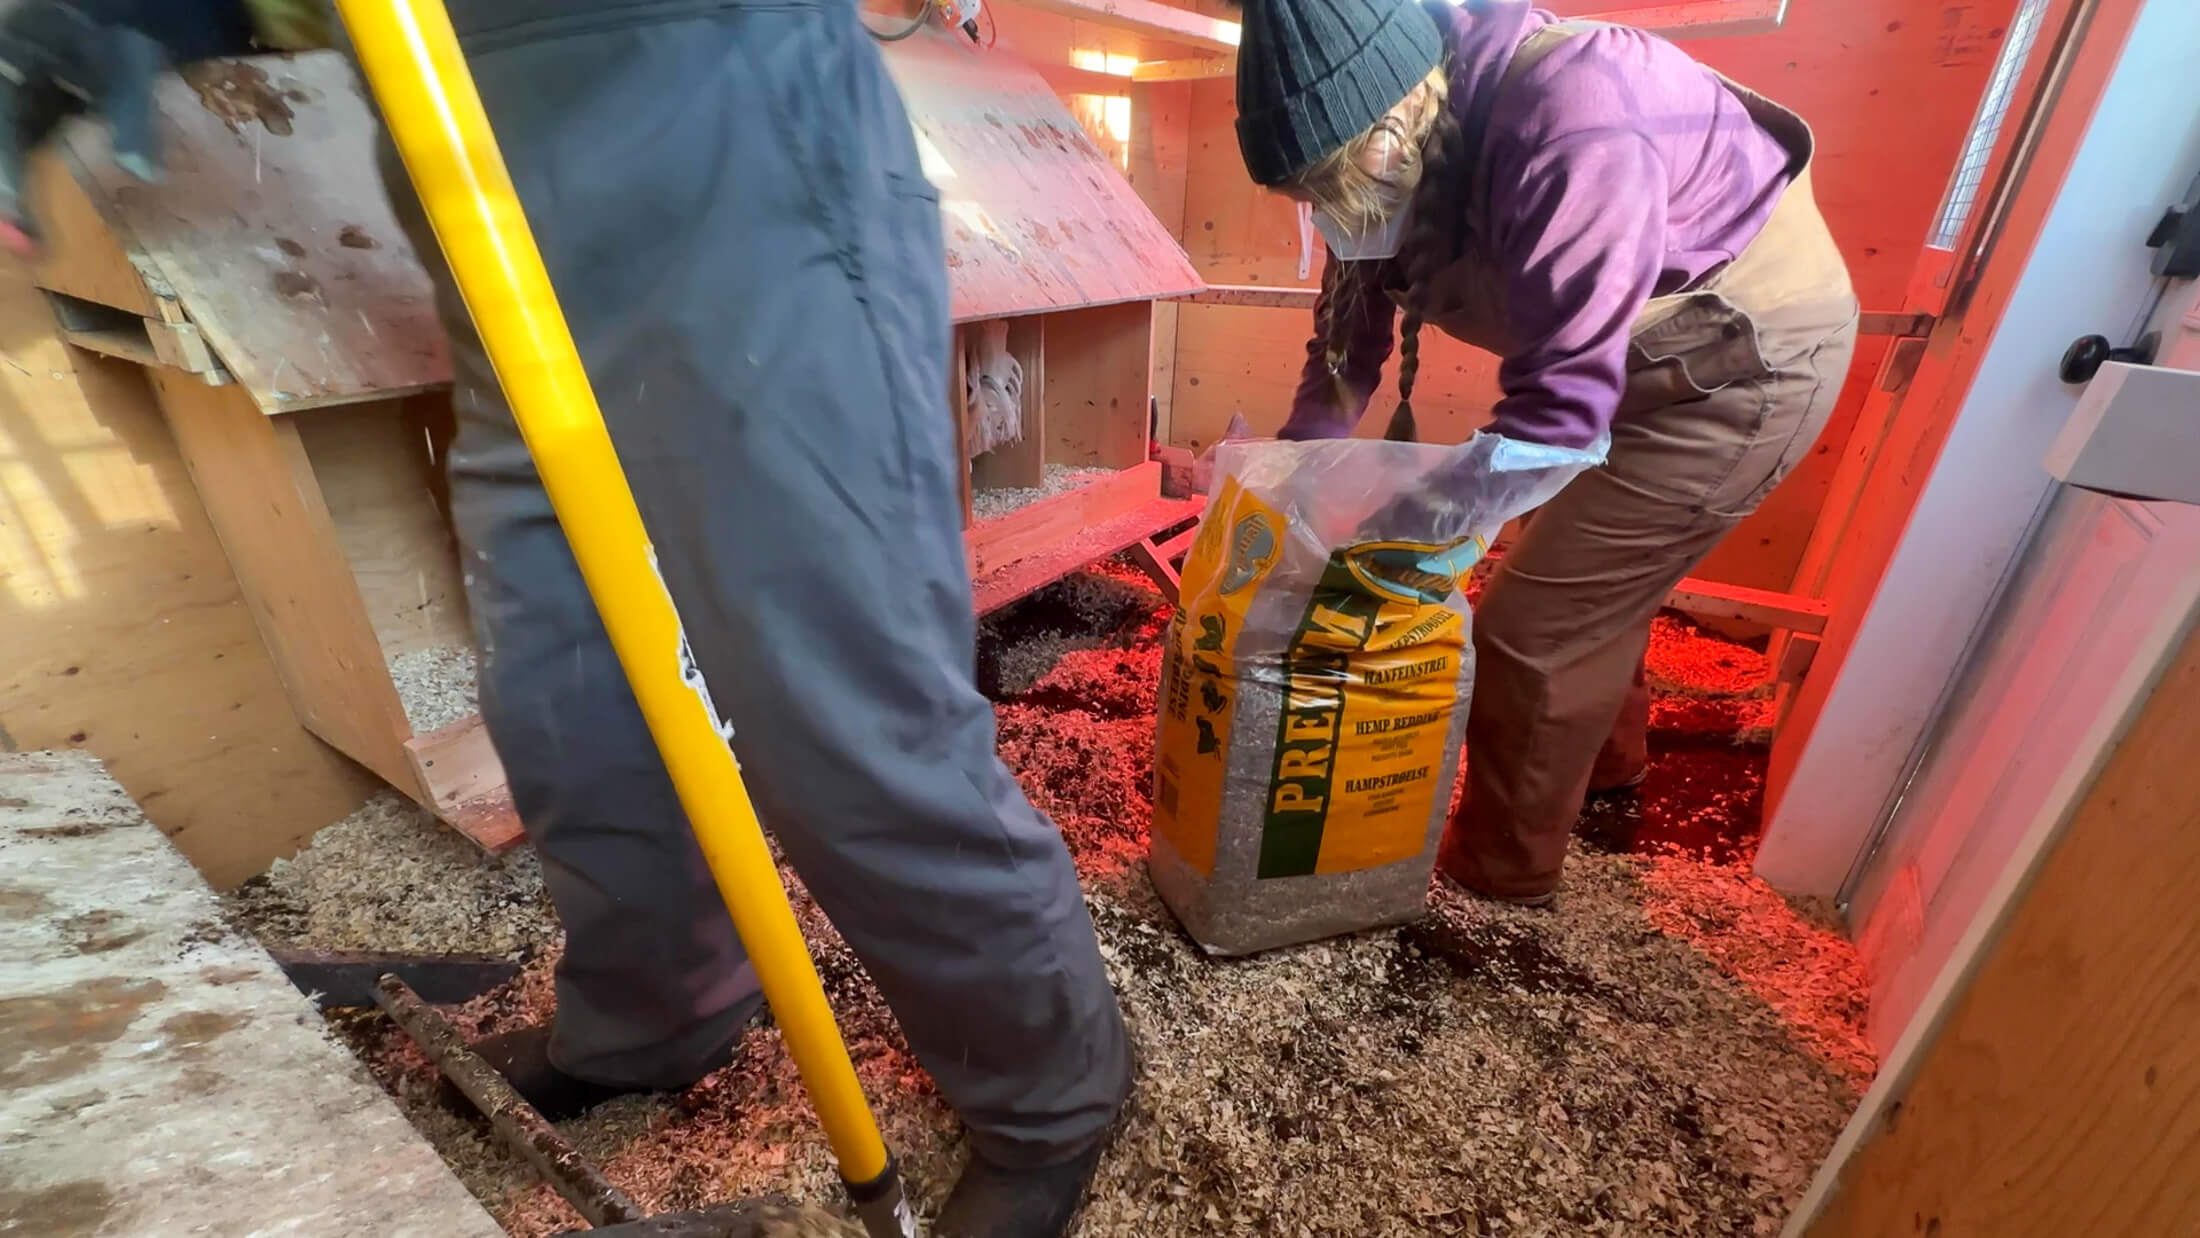
Hemp Bedding:
Hemp is a natural bedding material that is super absorbent, perfectly compostable and a real environmentally friendly option for your coop.
The downside to hemp bedding is that it can be difficult to source, especially if you live rurally, and it can definitely cost more than wood shavings. Here a bale of wood shavings is around 7 dollars while a bale of hemp is closer to 35.
That said, hemp shavings are more absorbent than wood shavings - which means you'll use less of it. In the end, it may actually work out to be similar in cost. We are currently experimenting with adding small amounts of hemp bedding and peat moss into our deep litter to see how it performs.
Others:
There are other options that work, but are seasonal, like dried leaves, dry grass clippings, or grain hulls. These can be difficult to keep on hand in the off-season.
Bedding Options To Avoid:
Some chicken keepers use shredded cardboard or paper - I choose to skip these as options because paper has poor absorbency and tends to mat easily once dampened.
Also, avoid hay and green refuse like grass clippings and other high-nitrogen materials because chicken droppings are high in nitrogen - in order to make compost we need to balance that out with carbons - adding more nitrogen to the equation only makes the management of the coop bedding more difficult.
But Doesn't It Smell?
NO!
I mean, yeah, it's a chicken coop, it doesn't smell like a 3 wick candle in there. But does it smell bad? No.
Properly managing the bedding and the balance between carbon and nitrogen leaves your coop smelling fresh and earthy and skips the stink completely!
What If It Does Smell?
If you walk into the coop and you don't like the smell, there is a reason for that, your nose knows!
Smells in the coop with deep litter are almost completely due to moisture caused by improper balance of carbon to nitrogen, lack of aeration, and insufficient ventilation.
Birds create a ton of moisture through droppings, tracking through mud or snow, and even respiration. Keeping that moisture under control is the key to deep litter management and avoiding smells and health concerns.
Managing ammonia in the coop is critical and proper bedding management is the first step in controlling any problems. Humans are able to smell ammonia at 15 ppm, and by the time you start to smell ammonia, you need to start working to remedy the problem. Prolonged exposure to ammonia at 25 ppm can affect the growth rate of chickens as well as their feed conversion. Long-term exposure at 50 ppm can actually induce blindness.
Improper Carbon: Nitrogen Balance
If this is your problem, there is a really easy fix!
Add more carbon. If you've got more poop than bedding and your coop smells bad, chances are you need a large injection of wood shavings.
It's very important to continue adding shavings to your coop, even if it doesn't stink and things are managing well. Adding a layer of shavings each week or two is paramount to the success of the deep litter method.
Lack Of Aeration:
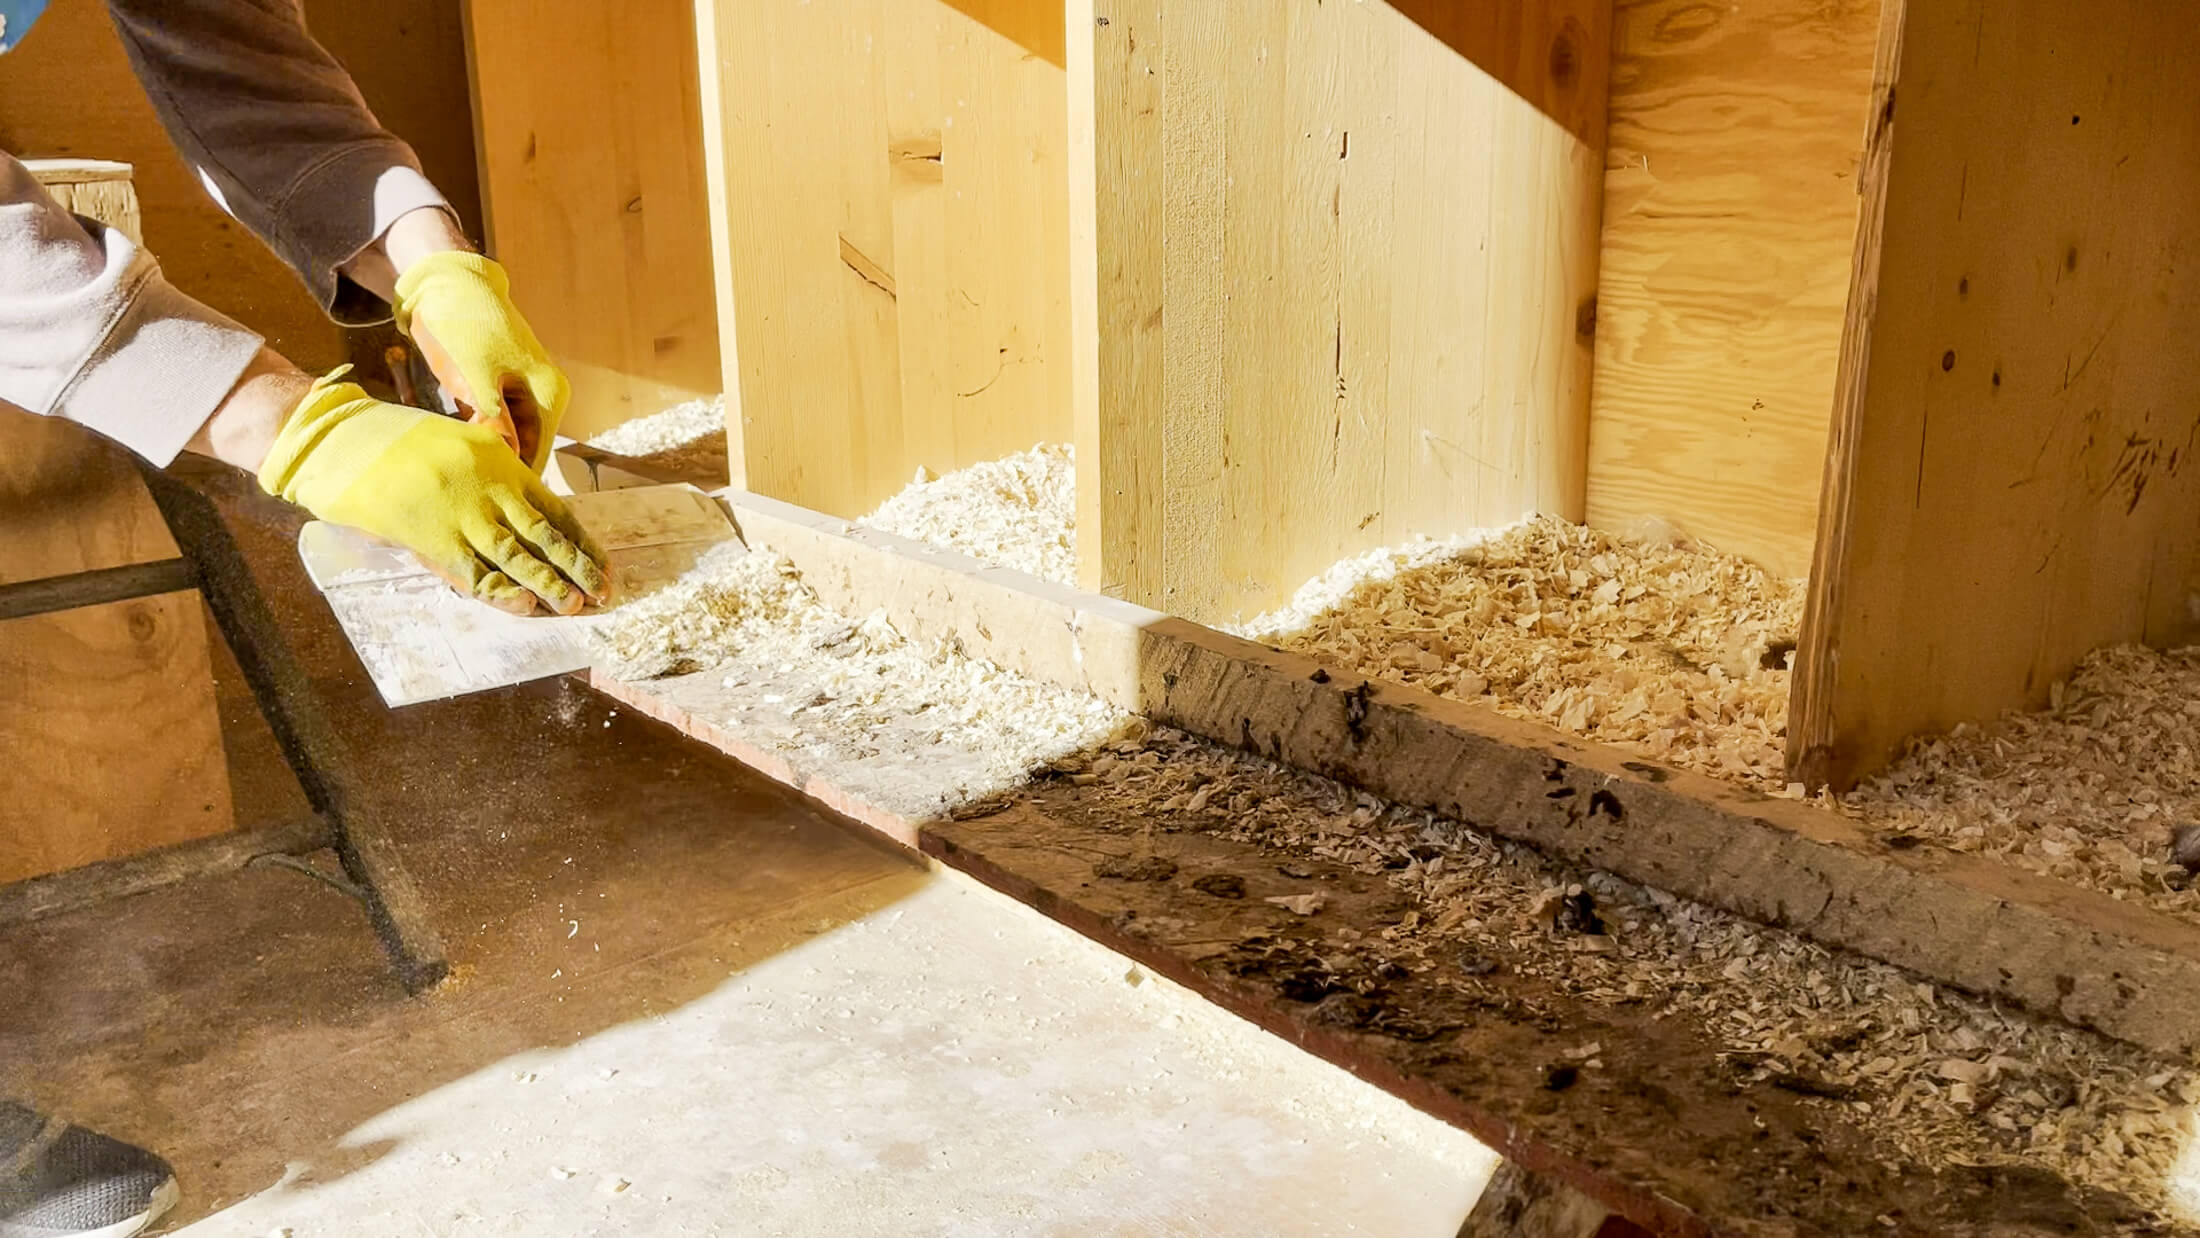
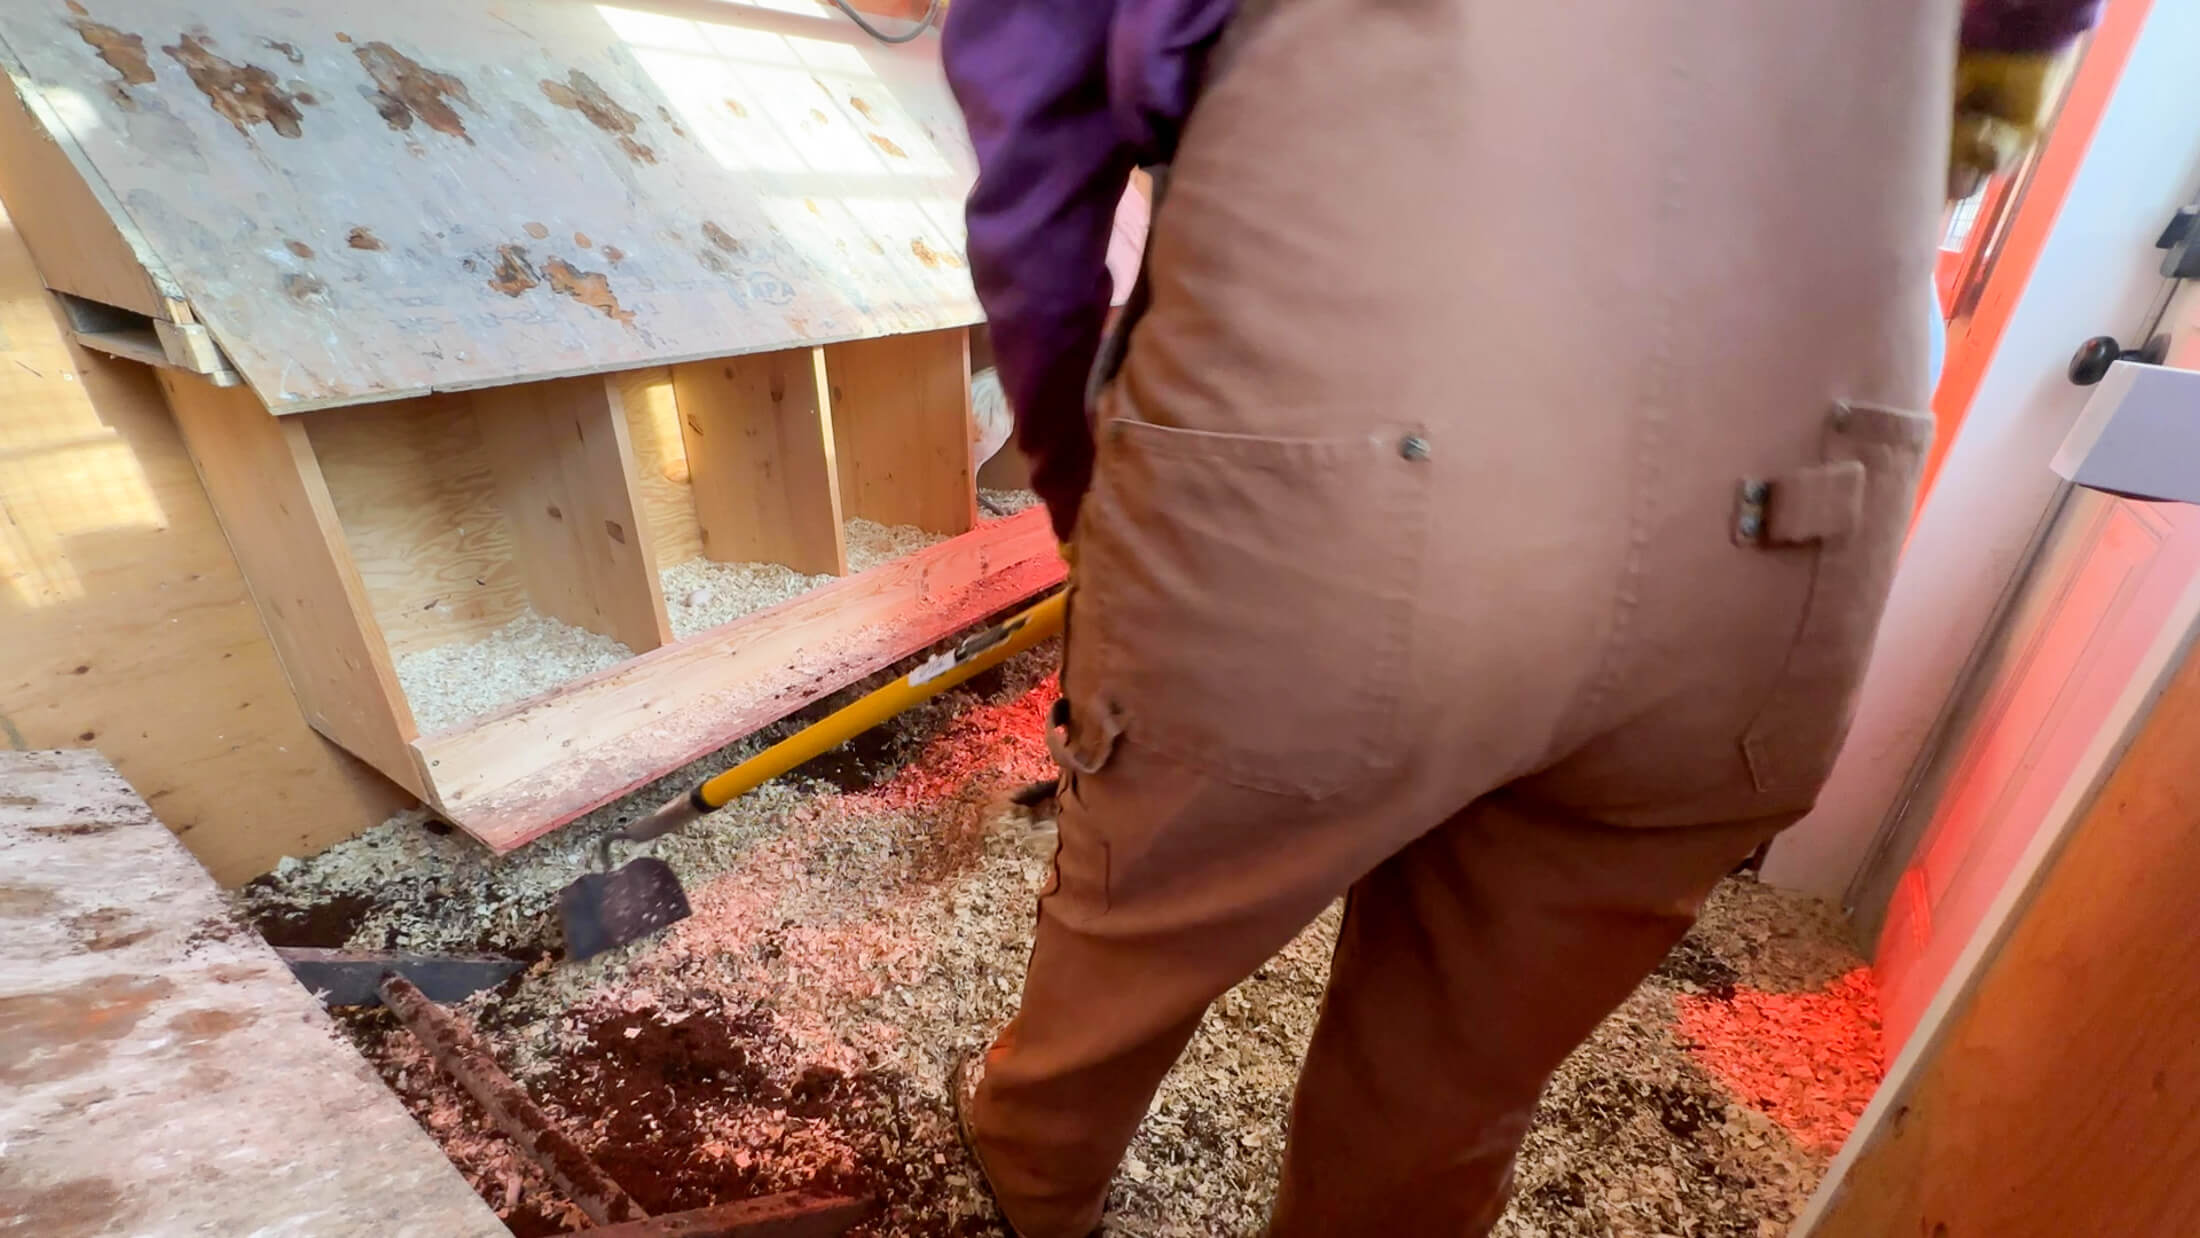
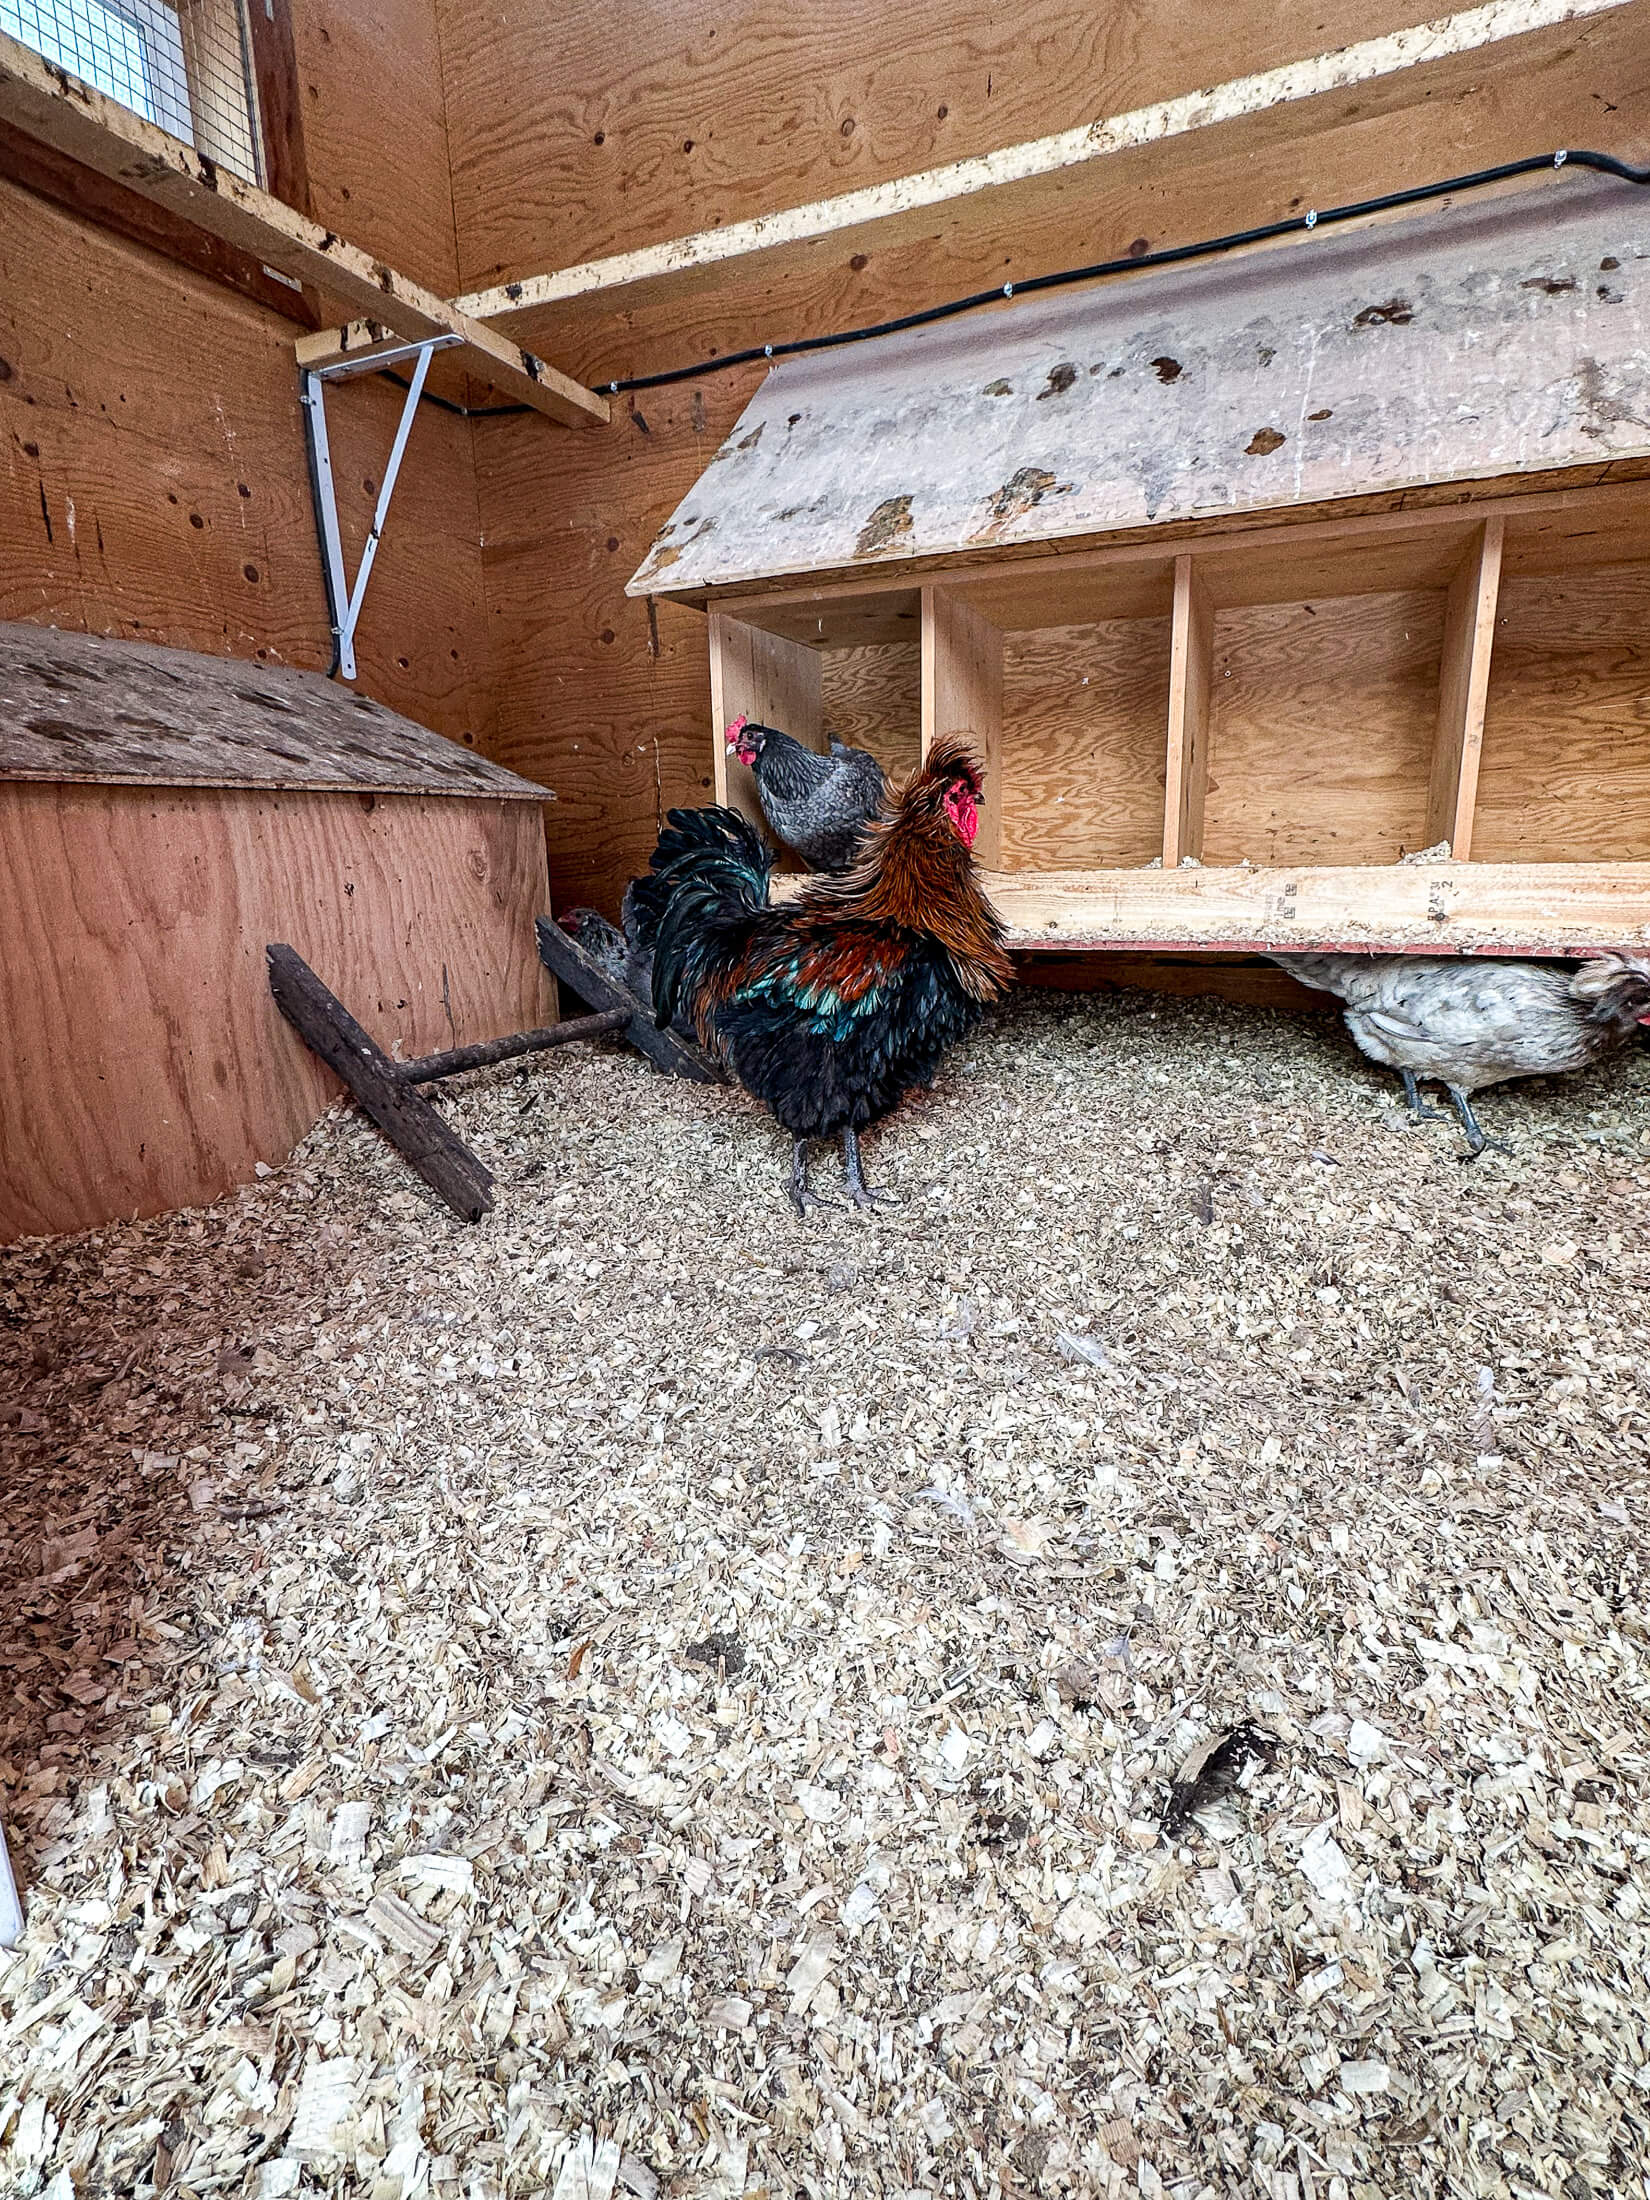
If your hens aren't diggers, like mine, you'll have to assume a more active role in the deep litter process. The litter needs to be turned regularly within the coop to keep airflow to the microbes doing the breakdown and to allow any moisture to evaporate from the bedding.
I use a garden hoe and slice through my bedding once a week focusing on the corners and areas my girls don't tend to burrow through. Using a solid tool like a garden hoe or ice scraper is better for turning the thick bedding than something like a rake which can only effectively move around the top layer.
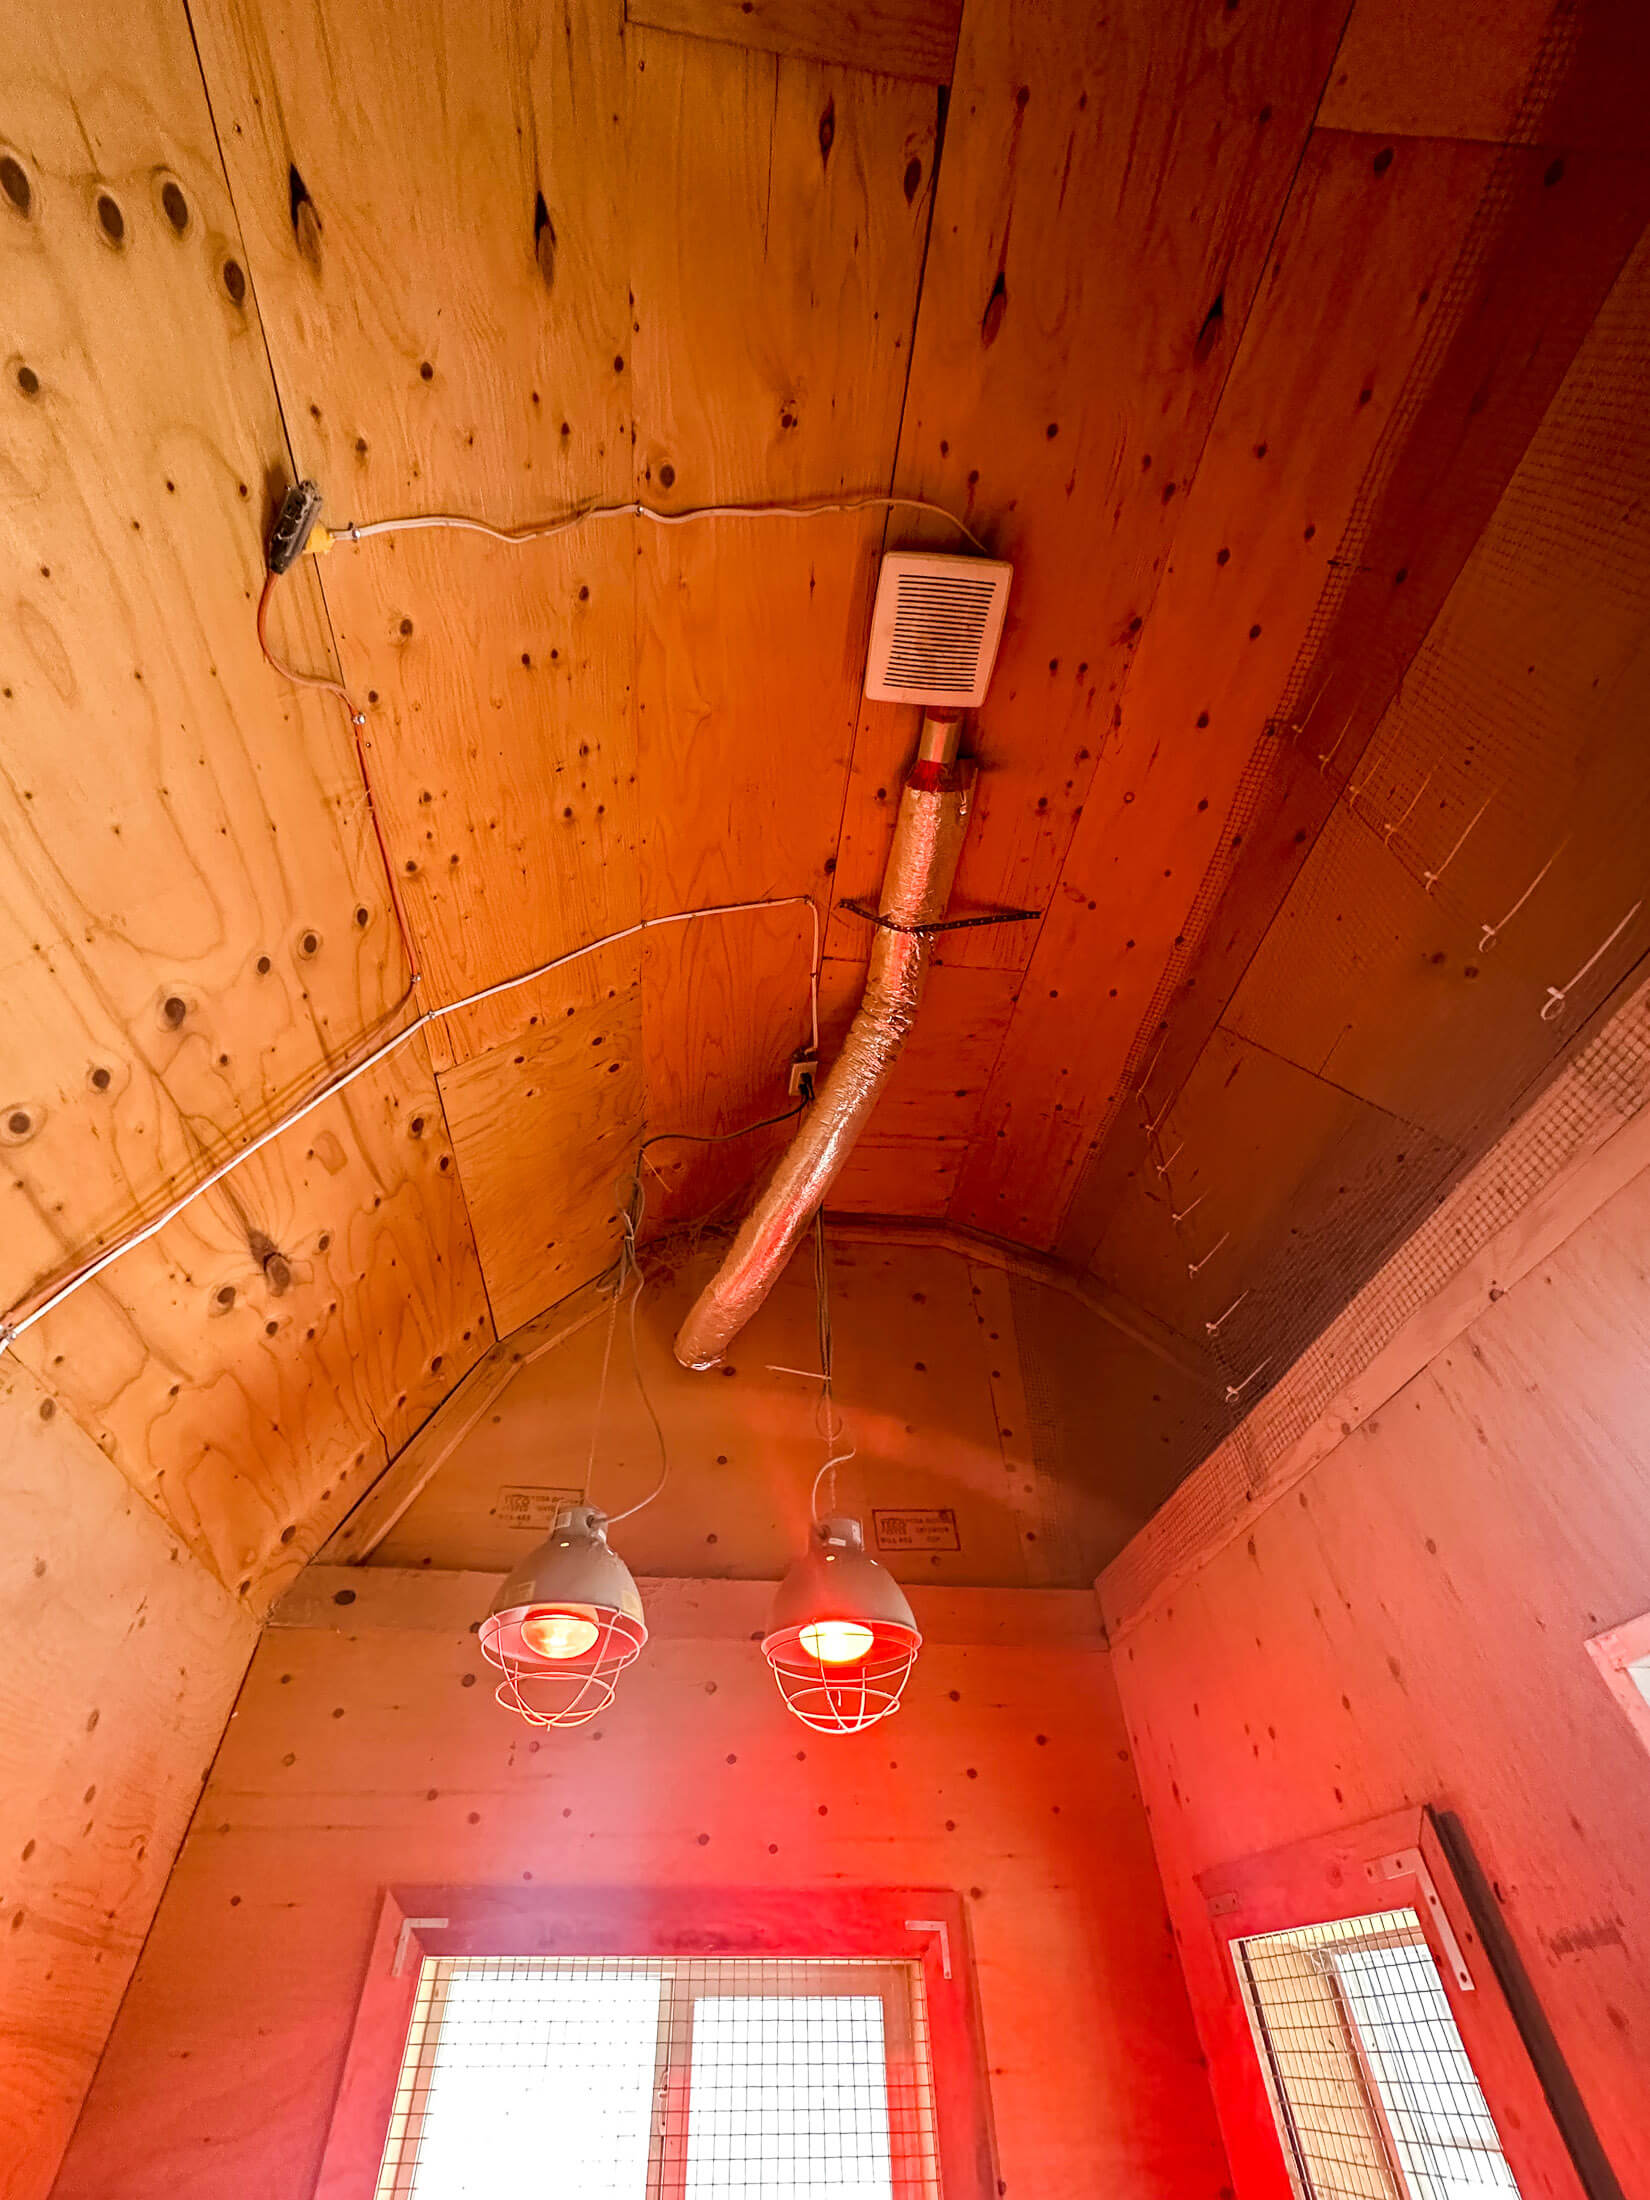
Insufficent Ventiliation:
Adequate ventilation makes a very big difference in the control of ammonia volatilization and moisture levels in your coop. Allowing ventilation for ammonia gasses and moisture to escape the coop is absolutely critical in this process.
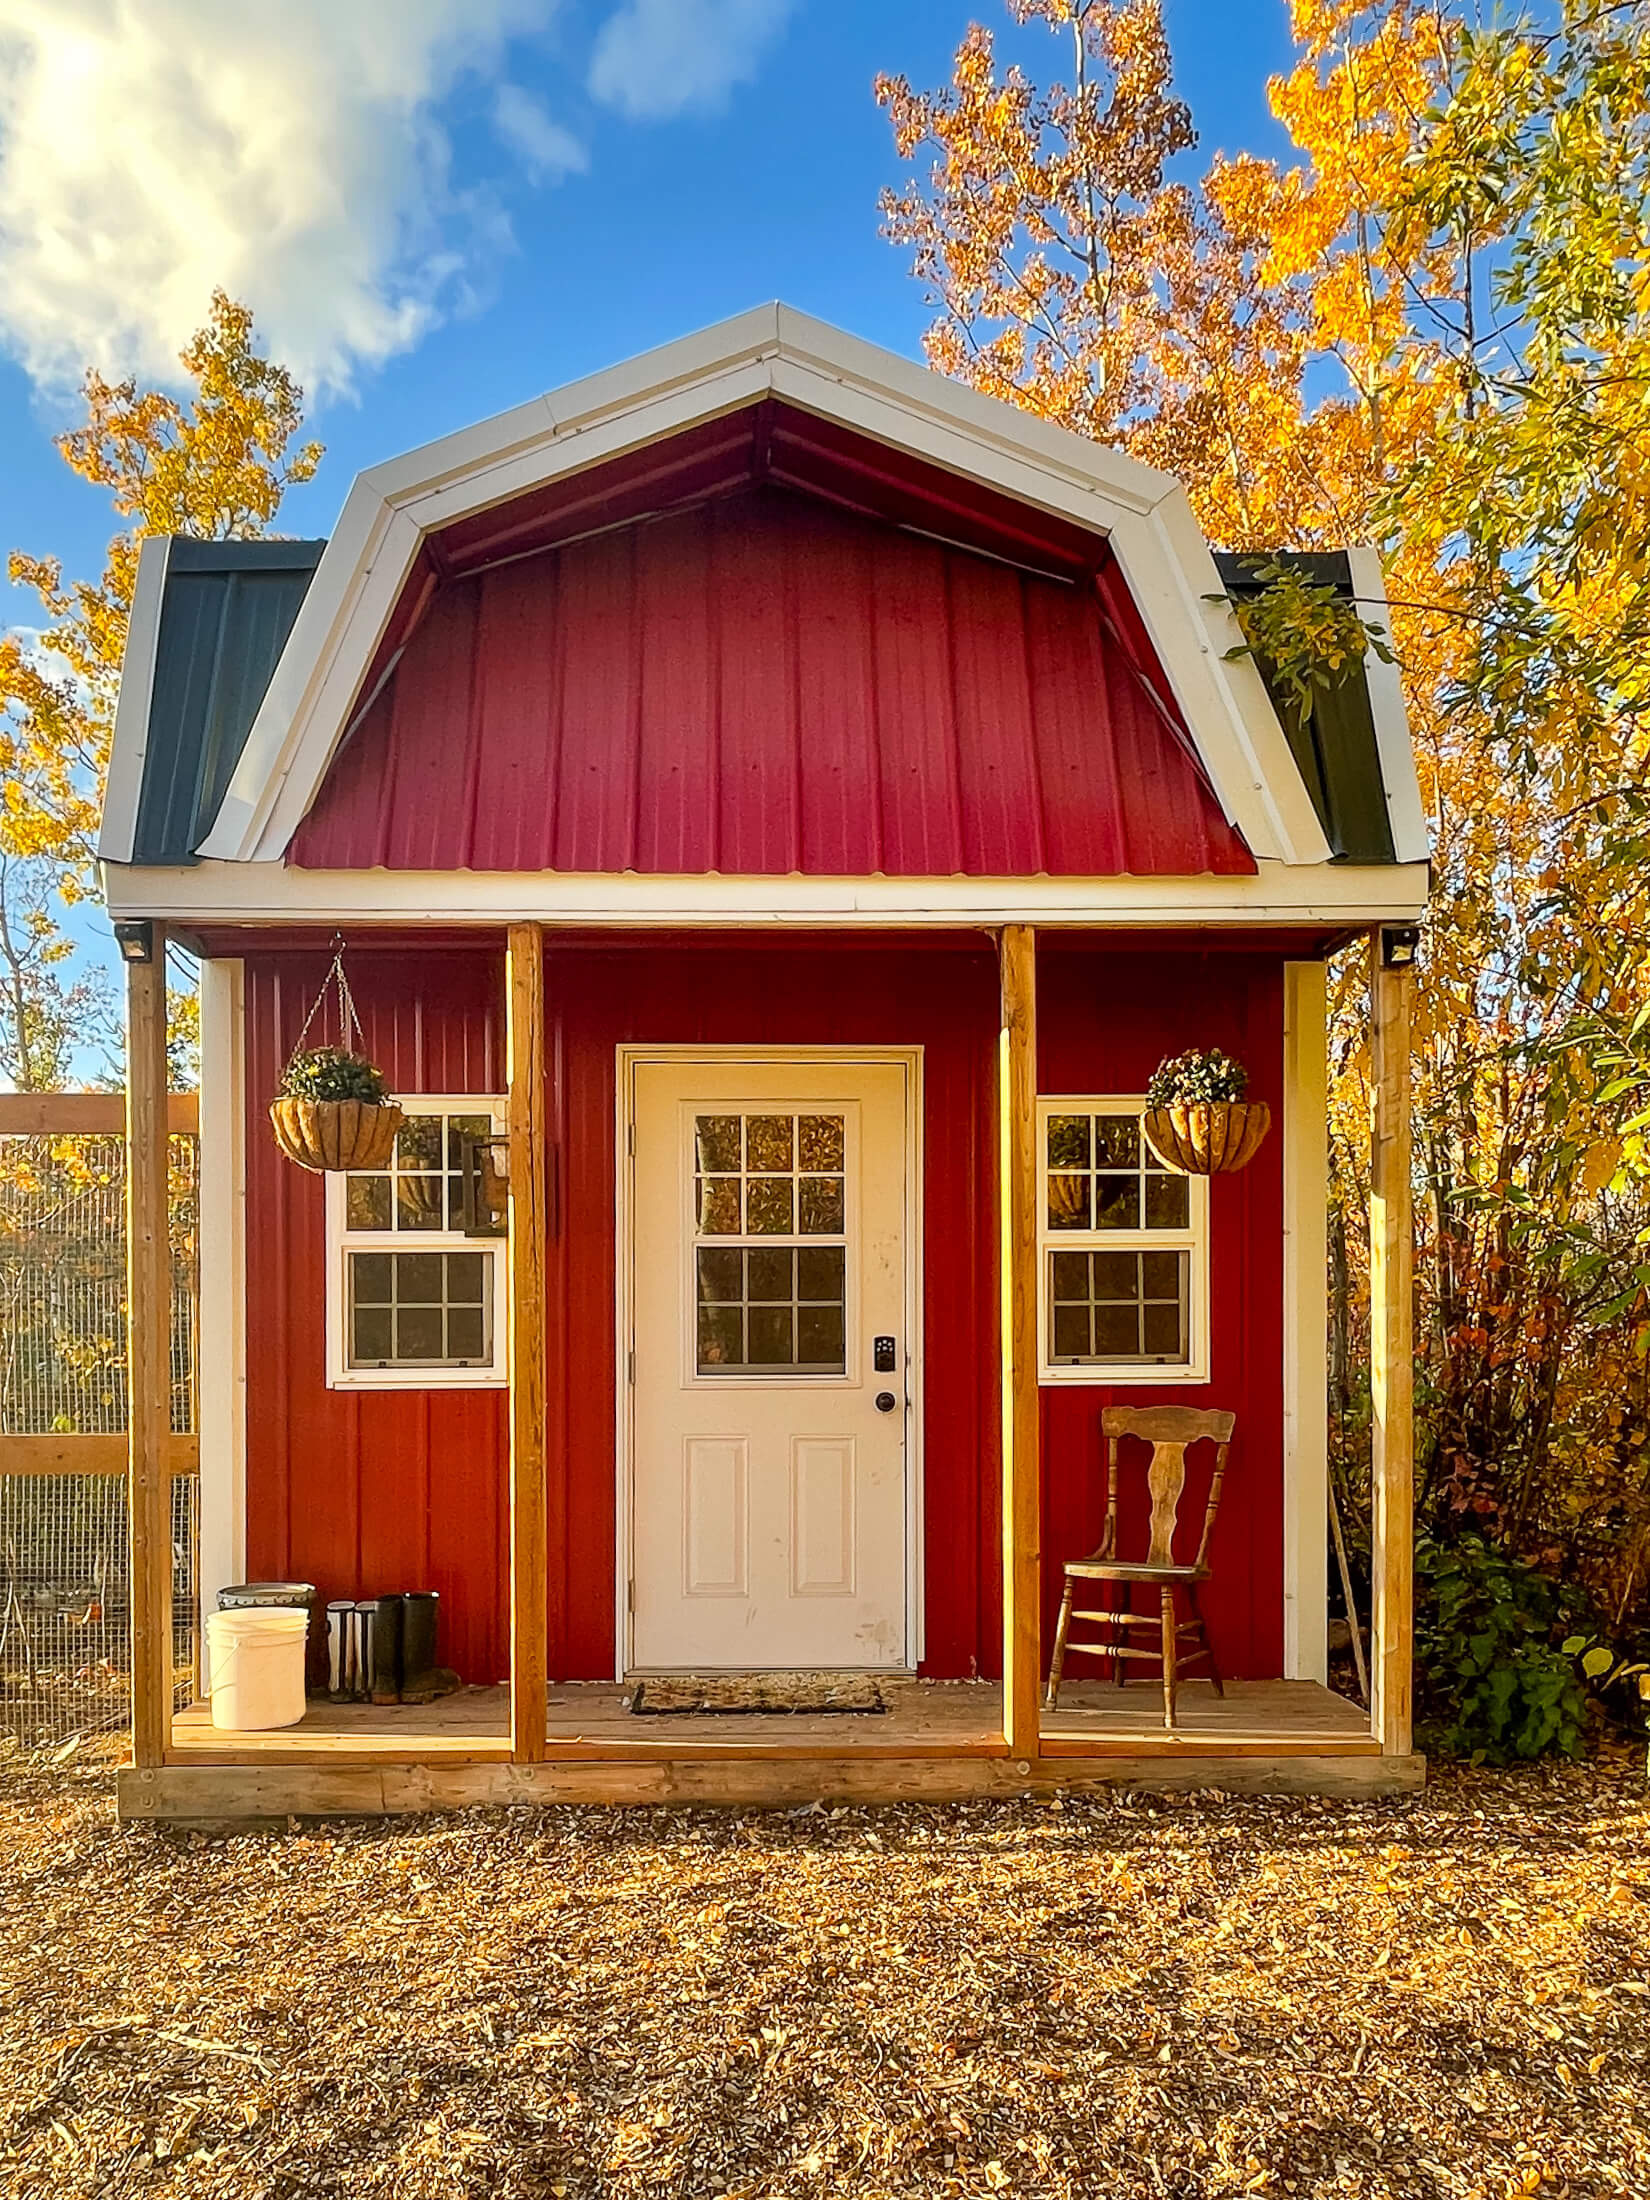
What adequate ventilation means for each chicken tender will be different depending on coop size, flock size, and climate. Due to our fully insulated coop, we have a bathroom exhaust fan wired into a timer. Our fan alternates on and off every 15 minutes. Your coop may have open eaves or cut-out vents, whatever works for your climate is good enough as long as the coop can breathe sufficiently.
Check out our Winterizing Our Chicken Coop YouTube Video - where we discuss starting the deep litter method.
How To Start The Deep Litter Method
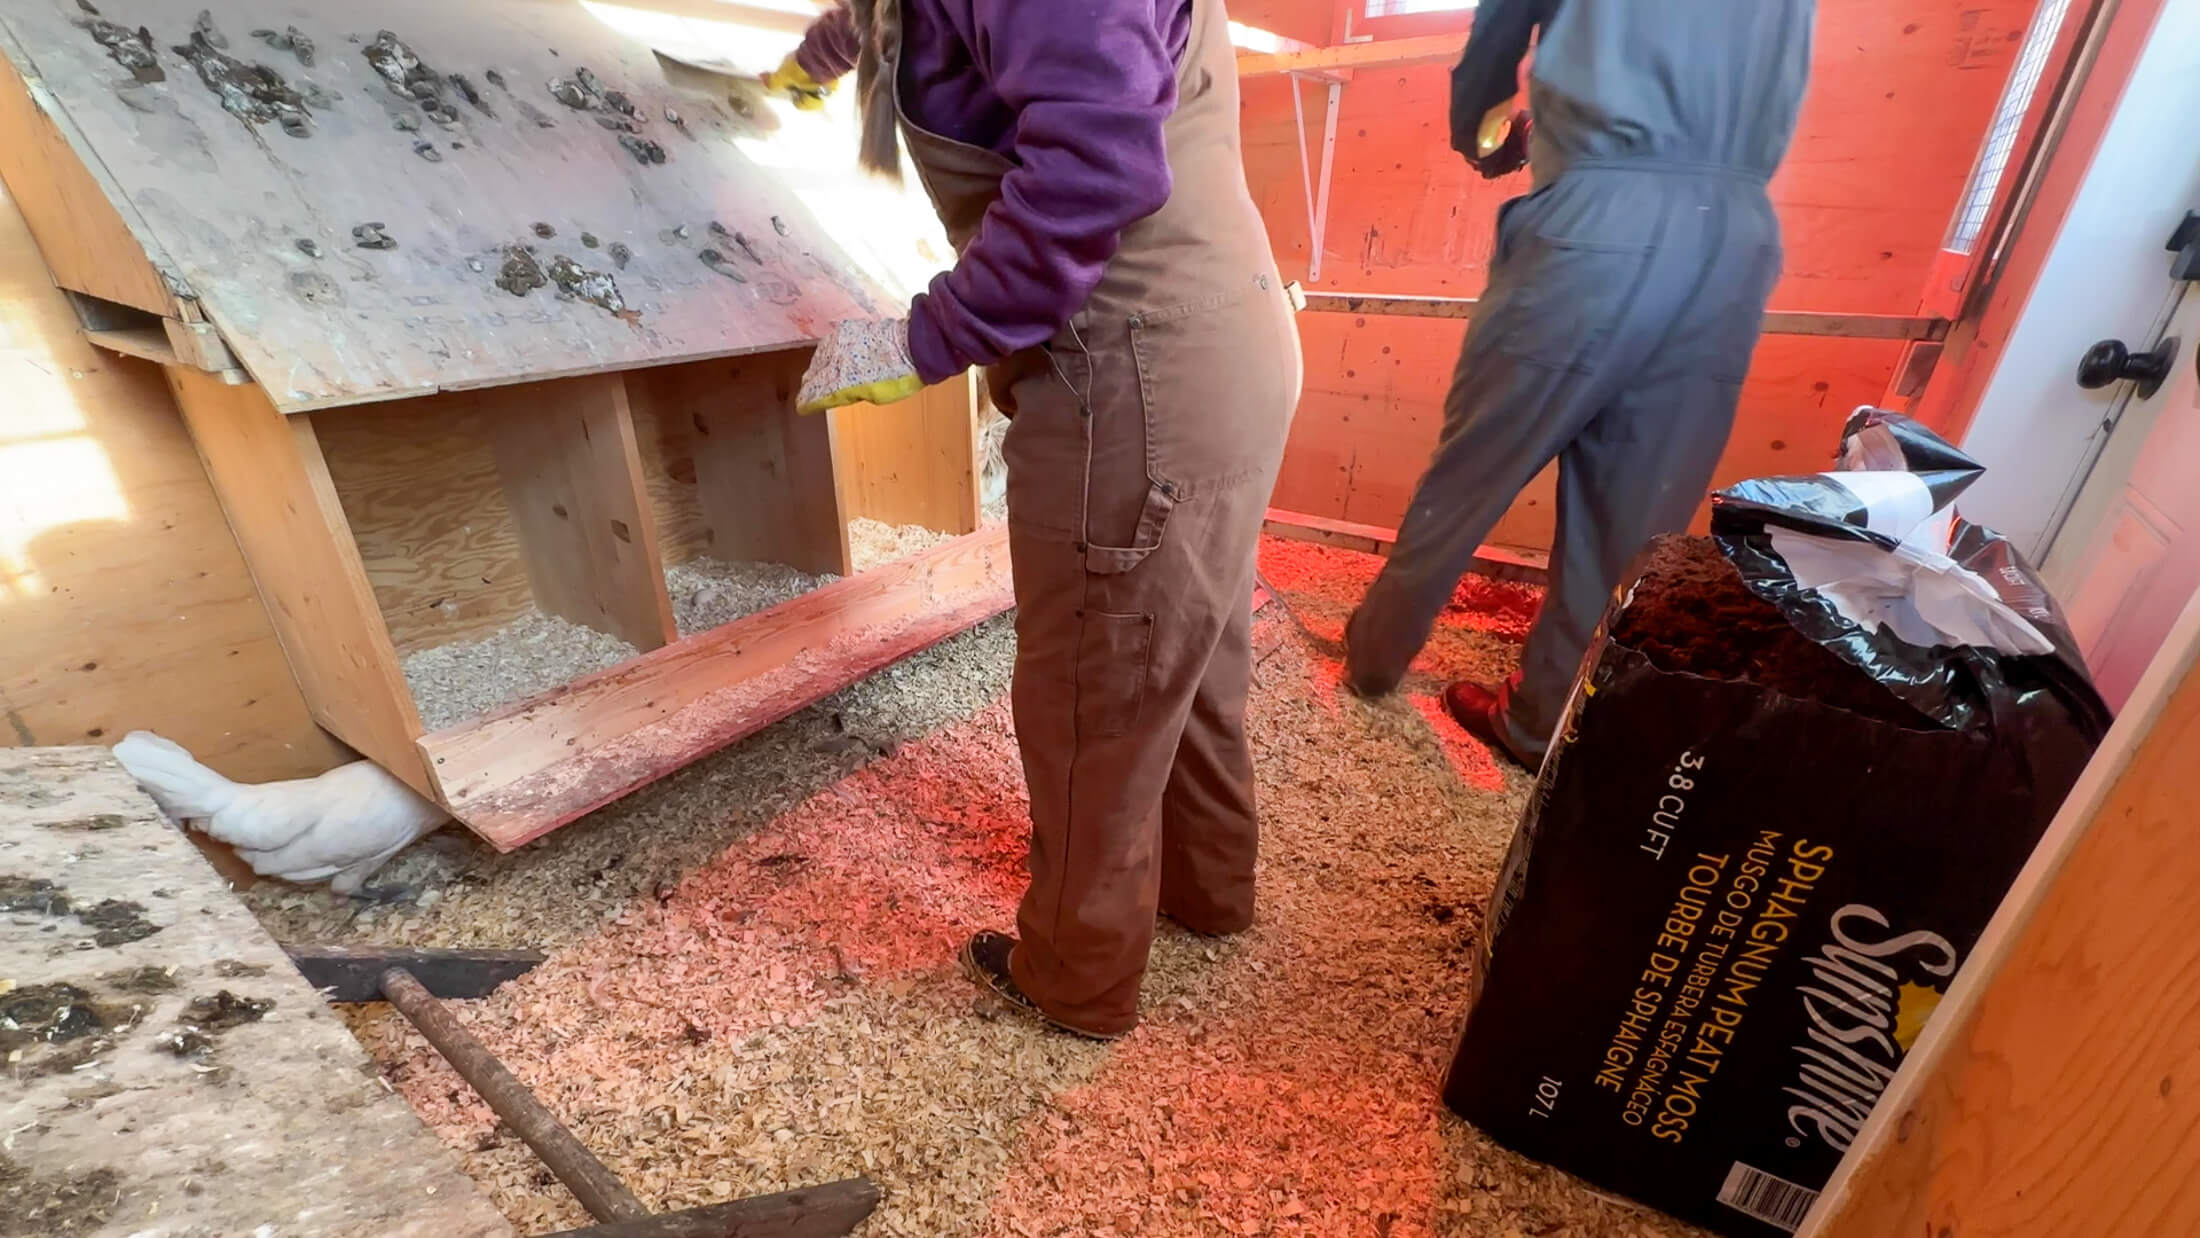
Clean your coop!
We want a clean slate to start this process to ensure that good microorganisms take hold and pathogens are not present. Clean your coop well by removing all of the old bedding and scrubbing it down. There are several sanitizing options on the market, but good old soap and water work too! Allow the coop to dry completely before adding in fresh bedding.
It is best to start the deep litter process in the summer or fall - this allows the decomposition process to get into the full swing of things before cool winter weather hits.
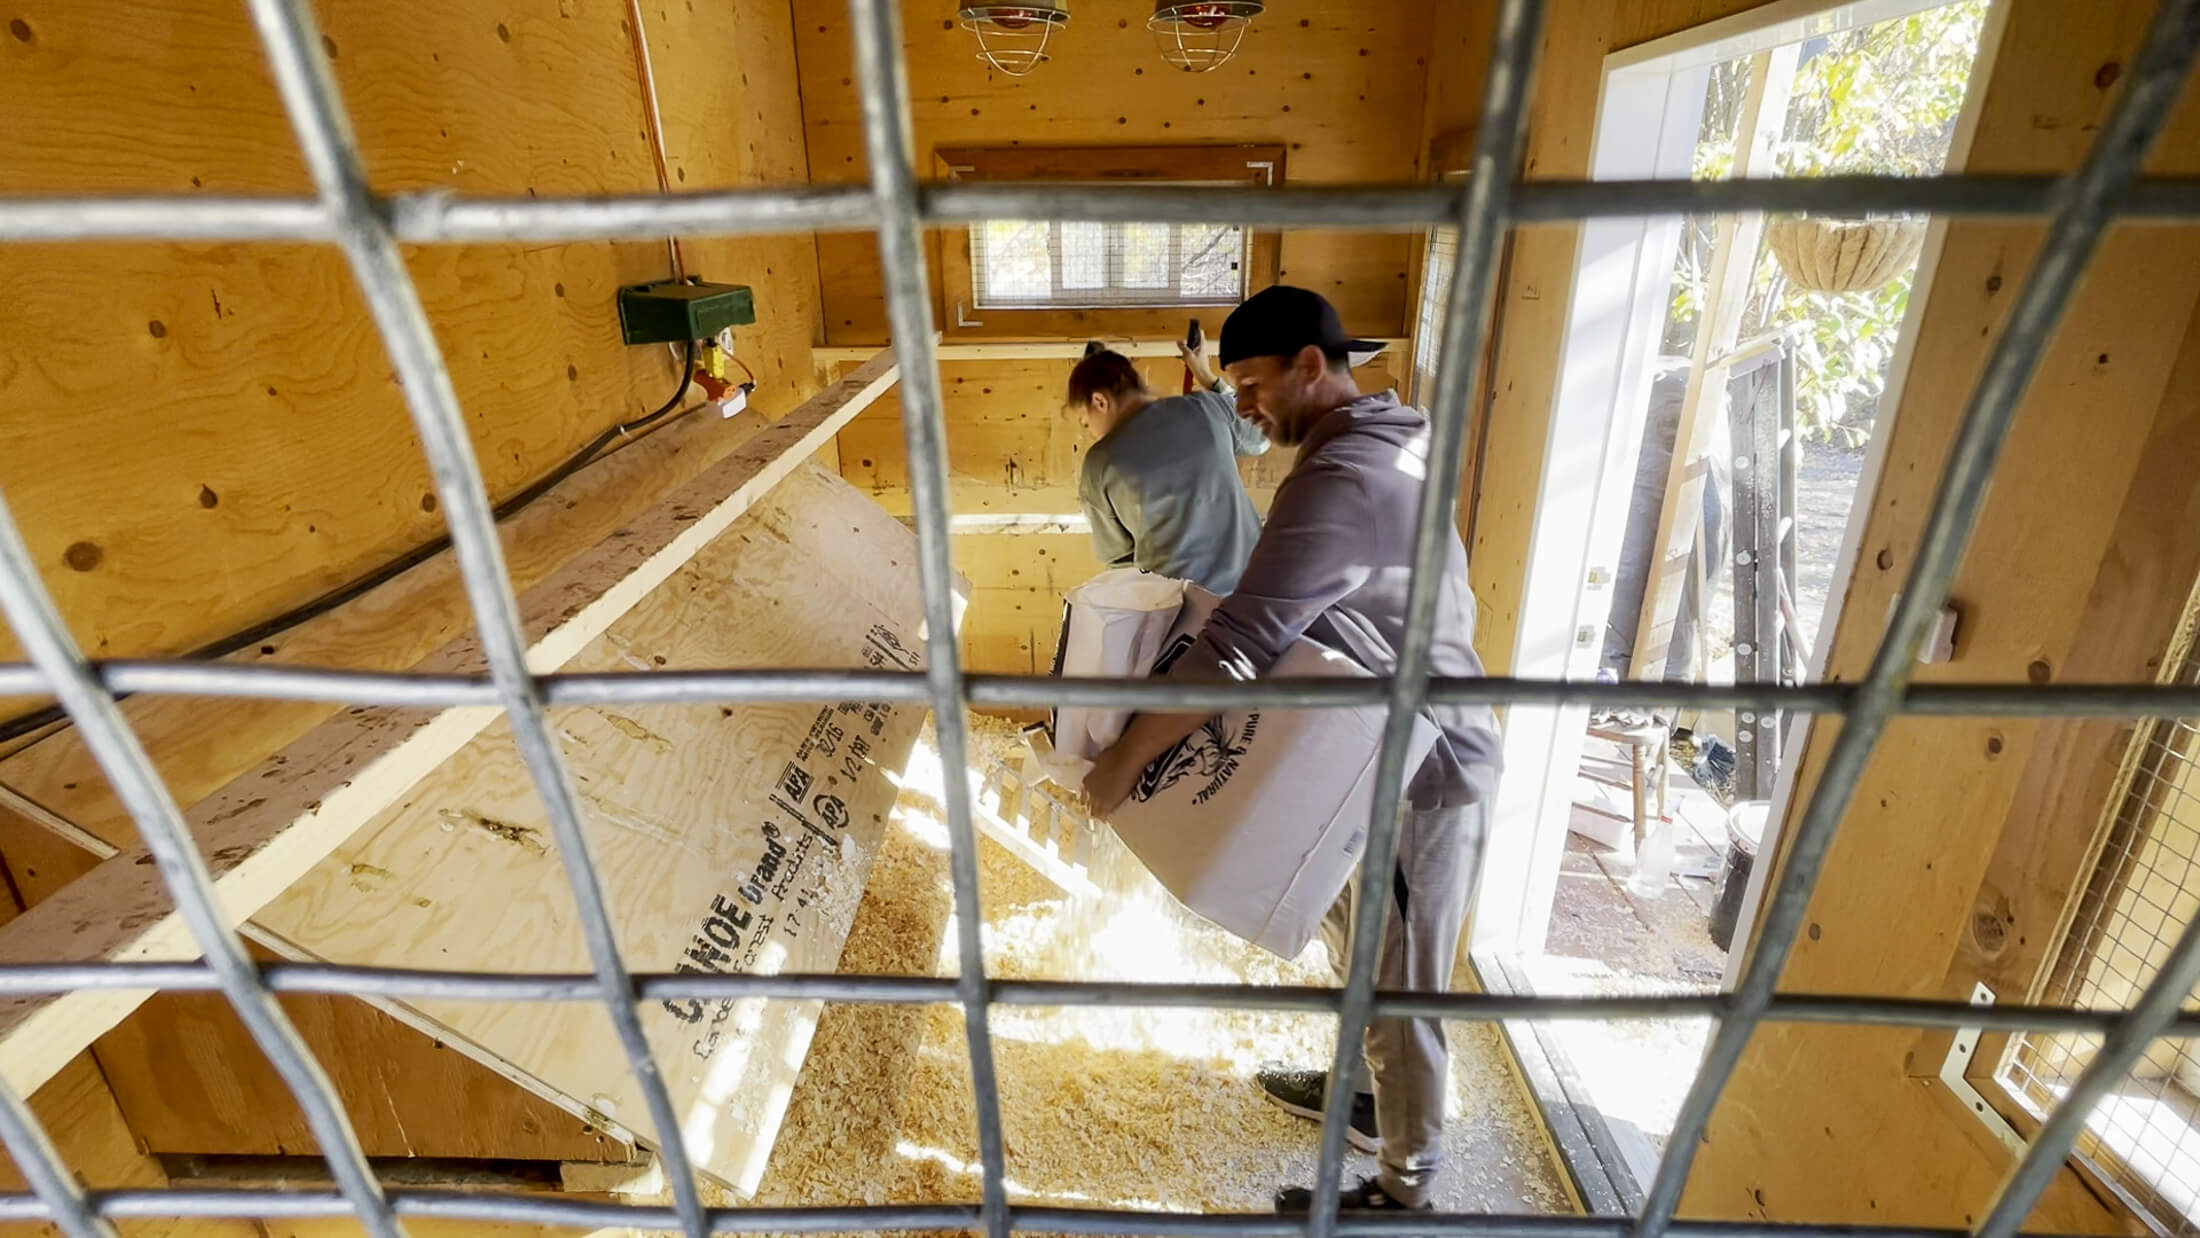
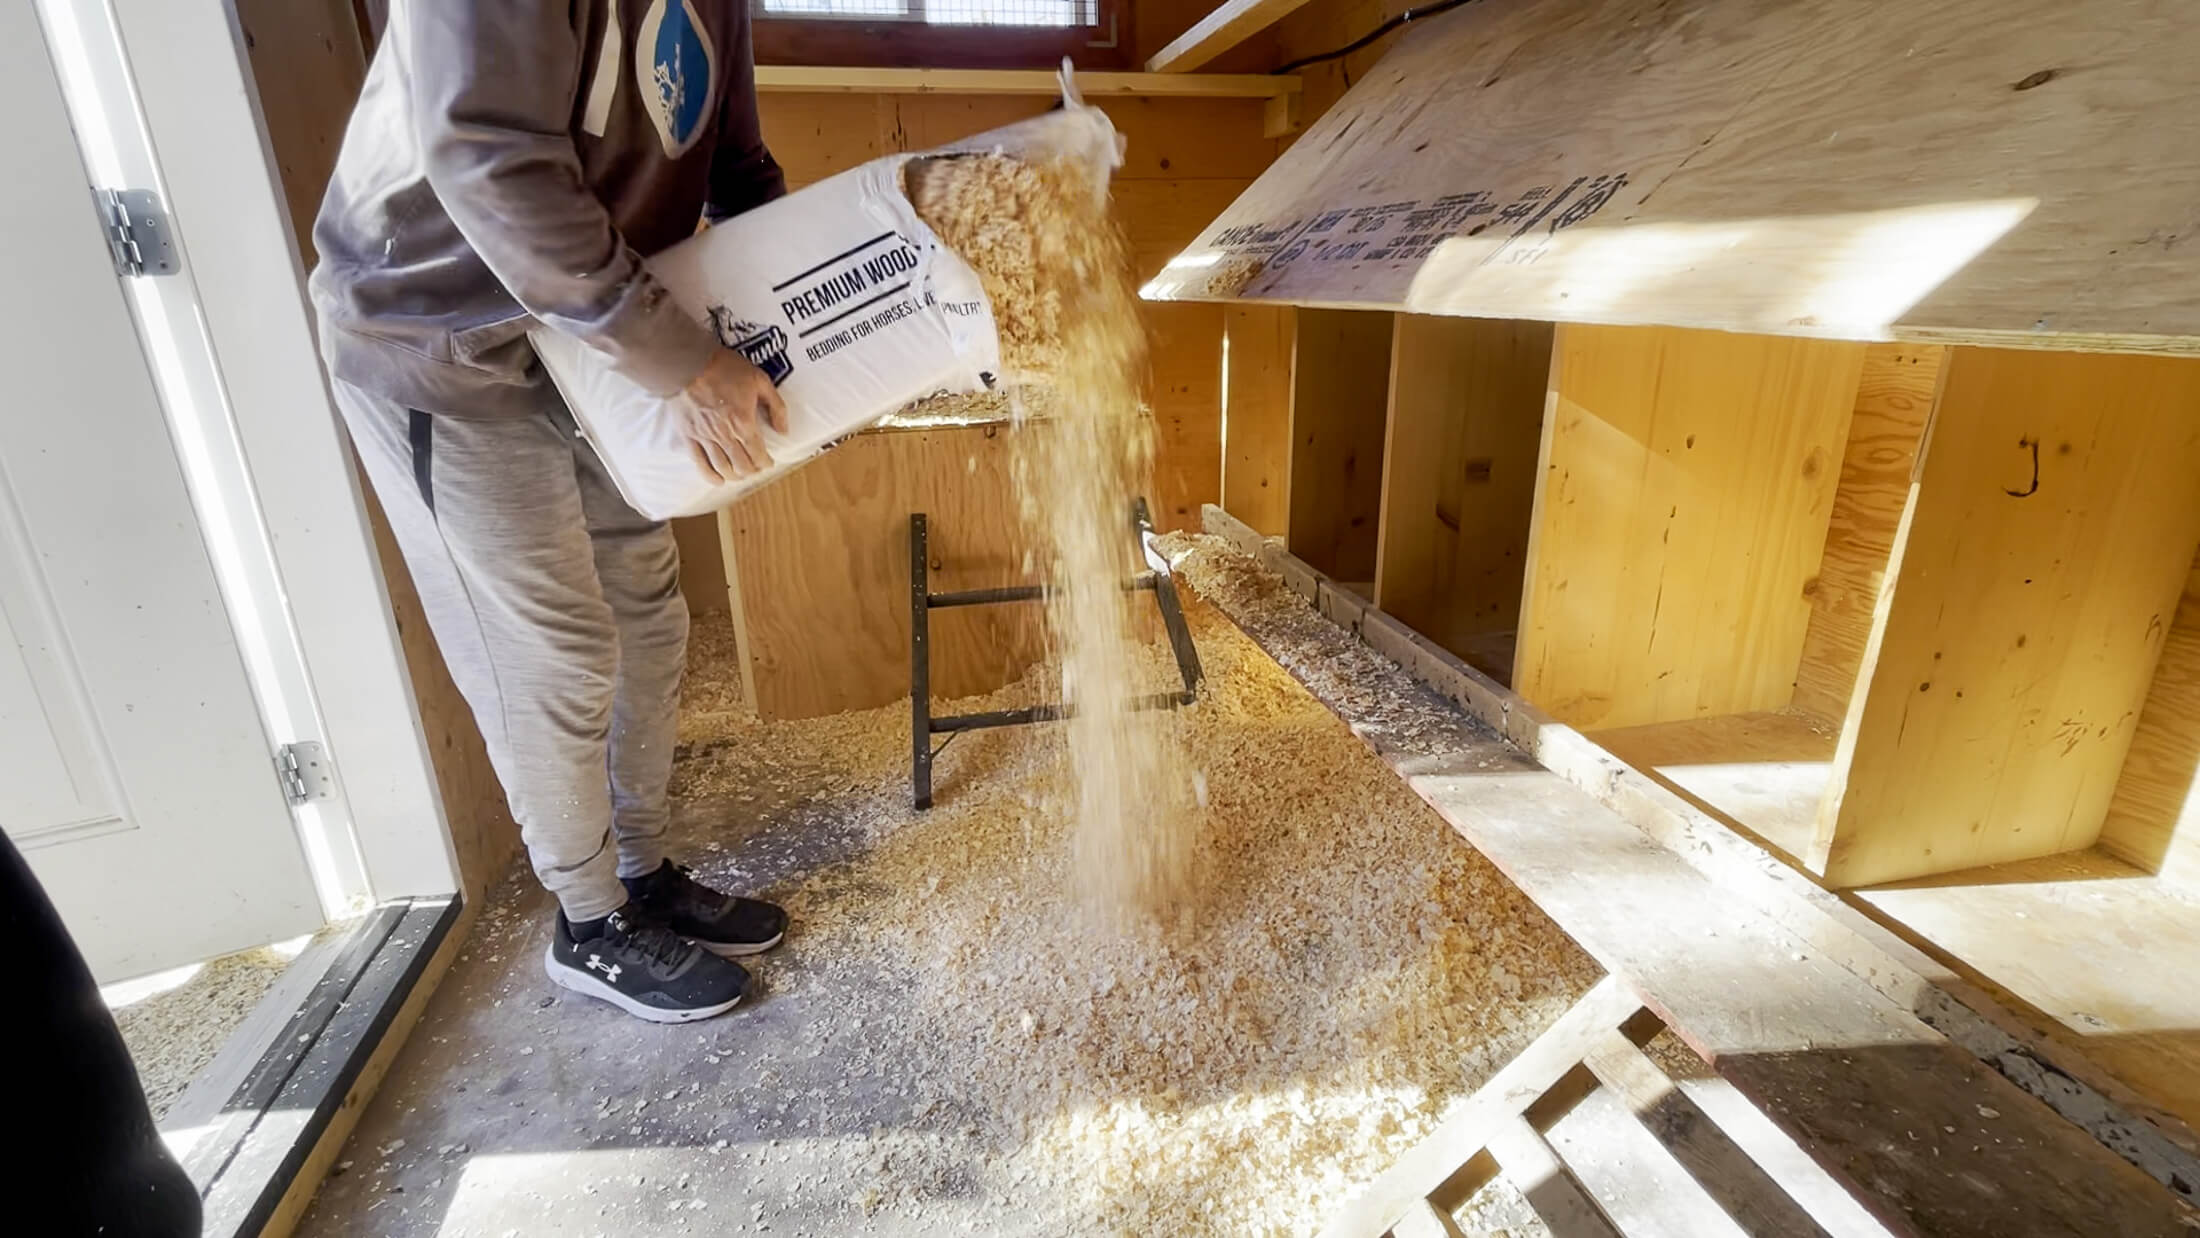
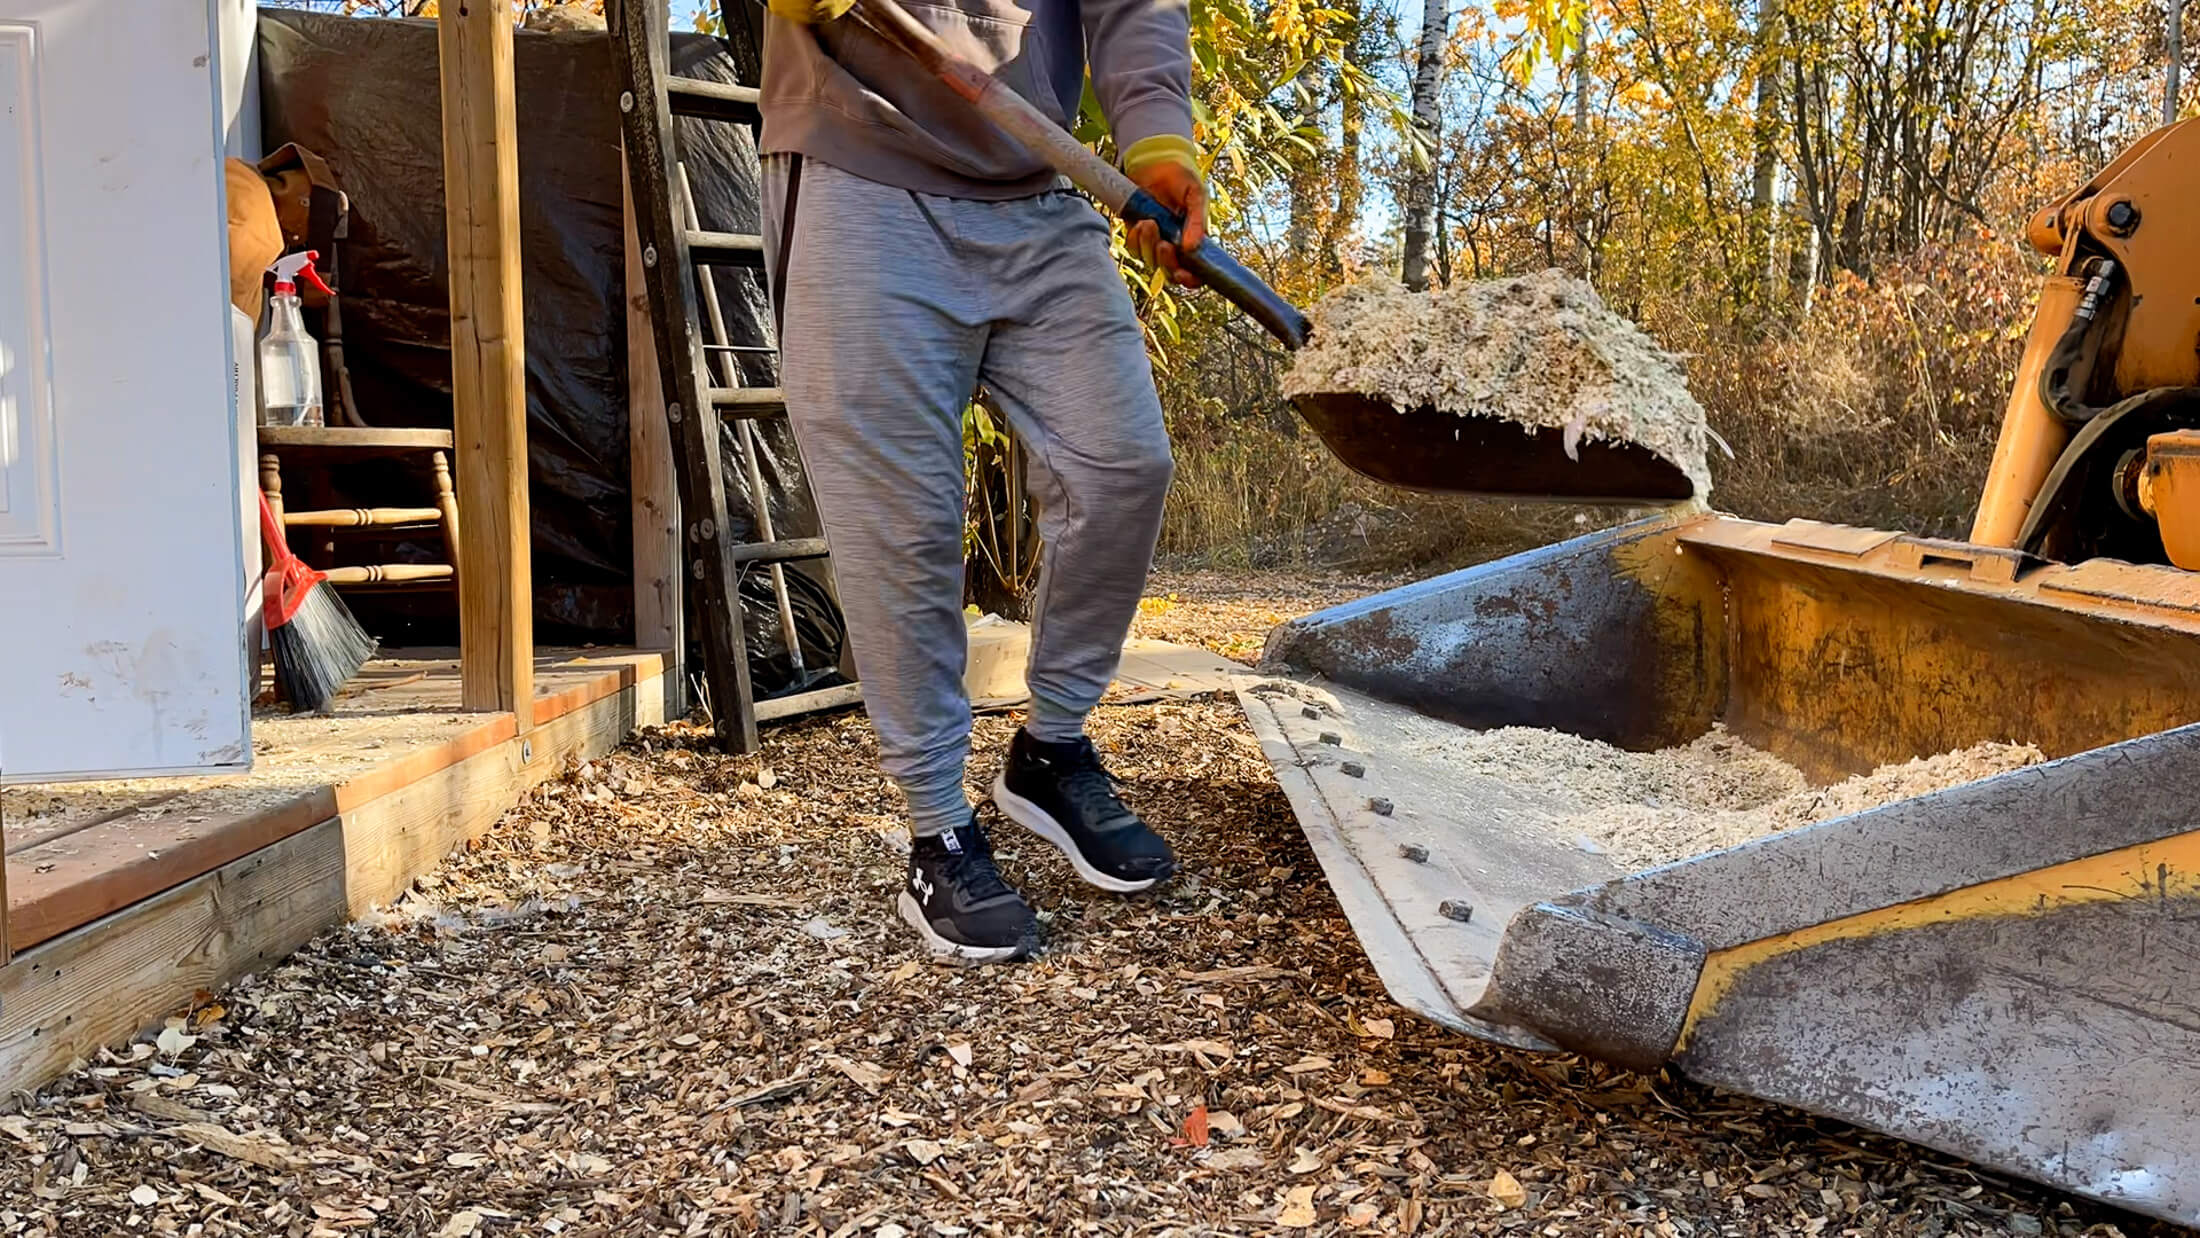
Add a thick layer of bedding:
When I say thick, I mean thick! Start with at least 4" and preferably 6" of fresh wood shavings. Avoid using other bedding materials for the first layer as they do not begin the decomposition process as quickly as shaved pine.
Scrape the poo:
Every day or so, take a paint scraper or similar tool and scrape all of the poop off your poop shields and roosting bars. Toss the poo into the bedding and give it a stir - sounds gross, but it is necessary to continue adding nitrogen (poop) to the deep litter.
Stir that brew:
The frequency at which you stir your bedding will be determined by several different factors, including, but not limited to, the size of your flock, the size of your coop, and the environmental conditions in your area.
If you notice the droppings are clumping together and forming little poo rafts that sit above the bedding, then you are not stirring frequently enough. It is definitely better to stir more often than less often.
Give a little:
Don't forget that this process relies on the continued addition of bedding materials. As the existing bedding breaks down into smaller pieces via compaction and decomposition, you must continue to add fresh shavings.
The rate of addition also depends on things like your flock size, coop size, and the environmental conditions outside your coop. More birds in a smaller coop will need more additions than fewer birds in a large coop. Birds walking through wet or muddy ground will bring in more moisture and require more shavings.
Monitor the situation:
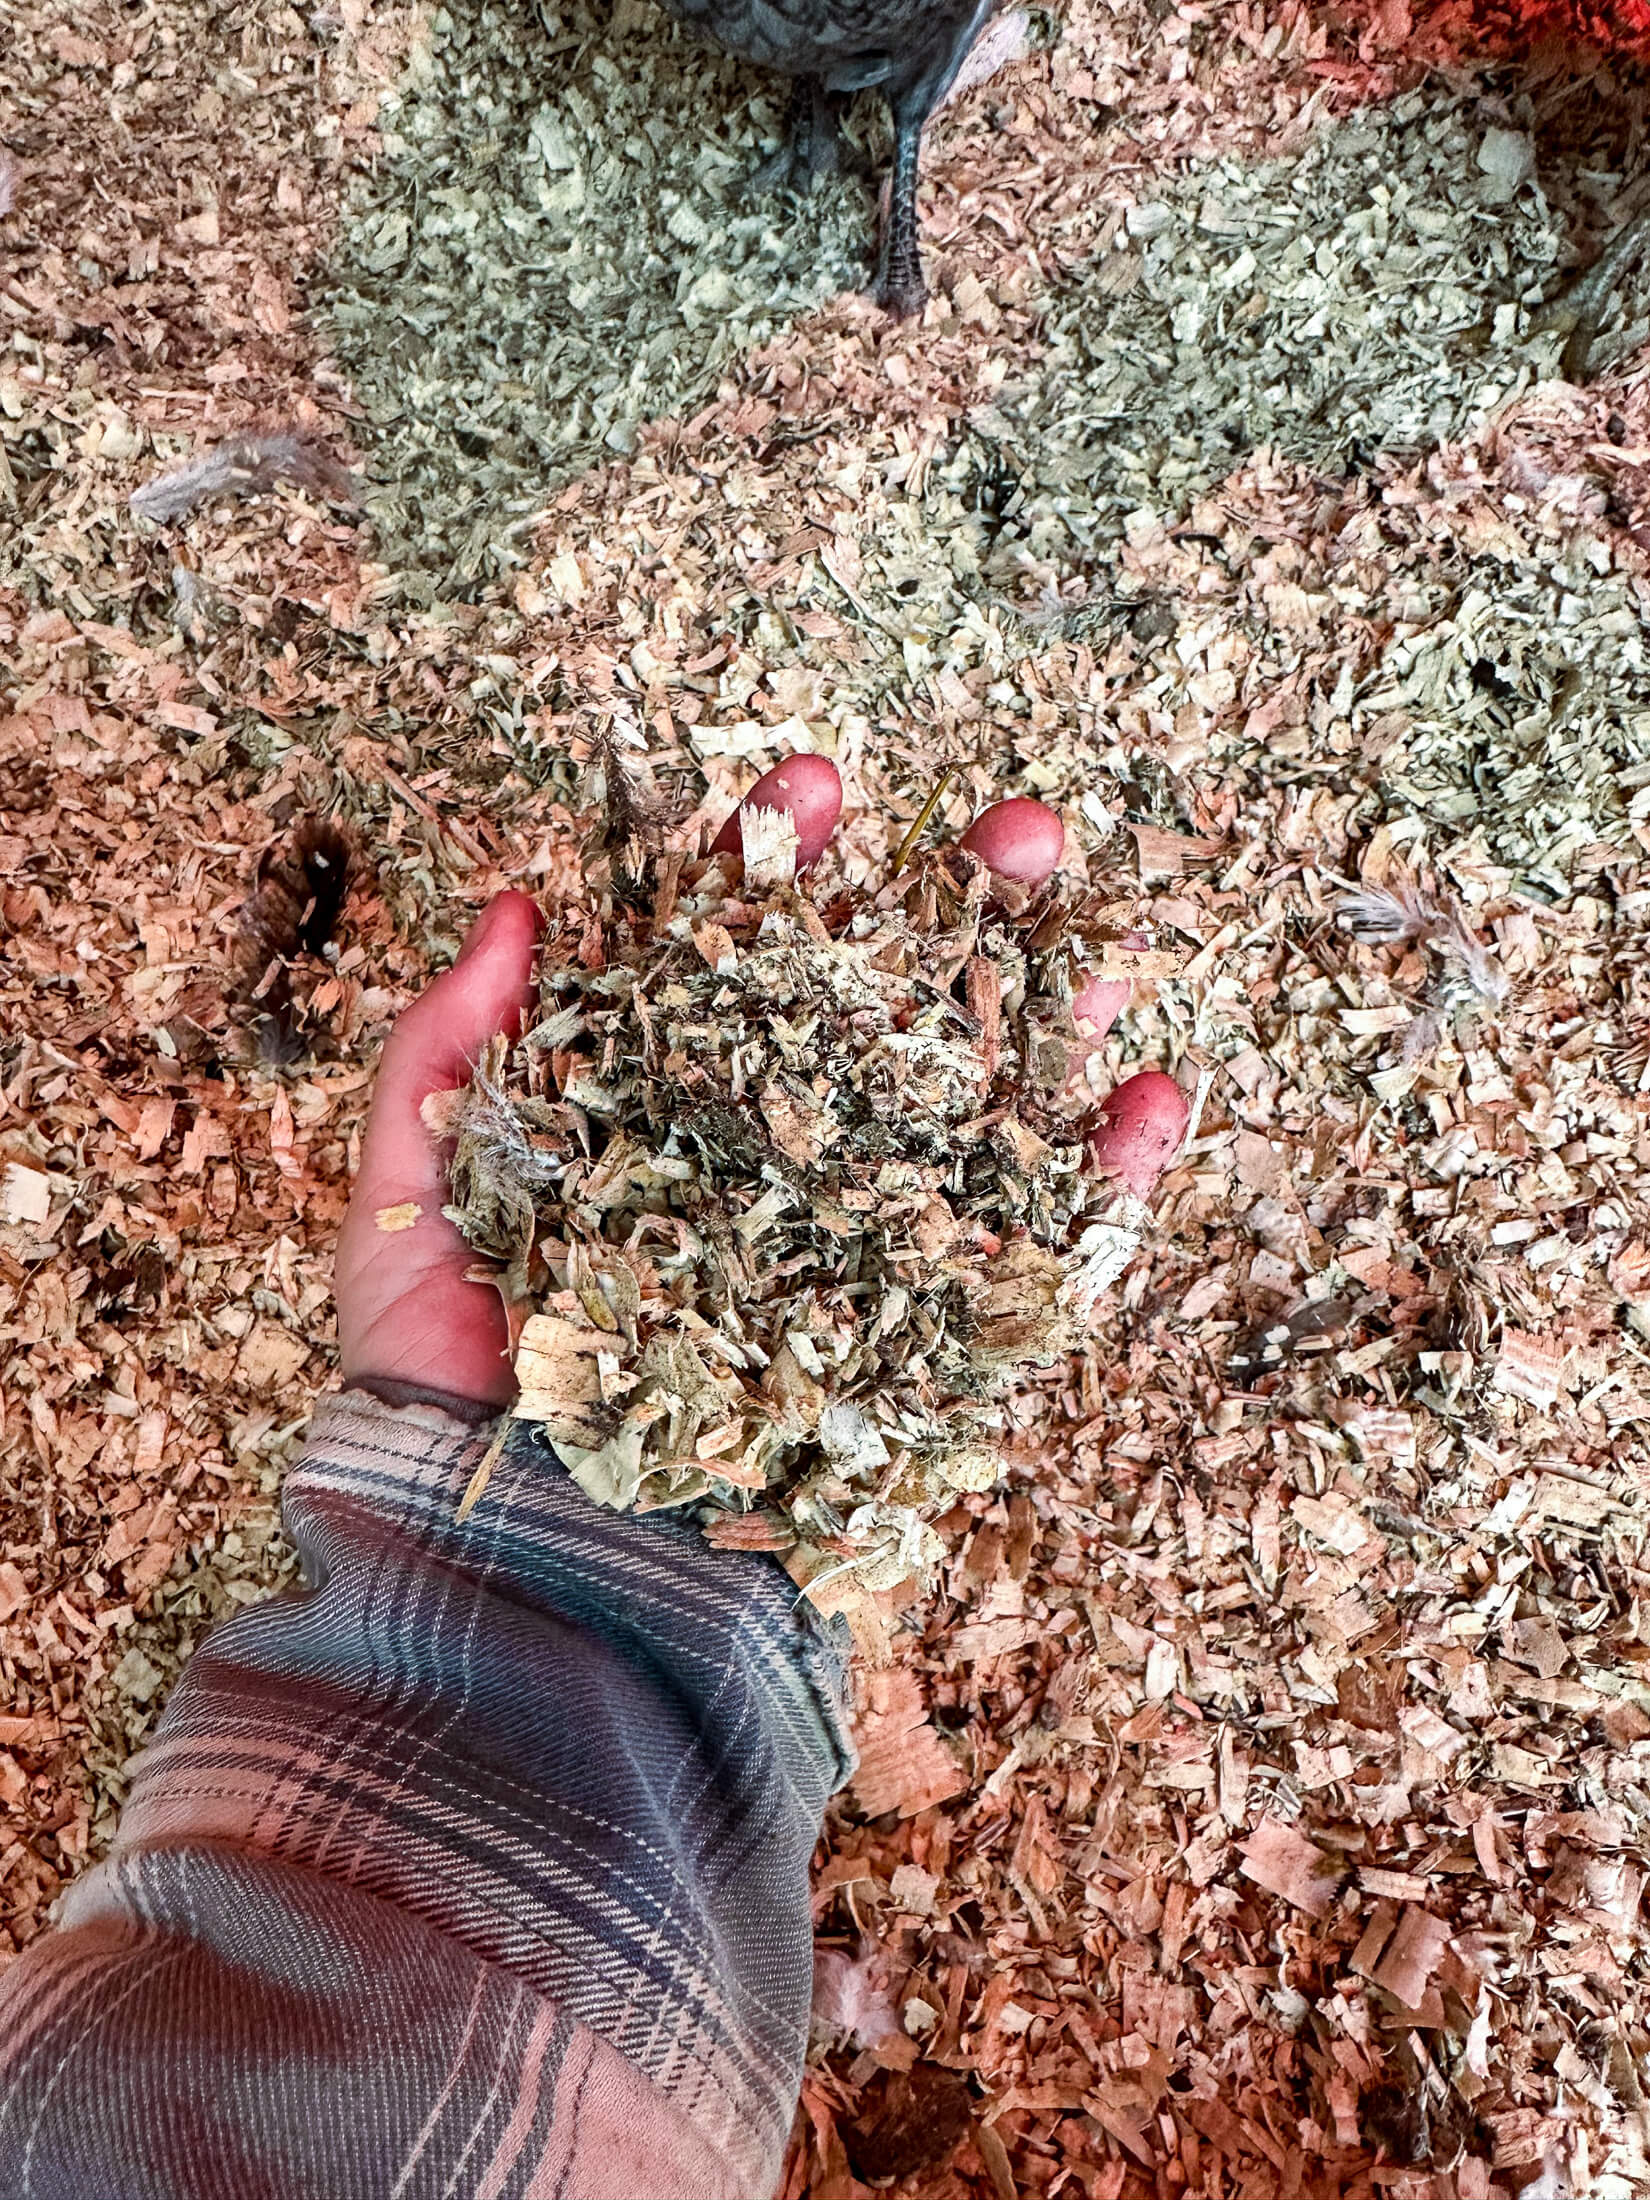
Keep an eye on the coop, this is true of any bedding method. Use your senses, does it smell bad? Is it wet? Does it look not quite right? Squeeze it once in a while, does it clump together?
Remove old litter:
Once your deep litter reaches 12" deep OR you're ready for a semi-annual cleanout, remove all but about an inch of existing built-up bedding. The remaining litter will help to innoculate your fresh new bedding with all the healthy microbes you spent the last 6 months nurturing and kickstart the decomposition process.
Tips + Tricks For Deep Litter Success:
- If you smell ammonia, take action. Not next week, now. It is so much easier to remedy the problem as soon as it arises than to wait until you're behind.
- Keep waterers out of the coop! This helps to prevent moisture issues which can cause mold and fungus in your bedding. It also helps to prevent excess moisture in the coop which can lead to frostbite and respiratory issues in your flock.
- If your flock is stricken by illness or disease, immediately clean out the bedding once the issue is resolved. Start over from scratch - even if it's the middle of winter. It's important to promptly remove contaminated bedding.
- Break up any clumps the chickens haven't managed to break up themselves. These poo rafts tend to stay clumped together in a wet mass and can harbor yucky germs we don't want in the coop.
- Stir. Stir. STIR! I cannot understate the importance of proper aeration and stirring your deep litter. If your chooks aren't good diggers, you'll need to pick up that slack. Every time you scrape the roosting bars and poop shields, stir in the poops.
- Avoid diatomaceous earth. This product is heralded as the next best thing for chickens since roll-away nest boxes and while it might have its place in chicken keeping - deep litter is not it. DE will kill the microbes you're trying to foster so skip it in your bedding.
- You absolutely NEED enough ventilation to make this bedding method a success - we discuss this in our Winter Coop Tour YouTube video, but if you're going to give deep litter a go, you need a way to effectively exchange air.
- Monitor the moisture in your coop - don't be afraid to pick up and squeeze a handful of your bedding - it shouldn't hold its shape for more than a fraction of a second. If it does, you've got a moisture imbalance and you'll need to increase ventilation and add dry materials.
- A kick plate against the door of your coop may make it easier to keep the chips within the coop.
More Chicken Keeping Goodness!
Deep Litter Maintenance
Deep litter maintenance is easy.
The one thing to remember is that maintenance is easier if it's done regularly. If you get behind on maintaining the coop you're going to have to work harder to remedy the situation.
I maintain my litter by scraping down the roost bars and poop shields every day or so, then stir in the scraped-off crap into the bedding with my foot. I watch the depth of the bedding and monitor it for clumping, and generally add in about a bag of wood shavings per week.
You'll need to remove the litter every 6 months or when it reaches 12 inches deep and start fresh. When you remove the old litter, make sure to keep about an inch of built-up bedding that will help populate your new bedding with healthy microbes.
Always remember to use common sense with your deep litter system - if your coop smells bad or you can see mold and mildew, take action immediately. Your chickens are depending on you for a clean, healthy home and a well-maintained litter system is an important part of that.
Check out our Winter Coop Tour YouTube Video for deep litter maintenance tips.
Notes From The Homestead
Deep litter systems are an effective and easy way to manage chicken coops. Your coop must be set up for the deep litter method and have sufficient ventilation.
However, they do require regular maintenance in order to remain successful. This includes daily scraping of roost bars and poop boards, stirring the bedding regularly, monitoring moisture levels, and adding wood shavings as needed.
Additionally, it is important to remove the litter and start fresh every 6 months or when it reaches about 12 inches deep. This will help ensure a healthy and clean environment for your chickens. By following these steps, your flock can benefit from a successful deep litter system that will keep them safe and healthy throughout the year.
Pin This Deep Litter Bedding Guide!

Hi there Boreal Bloom!
I am really interested in this method of bedding, but I am thinking that it is likely that my current coop may not qualify. It has a dirt floor and it has been raining a lot here in Colorado. The coop has truly stayed dry for the most part but rain has found its way in at the "windows" (holes in the door and the Easterly facing wall with wire to keep predators out). Do you think this sort of coop could handle deep bedding? Or would the bedding need to off the ground?
Also, we have made the waterer that a lot of folks use - bucket with nipples - but the nipples leak a bit. Would this need to be placed in the run to avoid too much moisture as well?
Thanks in advance for your input!
Hey Sarah,
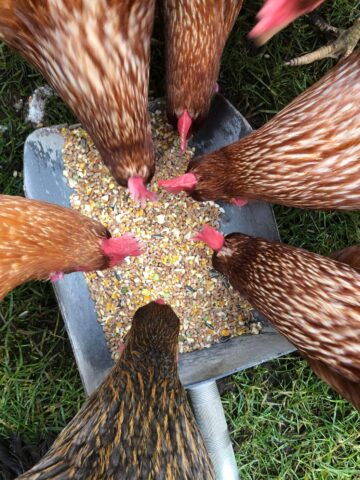
We do not keep any food or water in our chicken coop. Due to our cold climate, waterers can create extra humidity and cause frost bite and illness in the birds in the winter, so we opt to keep the water outside.
As for the moisture that comes in, I am not sure! Compost can handle a bit of moisture during the decomposition process, in fact it needs it, but without knowing how much moisture, I can't say. I do think that if it had 4 walls, your coop would be the perfect candidate, as the bedding in contact with the ground is going to have a much better decomposition rate due to the natural microbes in the soil!
If it was me, I'd try it. 🙂
Hi there,
With you not keeping any food or waters in the coop.. what do you use for the waters outside in the winter time? We do have the heated waters, is that all you use? Also, with the food, do you have a place to put the food at the end of the night or do you just keep it in the run?
Thank you!
Hey Tammy, great questions!
I go into this a bit more in depth in my winterizing your chicken coop post, but the quick answer is that we use heated dog water dishes in the run, because it gets so cold here in the winter, we have to make sure that whatever we use doesn't freeze off and I always worry that those heated nipple waterers would freeze off at the nipple.
We built a small lean to on the side of the coop and we keep their food, water, and dust bath in there to protect it from the snowfall. The lid is hinged for easy access.
The feed stays out all night - I'm sure I feed some mice, but its less work to haul feed every day because their feeder holds an entire bag.
Hope that helps!
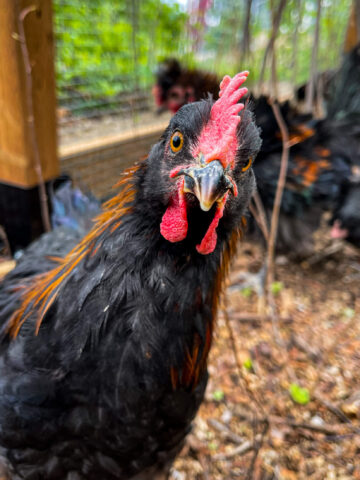
This is THE BEST article I have read on deep litter method. Excellent! THANK YOU! Question: I started a brand new coop in August. I have poop hammocks under the roosts which have made it super easy to keep things clean. But the chickens have been moulting so there are a lot of feathers in the bedding. I’ve heard that can attract lice and mites. Is that true? Should I clean the bedding right out and start fresh? Or just continue on with all the feathers mixed in?
Hey Bee, thanks! I really loved learning about deep litter and putting it to use.
Honestly, if it was me, I'd be dumping all the stuff from the hammocks into the bedding and stirring it in every day or so. Feathers and all. I've never worried about separating the feathers out. They take a little longer to break down, but they have never caused a problem for us. That said, I do regular mite and lice checks, especially in the winter time, as they do spend more hours in the coop.
The thing I learned about deep litter, and we are really stretching it this time - almost a year since we've cleaned it out, is that when in doubt, add more poop, top off with a bit more chips and Bob's your uncle. It's pretty much a self sustaining ecosystem, so as long as we manage the carbons right, the system works without a lot of intervention!