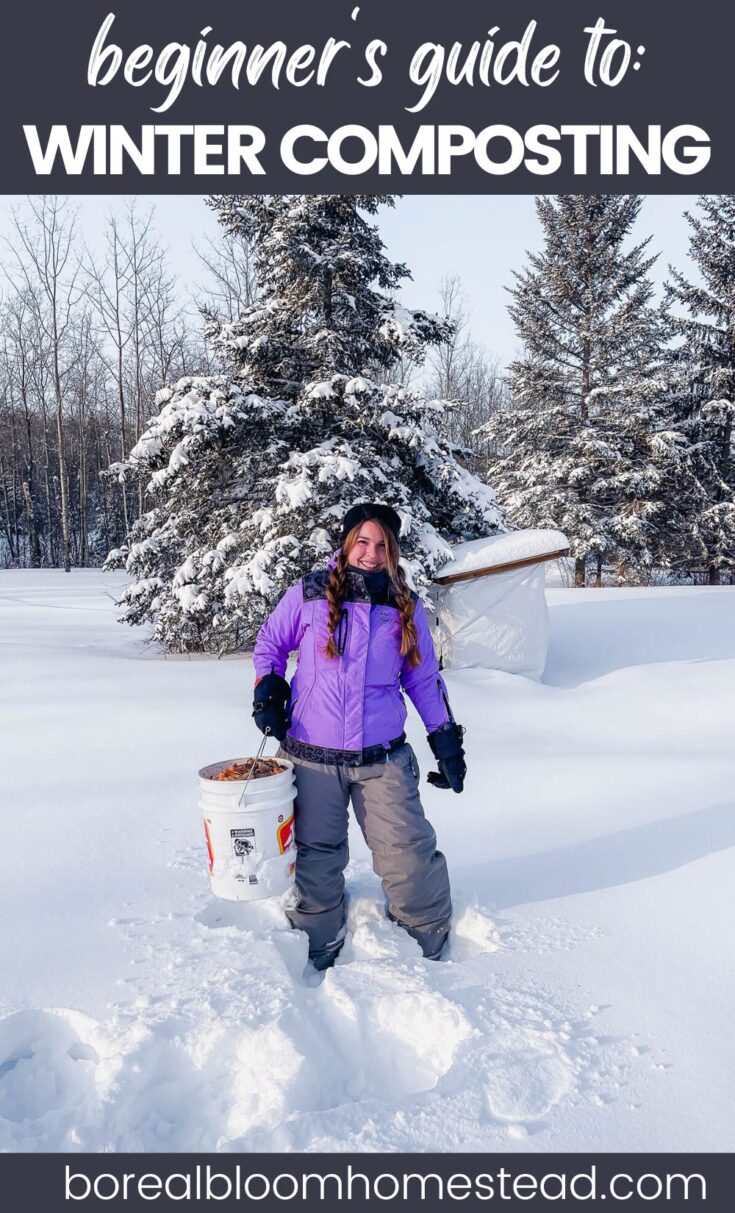
Winter Composting
Winter composting only sounds intimidating when you live in a cold climate. Check out this article for a few tips and tricks to make cold-weather composting easy!
The weather outside is frightful, but composting can still be delightful!
OK, maybe delightful is a stretch, but cold weather composting doesn't have to be painful either.
The microbes might be sleeping on the job, but we aren't! There are several ways to make the composting process easier through the winter months and into the spring.
This guide to composting in winter is dedicated to not sleeping on the job.
Jump to:
Know Your Ingredients
Compost is dead simple, you throw kitchen waste and unused plant matter on the pile and they turn into a rich, nutrient-dense soil amendment that we like to call "the other black gold".
The trick to compost is knowing what things to throw on the pile and when!
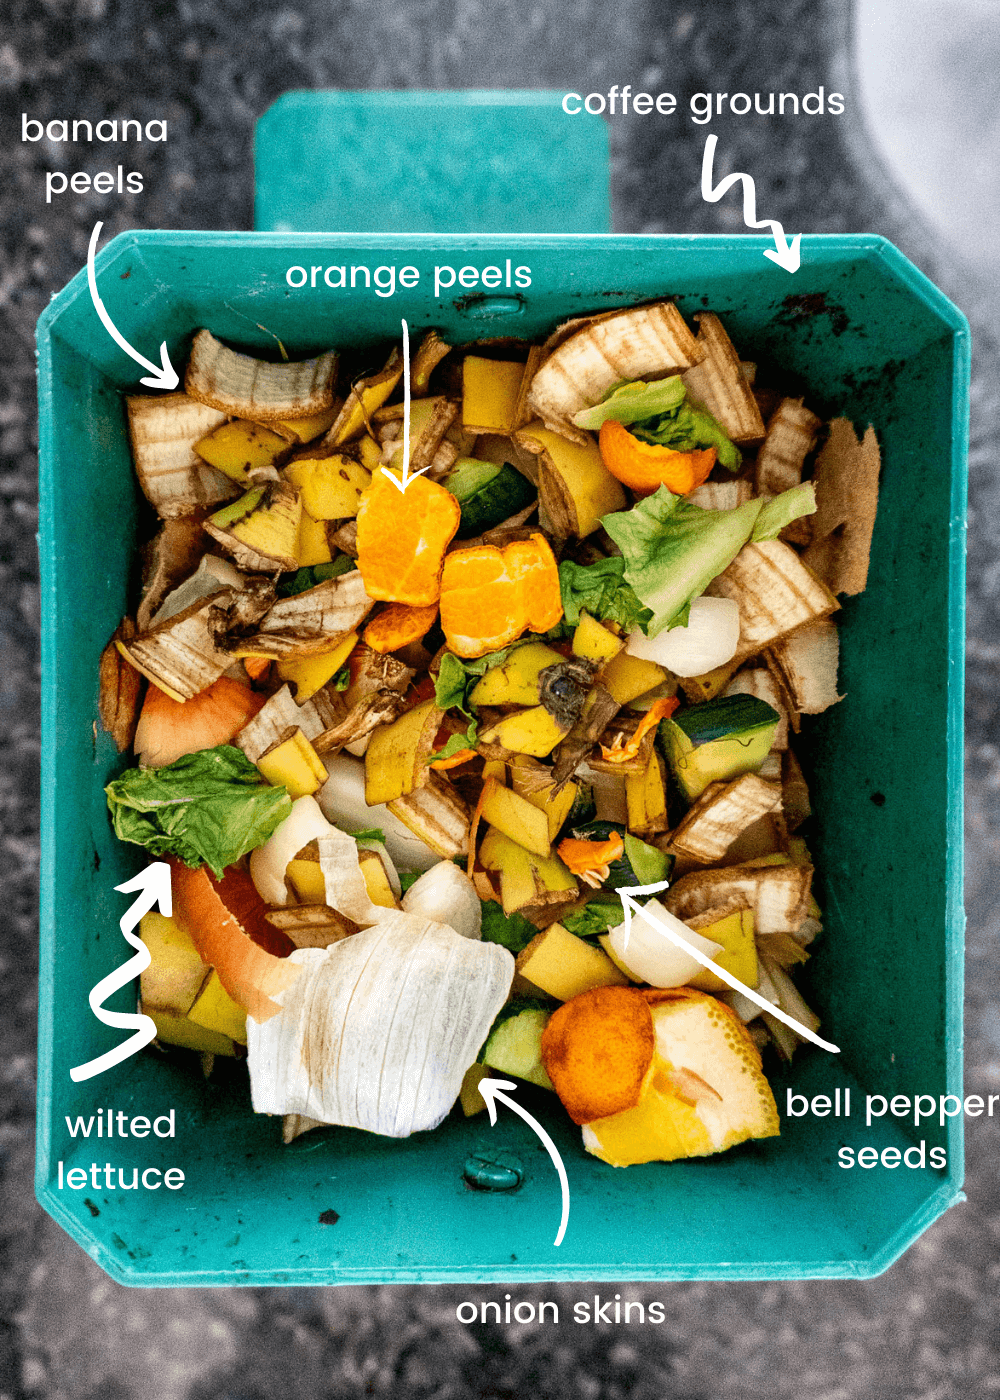
Greens:
Are high in nitrogen and are the main food for the bacteria in your compost pile. Aim to keep the ratio of greens in your compost pile to around 50% total volume. More than 50% green content will cause you composting problems, like a smelly, slimy, anaerobic pile (still shows bacterial action but much-reduced efficacy). Green additions to your compost include fresh food waste, like banana peels, eggshells, apple cores, coffee grinds and grass clippings.
Avoid adding anything to your compost that came from something with a face. This includes meat products, bones, fat, skin, eggs, milk, cheese, etc. Skip greasy or oily things, too. The microorganisms in your compost have a hard time breaking down oils and fats.
Browns:
Are high in carbon. These dense additions are the favorite food of fungus in the compost pile. Browns are bulky and chunky and important in adding space for airflow in the compost pile. Aim for 50% browns to balance out the nitrogen in the pile. Brown matter consists of shed leaves, straw, shredded paper, paper towels, sawdust, wood mulch, or cardboard.
Where ever possible, avoid yard waste from yards that use pesticides and herbicides. Steer clear of dyed, coated, or glossy cardboard and paper, too.

Existing Compost:
Adding a shovel full every few weeks to your compost heap is incredibly valuable. Garden soil or finished compost is already teeming with bacteria and wild yeasts that are perfect for inoculating your compost pile to help speed up the process.
While it's generally unlikely that you'll need to add finished compost during the winter, it can help speed up decomposition when things thaw out!
As an added bonus, keeping some finished compost handy over the cold months makes it easy to top up house plants and mix into your seed starting mix in the spring.
Moisture:
Compost needs to be damp to decompose! If the conditions are too dry, the microbial activity will cease until the right level of moisture is reached for the microbes to wake up and get the compost active again!
During the hot summer months, it is advisable to add water to your compost pile each time you stir, for example, we stir and water bi-weekly. For an extra microbe boost, use non-potable water, like pond water or puddle water!
During the winter, it's not critical to water the compost! The compost additions are either frozen or soon to be frozen, so adding water will turn them into a heavy, kitchen scrap popsicle. Once spring comes and things thaw out, the frozen food scraps will release all of their moisture into the compost heap, saving you a step!
Fresh Air:
The microbes within the compost pile need air to continue respiring and breaking down the scraps! This is incredibly important during the active composting months in the spring, summer, and fall. The easiest way to get air disbursed within the pile is to stir it, this also brings the less decomposed outer edges to the middle, breaks up large clumps, and even keeps down smells and deters animals.
Having an oxygenated compost pile is less important in the winter, again, because the microbes are dormant. It is an important consideration for springtime, though. Once the pile thaws and compacts, if not layered/mixed properly, it can run into breathing issues, and necessitate more work in the spring.
Composting In Winter
While it's likely that your active compost pile will hit 140 degrees Fahrenheit during the hot months, it's equally likely that your compost pile will freeze solid, especially if you live in a cold climate like we do, where temps can drop below -45 degrees Fahrenheit. But don't worry, it'll all break down in the spring once thawed!
In my (somewhat lazy) opinion, it's not worth the effort to keep the pile rolling year-round. Working like a dog to insulate it with leaves or bales, turn it when it's (sorta) nice outside, and worry about keeping the temperature up sounds like not a lot of fun.
Take the winter off and start fresh with your pitchfork or compost aerator in the spring!
Important Considerations
Location:
If your compost heap is on the far side of the yard, that can work well in the warm months when you're not fighting 20" of snow and a biting wind, but over winter, let's keep it simple!
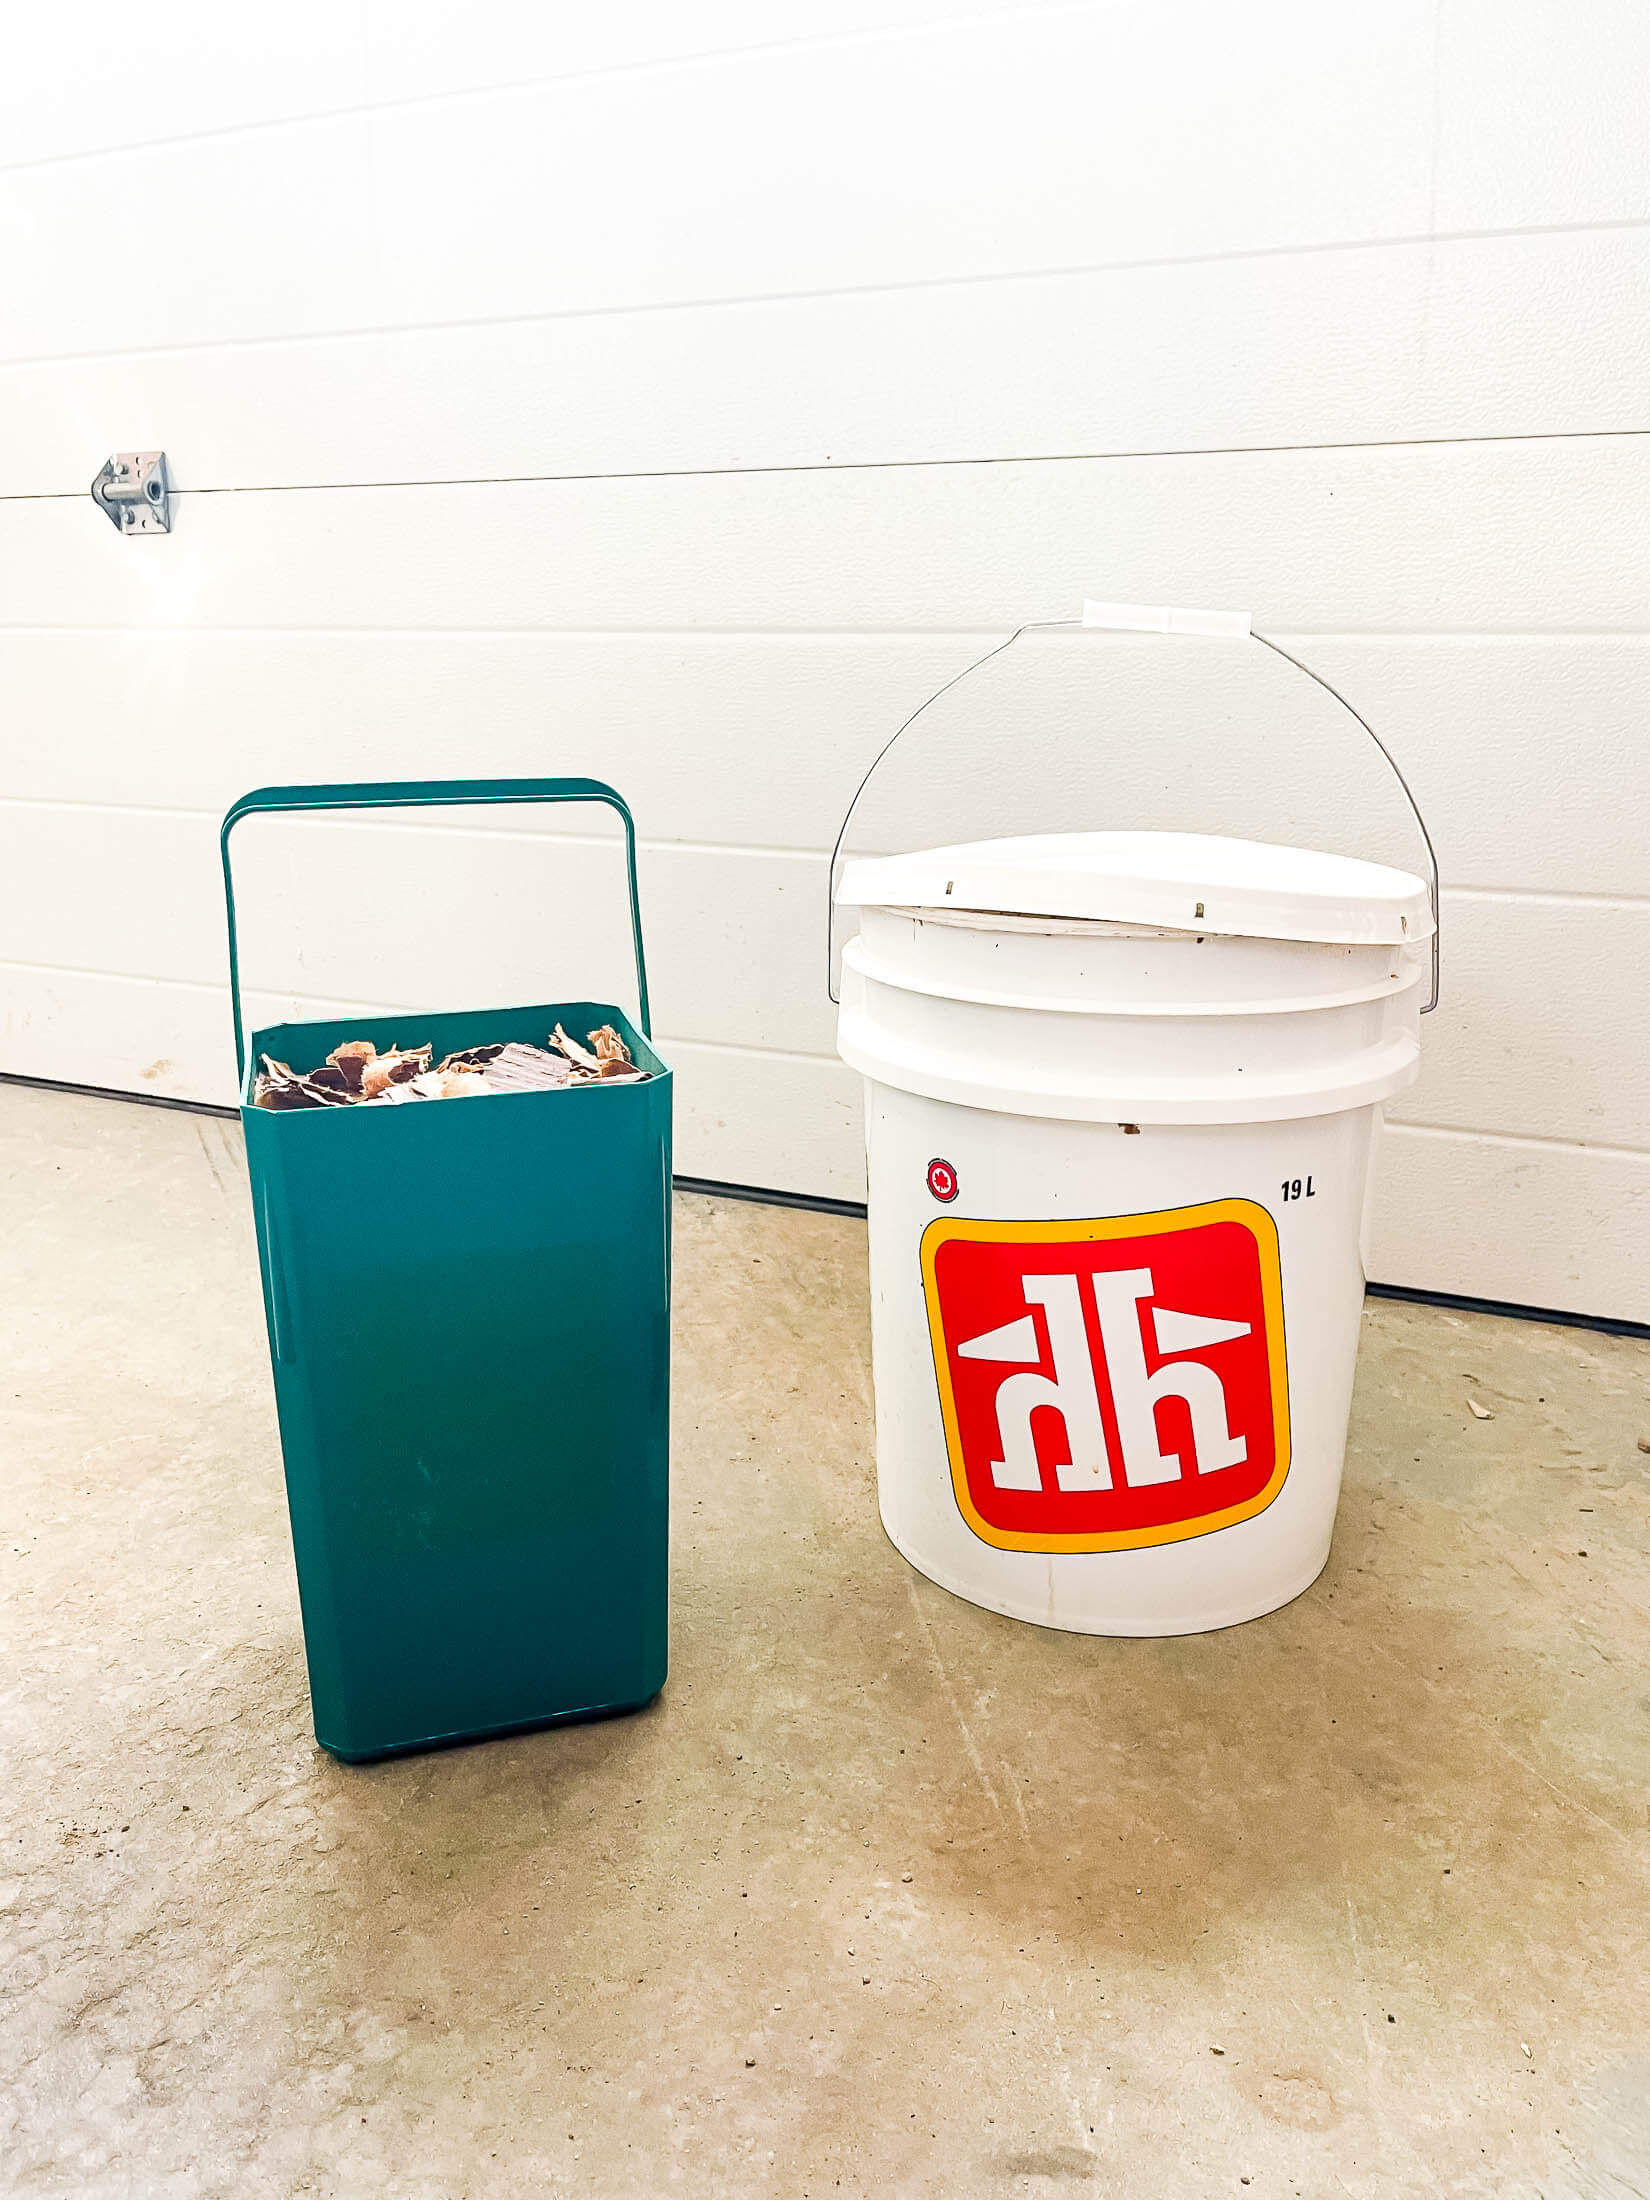
The easiest way to do this is to keep a secondary compost, or pre-compost, bucket nearby. This could be a large lidded tote, or a garbage can with a tight-fitting lid, or even a food-safe 5-gallon bucket.
Keep your secondary compost bin in an easy-to-access location, like right outside your backdoor! It's easy to open the door, pop the lid off and dump your compost in there, re-cover, and carry on without having to get on your ski pants! You're more likely to continue composting if it's easily accessible.
Size:
Size matters when we're talking about secondary bins! There are arguments for and against large and small bins.
A large bin, like a garbage can or large tote, is great because you can really stuff a lot of scraps in them, but they are much more to deal with in the spring when things are thawing and juicy. *shudder*
Another problem with a large secondary bin is that once it's full, it's full and likely difficult to haul through the snow. If your family creates a lot of scraps, you may run into a problem where there are too many scraps and not enough room, necessitating a secondary secondary bin. Or maybe even a secondary secondary secondary bin?!
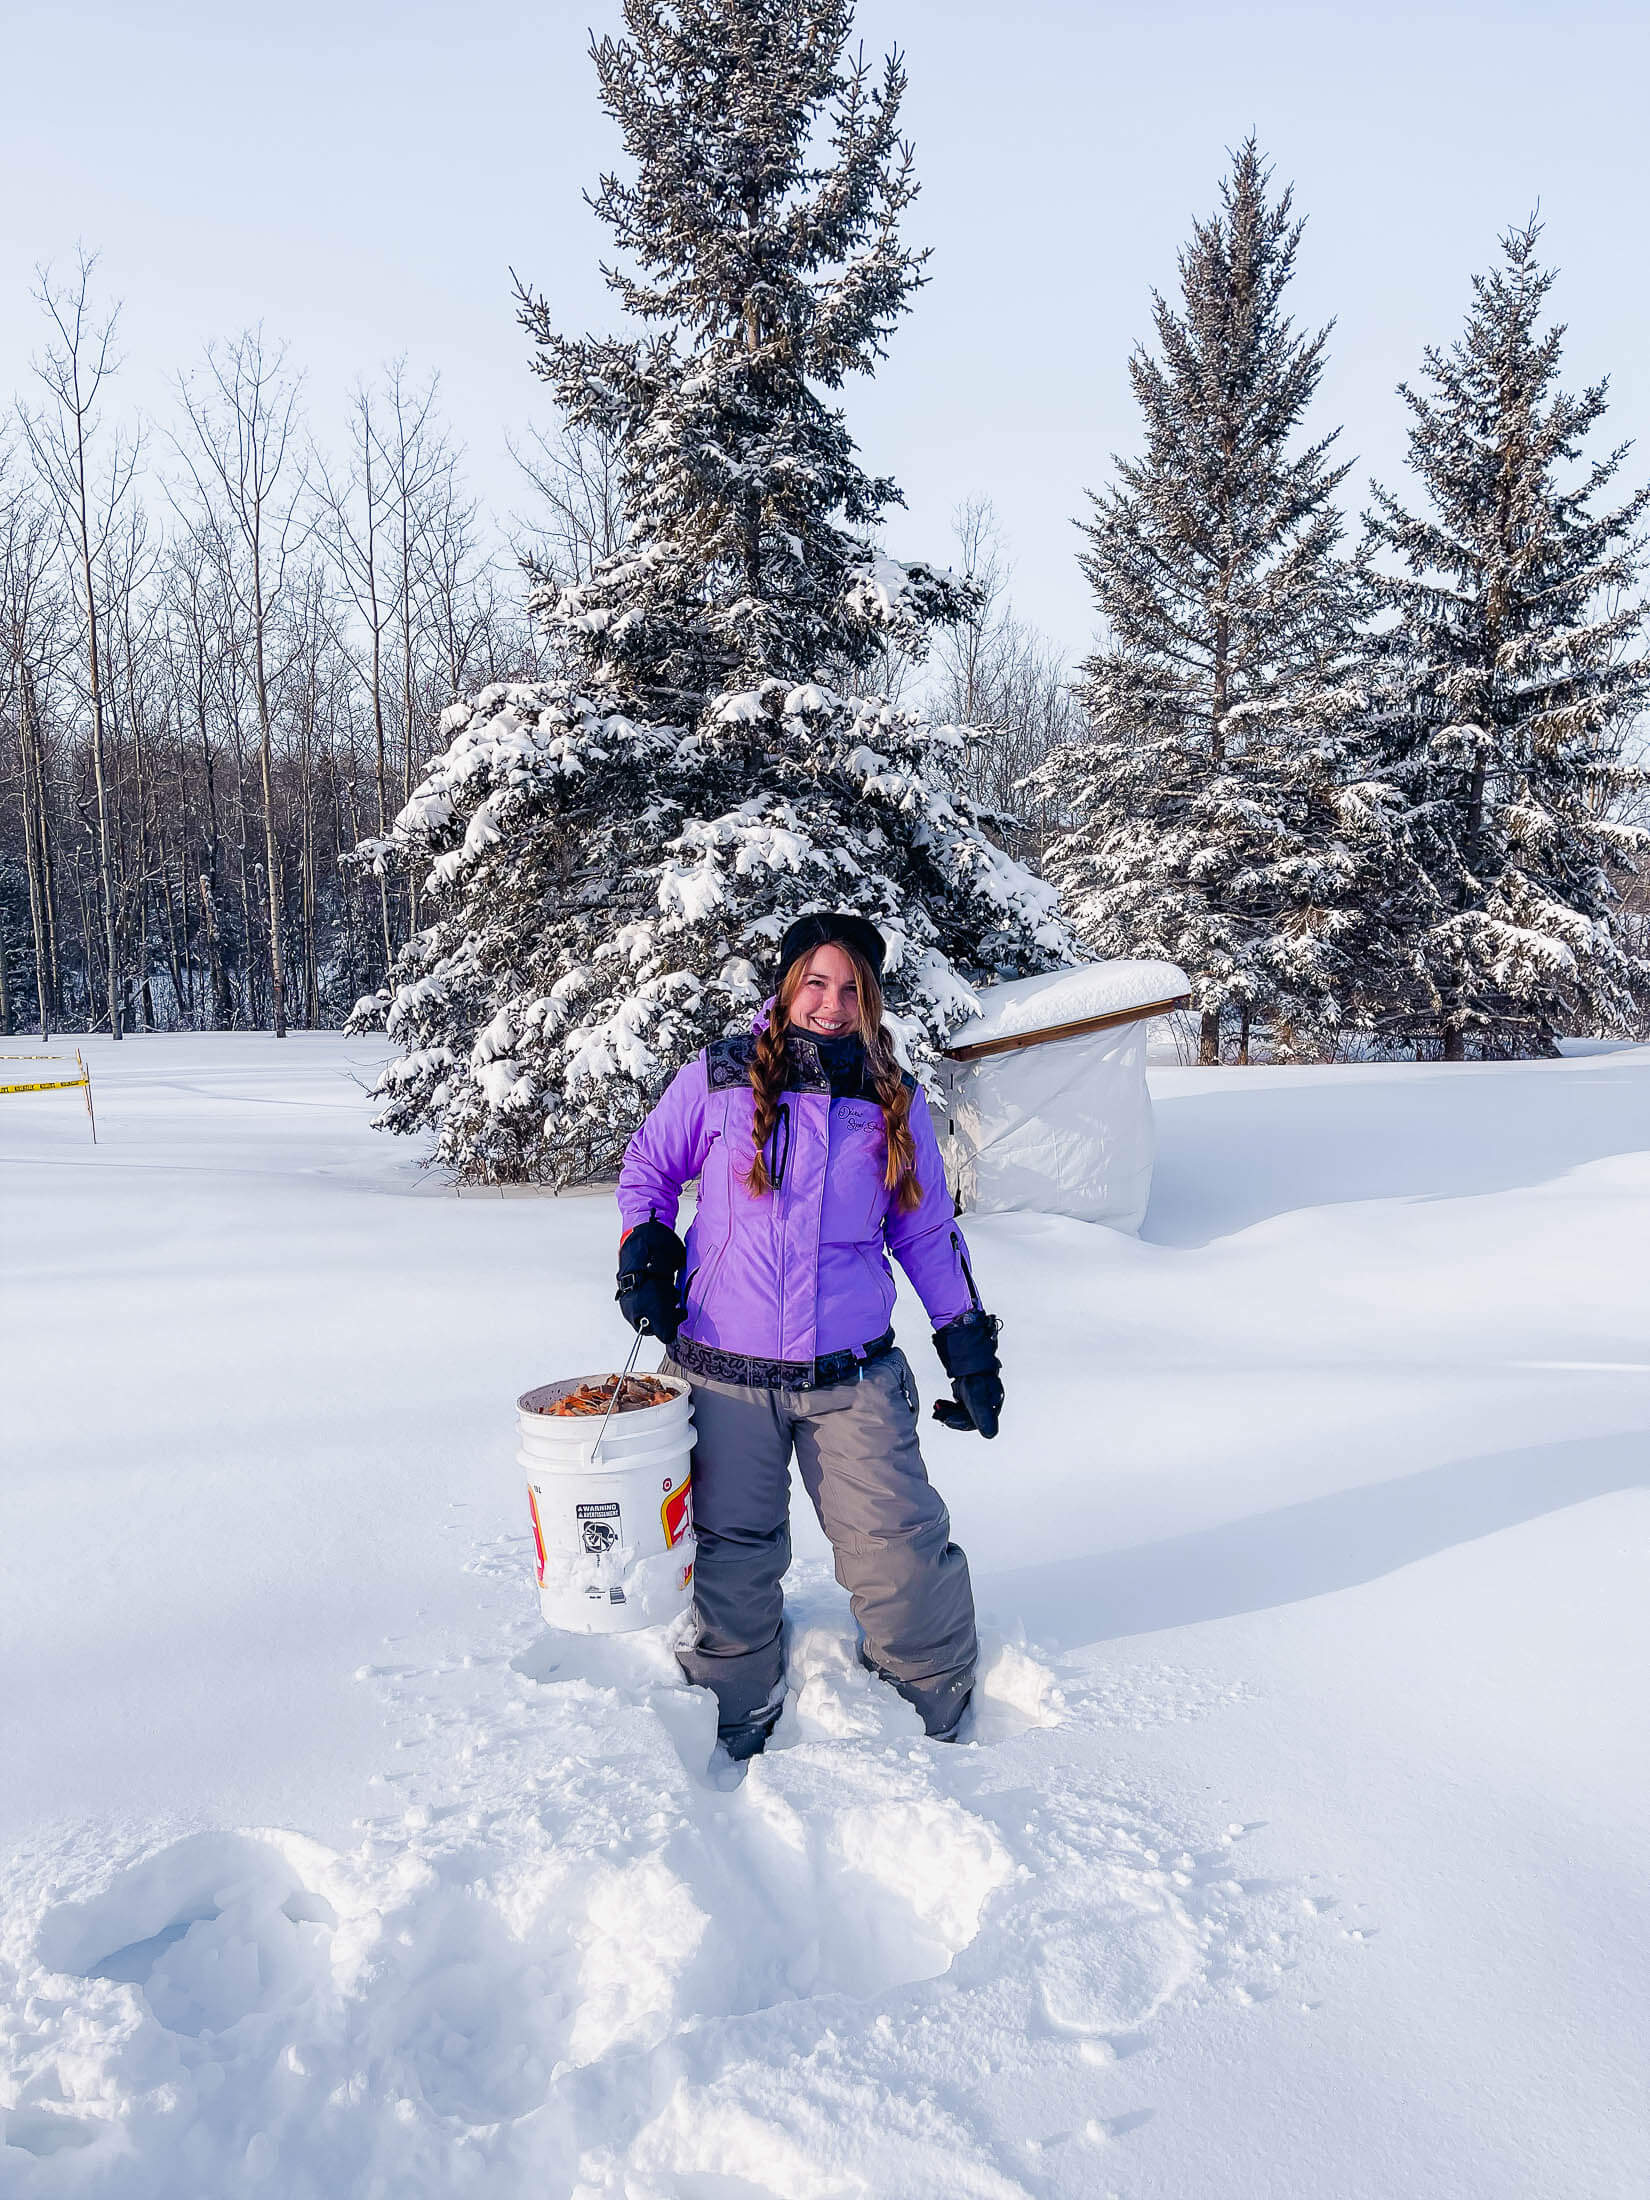
We decided to use a smaller bucket. Our food-grade 5-gallon pail is big enough to fit 2 - 3 weeks' worth of scraps from our household, and it's small enough that it's easy to carry out to the compost pile.
We store our secondary bucket in the garage, and once our kitchen composter is full, we transfer the contents to the garage bucket.
When the garage bucket is full, we rock, paper, scissors to see who has to carry it out. Kevy usually loses (probably on purpose, what a gentleman)!
Space:
If you don't run a compost pile and use a tumbling composter or some sort of finite volume compost bin, it's incredibly important to harvest any good, finished compost in the fall to free up as much space as possible for your winter food scraps.
During the active months, composting action will reduce the total volume by about 75%, but during the winter, the scraps and other additions will be unchanged in their frozen state, leading to less room.
Even with harvesting the finished compost, you may run into space problems and have to run a secondary compost bin either way!
Ratios:
Compost generally runs on a 50% / 50% blend of greens and browns.
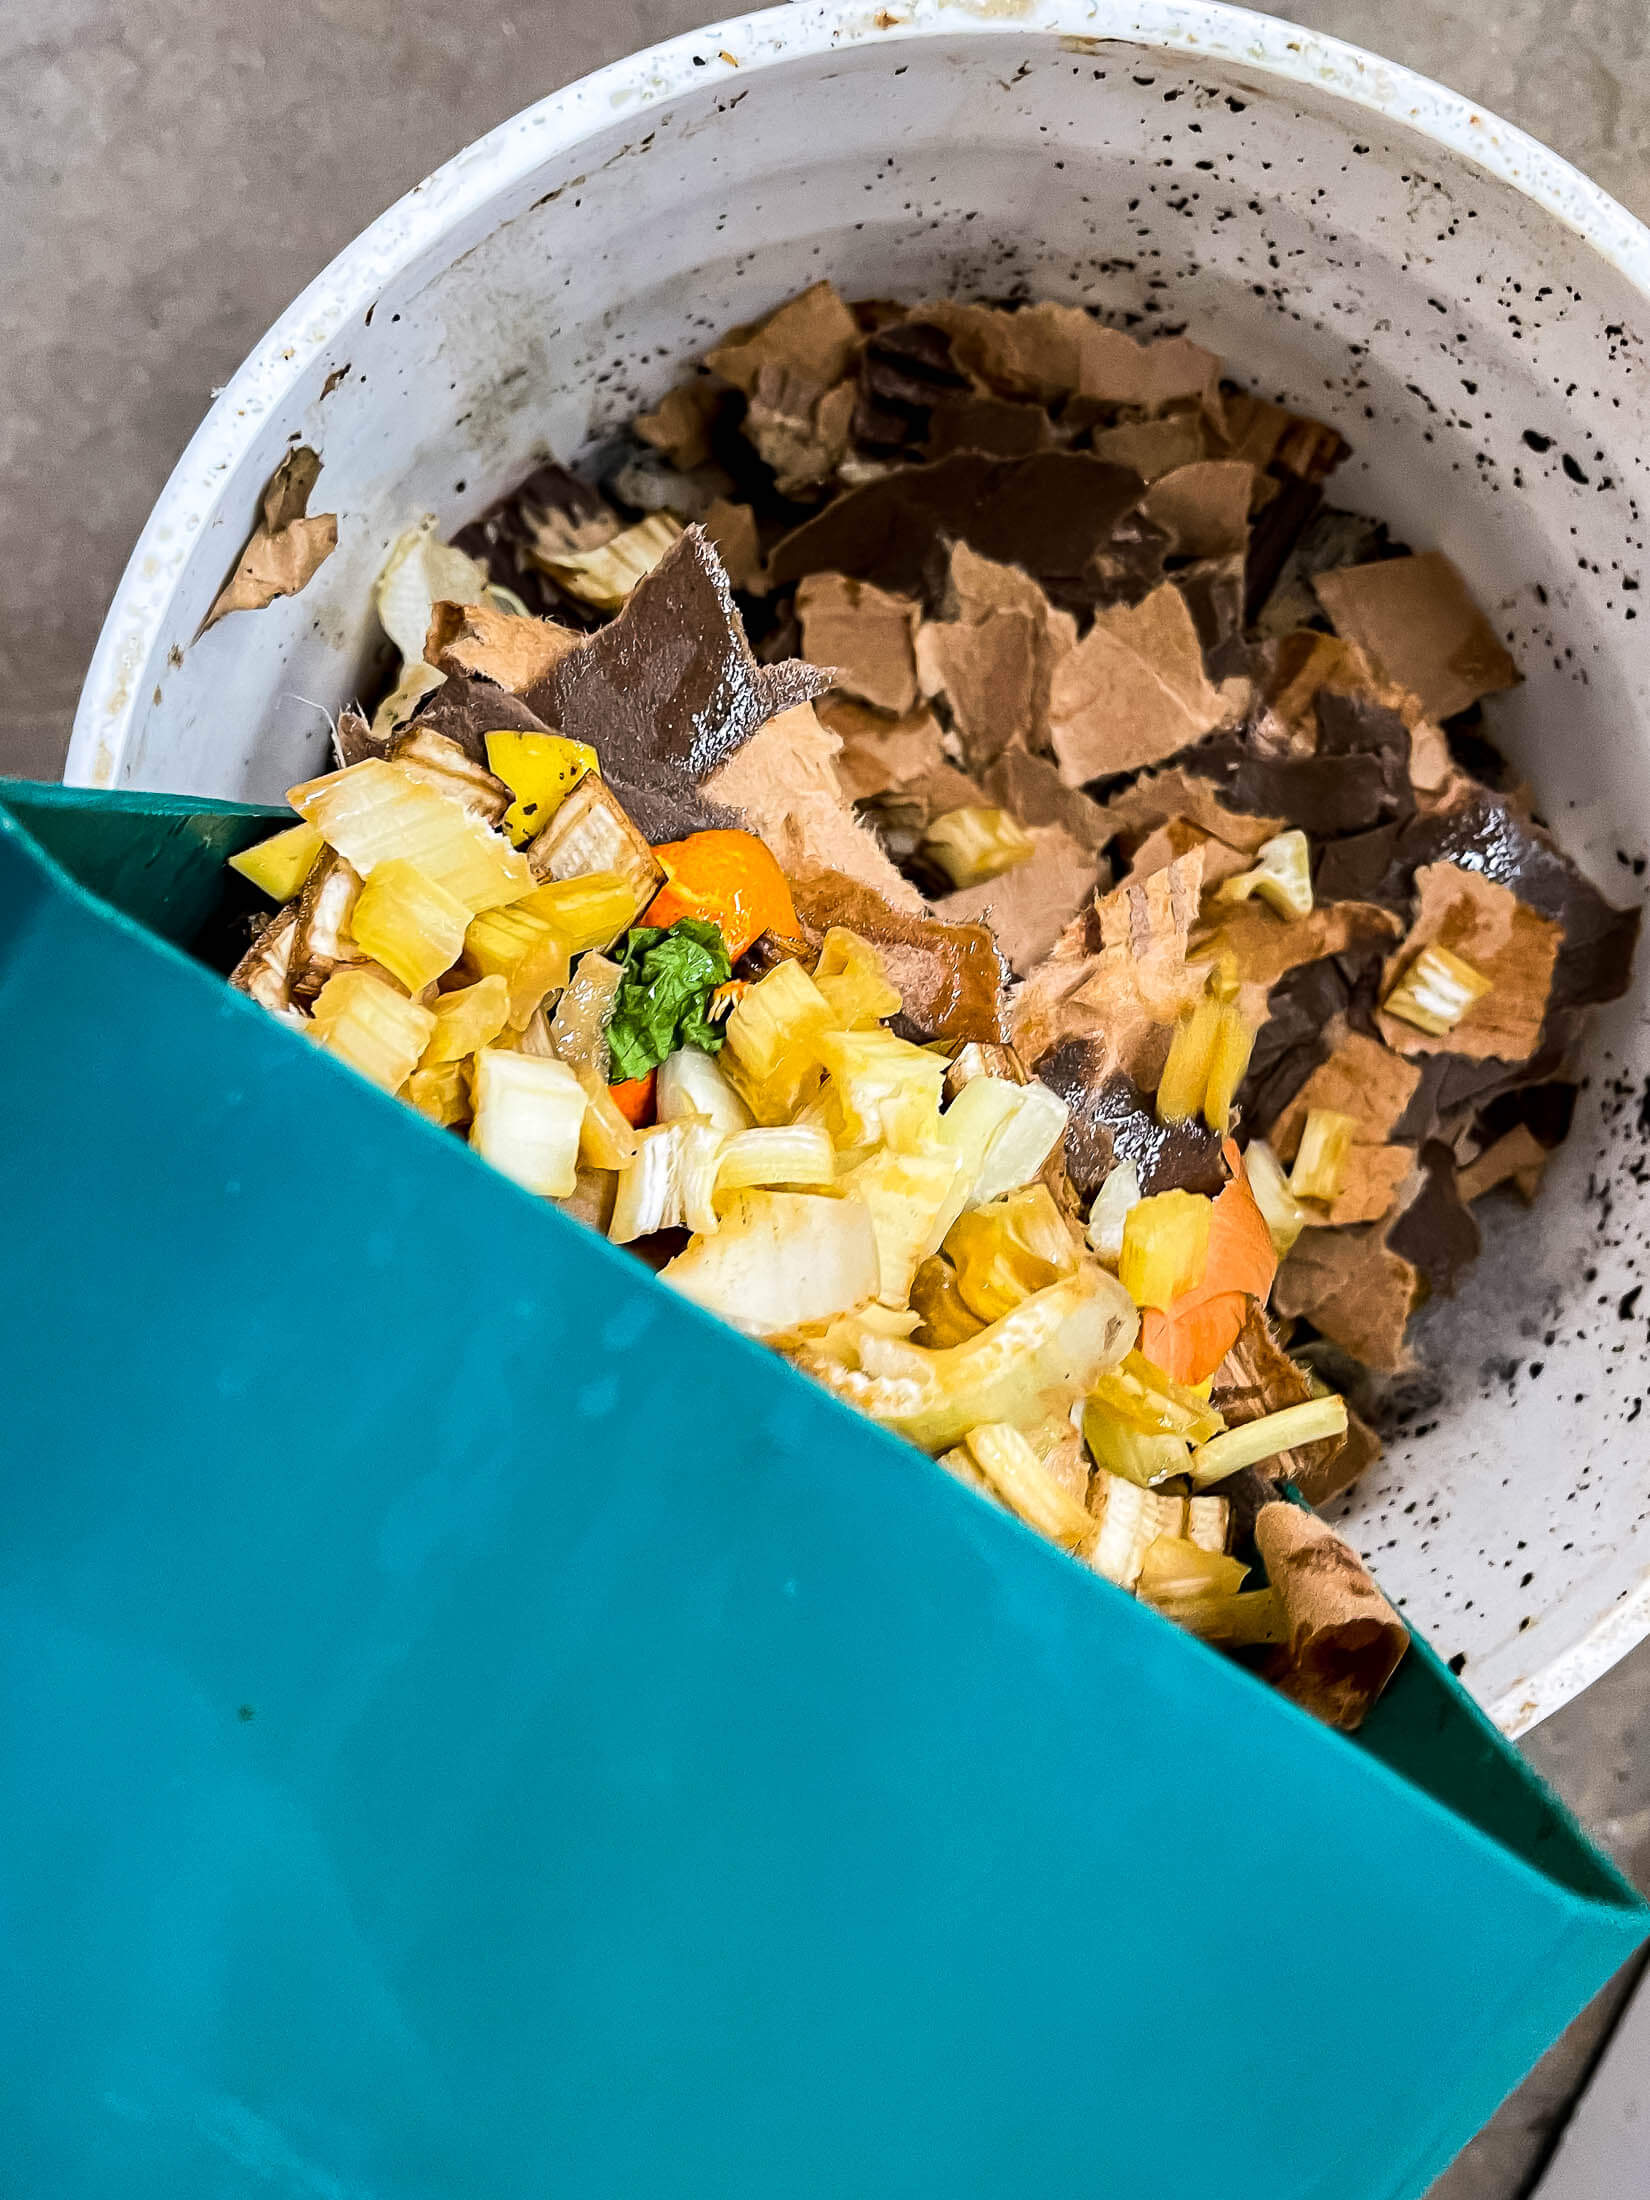
While it's not strictly necessary to add browns during the winter and they can be added in the spring in one large dose, we prefer to layer our compost in the kitchen bin. This is mainly due to habit, and it actually makes it so that we have no hands on work with the compost pile in the spring.
It only takes a few minutes to tear up an egg carton or throw a couple of handfuls of shredded paper into the bucket when we've added a healthy layer of greens. And lately, we've been doing 1 bucket of greens to 1 bucket of bedding from the chick brooder. It's super simple!
Breaking It All Down
Get it. Ha!
There are a few ways to make composting in the winter easier, especially in cold climates!
- Get a secondary or pre-compost bucket. Decide if you want it to be large enough to hold a winter's worth of scraps or small enough to transport to the compost pile occasionally.
- Keep your secondary bucket or bin in an easily accessible location. You're more likely to continue composting if it's convenient.
- Don't worry, be happy. The scraps will freeze, so will your composter or heap, but things will resume in the spring when the conditions are favorable for active decomposition.
How To Compost In Winter - The Easy Way!
Winter Composting is easy and inexpensive, and that means that you can save money on your garden projects while growing healthier plants. Winter composting is a great way to get rid of all those food scraps that would otherwise go in the trash. So what are you waiting for? Let nature do some work!
Materials
- Green compost additions *see notes
- Brown compost additions *see notes
Tools
- Kitchen compost bin
- Secondary compost bin
Instructions
Fall Prep:
- Harvest any finished or mostly finished compost from your compost pile or composter. Finished compost should be crumbly, brown, and smell earthy. It may have traces of scraps and additions, but they'll continue to break down. This harvested compost can be added to the garden, flower pots, or even spread on your grass. Harvesting the compost will add much-needed space to your compost bin or composter.
- Gather any leaves you can get your hands on! From your yard, your neighbor's yard, and even the guy down the street. In the winter, the bulk of the compost additions are greens, but we know that keeping the ratio to approximately 50/50 greens/browns makes for a healthier, less smelly, more productive, faster decomposition. Store your leaves in closed garbage bags to keep them ready for compost additions.
- Prepare a secondary compost bin for winter accumulations. Ensure that the secondary composter is in a location that is easy to access in the cold months. This container should be large enough to contain a winter's worth of scraps, OR small enough that it can be filled and carried occasionally and emptied into the primary composter or pile. It should also have a tight-fitting lid to keep in smells and scavengers out.
Winter Composting:
- Continue saving food scraps as you would normally. We have a kitchen composting bin that we store under the kitchen sink and it gets any and all raw fruit and vegetable scraps, eggshells, stale bread, etc. Using a kitchen bin with a charcoal filter will eliminate smells.
- Ensure you're layering your as you add to your compost bucket. Whether that's the kitchen bin or the secondary bin. We like to add a layer of browns to our kitchen bin every time we add a layer of greens. You could add browns in your secondary bin every time you add greens, and that will work just fine. Use the leaves you gathered in the fall, old newspapers, shredded paper, egg cartons, ripped boxes, etc for the brown content in your compost. Don't forget the golden ratio! 50: 50 greens: browns.
- If storing your secondary bin outside, ensure the lid stays tightly closed whenever you're not adding to it. This will keep out any scavengers and keep things clean and tidy.
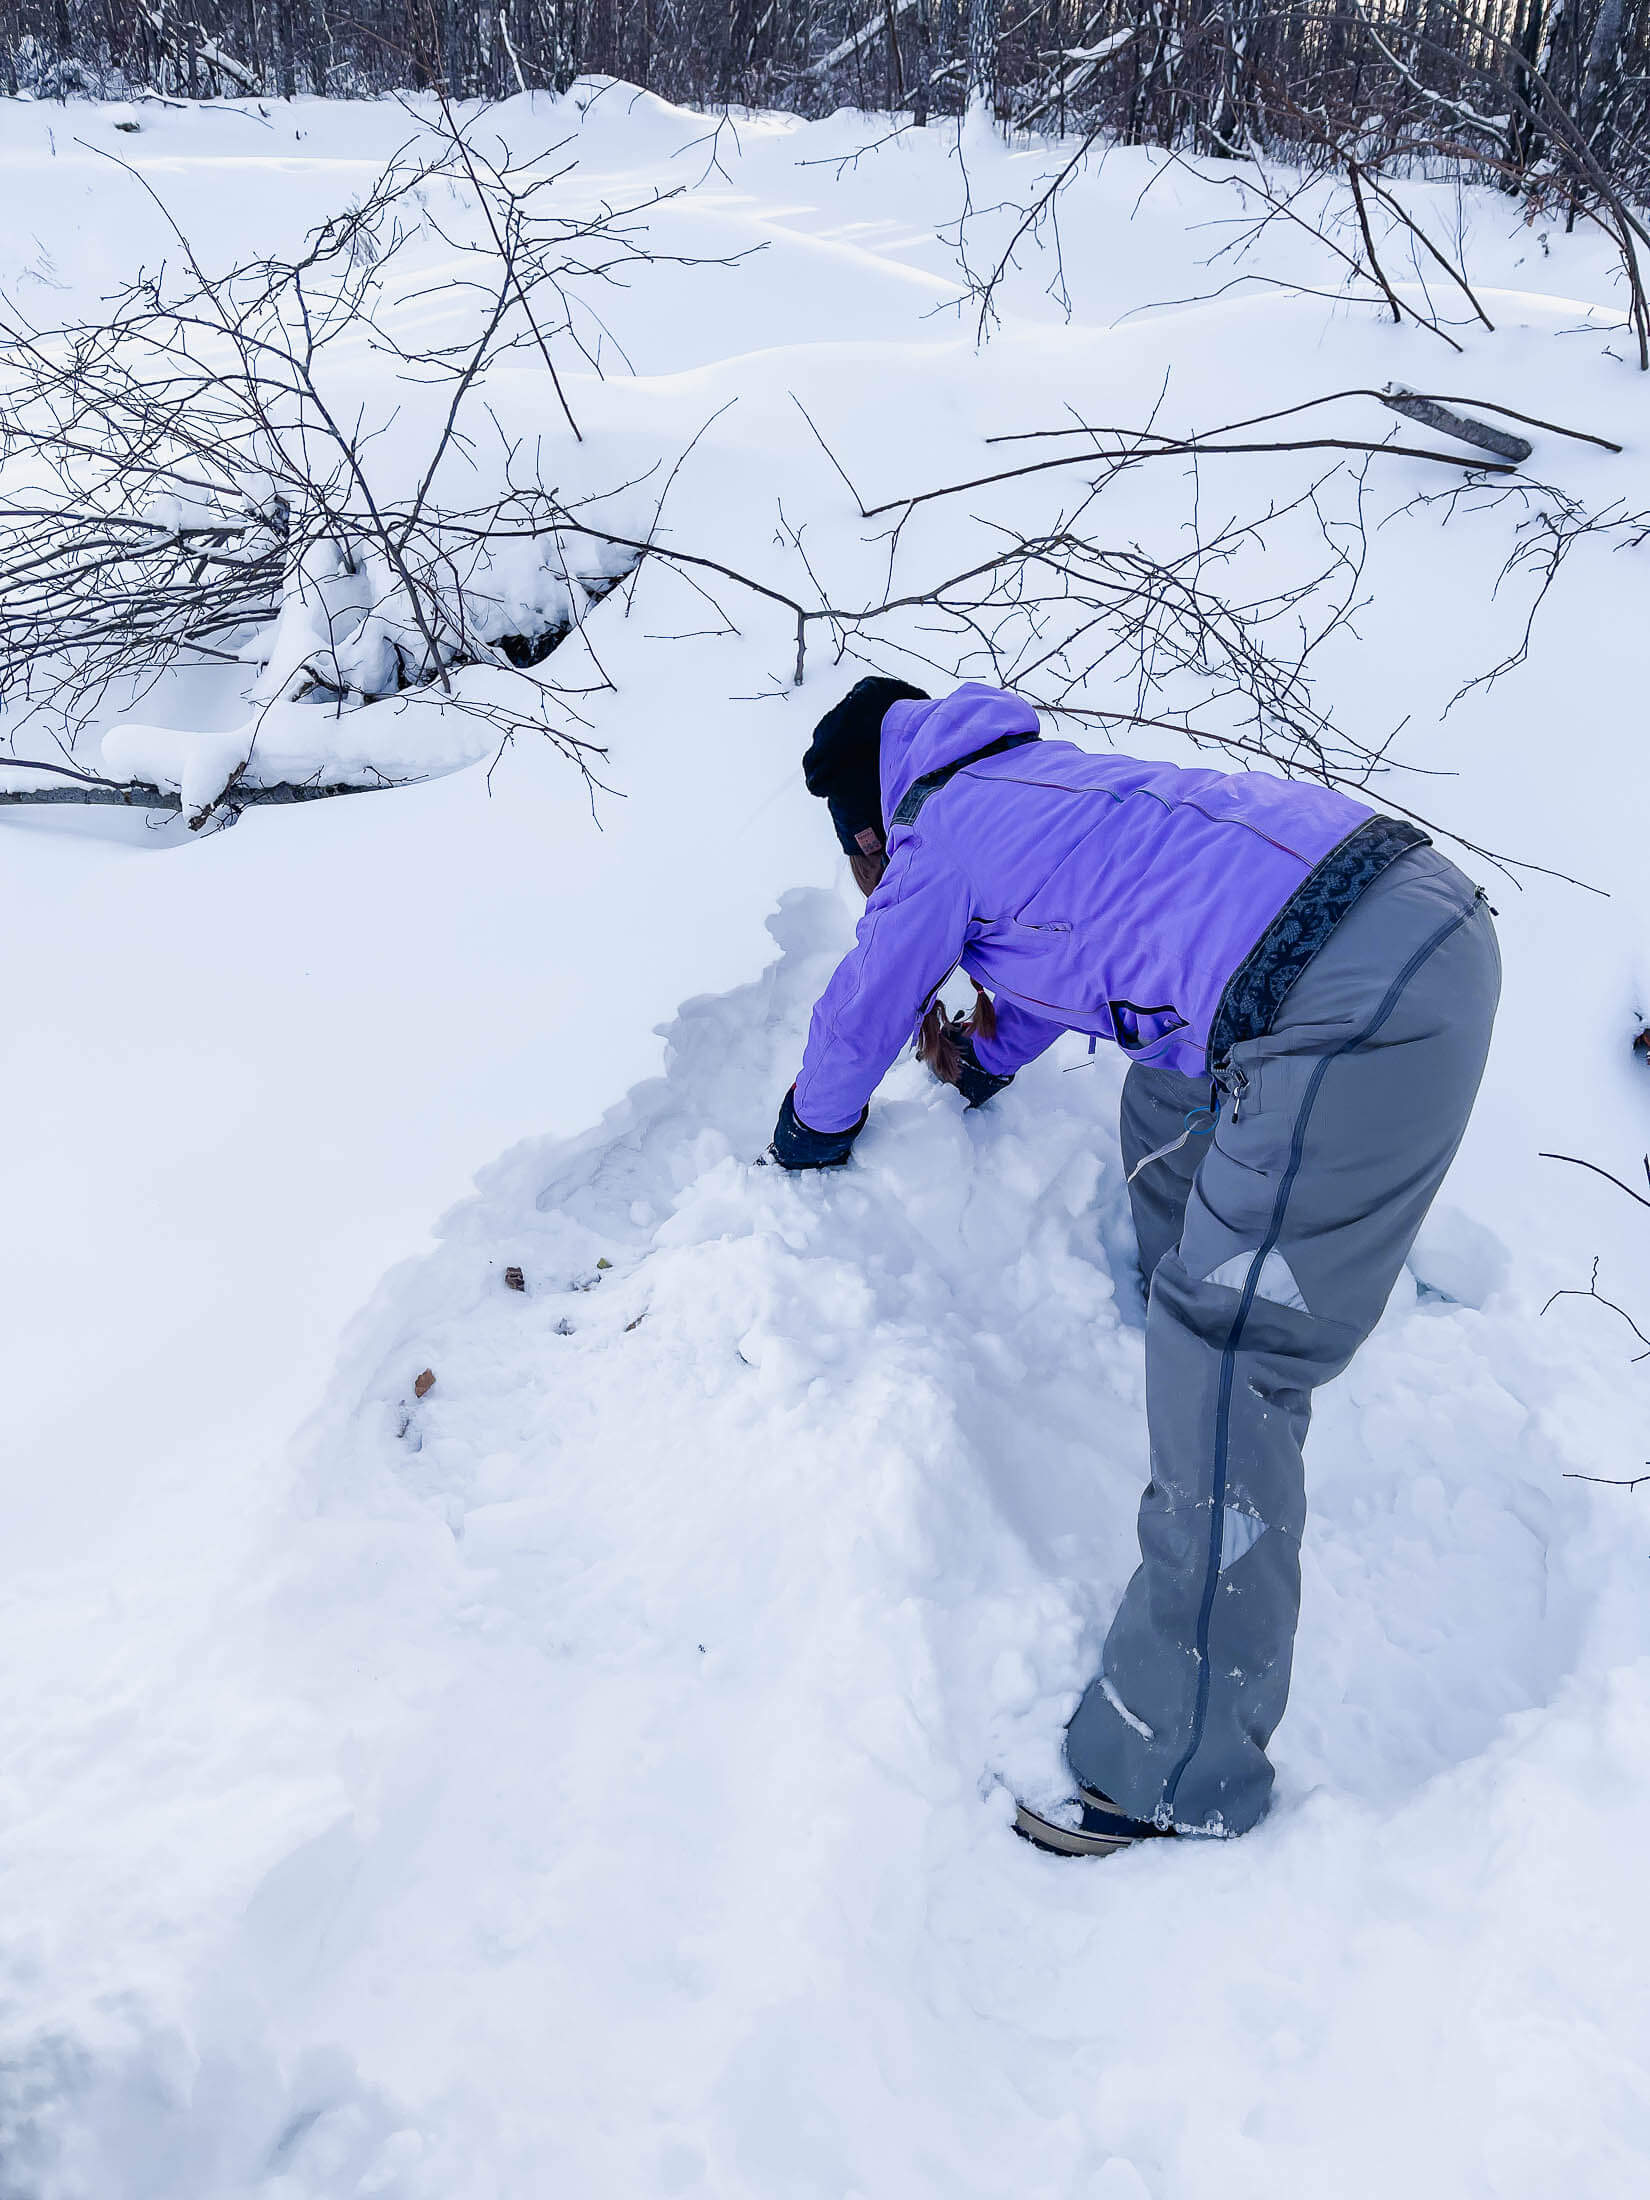
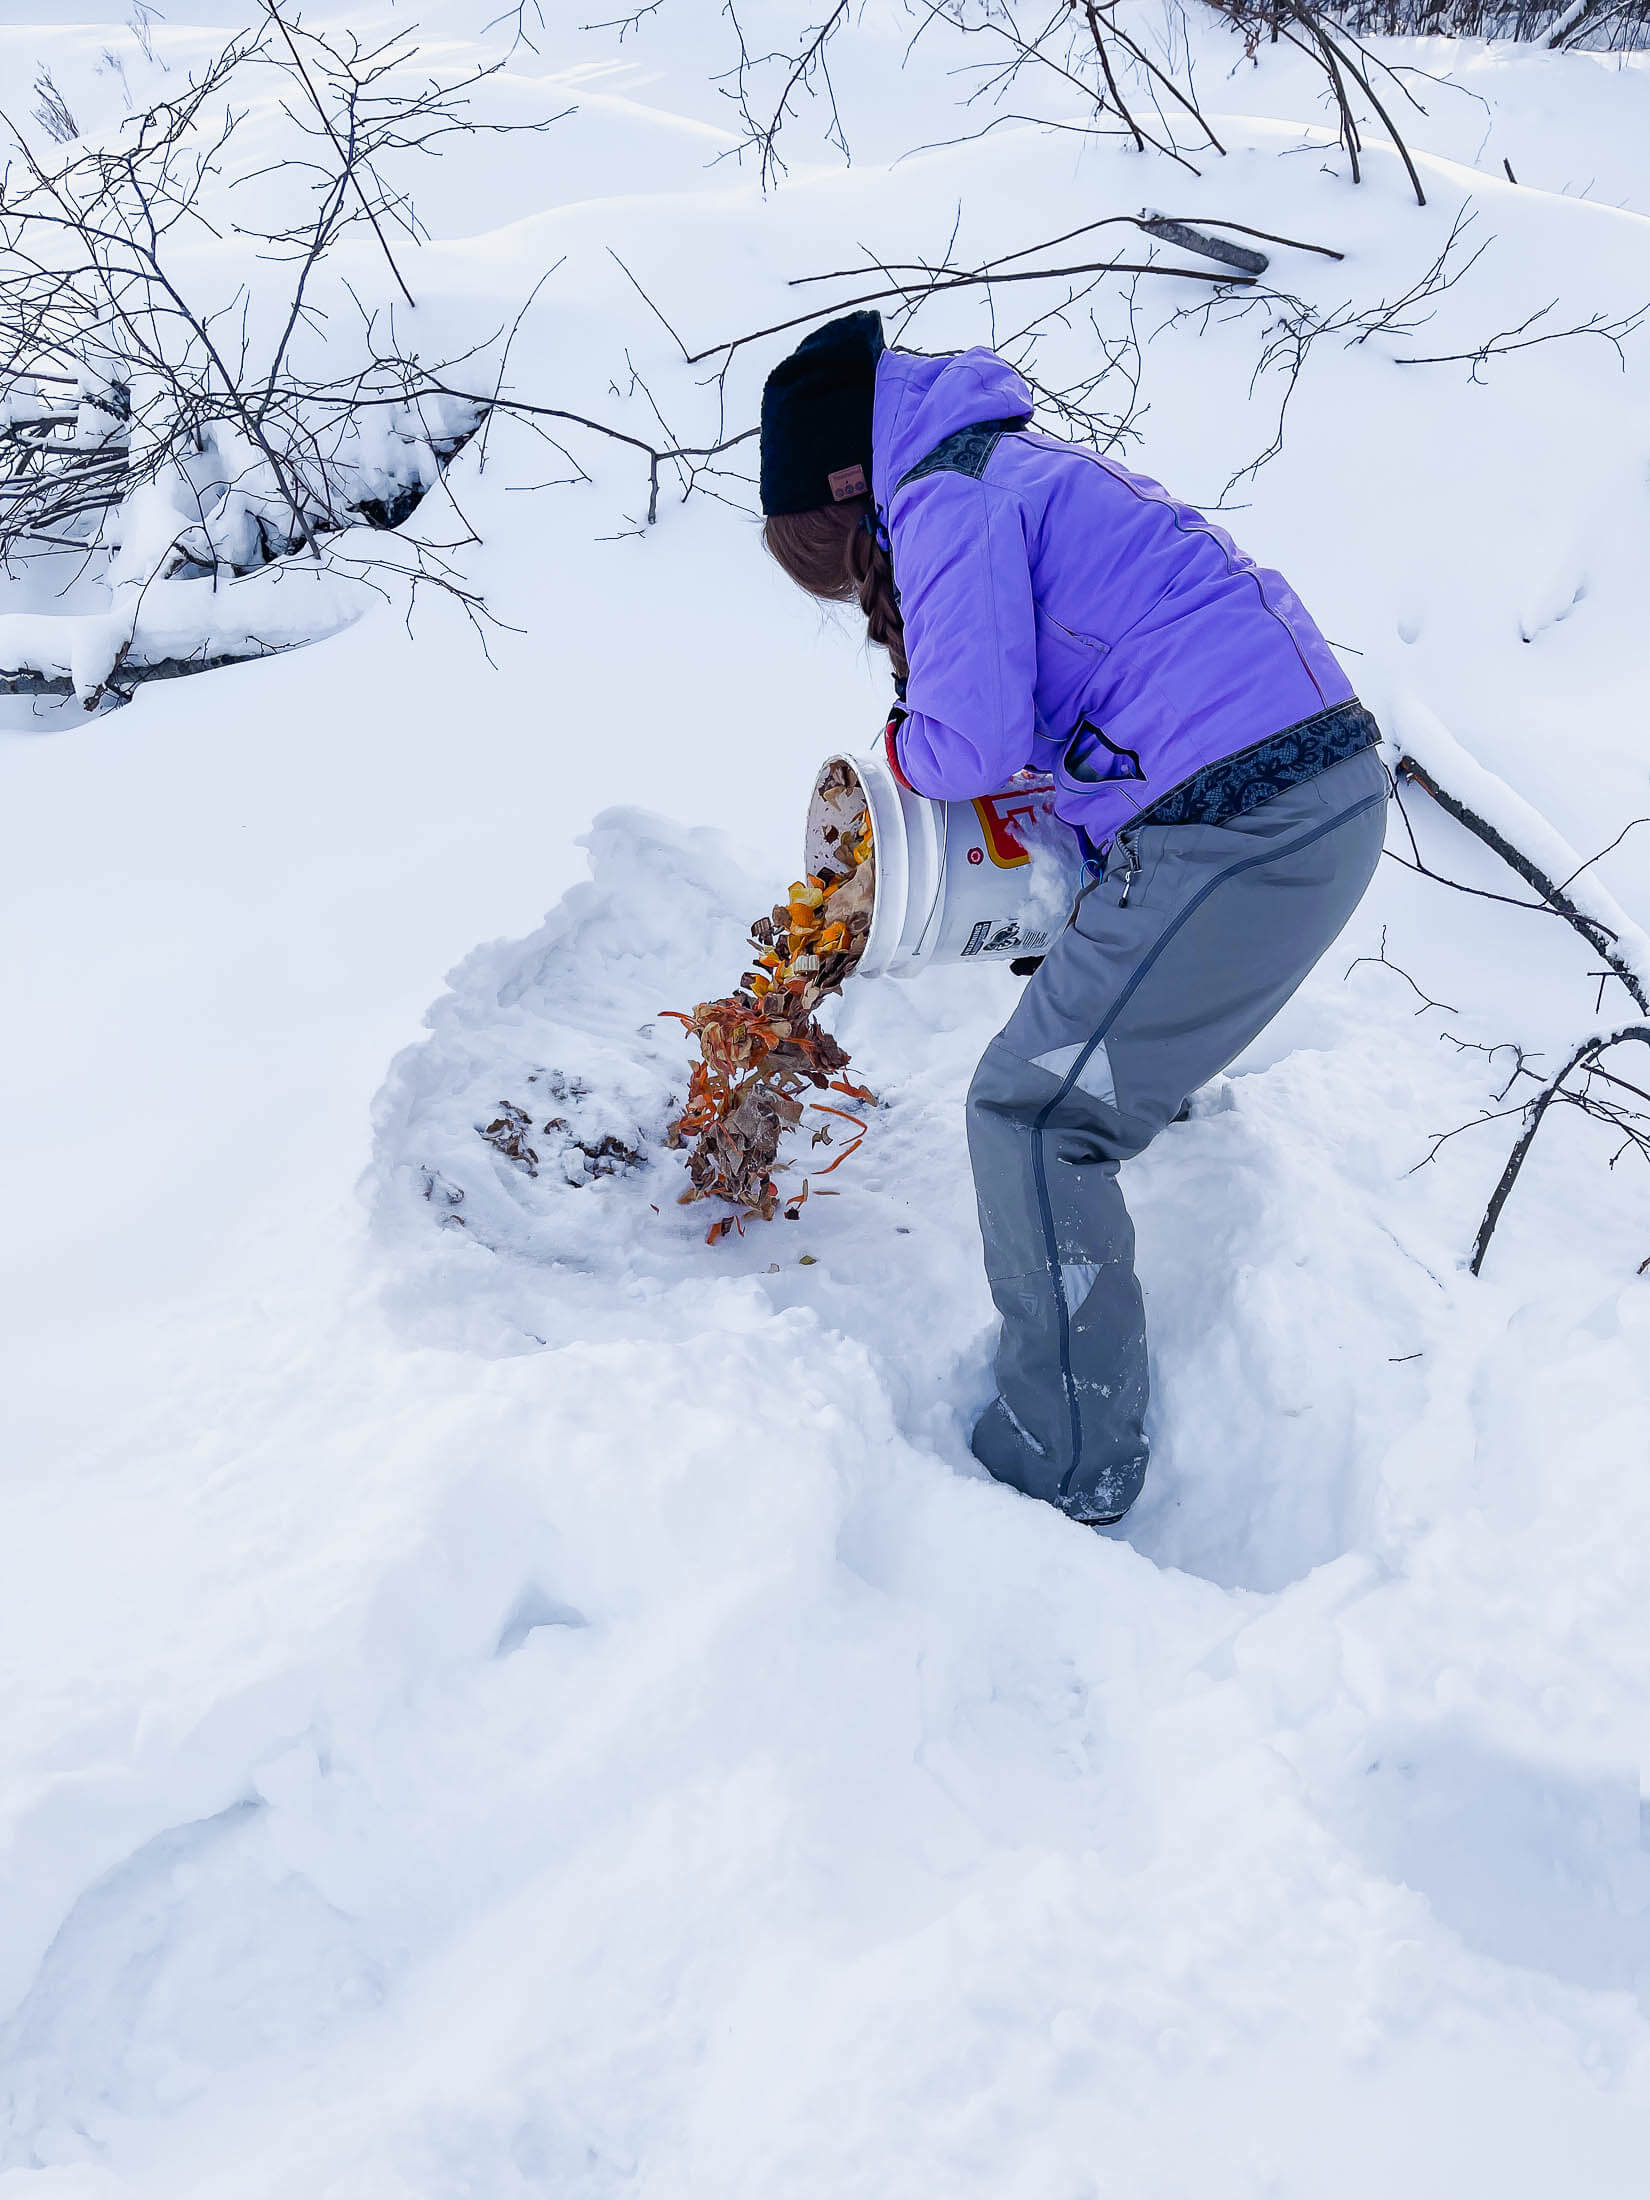
- If you're choosing to have a smaller secondary bin that you'll need to empty occasionally, ensure that it's big enough to hold some scraps but small enough for you to carry. When you get your scraps out to the compost heap or composter, remove the snow from the surface, add the scraps, and re-cover with snow.
Spring Work:
- Carry your secondary bin(s) out to the composter or compost pile and add them all at once. This is where the layering throughout the winter pays off, you just add all that scrappy goodness and don't worry about adding browns here and there.
- Don't forget to monitor the moisture content and stir your compost every few weeks!
Notes
Compost additions:
My simple rules for composting food scraps are as follows:
- Don't add anything that came from something with a face (no meat products)
- Don't add anything that is greasy or oily. Skip fried foods, peanut butter, etc.
- Don't add dairy - milk, sour cream, cheese, yogurt, etc. These are all items that should be avoided in your compost.
What to watch for when sourcing brown materials:
- Avoid brown materials from places that use herbicides or pesticides.
- Avoid dyed or shiny cardboard and paper.
- Avoid waxed or coated papers and cardboard.
Recommended Products
As an Amazon Associate and member of other affiliate programs, I earn from qualifying purchases.


Pin This Winter Composting Guide!

Comments
No Comments