Soil Blocking
What Is Soil Blocking?
Soil blocking is a novel way of starting seeds that has gained popularity in recent years. Its emergence into the mainstream was pioneered by Eliot Coleman and has been adapted widely because soil blocking has many benefits over other methods of seed starting.
Soil blocking is a smart but simple solution to a lot of problems!
Basically, seed blocking is molding or compressing wet soil into blocks. These blocks act as both the planting medium for the seed and the planting pot.
Now that's something I can get behind!
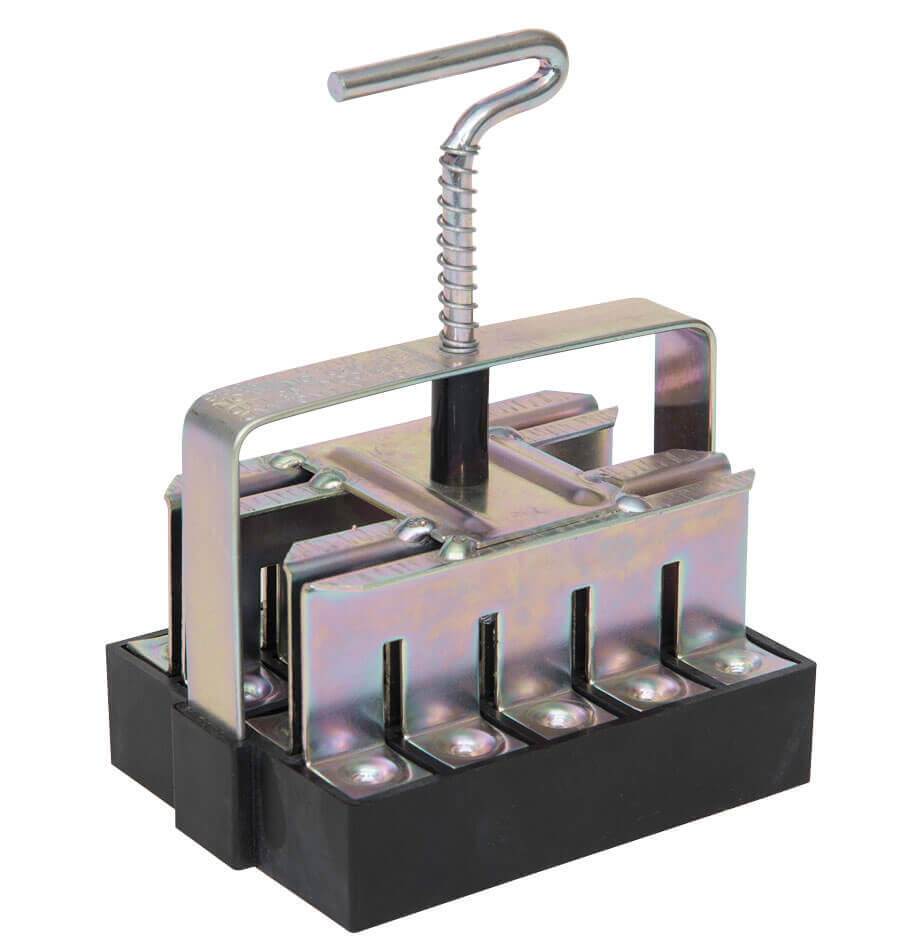
Soil Blocker Sizing
In the mainstream, there are 3 sizes of soil blockers available. They are designed to work in series together. The 2" blocker has a dimple that receives the 3/4" block and the 4" block has a dimple for the 2" block for quick and easy "up-potting" with minimal disruption to the plant.
3/4" Micro
This little ditty makes 20 3/4" blocks! These blocks are best for seed starting and quick transplanting into a larger block.
They're great for seeds that love heat for germination, like tomatoes or peppers, because you can fit a large quantity of these itty bitty blocks on a small heat mat.
They're also great for seeds that have a long germination time, like lavender.
I particularly like this size of soil block for small seeds, like strawberries, celery, etc.

2" Mini
This soil block maker is by far the work horse of the bunch, it's the most versatile, and if you were to buy only one, I would recommend this one!
The mini makes 4 two inch blocks and is suitable for nearly all seeds, and when fitted with the 3/4" dimple are great for seed starting larger seeds, like beans and corn. It's also great for easily upsizing started seedlings from the micro (3/4") blocker.

4" Maxi
The 4" block maker is the final stage in the soil blocking journey for most plants! As they outgrow the smaller blocks, they can be upsized into the maxi block, which will see larger plants like tomatoes through their 5-8 week nursery stay before being transplanted into the garden.
At this point, I do not use a 4" soil block. I've actually been using this method from Farmer Jesse over at No Till Growers on YouTube for my plants as they outgrow the 2" block! It's a bit messier but it works great and I'm not limited to size, I can keep upsizing the block whenever I need!
Why Soil Block?
There are a few reasons to use soil blocks when gardening.
Seedlings started in soil blocks tend to be healthier
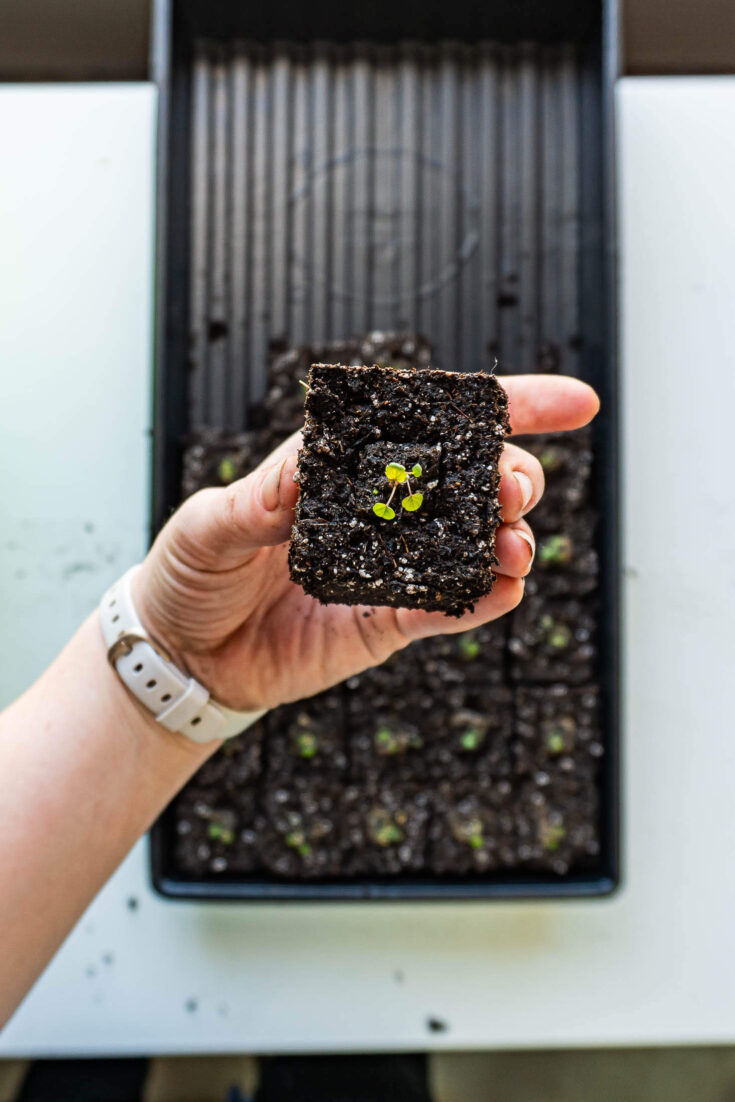
Soil blocks encourage healthier root systems through increased oxygen availability and air pruning. Because the soil is molded into a free-standing block and they are not encased by plastic, air is able to penetrate the soil block from the sides as well as the top - increasing oxygen availability to the roots.
Air pruning is a natural process that effectively stops the roots from growing when confronted with air. Once the roots reach the outer bounds of the soil block, they stop growing outward and instead branch out along the root for a more fibrous, branched root system. Because of this, the roots sit perched at the very edge of the soil block, ready to penetrate the soil as soon as they are in contact.
These branched root systems are in contrast to the roots of plants grown in pots - once the roots hit the plastic boundary of the pot, they simply follow it along, circling around the pot which can cause root binding issues, as well as increase transplant shock, as the roots are used to growing around the plant.
Easier transplanting + less transplanting shock
Soil blocks are incredibly easy to transplant into the garden, simply dig a hole the size of the block, place it in the hole, and backfill. There is no need to wrestle potentially root-bound plants out of plug trays or to tease the roots out because the seedlings in the blocks have a vibrant, branched root system.
Blocked seedlings are healthier going into the garden, and due to air pruning, their roots are perched at the edge of the block, ready to dive right into your yummy garden soil. As an added bonus, transplanting the seedlings causes little if any damage to the roots, allowing the plants to nearly bi-pass transplant shock altogether!
Reduce waste + plastic use
One of the benefits of soil blocking is that the soil blocks are self-contained, reducing the reliance on plastic seed starting trays that, while cheap, wear out over time, creating plastic waste.
While you'll still require 1020 trays or trays of some sort for your seedlings, you'll end up using and wearing out far fewer plastics in your gardening.
As an added bonus, soil block makers are made of metal and are going to last you a LONG time. Unless, say, your husband runs over it with a skid steer.
Save space
It's no secret that plug trays and nursery pots are incredibly space-intensive. Using soil blocks saves space, both on heat mats as mentioned previously, but due to the nature of the blocks, they are able to fit many more plants in the same area. It's an excellent method for seed starting indoors, we all know indoor space is limited - especially in cold climates like mine!
The supplies required for soil blocking also take up less storage space. The soil blockers themselves are very small and easily storable when compared to multiple plug flats and trays.
Why Not?
Upfront costs
This is a large deterrent for most gardeners.
While it is undoubtedly expensive, it's also an investment. These soil block makers will last a LONG time, even with heavy use. And over the lifetime of a garden, they will likely offset the cost of using and replacing many many cell trays.
Time + effort
You're unlikely to open your soil blockers and start making perfect blocks. This part takes a little practice to get right.
But don't worry, if they don't turn out, you just toss the soil back into the bucket and try again! Once you get the hang of it, they are really quite simple to use.
Another potential drawback to soil blocking is that it can take some time, and the counter-argument to that is that it also takes time to mix soil for plug trays, to pre-moisten that soil, to fill the plug trays, to plant out the trays, etc.
Soil blocking may take a bit more time to make the blocks up front, but you'll save time when transplanting them out into the garden.
Besides, the joy of starting seedlings is the serotonin boost we get from playing in the dirt LONG before summer!
Somewhat delicate
The soil blocks are just compressed soil. There's nothing holding them together other than the forming process. This means they are definitely more delicate than plug trays.
Dropping a tray of soil-blocked seedlings, depending on the development of the plant, could be very bad. Watering the blocks improperly can cause erosion. And it can be difficult to harden off the seedlings if you have rainy springs.
There are workarounds for all of those, except accidentally dropping your blocks! You should just avoid that. To avoid damage during watering, it is important to bottom water your soil blocks. While hardening, the plants should be brought indoors during rains or protected to prevent block erosion.
How To Make Soil Blocks
Soil blocking is the best way to get started with growing your own plants. It’s easy, it’s fun, and it’s incredibly rewarding! You'll get beautiful, healthy plants for your garden using soil blocks.
Materials
- Pro Mix HP
- Potting mix
- Water
Tools
- Soil blockers
- Mixing tub
- Trays
- Indoor grow lights
Instructions
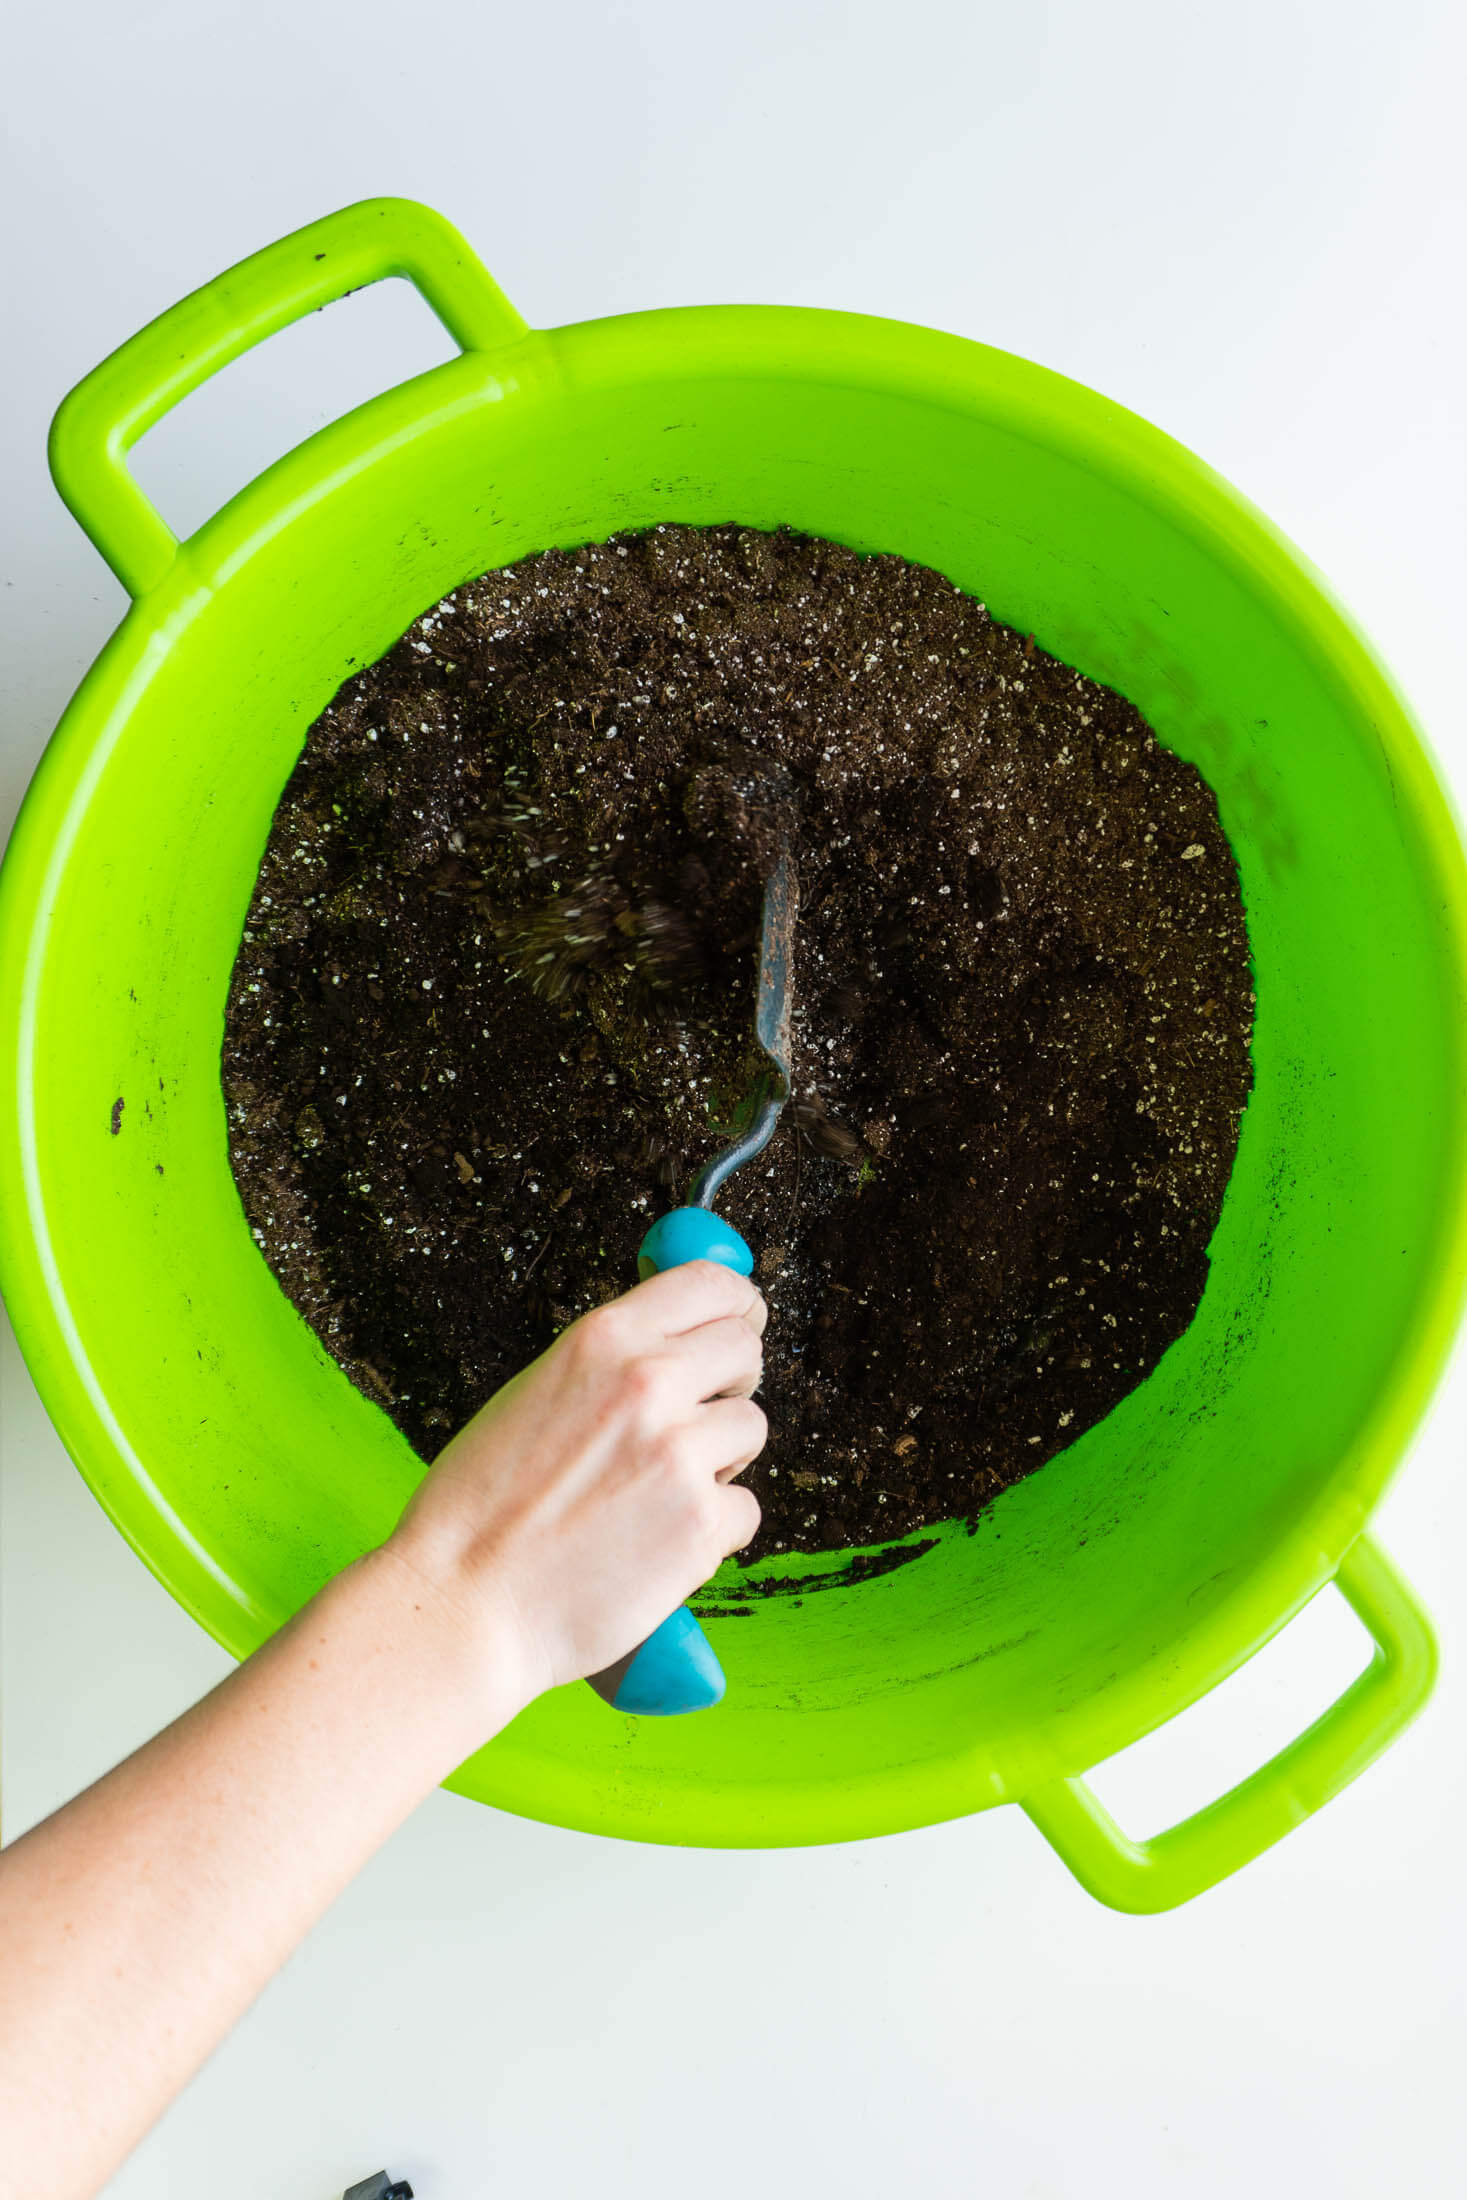
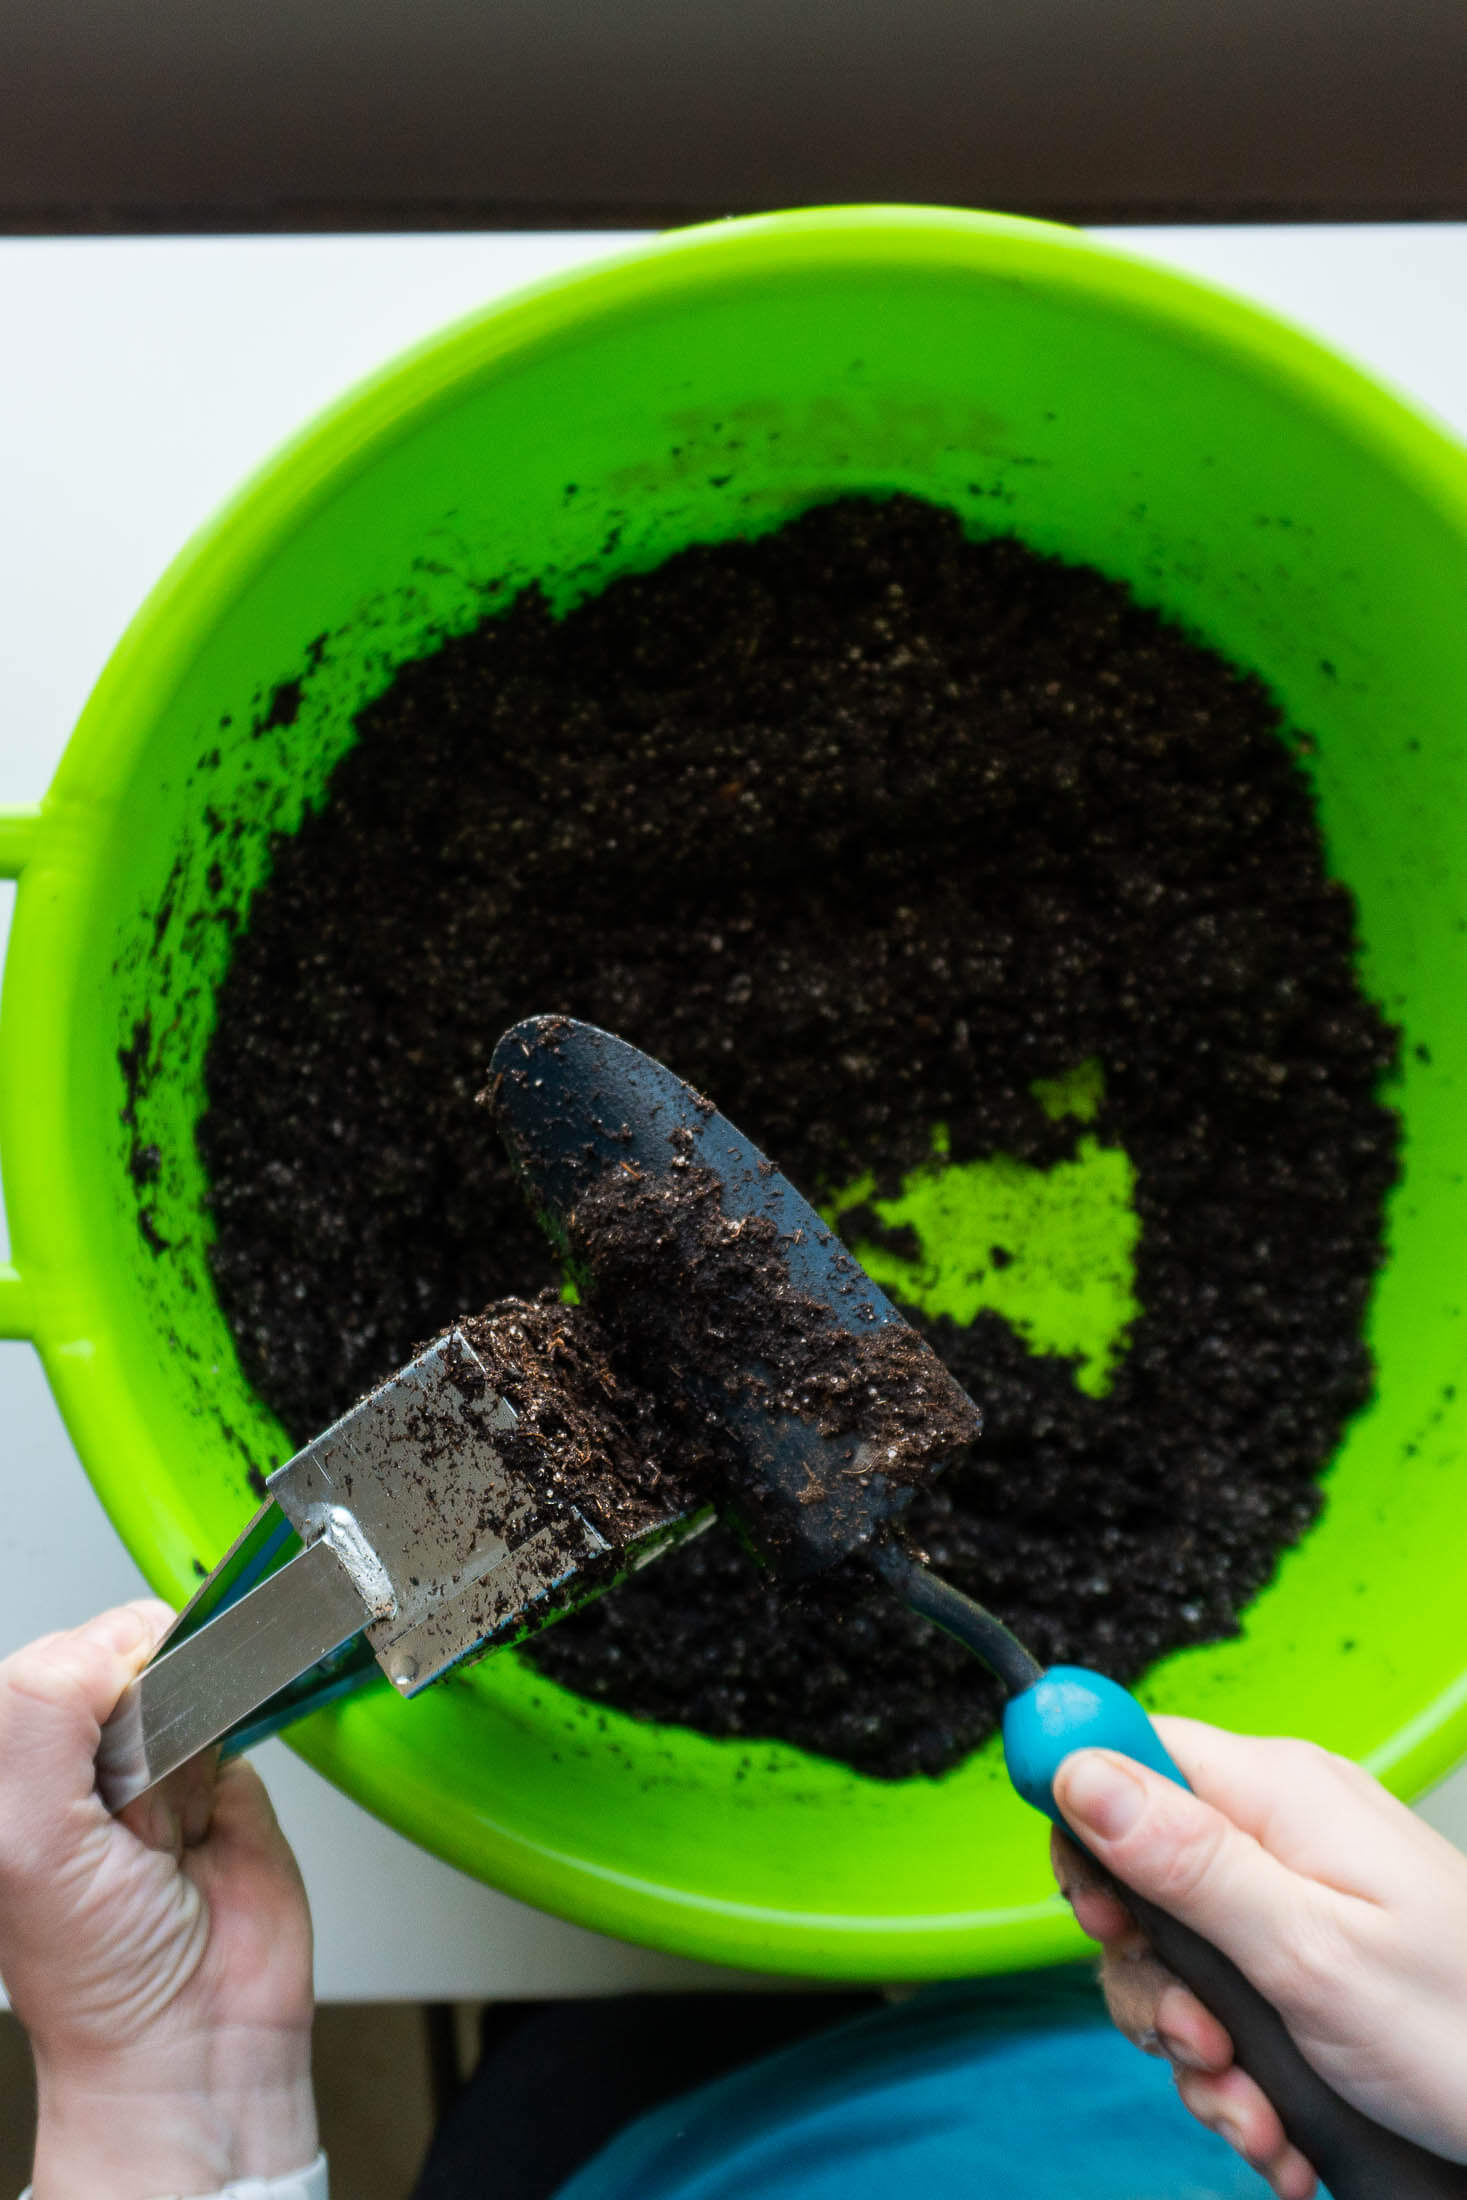
Make Soil Mix
- In a mixing tub, I use a feed bin from a local farm supply store, combine 3 parts Pro-Mix HP with 1 part potting mix. Once fully combined, slowly add 1 part water.

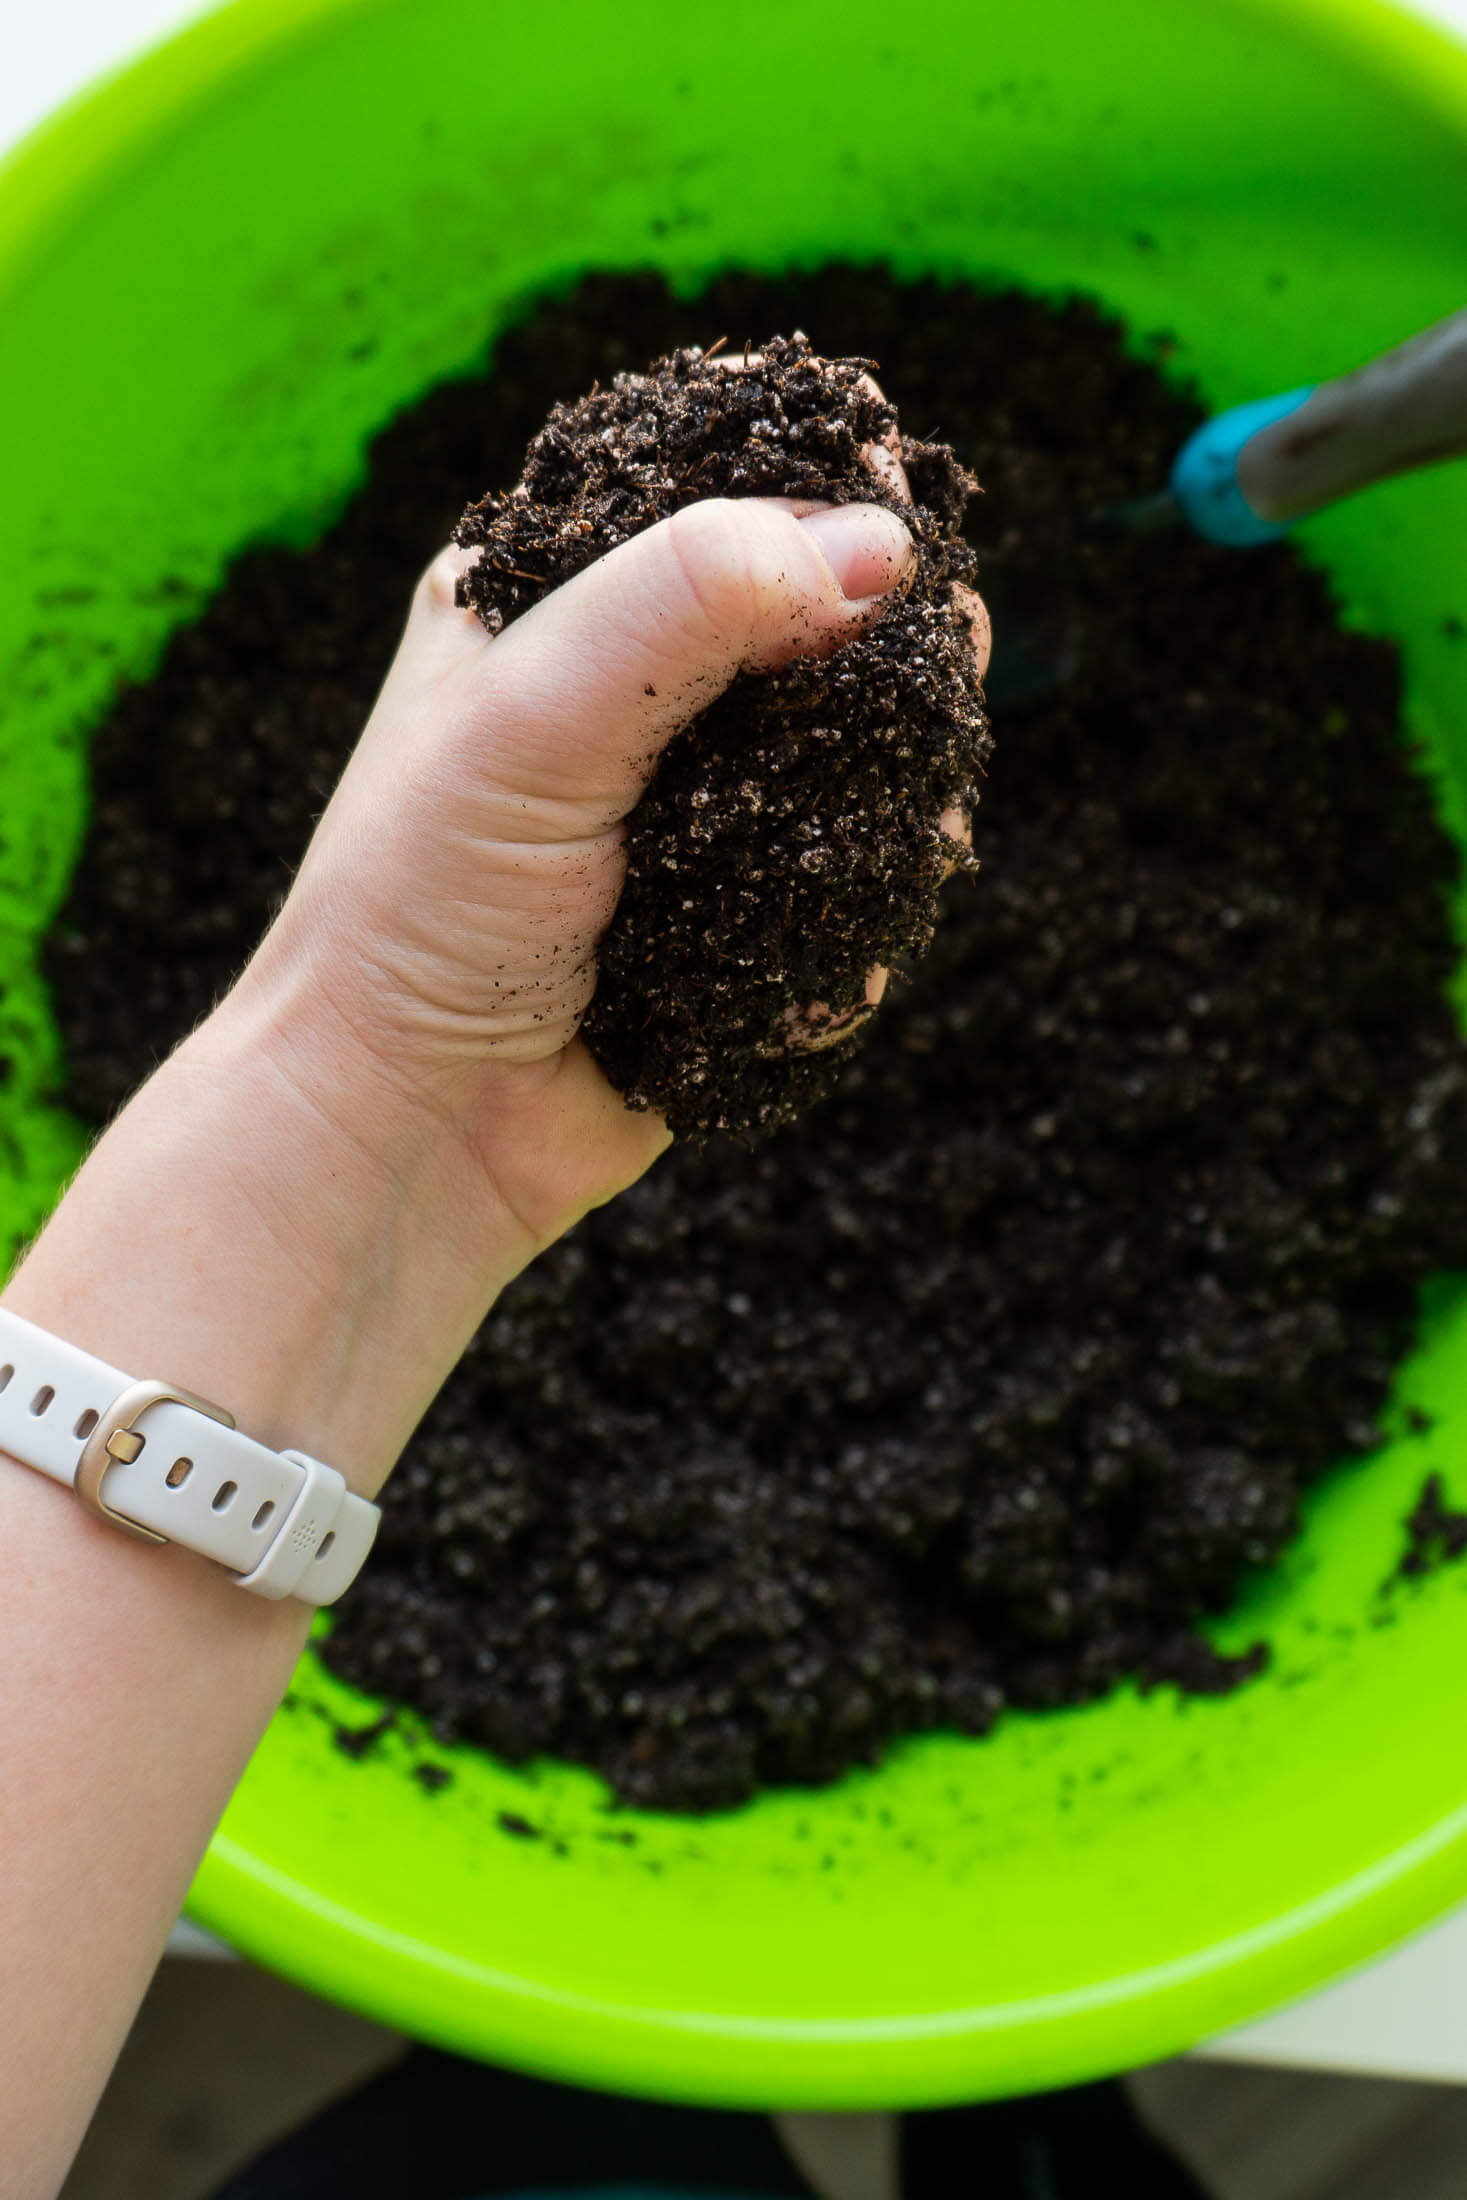
- Stir in the water, and gradually add more, up to another 1/2 part water. Soil blocking mix is ready when water drips out if you're firmly squeezing.
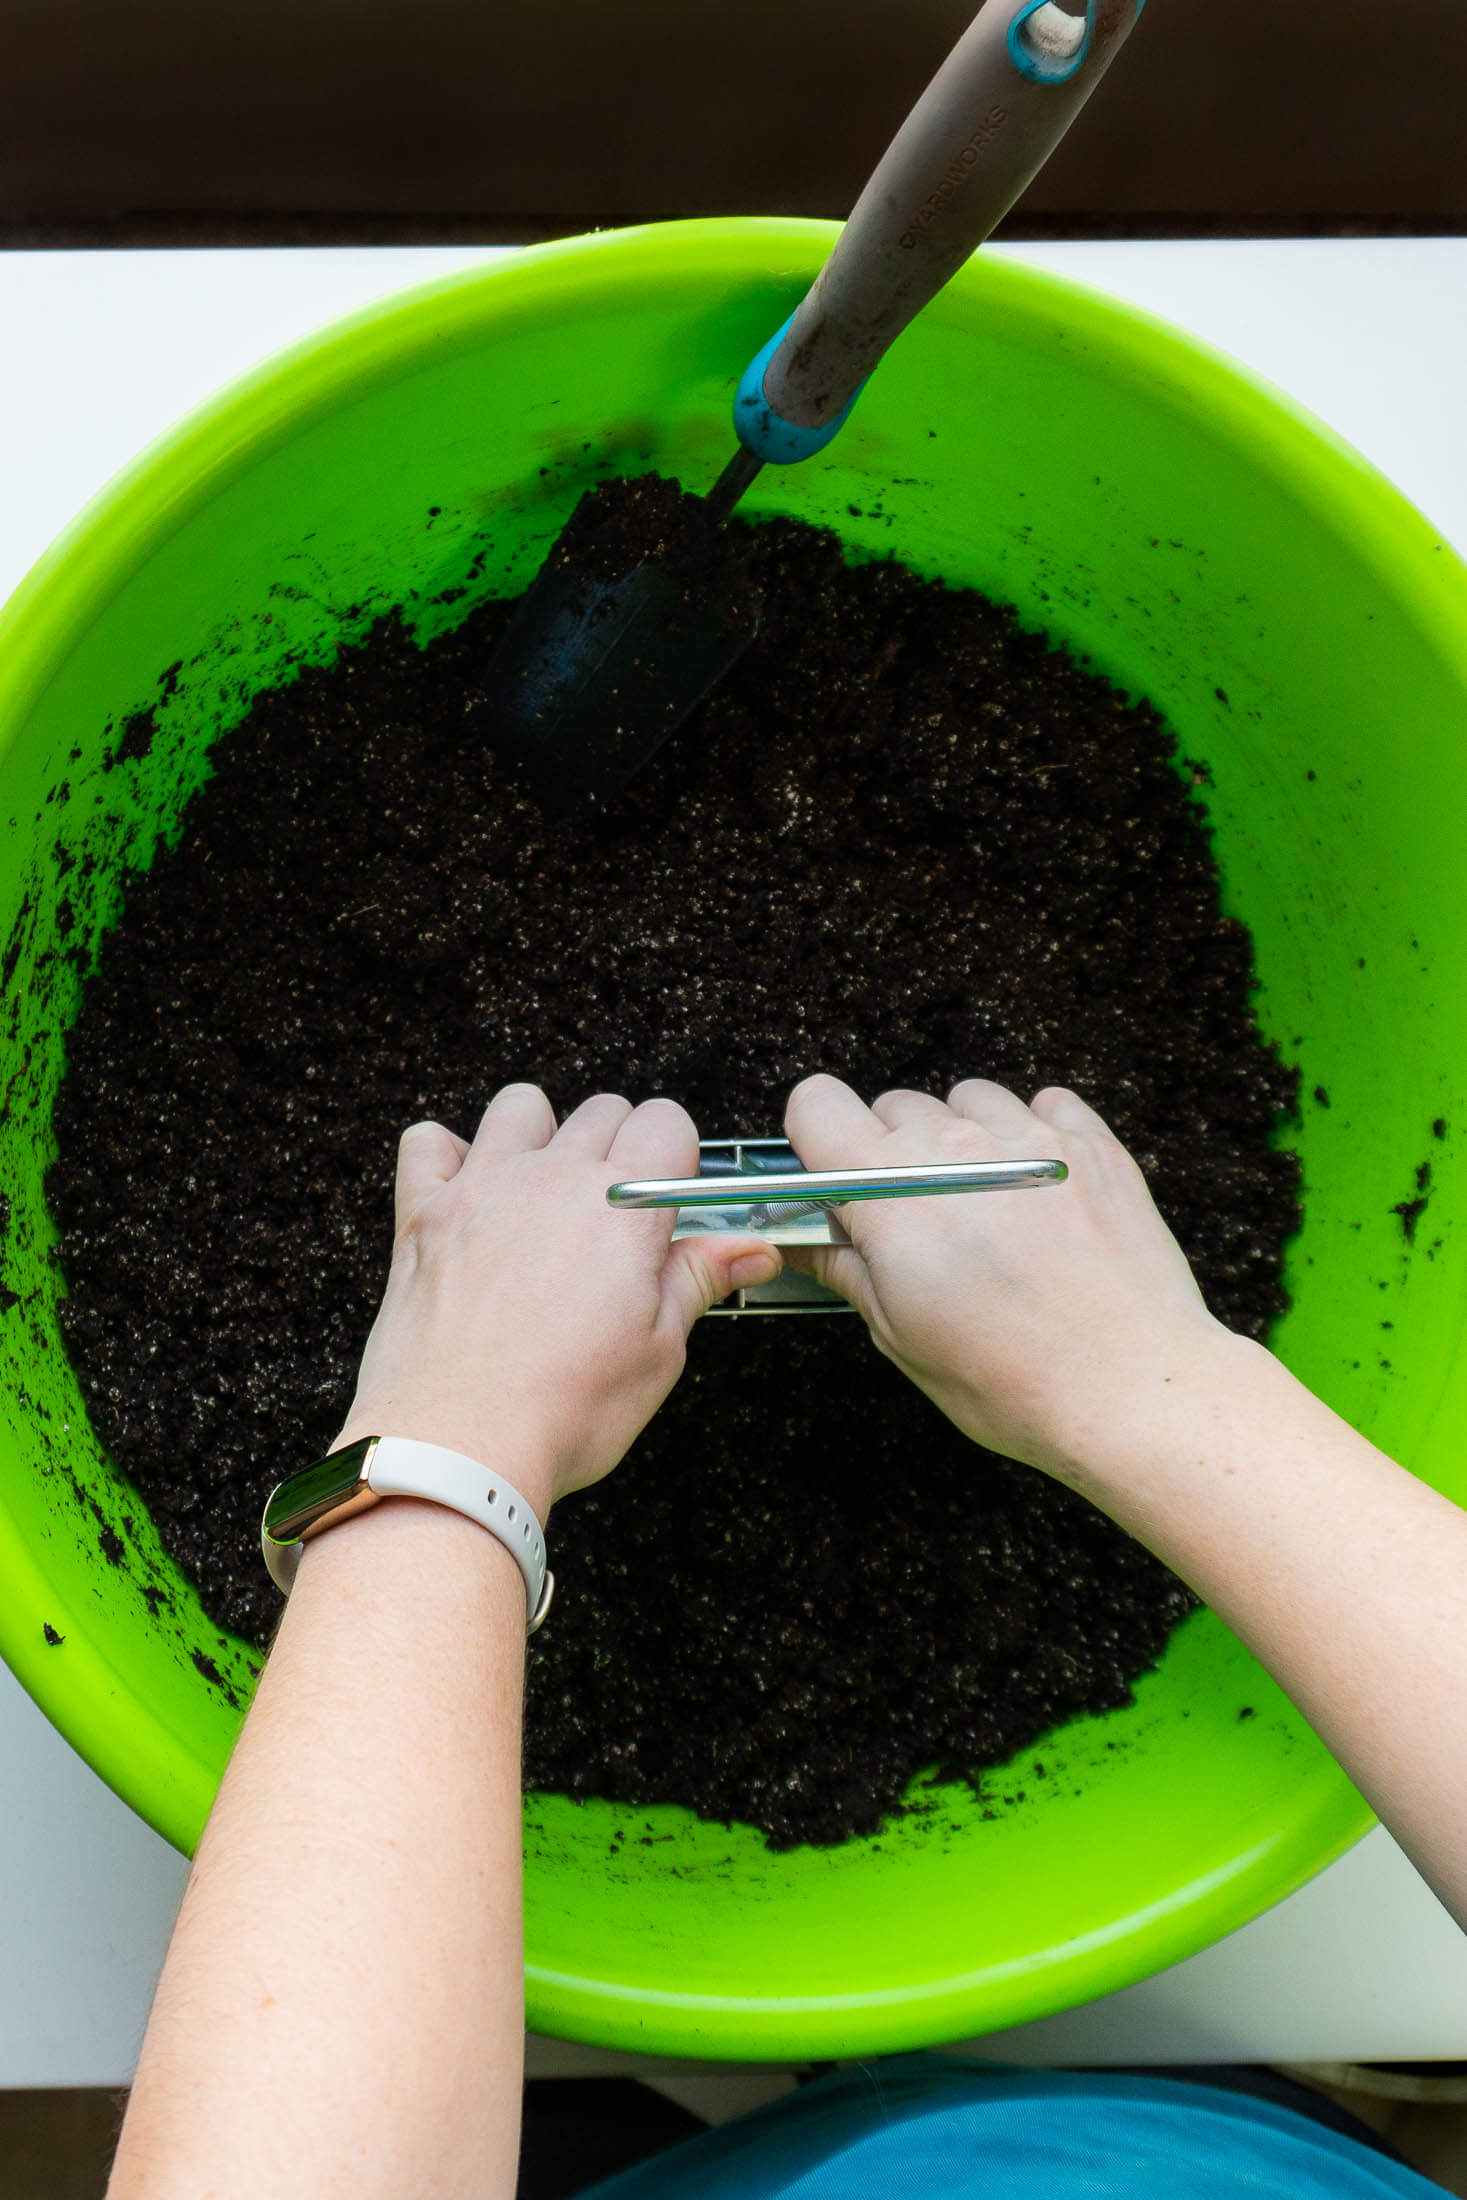
Make Soil Blocks
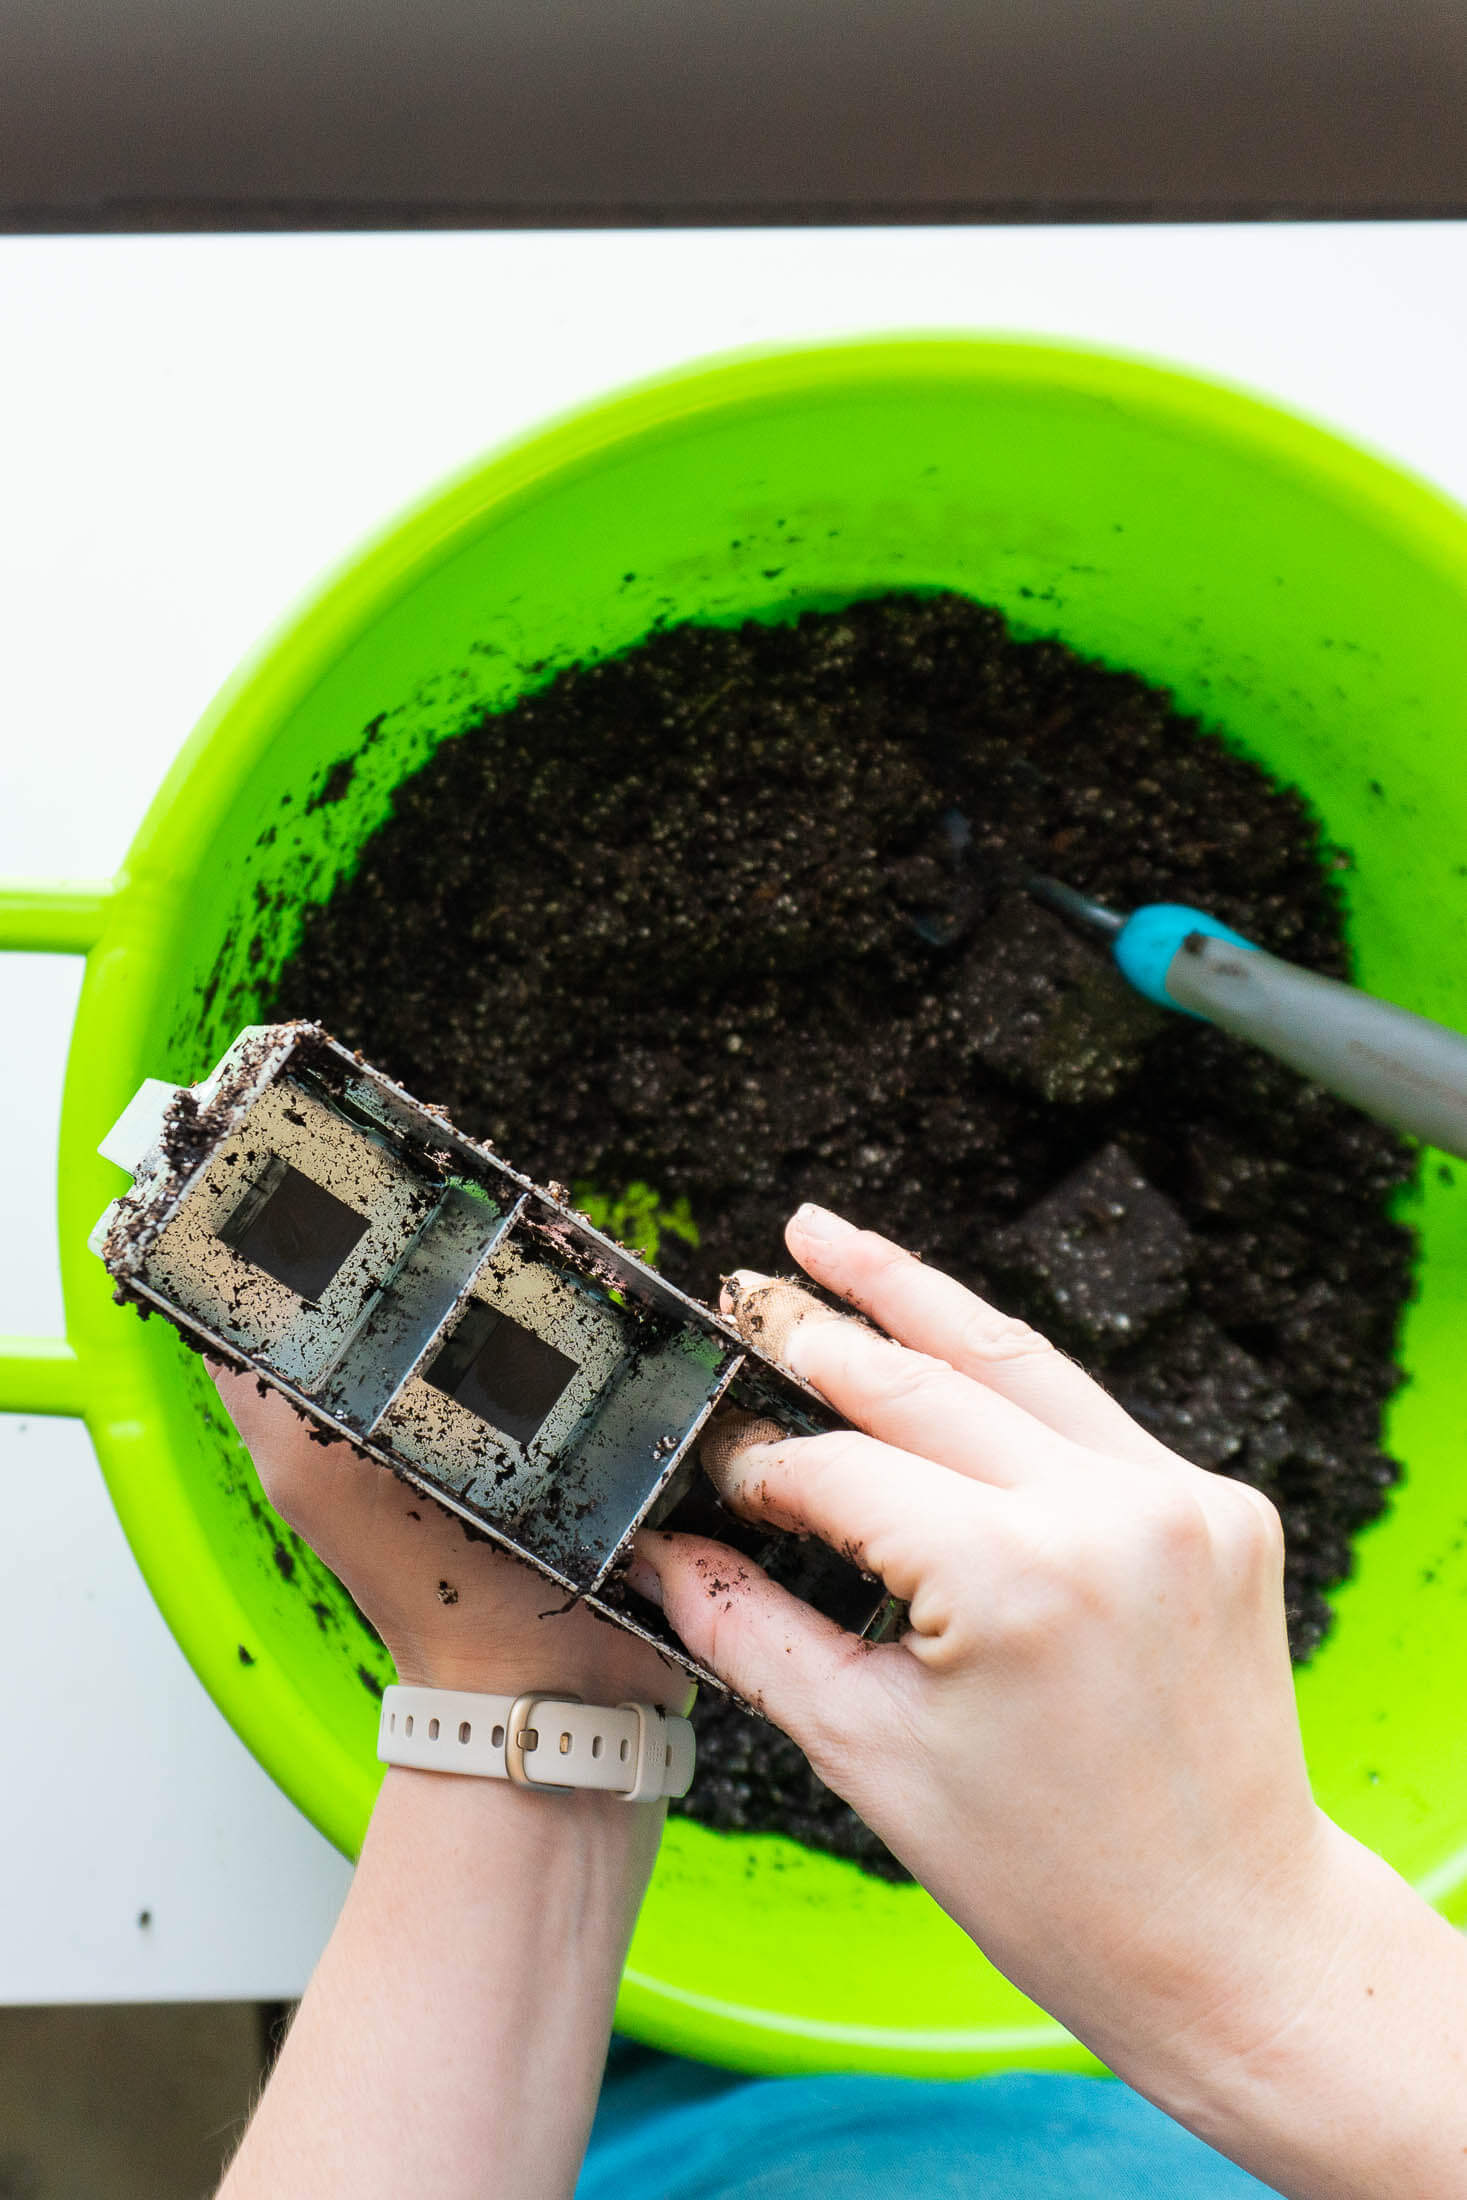
- Use your desired soil block to plunge into the prepared soil mix. Press down firmly, and repeatedly if required to pack soil into the block.
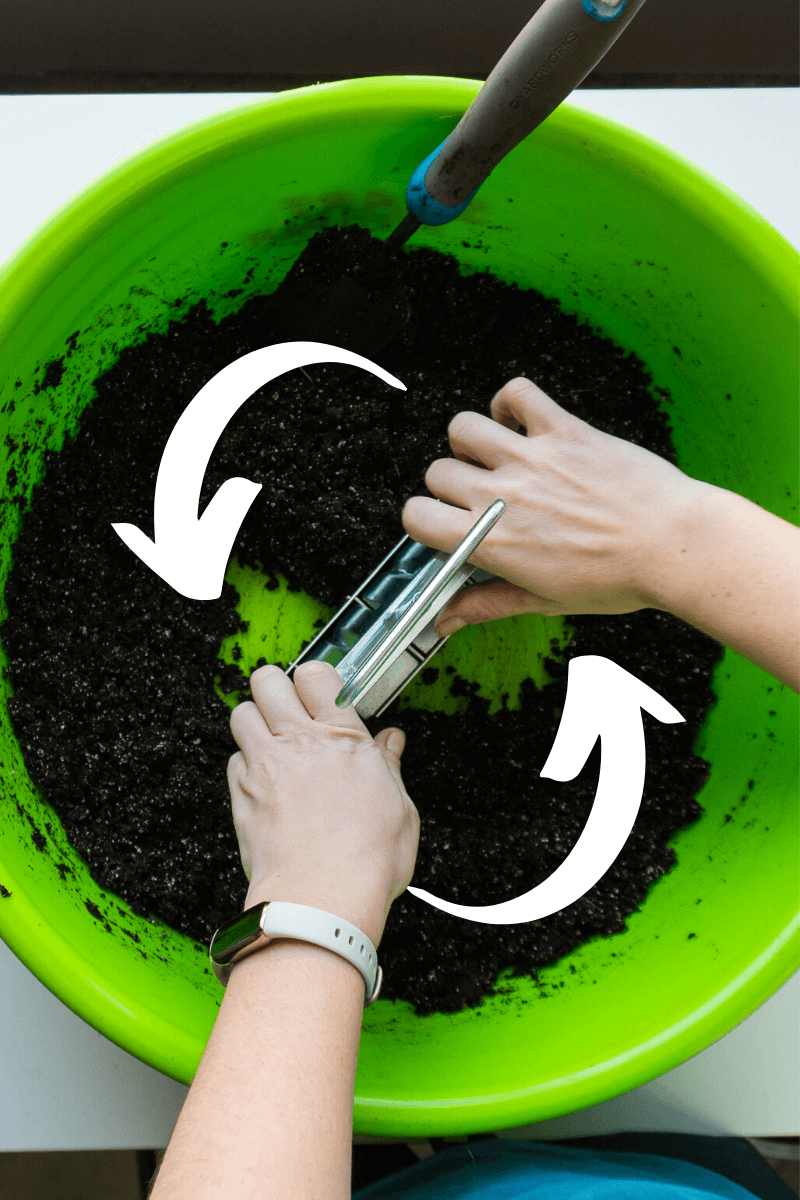
- The block is filled and ready to go when muddy water seeps up over the top of the form, ensuring to twist back and forth to pack the outer blocks.

- Scrape the bottom of the soil block to ensure they sit level.
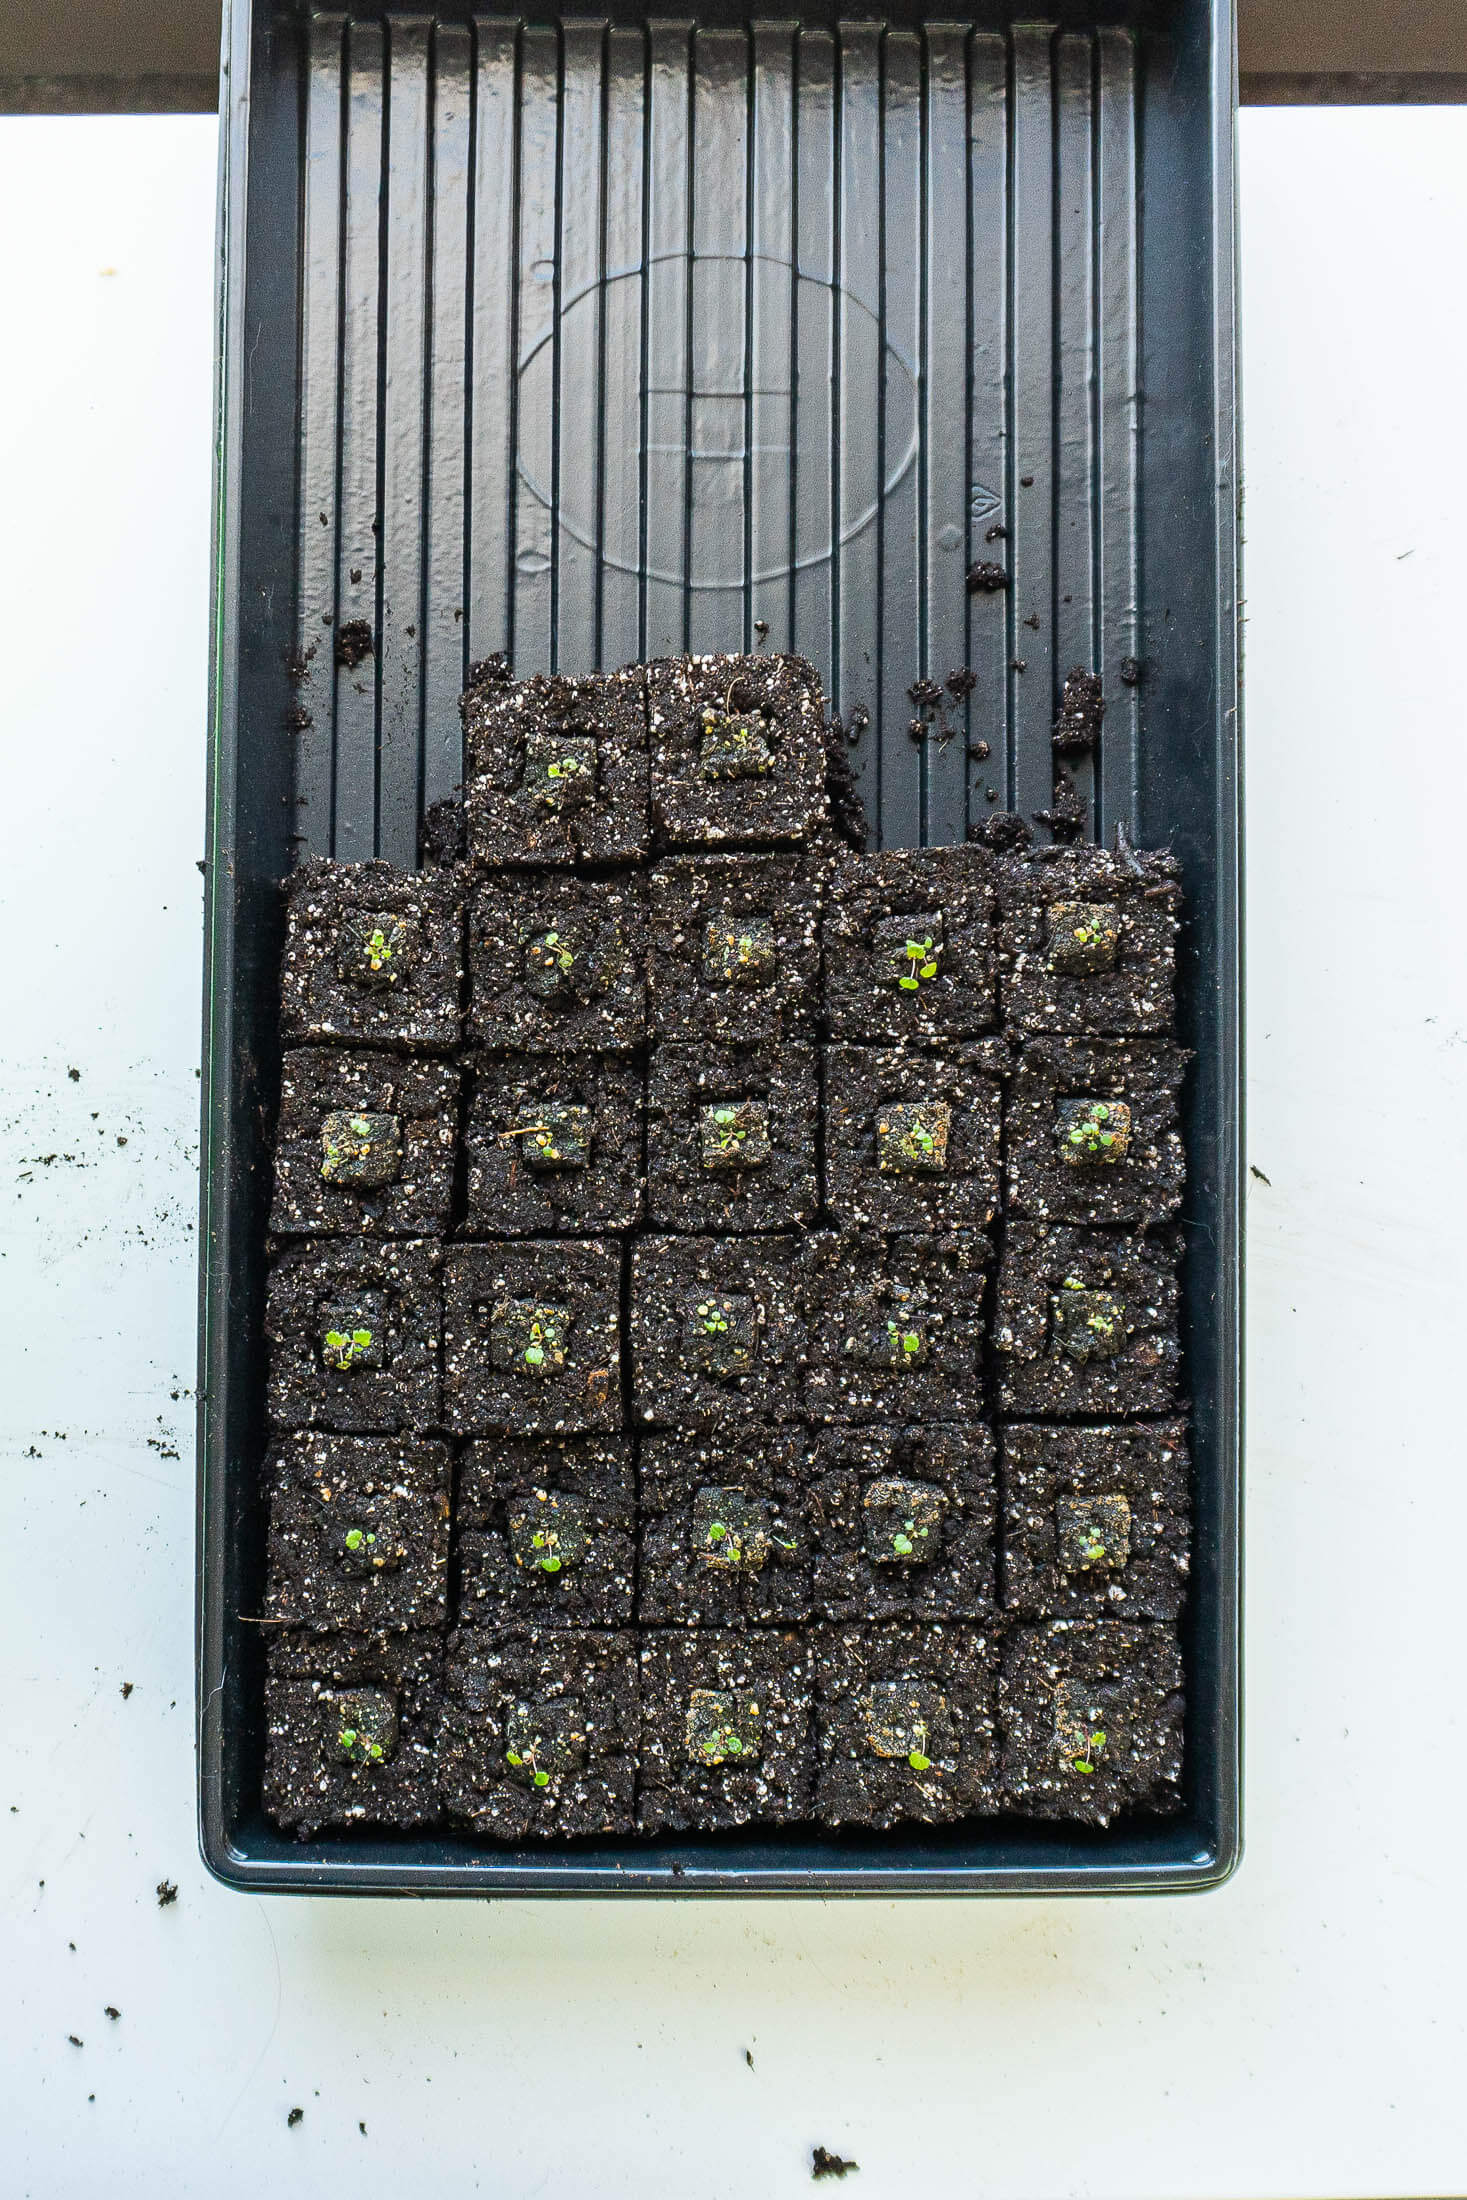
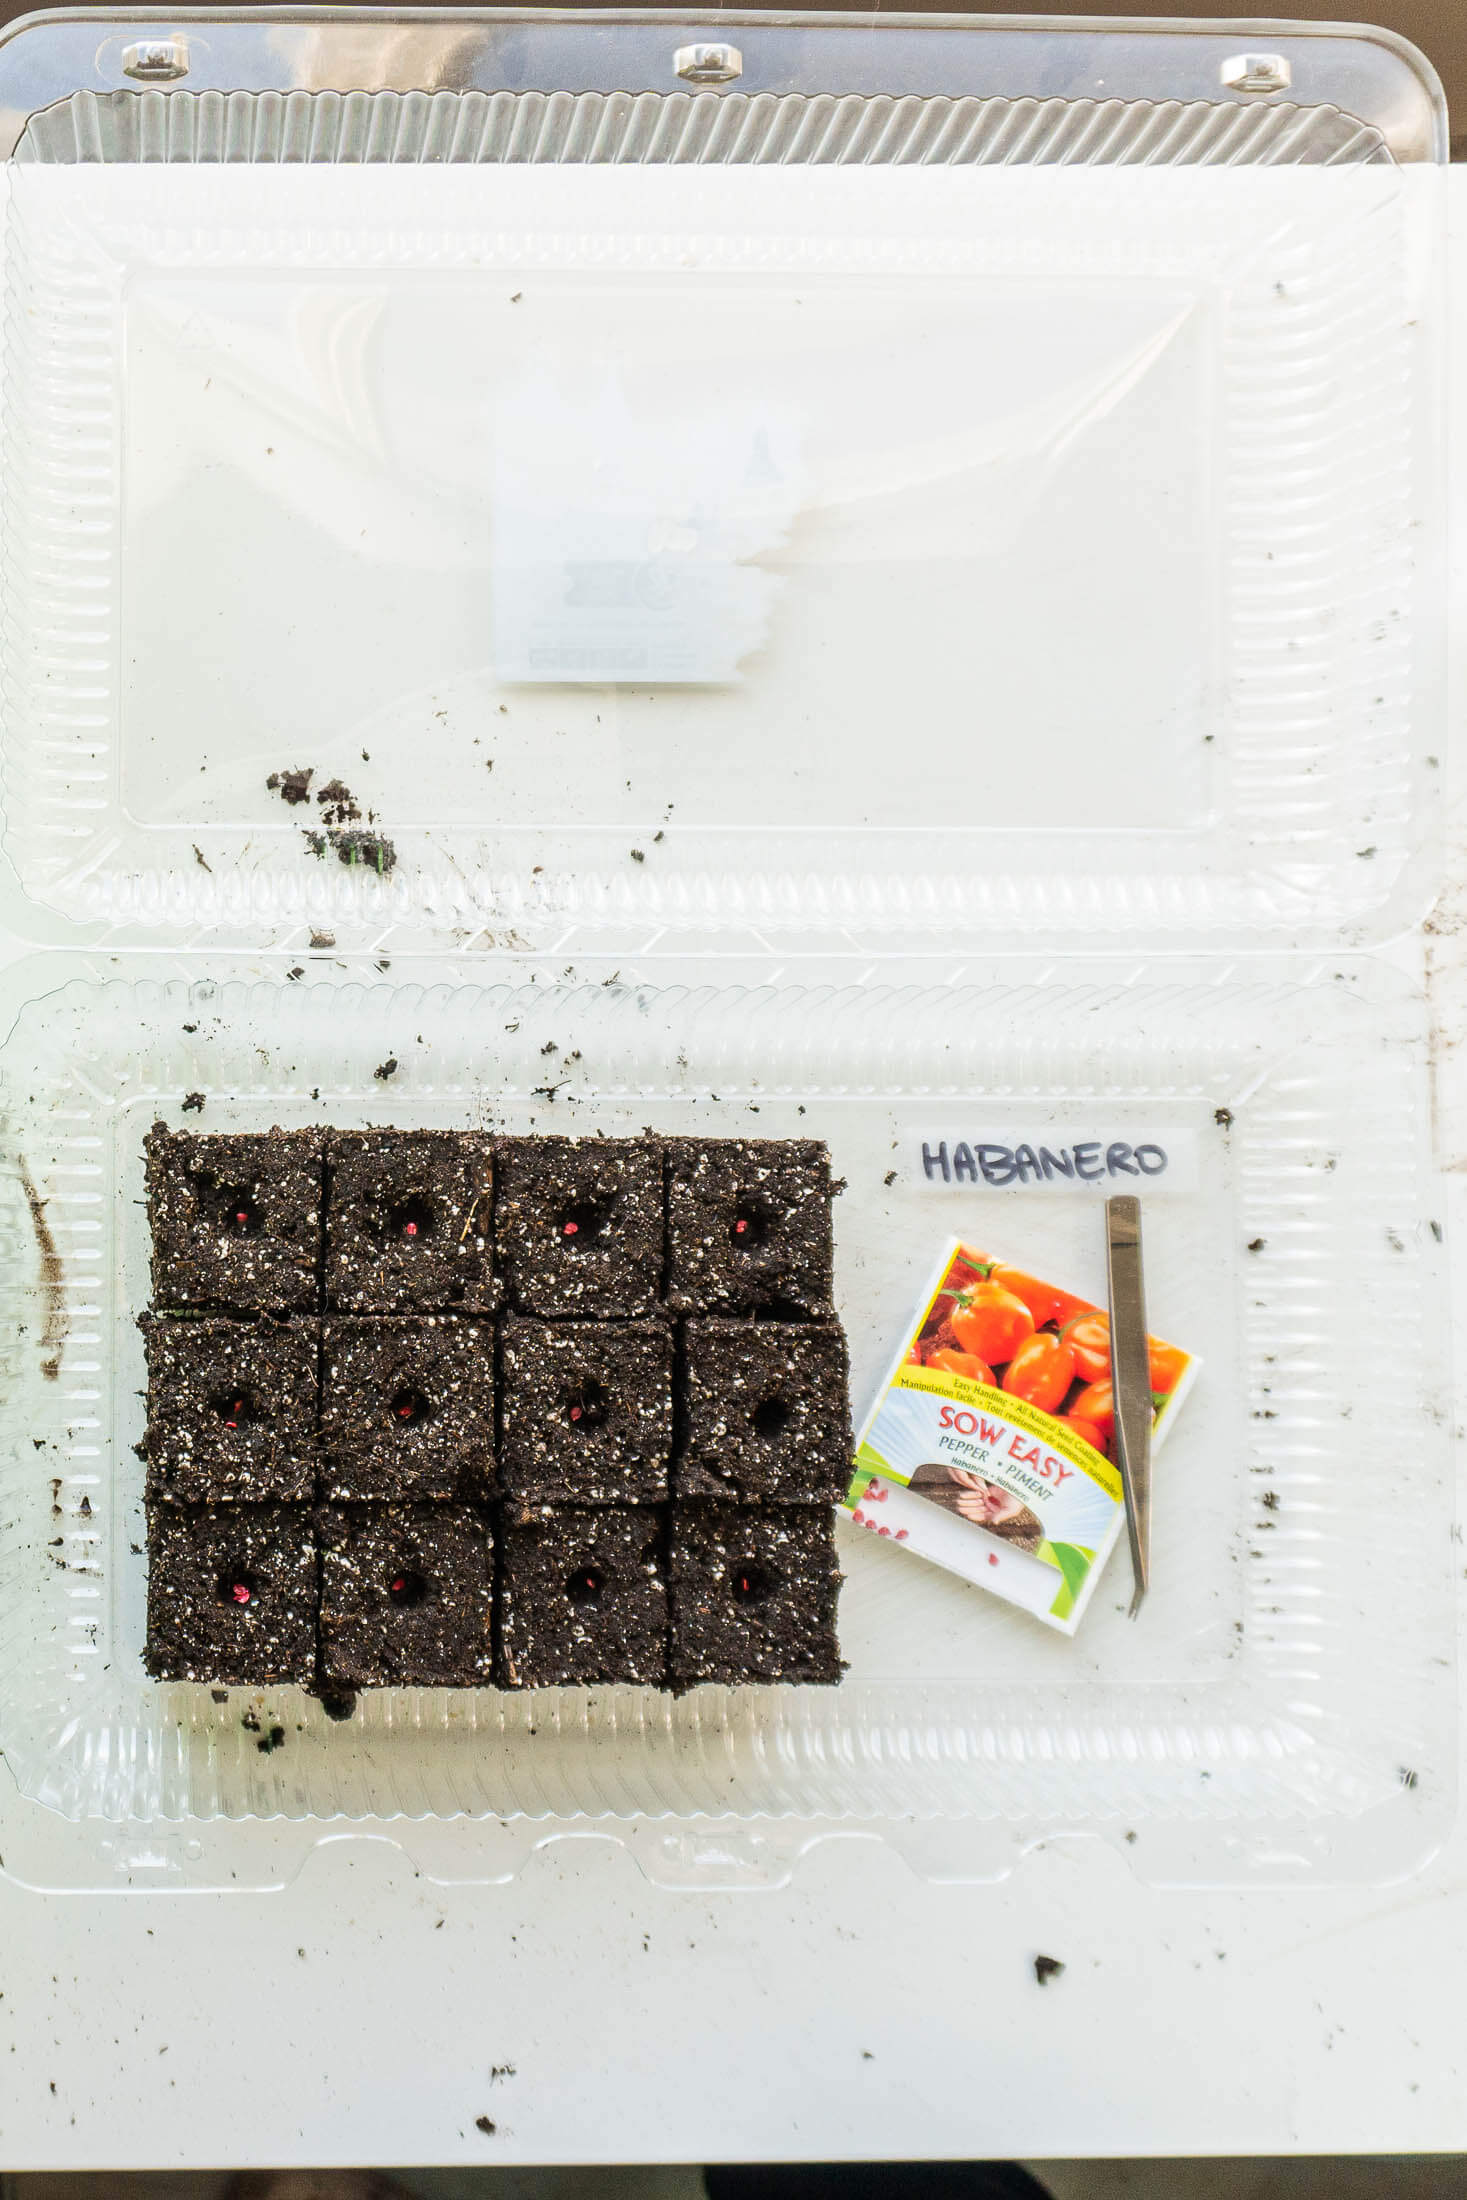
- Position the blocks into the tray and press down on the plunger to release. Rinse your soil blocker after every second set of blocks to prevent sticking and poor block formation. I keep a bucket of water beside my soil bin so it's easy to rinse regularly.
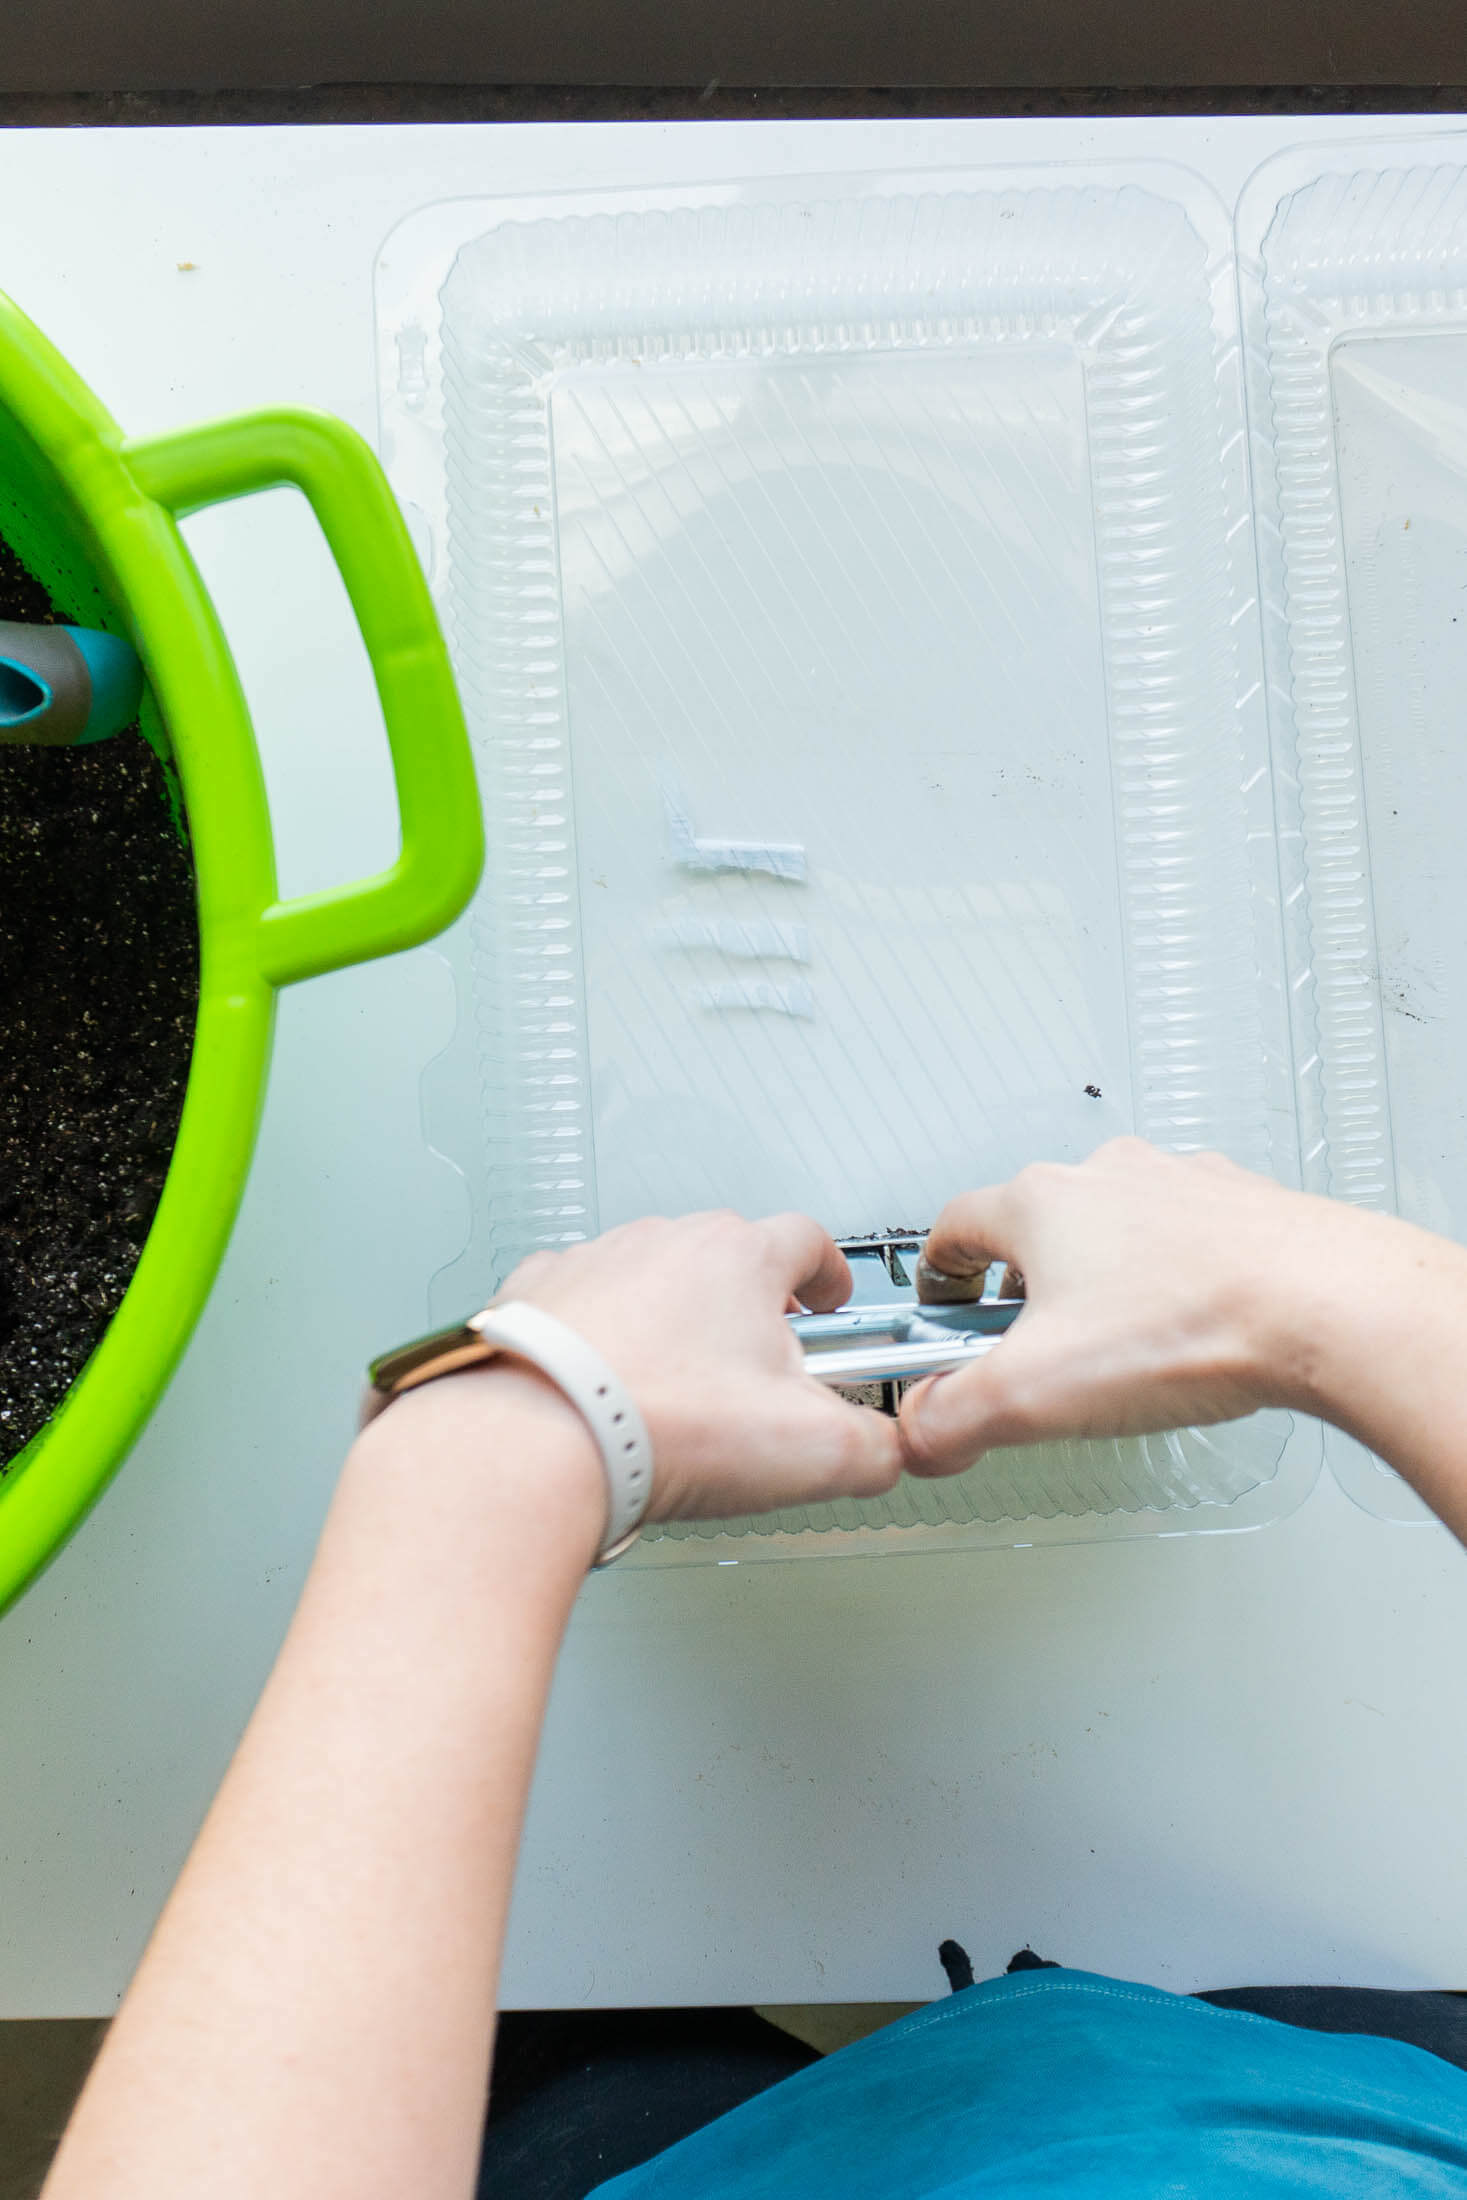
- Once your tray is filled, blocks are ready for planting. I like to cover my freshly planted soil blocks with humidity domes to aid in germination, they hold in the heat and humidity. I actually love to reuse plastic trays from the local bakery - give them an extra life before they are tossed. Once they've germinated and have been opened up for a few days, I transfer them to 1020 trays. This allows me to reuse my make-shift humidity domes for the next round of seedlings!
- Keep your ungerminated seedlings damp, but not so wet that the seeds rot before germinating. Using a closed lid humidity dome, I'm usually able to spritz with a water bottle once every 2-3 days to keep the humidity high. I rarely have to bottom water the blocks while they are covered.
Ensure that the seedlings are under grow lights should they require light for germination. Lettuce is a common seed that requires light for germination. Other seedlings can be placed under valuable grow light space once they've germinated!
Transplanting Smaller Blocks Into Larger
- If your plants are ready to be "up-potted" from their germination blocks, install the 3/4" dibble into the 2" soil block.
- Follow the same process as above, and instead of placing a seed in the divot, place a 3/4" soil block!
Watering Soil Blocks
- It's very important to water soil blocks from the base, as running water has amazing erosion abilities! A watering can with a small spout is perfect for this job.
- Slowly add water around the base of the planting tray, wait a couple of minutes for the soil to wick up the moisture. If there is standing water, it's best to remove it. Use a turkey baster or syringe to suck up the water.
Avoid top watering with a spray bottle once the seeds are germinated and opened up. This can cause the growth of algae and mold on the top of your soil blocks which can compete with your seedlings!
Recommended Products
As an Amazon Associate and member of other affiliate programs, I earn from qualifying purchases.
Pin this step by step soil blocking guide!
Comments
No Comments