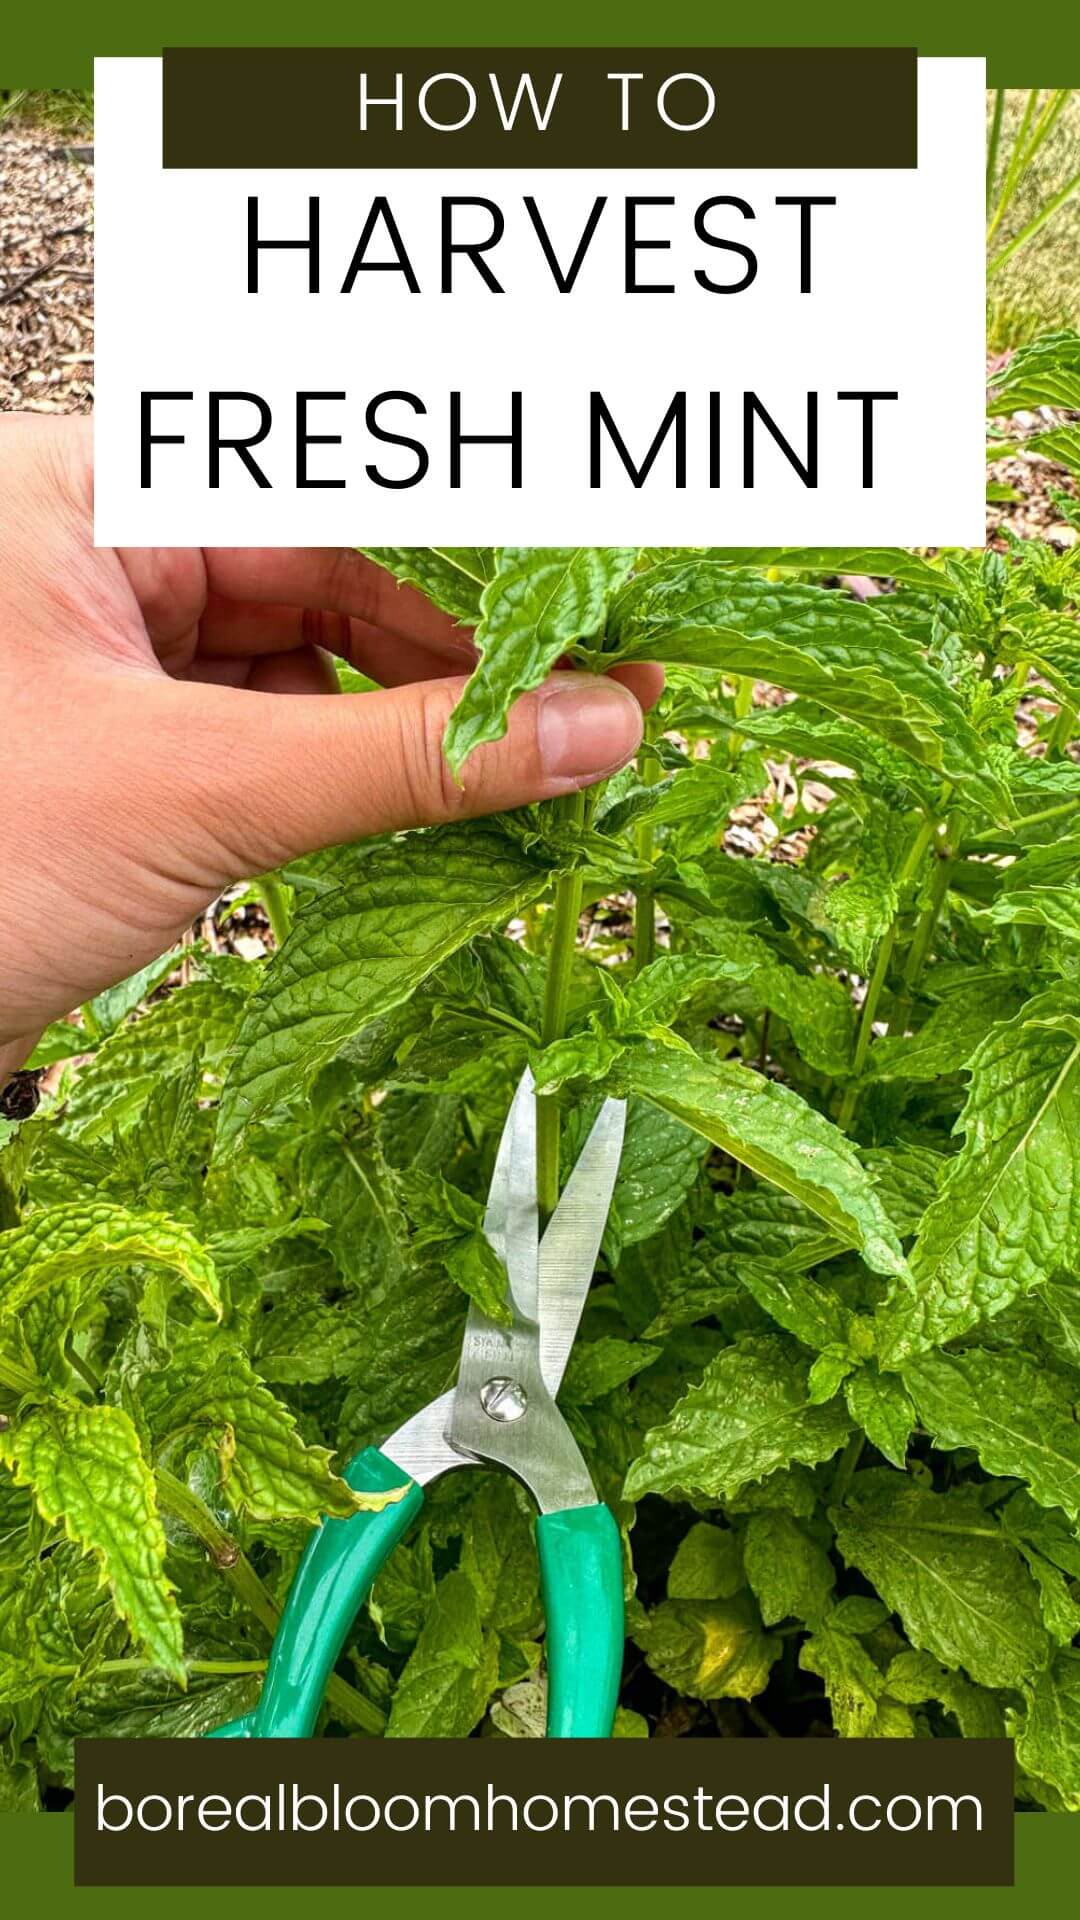
How To Harvest Mint
Whether you’re growing mint for the first time or have done it many times before, I'll share some helpful tips to keep in mind when harvesting mint without killing the plant.
Mint might be one of the most popular herbs in the world, and if you ask me, a mint chocolate lover, it should be the most popular herb in the world.
It's widely used in culinary dishes, adding flavor to a variety of cuisines. But before you can enjoy the taste or reap the benefits, you need to know how to harvest this fragrant herb correctly. I'll teach you everything I know about harvesting mint from your garden so that you can enjoy it fresh from the source!

Jump to:
What Is Mint?
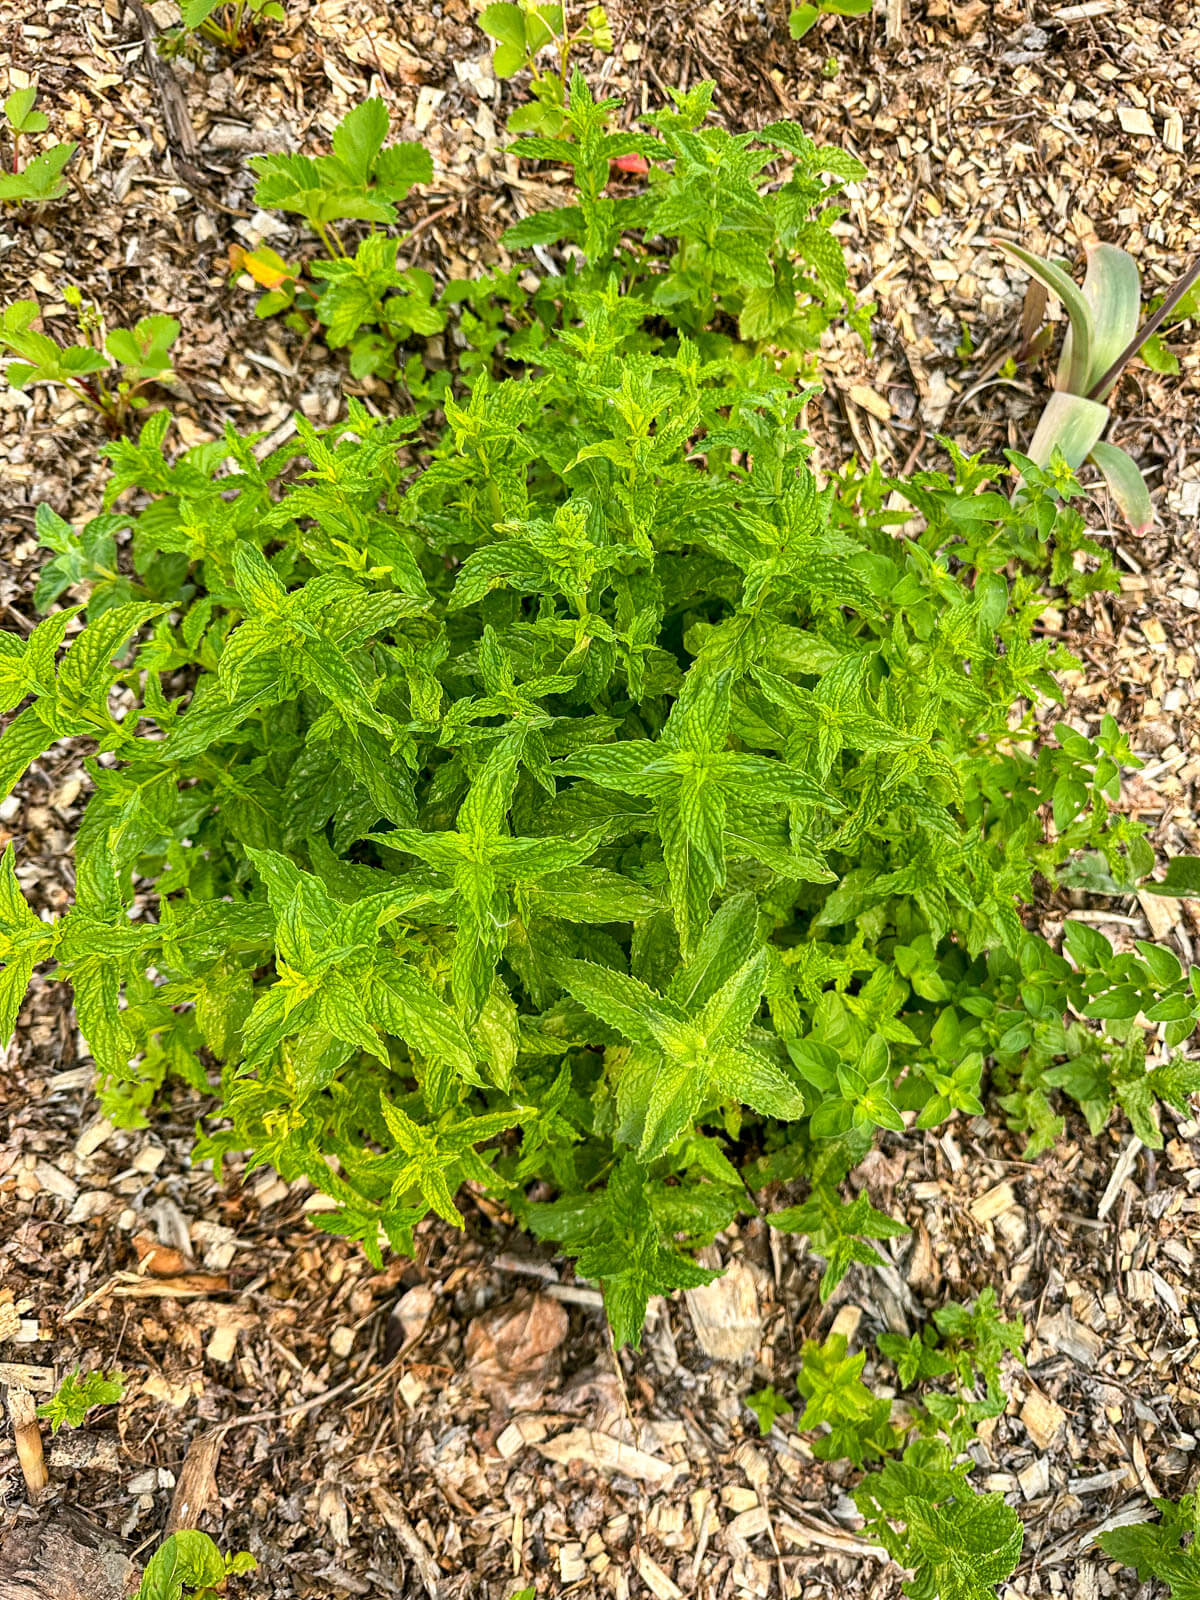
Mint is a perennial herb belonging to the Lamiaceae family of plants. It grows best in moist and well-drained soils and prefers partial shade but can grow in full sun. Mint plants can be easily recognized by their square stems, unique aroma, and spear-shaped, green, opposite leaves with jagged edges and if left to flower, small white to purple flowers.
It is an easy-to-care-for plant, and its fast-growing habit makes it a great choice for ground cover or as a companion plant. Mint plants can be found in almost all regions of the world, including North America, Europe, Asia, and beyond.
Buyer beware with mint - as it can be quite invasive in the herb garden due to its spreading habit. The plants multiply incredibly easily via runners (stolons) and this hardy plant can easily choke out other weaker varieties. Many gardeners who desire to grow mint in-ground keep it in a confined space, such as between brick edging or within a buried pot.
Mint, specifically common mint, and spearmint, actually overwinter well in most climates, even here, through our frigid zone 3 winters, our mint plants come back every spring in the food forests! Other, more novel varieties may not be as hardy, like chocolate mint, mojito mint, apple mint, etcetera. That hasn't stopped me from experimenting though!
Tips + Tricks
No. 1 --> Timing matters when it comes to harvesting. Harvest mint when the plants are around 3-4" and before they flower. As with most herbs, once allowed to bloom, the plant puts a ton of energy into sexual propagation and the flavor can suffer.
No. 2 --> Timing matters in more ways than one! The fragrance and flavor of mint are due to volatile essential oils within the leaves, the more oils within the leaves, the stronger the flavor. During the day, under heat stress, lots of the volatile oils are lost. The best time to harvest mint leaves is early in the morning.
No. 3 --> These hardy plants can withstand a large harvest, easily bouncing back from having 1/3 - 1/2 of the plant harvested at a time! If you're going to do large harvests, ensure to space them out by at least 7 days to ensure the plant has time to rejuvenate before another round of harvesting.
No. 4 --> As always when harvesting herbs, discard any dried, dead leaves, slimy parts, or anything that smells, looks, or feels 'off'.
How To Harvest Mint
Harvesting mint is actually quite easy! Your method will depend on your harvest needs, are you harvesting a few mint leaves to muddle in a mojito? Or are you looking to harvest for preserving purposes?
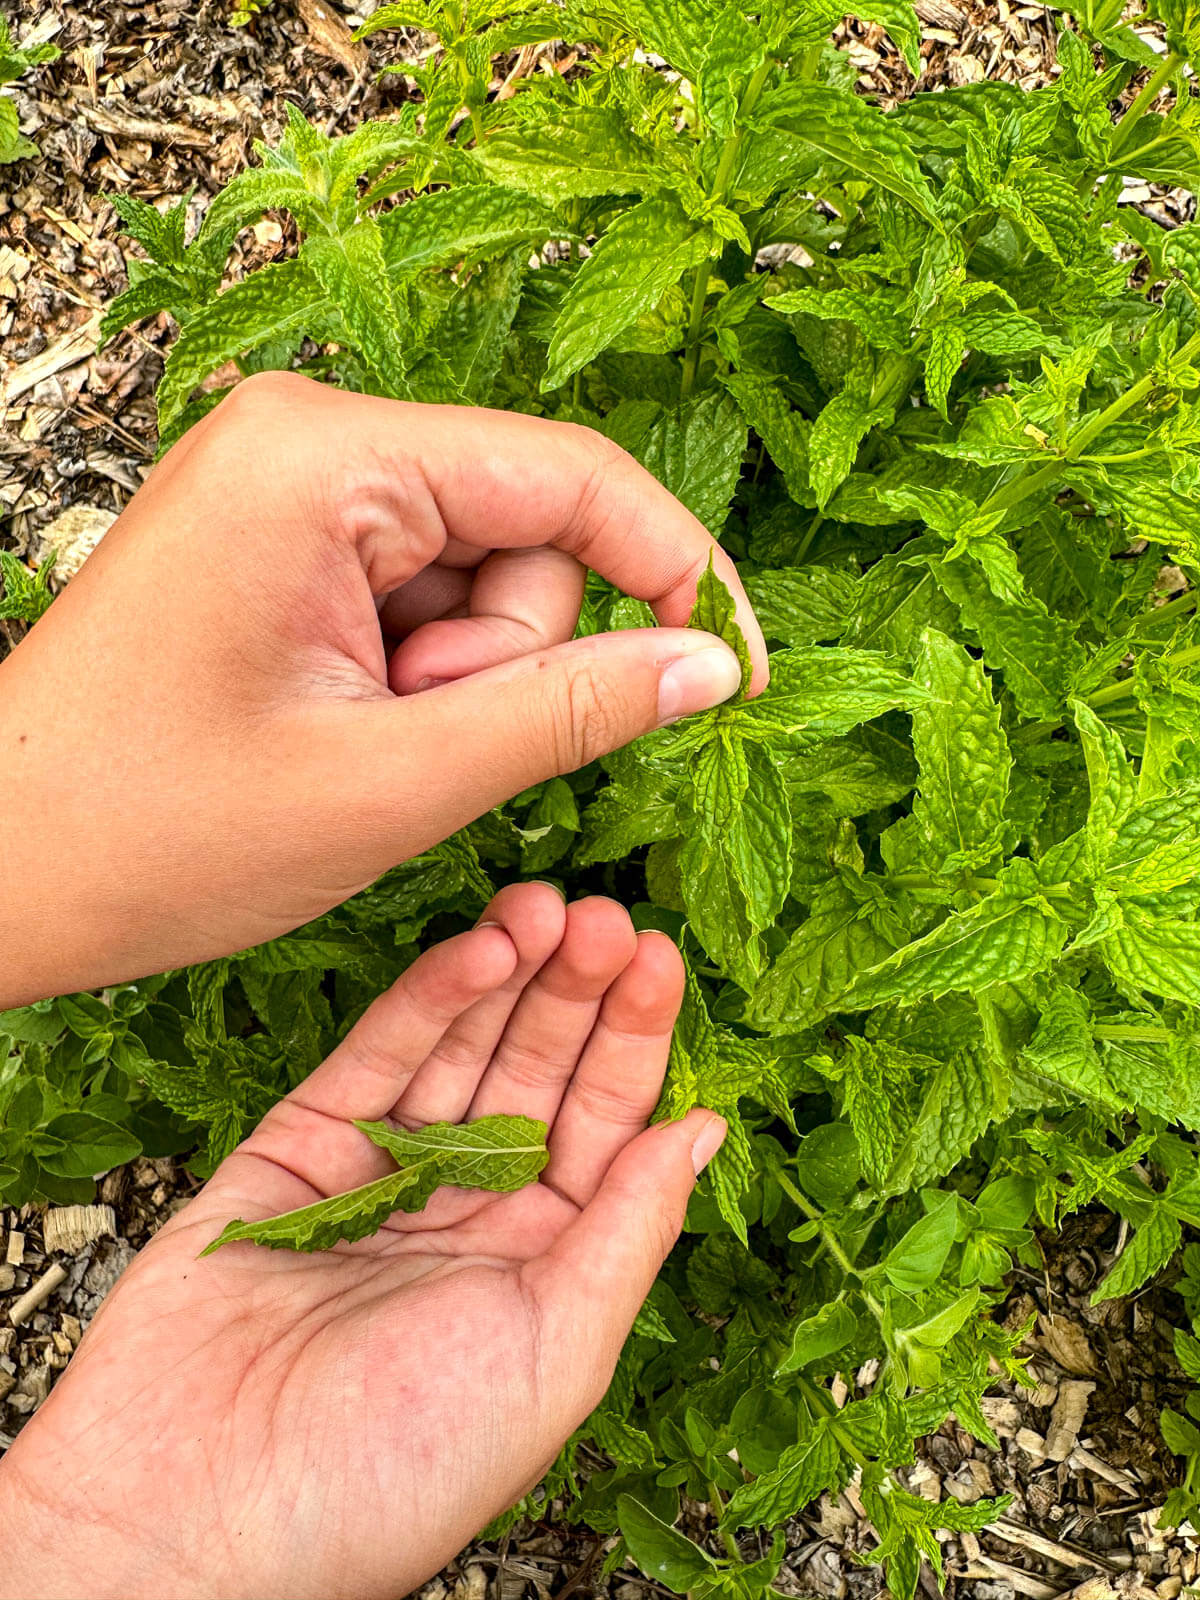
A Few Leaves:
Harvesting a few leaves is incredibly easy, simply pinch your desired number of leaves directly from the plant. Try to choose leaves nearer the top of the stems as younger leaves tend to be more tender and flavor-filled.
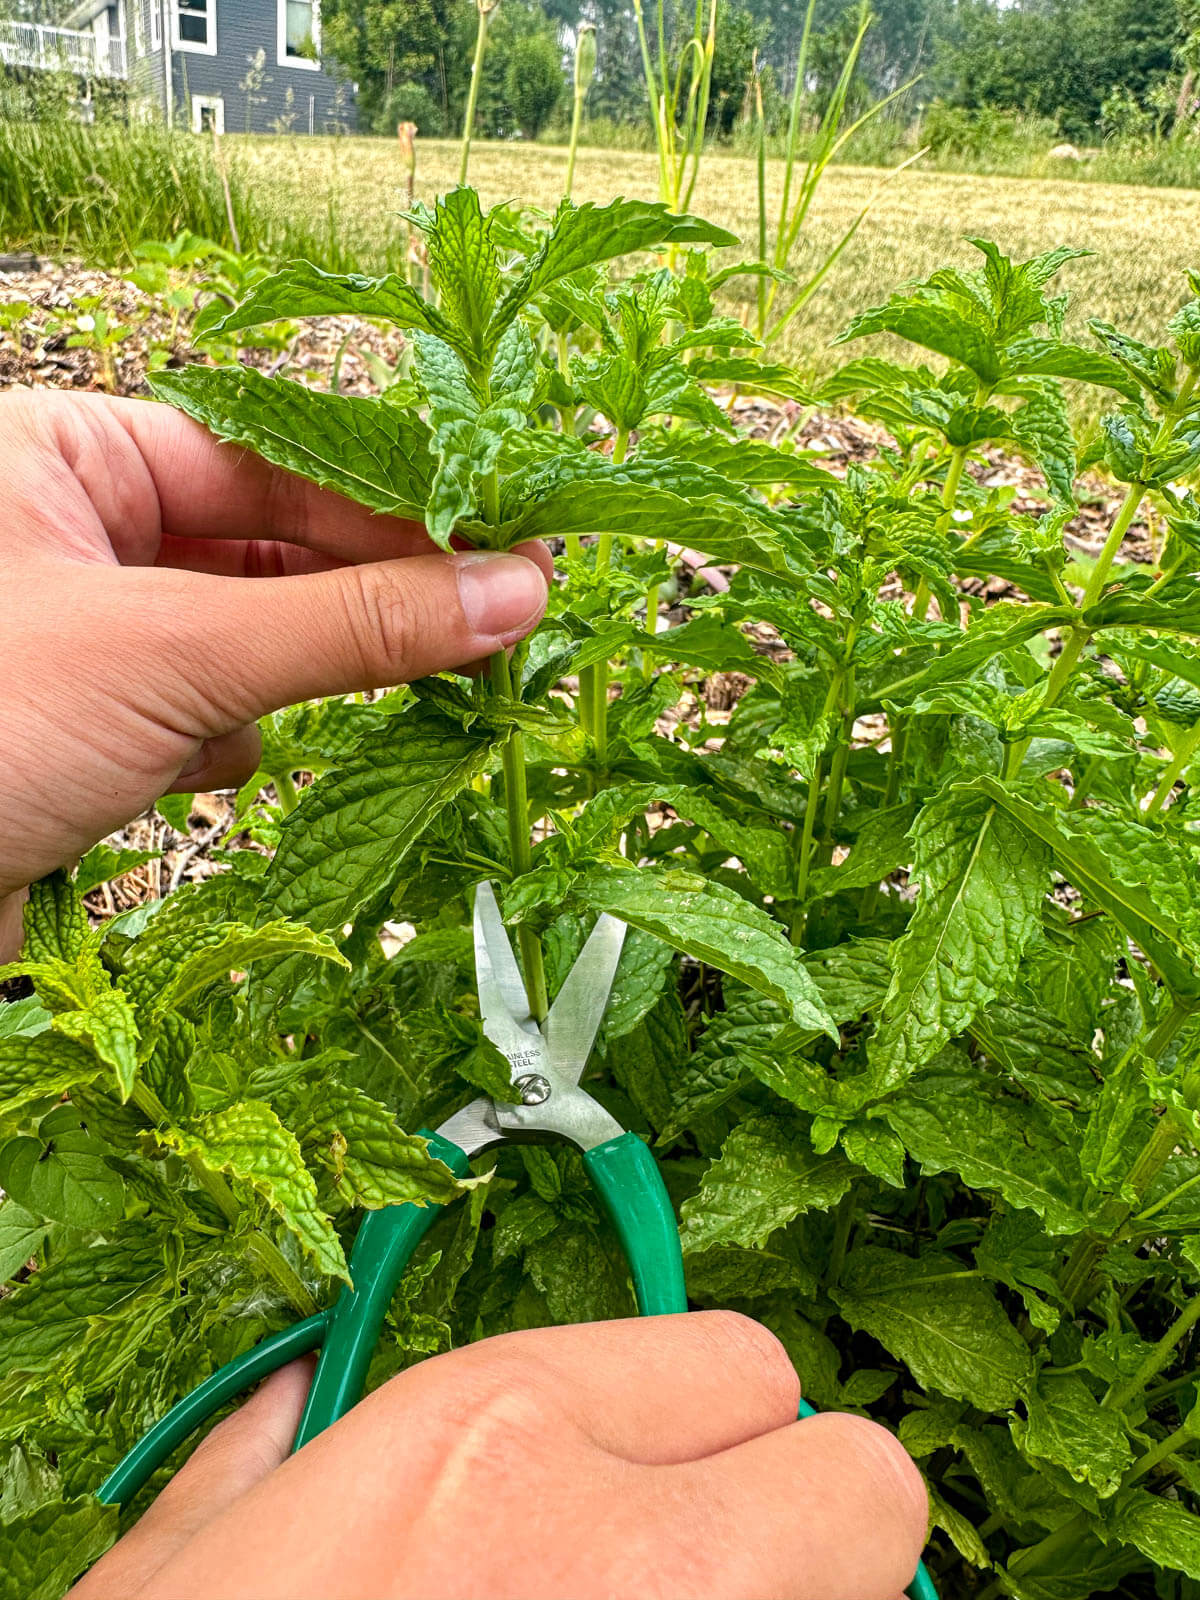
Large Harvest:
When harvesting large amounts of mint, your best bet is to use a nice sharp pair of clean garden snips to prevent damage to the plant. By snipping off stems, you're giving a clean edge for the plant to callous and heal over, whereas ripping does not afford the plant the same luxury. Broken stems are more likely to put the plant at risk for pathogen contamination.
Locate a leaf junction about 1/3 of the way down the stem, and snip just above the leaf junction. Many gardeners suggest leaving only 1-2 sets of leaves on the stem, but I prefer to leave 1/3 of each stem I trim to ensure the plant has enough green space to continue photosynthesis and recover from my heavy harvest!
Once you've trimmed one stem, move on to another and repeat the process. Avoid harvesting more than 1/2 the stems from a single plant - this can be hard if your mint forms a large mound, but if that's the case, just spread around where you're harvesting.
How To Clean Fresh Mint
I've found the easiest way to clean fresh herbs, like mint, is to rinse them well under cool running water and then spin them dry in a salad spinner.
If you don't have a salad spinner, the next best bet is to rinse the mint well under cool running water, then air dry them on clean kitchen towels or pat dry with clean paper towels.
More Preserving Guides


Purposeful Pruning
Mint plants can grow quite large if left unchecked; however, by performing some purposeful pruning, you can ensure that your mint plants remain healthy (and harvestable). Even if you're not intending on using or preserving the mint cut from the plant it can help the health and vitality of your plant later in the season!
During the growing season, aim to prune back your plants when they reach around 3-4" tall. You can use the same method described above for a large harvest and snip around 1/3 of the stems from each plant. This helps keep the shape of the plant contained, allows new growth to come in, and stops any flowers from forming for a stronger mint flavor.
That said, bees LOVE mint flowers - so if you're a backyard beekeeper like me, you may choose to let half of your mint bloom for your buzzy friends.

Storing Your Mint Harvest
Once you've harvested your mint leaves, it's time to decide whether you'll be using them immediately or preserving them for later. It's easy to store mint, but the method depends on how you harvested.
Raw mint leaves can easily last up to 2 weeks in the refrigerator, simply wrap harvested leaves in a dampened paper towel and place them in a vented container for up to 7 days.
Harvested mint stems can be placed in a cup with about an inch of water and lightly covered with a plastic bag to keep in humidity. The water should be changed every day or so, but this method will keep the mint fresh for up to 2 weeks.

Preserving Harvested Mint
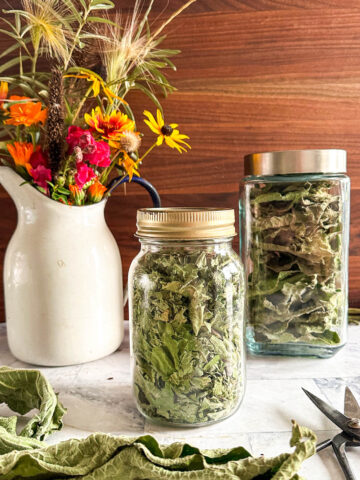
There are multiple ways to preserve mint - and while we can all agree dried mint can't hold a candle to the flavor of fresh mint, there are times when it's useful, like delicious mint tea!
- Air Drying: Mint stems can be tied together and hung upside down in a warm dry place with plenty of airflow - just like when you're drying dill - for 10-14 days, or until completely dry.
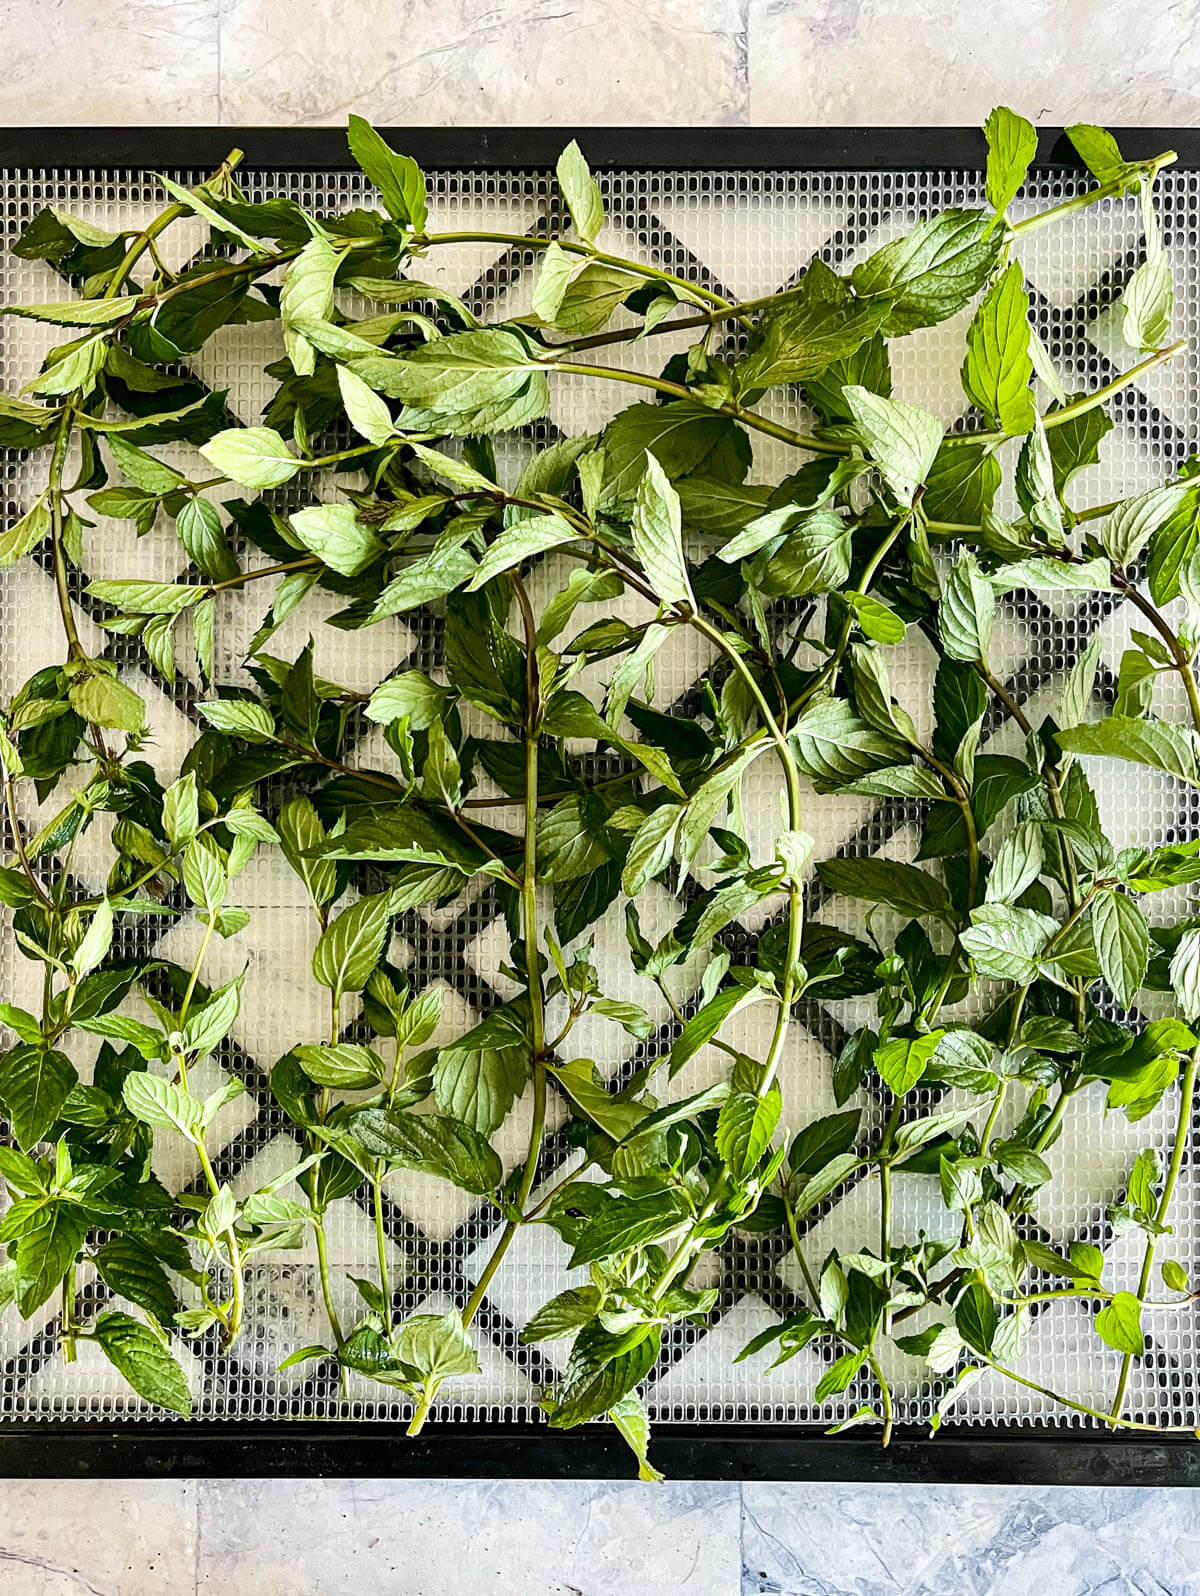
- Dehydrating: I prefer to dehydrate my mint, I find it keeps the most flavor out of the two methods of drying because the process is much quicker and reduces oil loss. Keep the temperature low and dry only until the leaves are brittle.
- Freezing: Mint leaves can easily be frozen, but my sister at Modern Harvest has a really ingenious method of freezing mint in ice cubes for future use. This is a great method if you're using mint to infuse water and other drinks.
Notes From The Homestead Garden
Harvesting mint is a straightforward and rewarding process. Mint has so many uses in the kitchen, so it’s more than worth taking the time to learn how to harvest it properly.
By following these tips and tricks for proper pruning, timing your harvests correctly, storing your fresh leaves properly, and preserving what you don't use right away, you can enjoy freshly harvested mint all year long.
And with a bit of care, your mint will stay healthy and vibrant in your garden for years to come.
Pin This Guide To Harvesting Mint!
Comments
No Comments