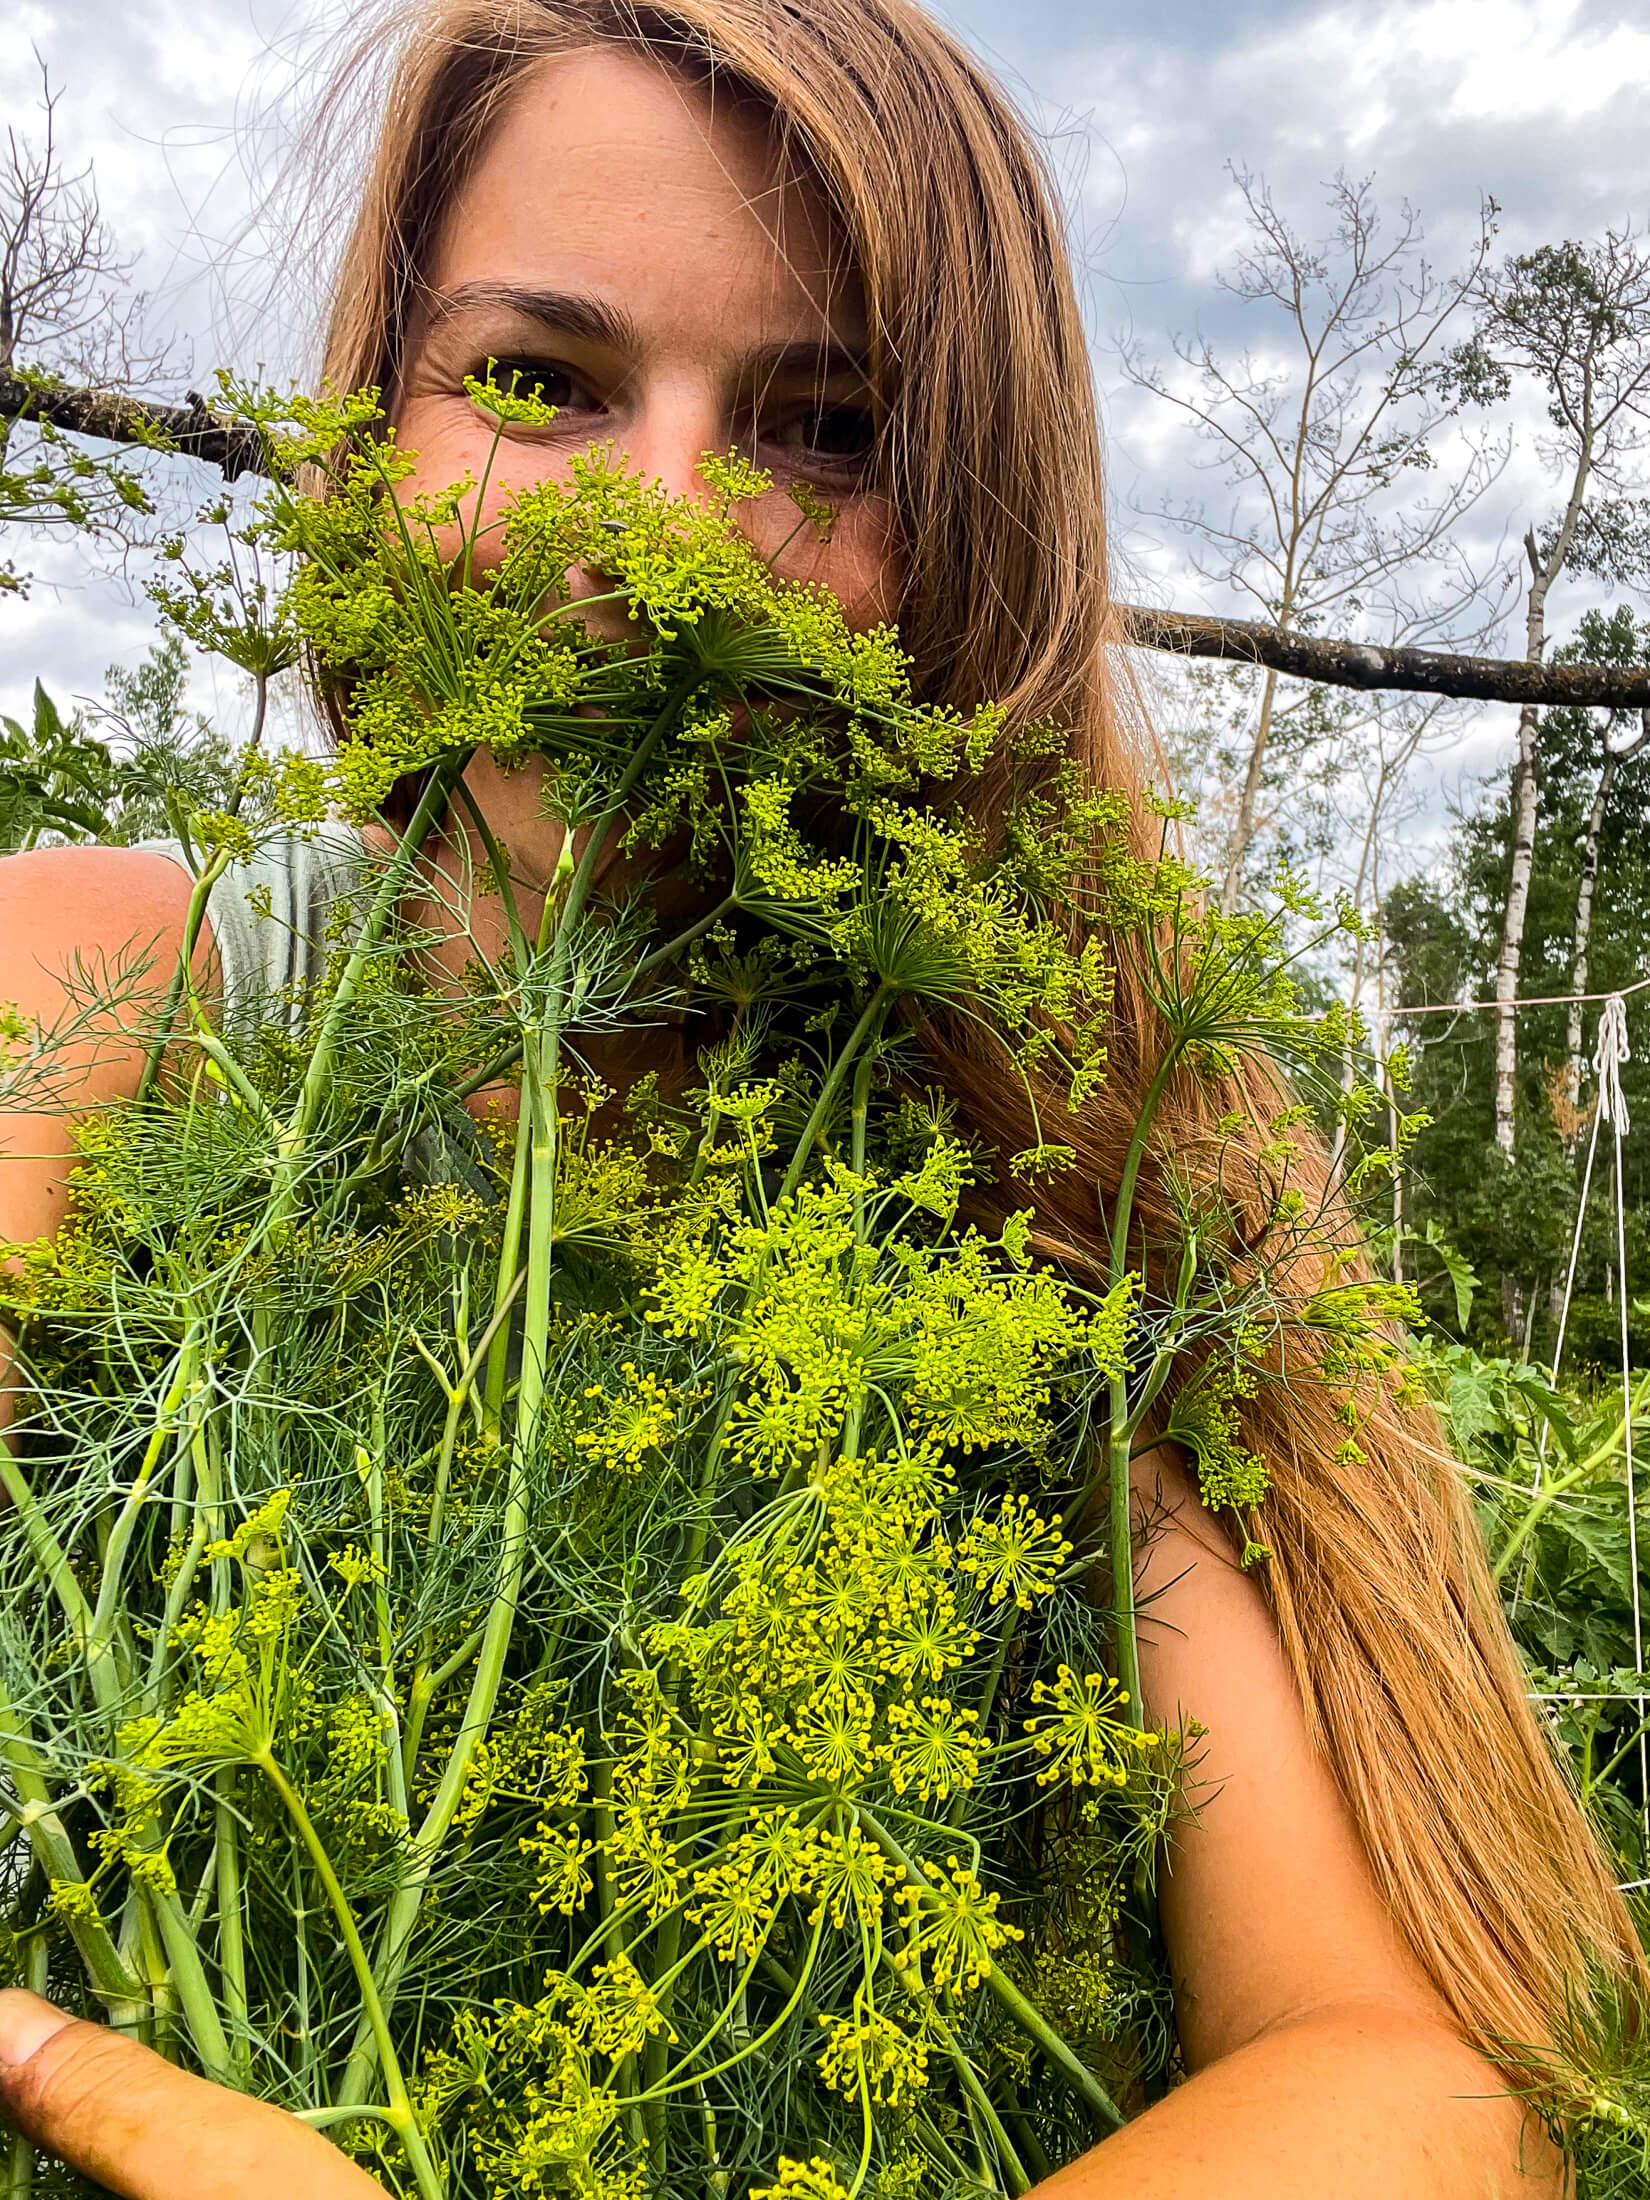
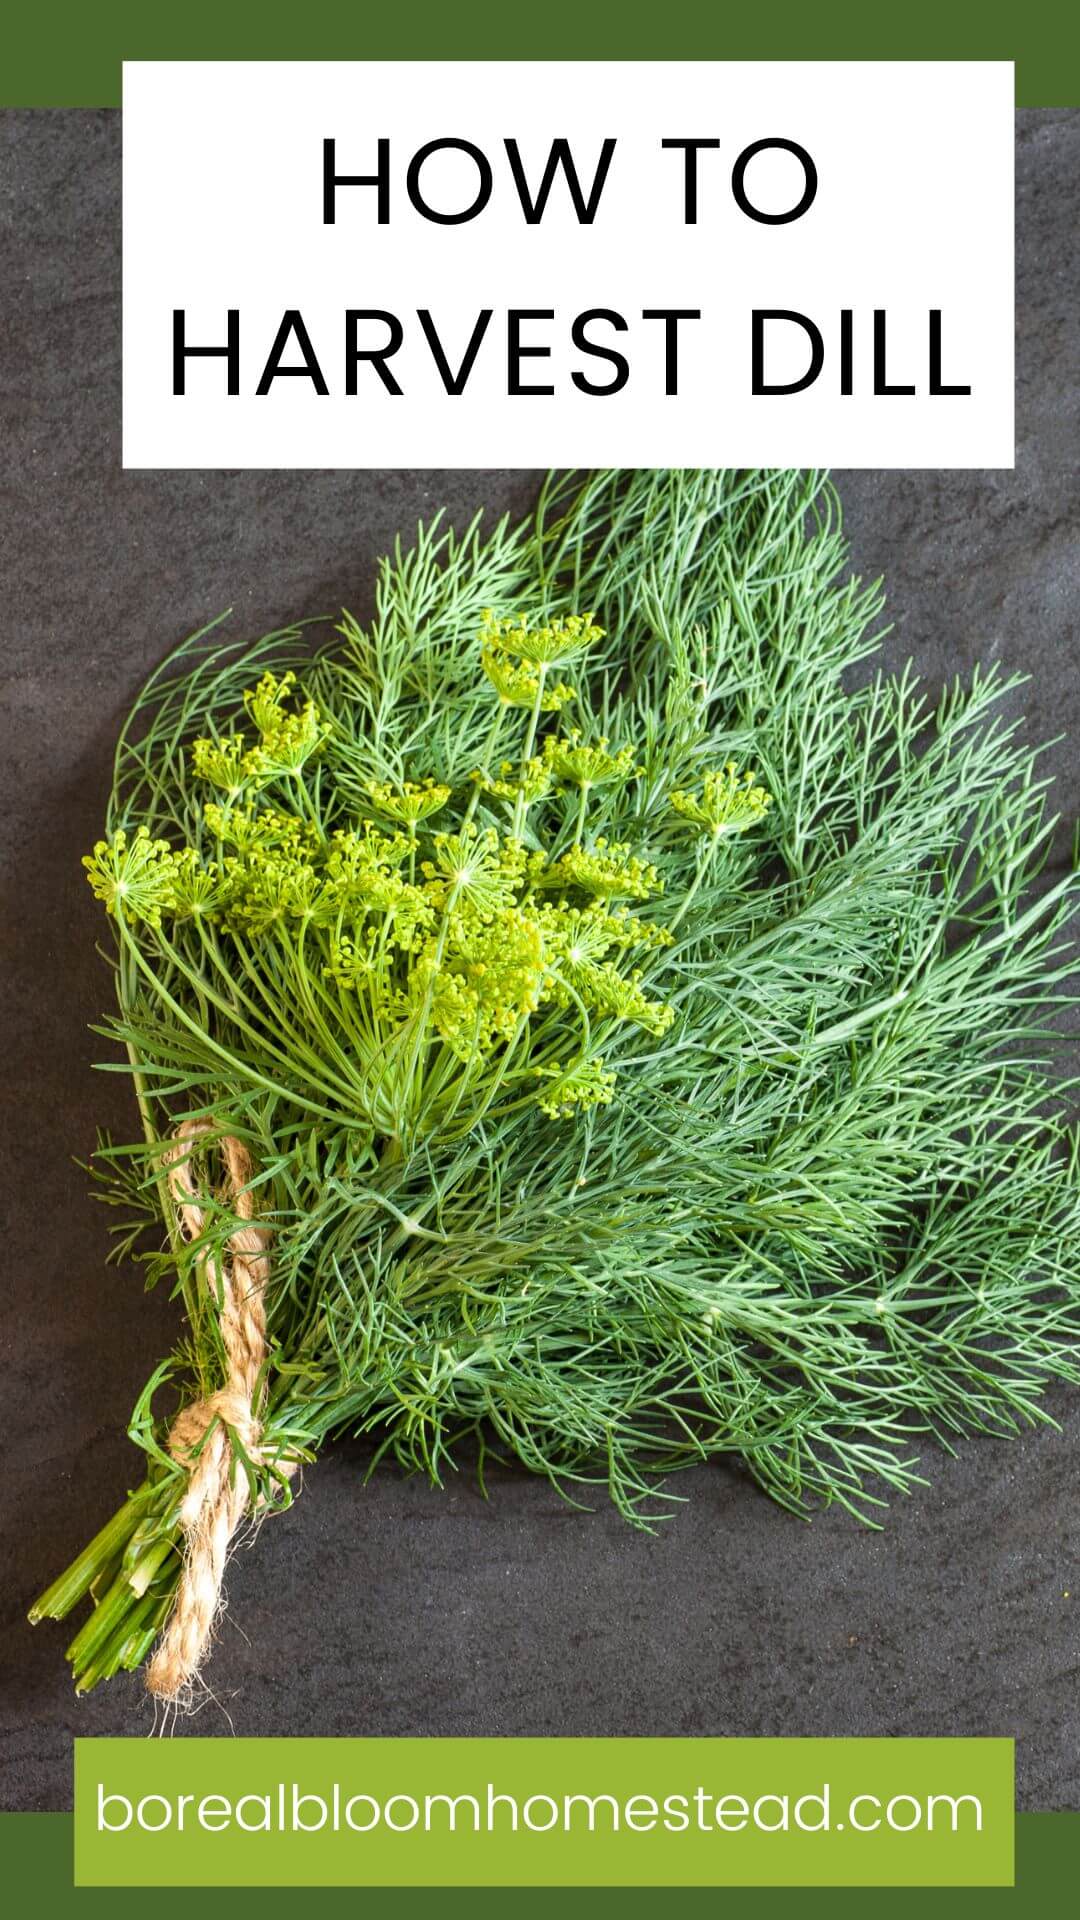
How To Harvest Dill
Whether you’re growing dill for the first time or have done it many times before, I'll share some helpful tips to keep in mind when harvesting dill without killing the plant.
Dill might be one of the best herbs we can grow in our herb gardens! It's probably my favorite savory herb, for sure.
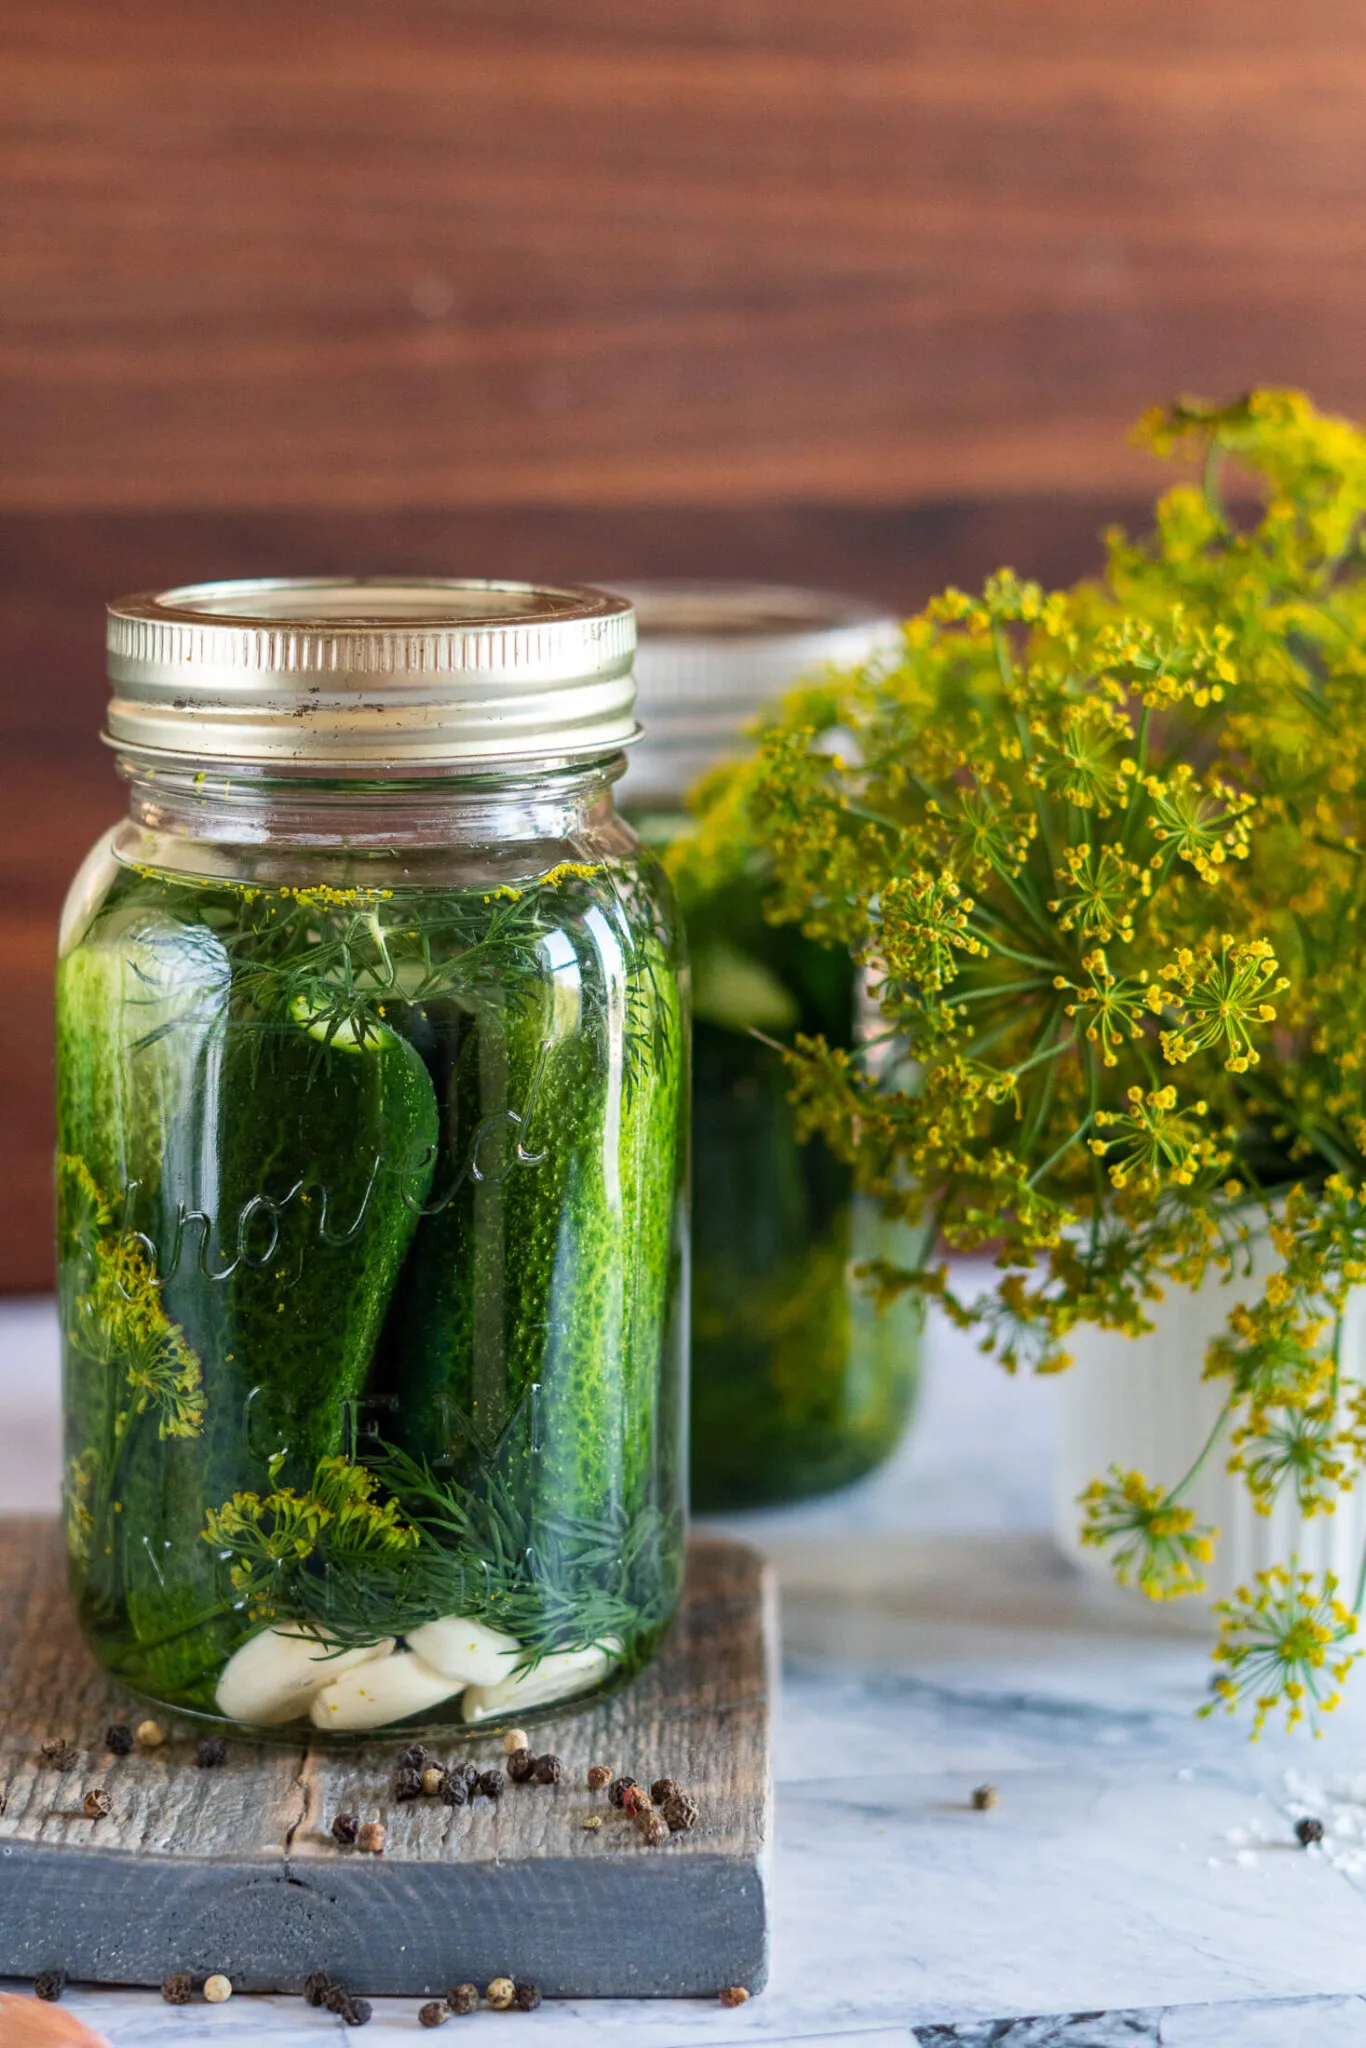
Dill is the basis for half sour pickles, dill pickle chicken wings, creamy cucumber dill salad, and my fermented dill pickle hot sauce.
See, I wasn't kidding when I said I love it!
That made it super important for me to learn how to harvest dill without killing the plant - so I could keep collecting all that dilly goodness.
Jump to:
What Is Dill?
Dill (Anethum graveolens) is a herbaceous annual plant with feathery, dark green leaves and yellow umbel flowers that produce seed pods. It is an aromatic herb, with a distinctive flavor that is often described as a sweet taste similar to licorice and aniseed. The tasty fronds can be used fresh or dried for later use. Seeds that develop in dill's umbrella-shaped flowers are often used as a spice or in pickling brine.
Tips + Tricks
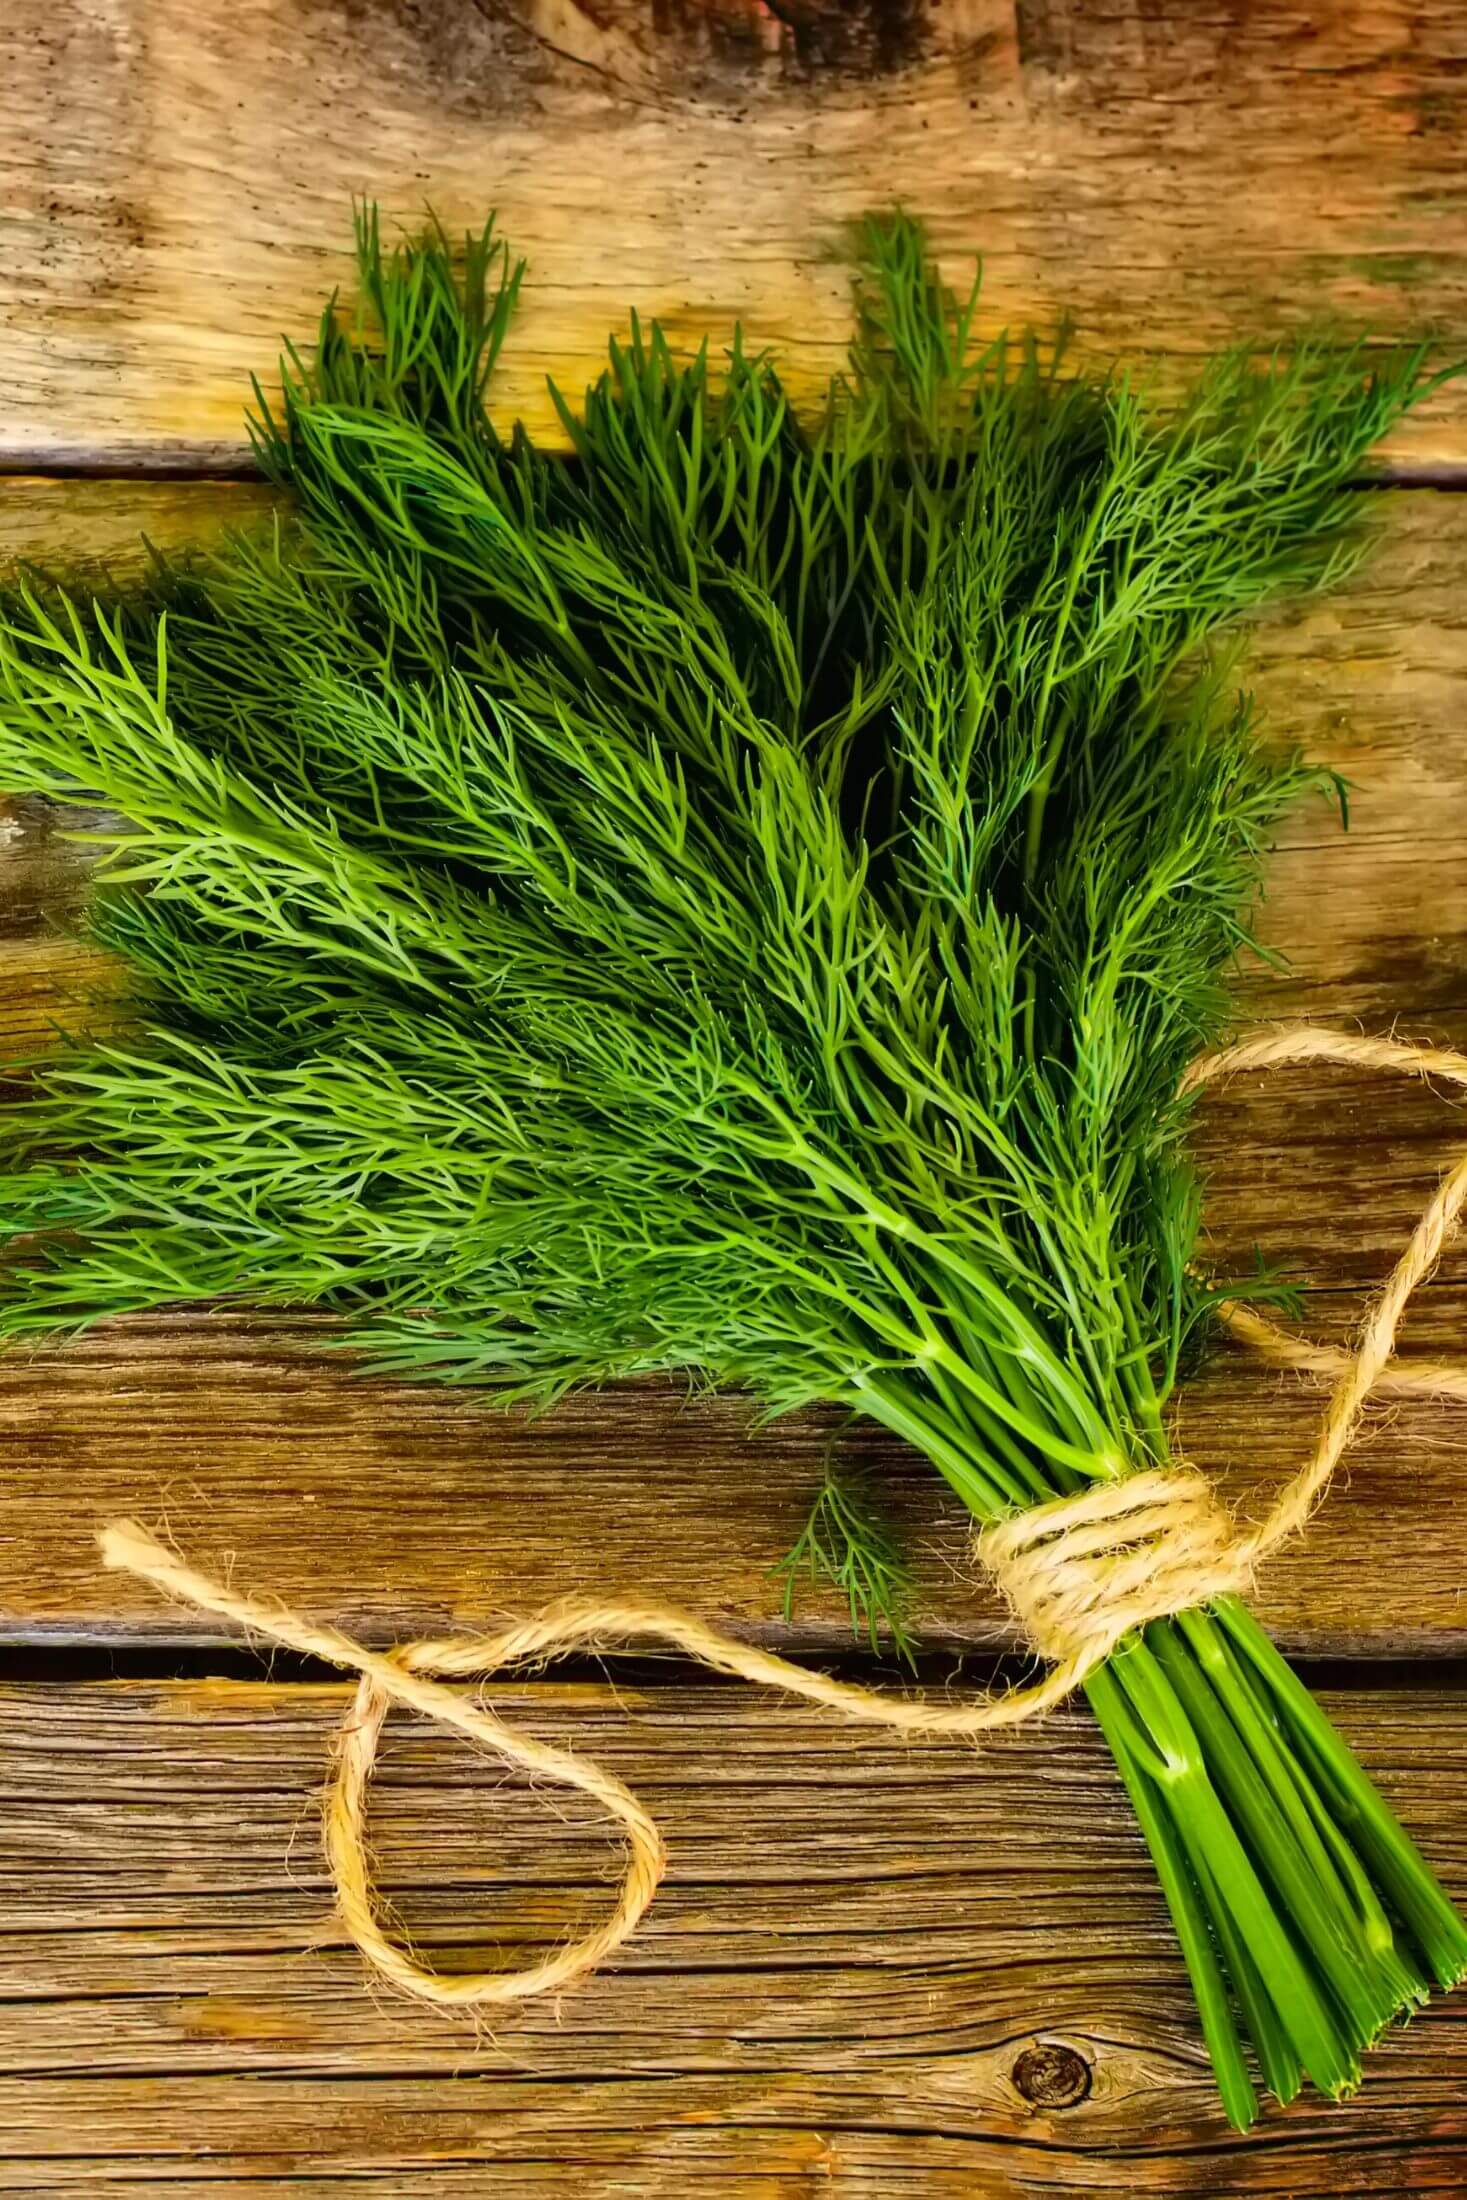
No. 1 --> Timing matters when it comes to harvesting. Harvest dill when the plants are around 6" and before they flower. As with most herbs, once allowed to bloom, the dill plant puts a ton of energy into sexual propagation and the flavor can suffer. Unless you're making pickles and want to add the dill flowers, then allow it to flower!
No. 2 --> Timing matters in more ways than one! The fragrance and flavor of dill are due to volatile essential oils within the leaves, the more oils within the leaves, the stronger the flavor. During the day, under heat stress, lots of the volatile oils are lost. The best time to harvest dill leaves is early in the morning.
No. 3 --> These hardy plants can withstand a large harvest, easily bouncing back from having 1/3 of the plant harvested at a time! If you're going to do large harvests, ensure to space them out by at least 7 days to ensure the plant has time to rejuvenate before another round of harvesting.
No. 4 --> As always when harvesting herbs, discard any dried, dead leaves, slimy parts, or anything that smells, looks, or feels 'off'.
More Dilly Goodness


How To Harvest Dill
Harvesting dill is actually quite easy! Your method will depend on your harvest needs, are you harvesting a few dill fronds to add to a salad or are you looking to dehydrate a ton of dill, or do you need dill flowers for your pickle production line?
A Few Leaves:
Harvesting a few leaves is incredibly easy, simply pinch your desired number of leaves directly from the plant. Try to choose leaves nearer the top of the stems as younger leaves tend to be more tender for things like salad.
A Large Harvest:
Harvesting a large quantity of dill is also really easy. Before the end of the year, you can cut up to 1/3 of the plant at each harvest.
How you harvest that dill depends on your garden set up. If you have an abundance of dill plants, you can cut individual dill sprigs (stem + folliage), leaving 1/3 of the stalk remaining for the plant to continue growing, being sure to spread the trimming throughout your dill patch.
If you have fewer dill plants, harvest only the leaves, starting with the oldest ones nearest the ground. I find the easiest way to do this is with a nice pair of garden snips - they're small, sharp, and easy to use.
At the end of the growing season, simply cut the entire stalks at the base of the plant.
Related: 10 Great Dill Companion Plants
Harvesting Dill Flowers:
When harvesting dill flowers, you want to ensure they are at ready before picking them. Unripe seed heads will be green, while mature ones will have tons of yellow flowers. After the yellow flowering stage, the yellow blossoms will fall off, leaving dark brown seeds.
Whether you pick your dill heads at the yellow stage or a bit drier is up to your personal taste. The yellow flowers have a more mellow flavor, while the seed heads are more intense - depending on your recipe you may go for one or the other.
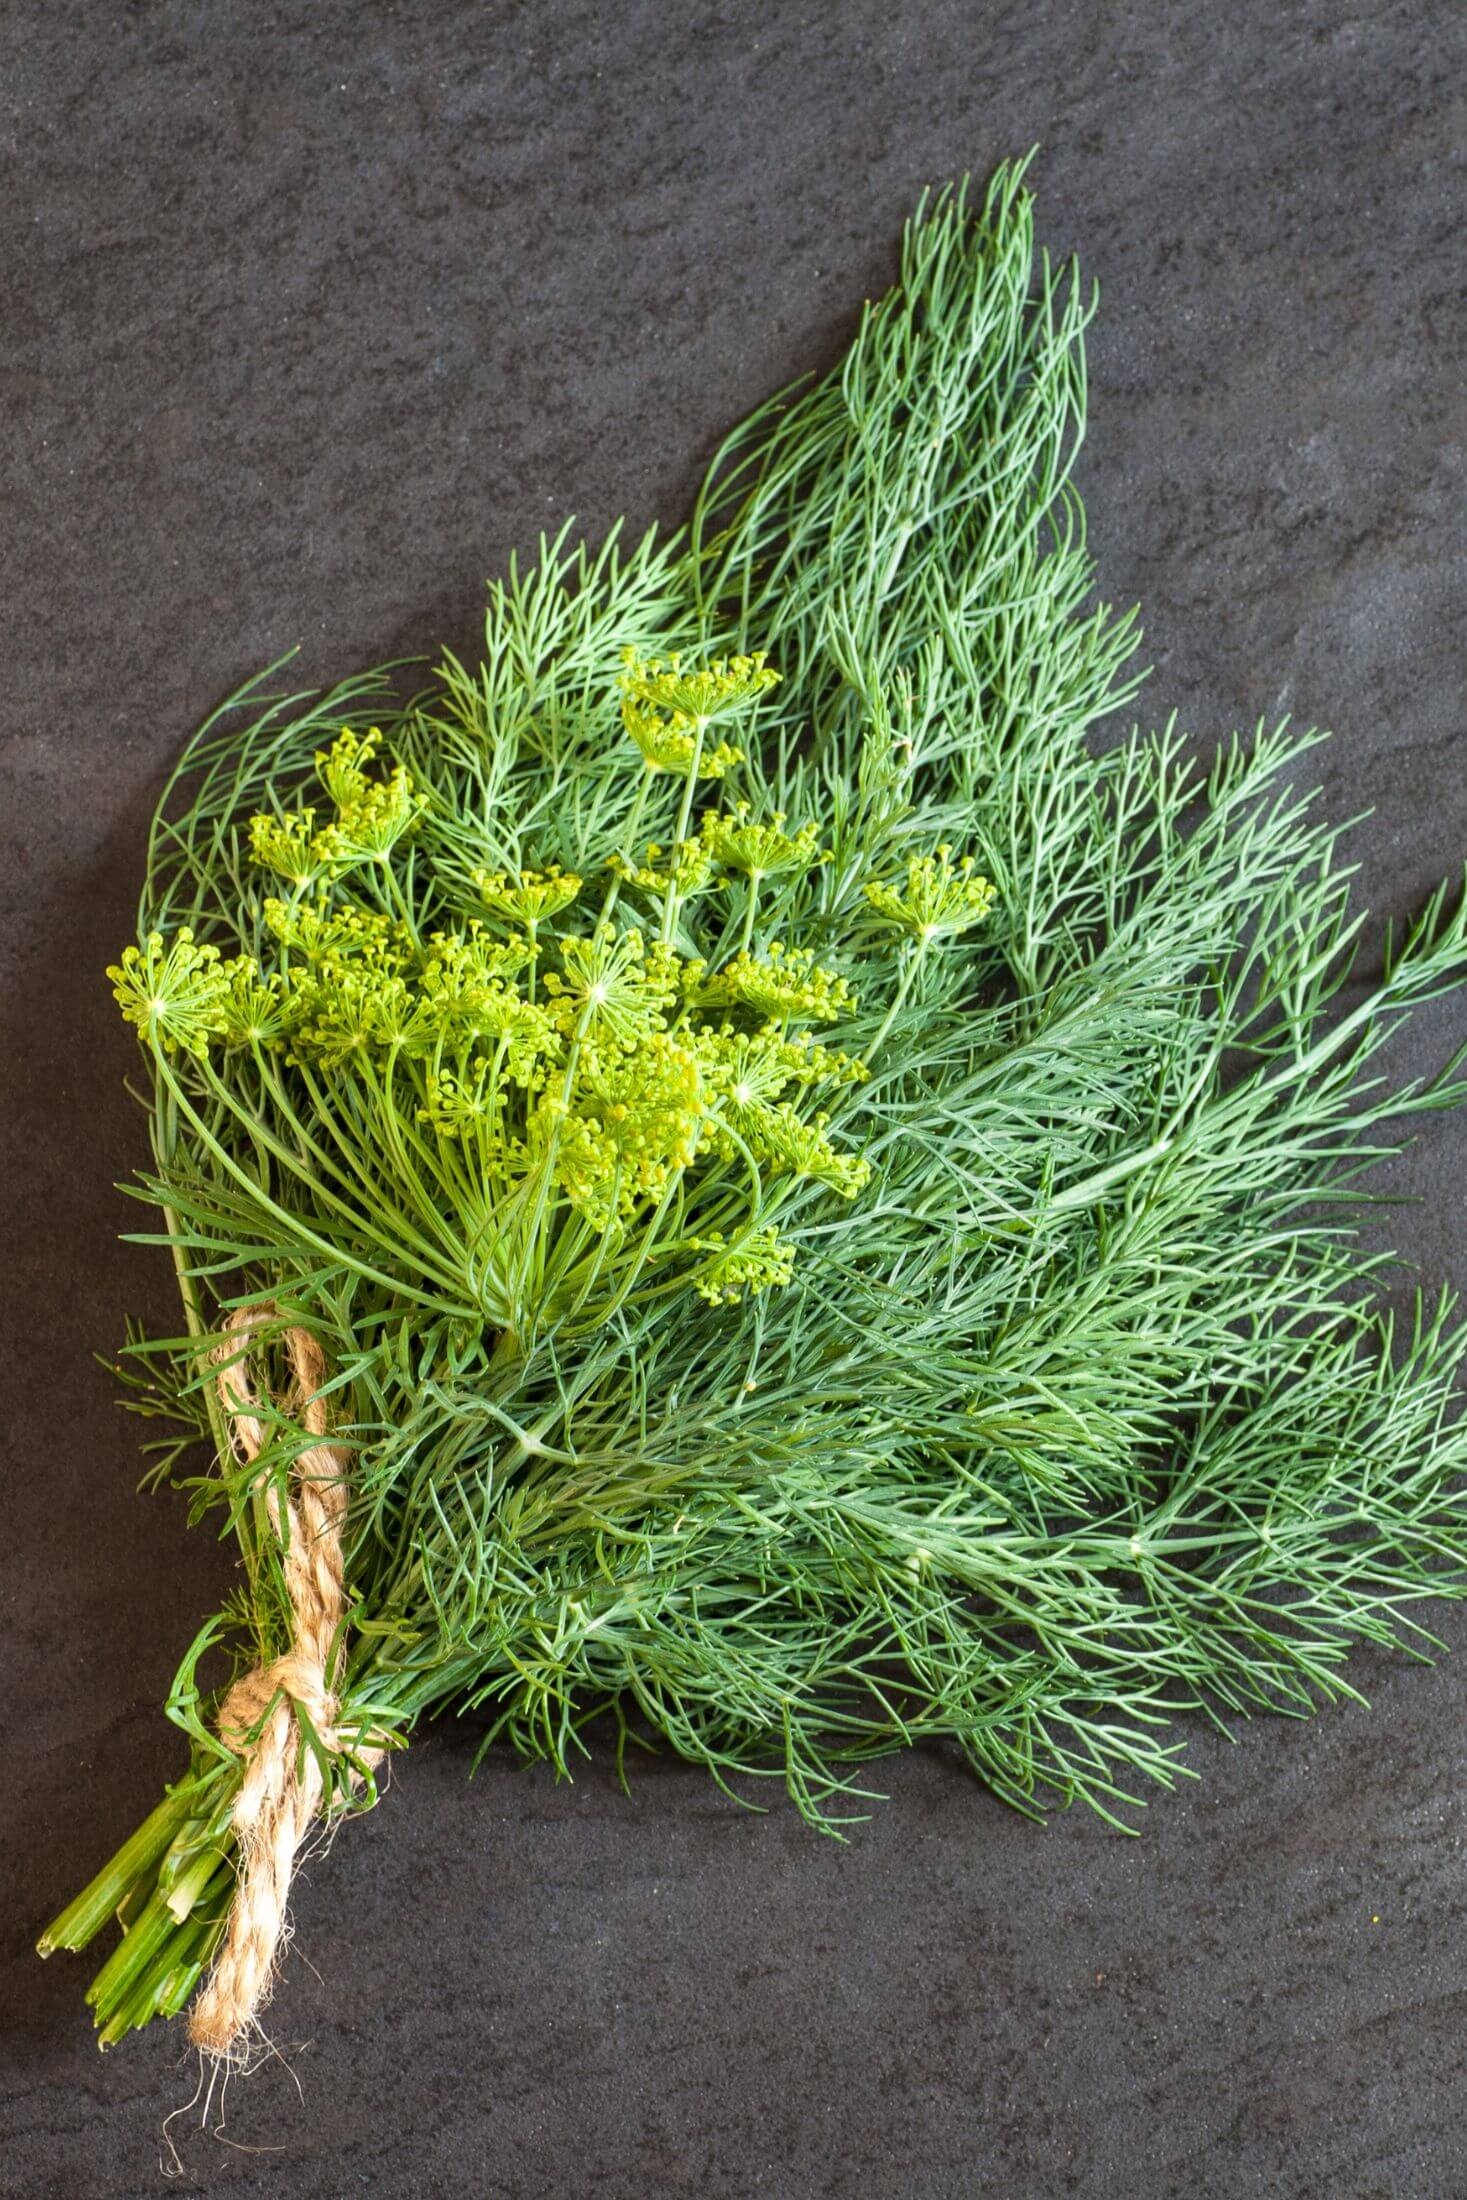
When doing a flower harvest, use garden snips to cut the stems off the plant - leaving some of the stem in tact for future blooms.
Purposeful Pruning
Dill plants can grow pretty unruly if left unchecked; however, by performing some purposeful pruning, you can ensure that your dill plants remain healthy (and harvestable). Even if you're not intending on using or preserving the dill cut from the plant it can help the health and vitality of your plant later in the season!
During the growing season, aim to prune your plants regularly to stimulate new growth. You can use the same method described above for a large harvest and snip around 1/3 of the stems from each plant. This helps keep the shape of the plant contained, allows new growth to come in, and slows flower formation for a longer greens harvest.
That said, beneficial insects LOVE dill flowers - so if you're working on growing a healthy ecosystem like me, you may choose to let half of your dill bloom for your buzzy friends.
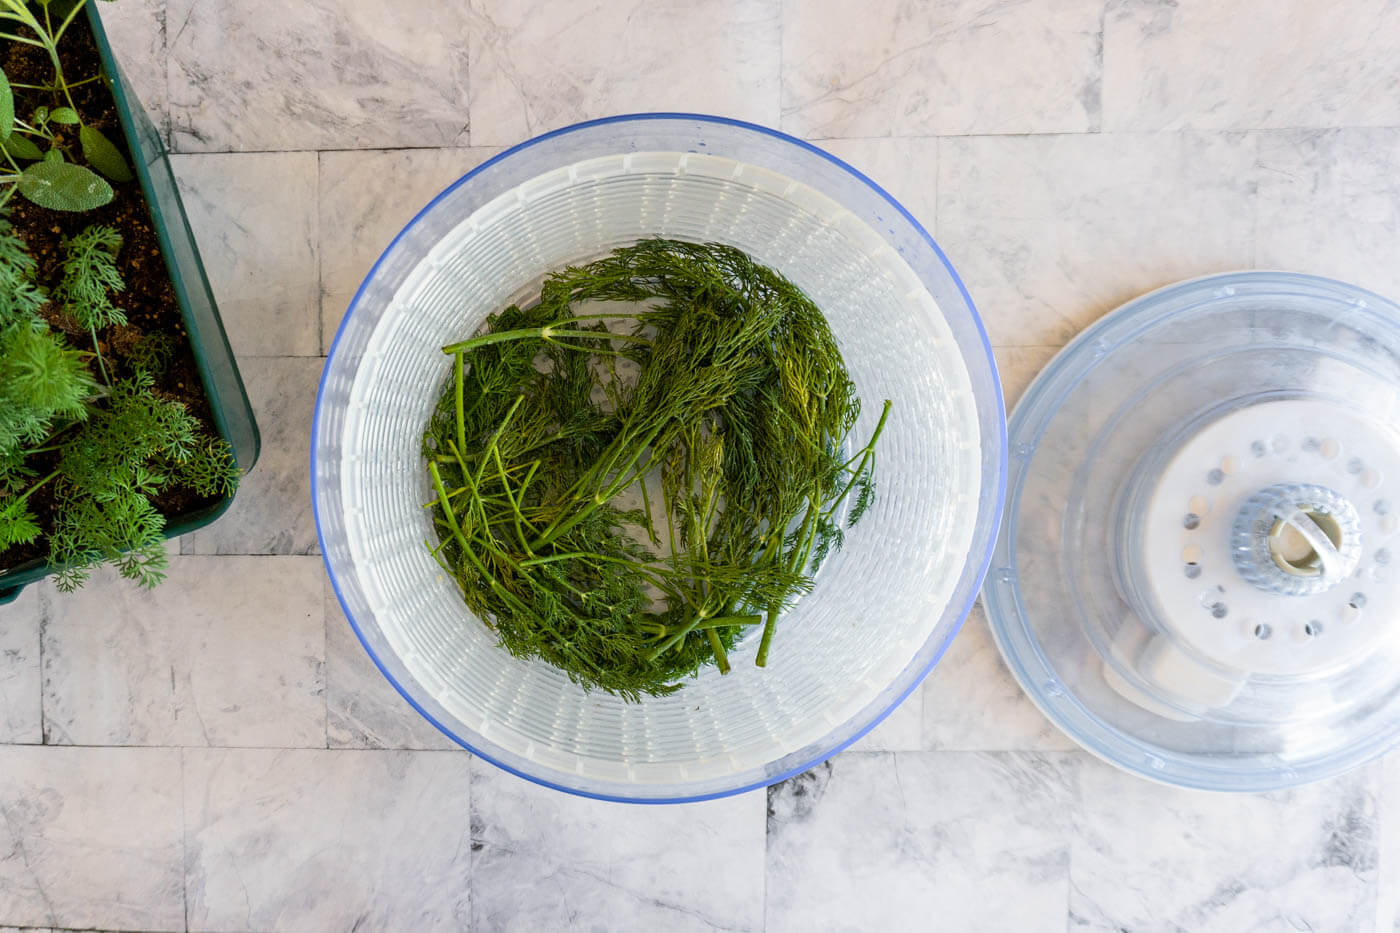
How To Clean Fresh Dill
I've find the easiest way to clean fresh herbs, like dill, is to rinse them well under cool running water and then spinning them dry in a salad spinner.
If you don't have a salad spinnner, the next best bet is to rinse the dill well under cool running water, then air dry it on clean kitchen towels or pat dry with clean paper towels before storing or preserving!
Storing Your Dill Harvest
Dill is delicate and to ensure maximum freshness, try and harvest only what you need for use in the near future for best results.
Storing individual dill fronds is really quite easy, once they are cleaned, wrap them in dampenend paper towel and store in a vented container for up to 7 days. Sprigs of dill and the flowers can be stored in much the same way, or they can be placed in a cup with about an inch of water and lightly cover the cup with a plastic bag to create a makeshift humidity dome for up to 10 days - maybe more.
More Gardening Guides

Preserving Harvested Dill
There are multiple ways to preserve dill - and while we can all agree that dried dill can't hold a candle to the flavor of fresh dill, there are times when it's useful!
- Air Drying: Drying dill stems can be tied together and hung upside down in a warm dry place with plenty of airflow - for 10-14 days, or until completely dry.
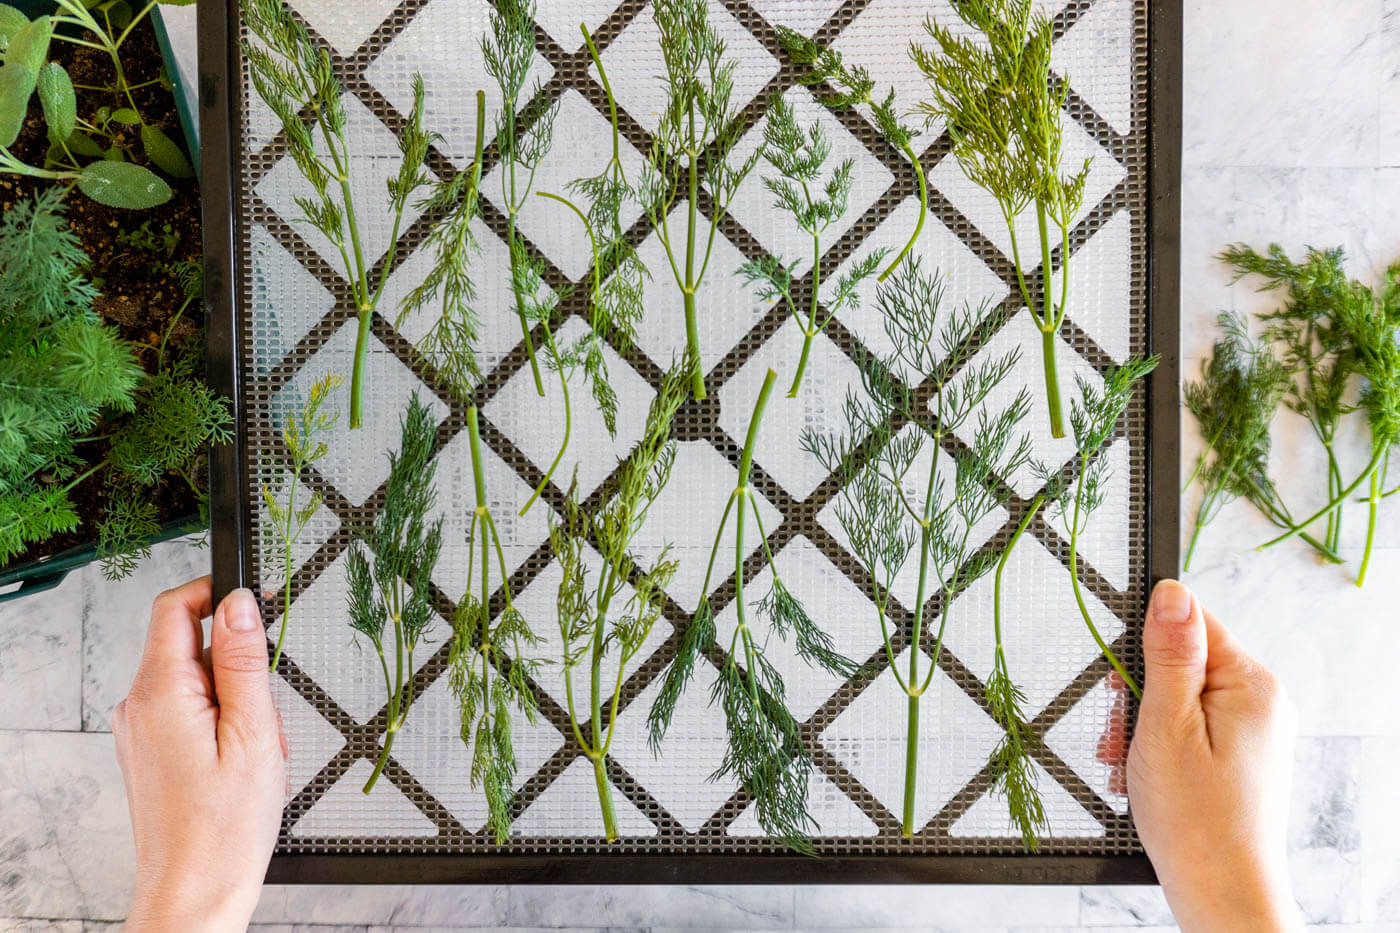
- Dehydrating: I prefer to dehydrate my dill, I find it keeps the most flavor out of the two methods of drying because the process is much quicker and reduces oil loss. Keep the temperature low and dry only until the leaves are brittle.
- Freezing: Dill leaves can easily be frozen, this is my favorite method of preserving dill - and it's so easy! Add clean dill to an airtight freezer container without packing and freeze for later use - up to 12 months, though it loses flavor over time.
Notes From The Homestead Garden
Harvesting dill is easy and can be done in a few different ways. Whatever your harvesting needs are, ensure that you maintain the health of your dill plant by having regular pruning sessions. Once harvested, clean and store it appropriately to maximize freshness. If you have a large harvest and need to preserve it, air drying or dehydrating the leaves or freezing the leaves are all great ways to keep enjoying this fragrant herb for months to come.
Pin This Guide To Harvesting Dill Without Killing The Plant!
Comments
No Comments