Painting Bee Hives
Whether you're new to beekeeping or old, there's nothing quite like the excitement of preparing your hive boxes and setting up your bee yard! But before those busy, buzzy workers make your beehive their home, there's an important step to preparing your wooden hive ware.
Taking the time to properly paint your hive boxes before your bees arrive is a simple tasks that pays dividends for years to come. Not only will it protect your investment, but it'll make your bee yard look absolutely fantastic too!

Jump to:
Why Paint Your Beehives?
Weather
Our harsh climate can be brutal on wooden ware. Rain, snow, blistering summer sun, and temperature swings all take their toll on unprotected wood. A good coat of paint helps your hives withstand whatever Mother Nature throws at them.
Investment
Let's be honest - beekeeping equipment isn't cheap! Quality hive boxes represent a significant investment, and proper painting can easily double or triple their lifespan. When you consider the cost of replacing hives versus a few dollars in paint and a couple of hours in labor, it's a no-brainer.
Aesthetics
A well-painted bee yard just looks professional and organized. Whether you're doing this as a hobby or planning to expand into queen rearing or honey production, painted hives give your apiary a polished appearance that you'll be proud to show off!
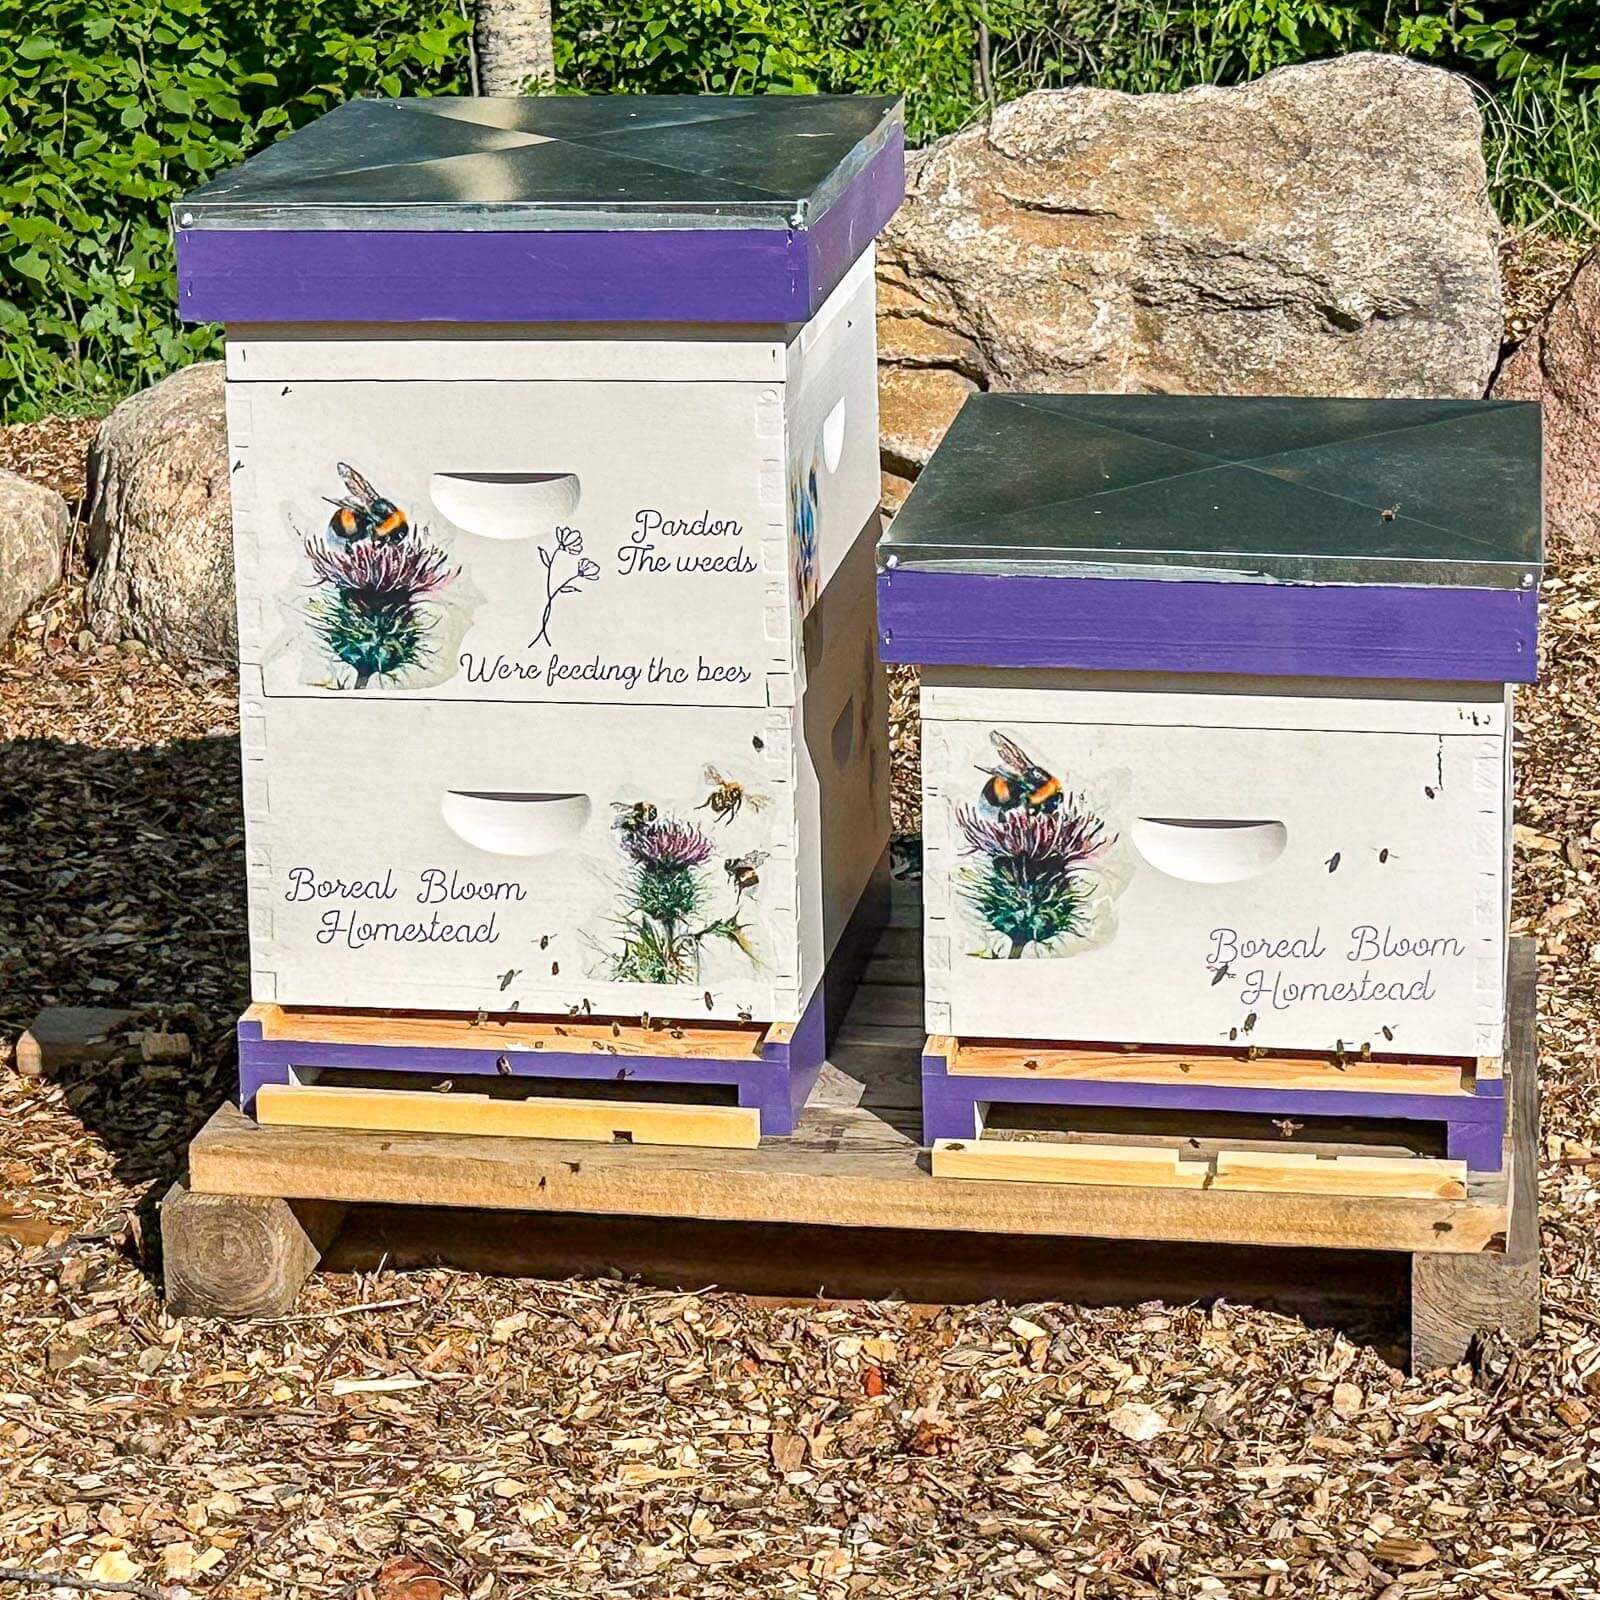
The first season we had bees, my daughter and mom decorated them with photo transfers!
Choosing the Right Paint for Your Hives
Not all paints are created equal when it comes to painting bee hives! The key is selecting a paint that protects your boxes while being safe for your honey bees.
I always recommend high-quality Acrylic paint for hive boxes. It's durable, weather-resistant, and most importantly, safe for bees once it's fully cured. Avoid oil-based paints - they can off-gas chemicals that might affect your bees' health.
You can use latex paint, but in my experience, acrylic paint is more durable and resistant to sun exposure than latex paints, and I feel that it's better suited to exterior applications but many beekeepers use and swear by latex paint for their hives.
I personally use BeautiTone Ultra Low VOC Interior/Exterior Primer/Sealer to prime and seal the raw wood, followed by BeautiTonePure Ultra Low VOC Arcrylic Exterior Paint to finish the project. Both of these paints have less that 10mg/l VOC or Volatile Organic Compounds. It takes a little research before you buy paint, but it's worth the effort!
Paint Color Considerations
Here's where it gets interesting! Bees actually see colors differently than we do, and your paint color choice can impact their behavior:
Best Paint Colors for Bee Hives:
- White: Reflects heat and helps keep hives cool in summer
- Light yellow: Easy for bees to distinguish and locate
- Pastel colors: helps the bees to locate their home by landmarking
Colors to Avoid:
- Dark colors (black, dark brown): Absorb too much heat
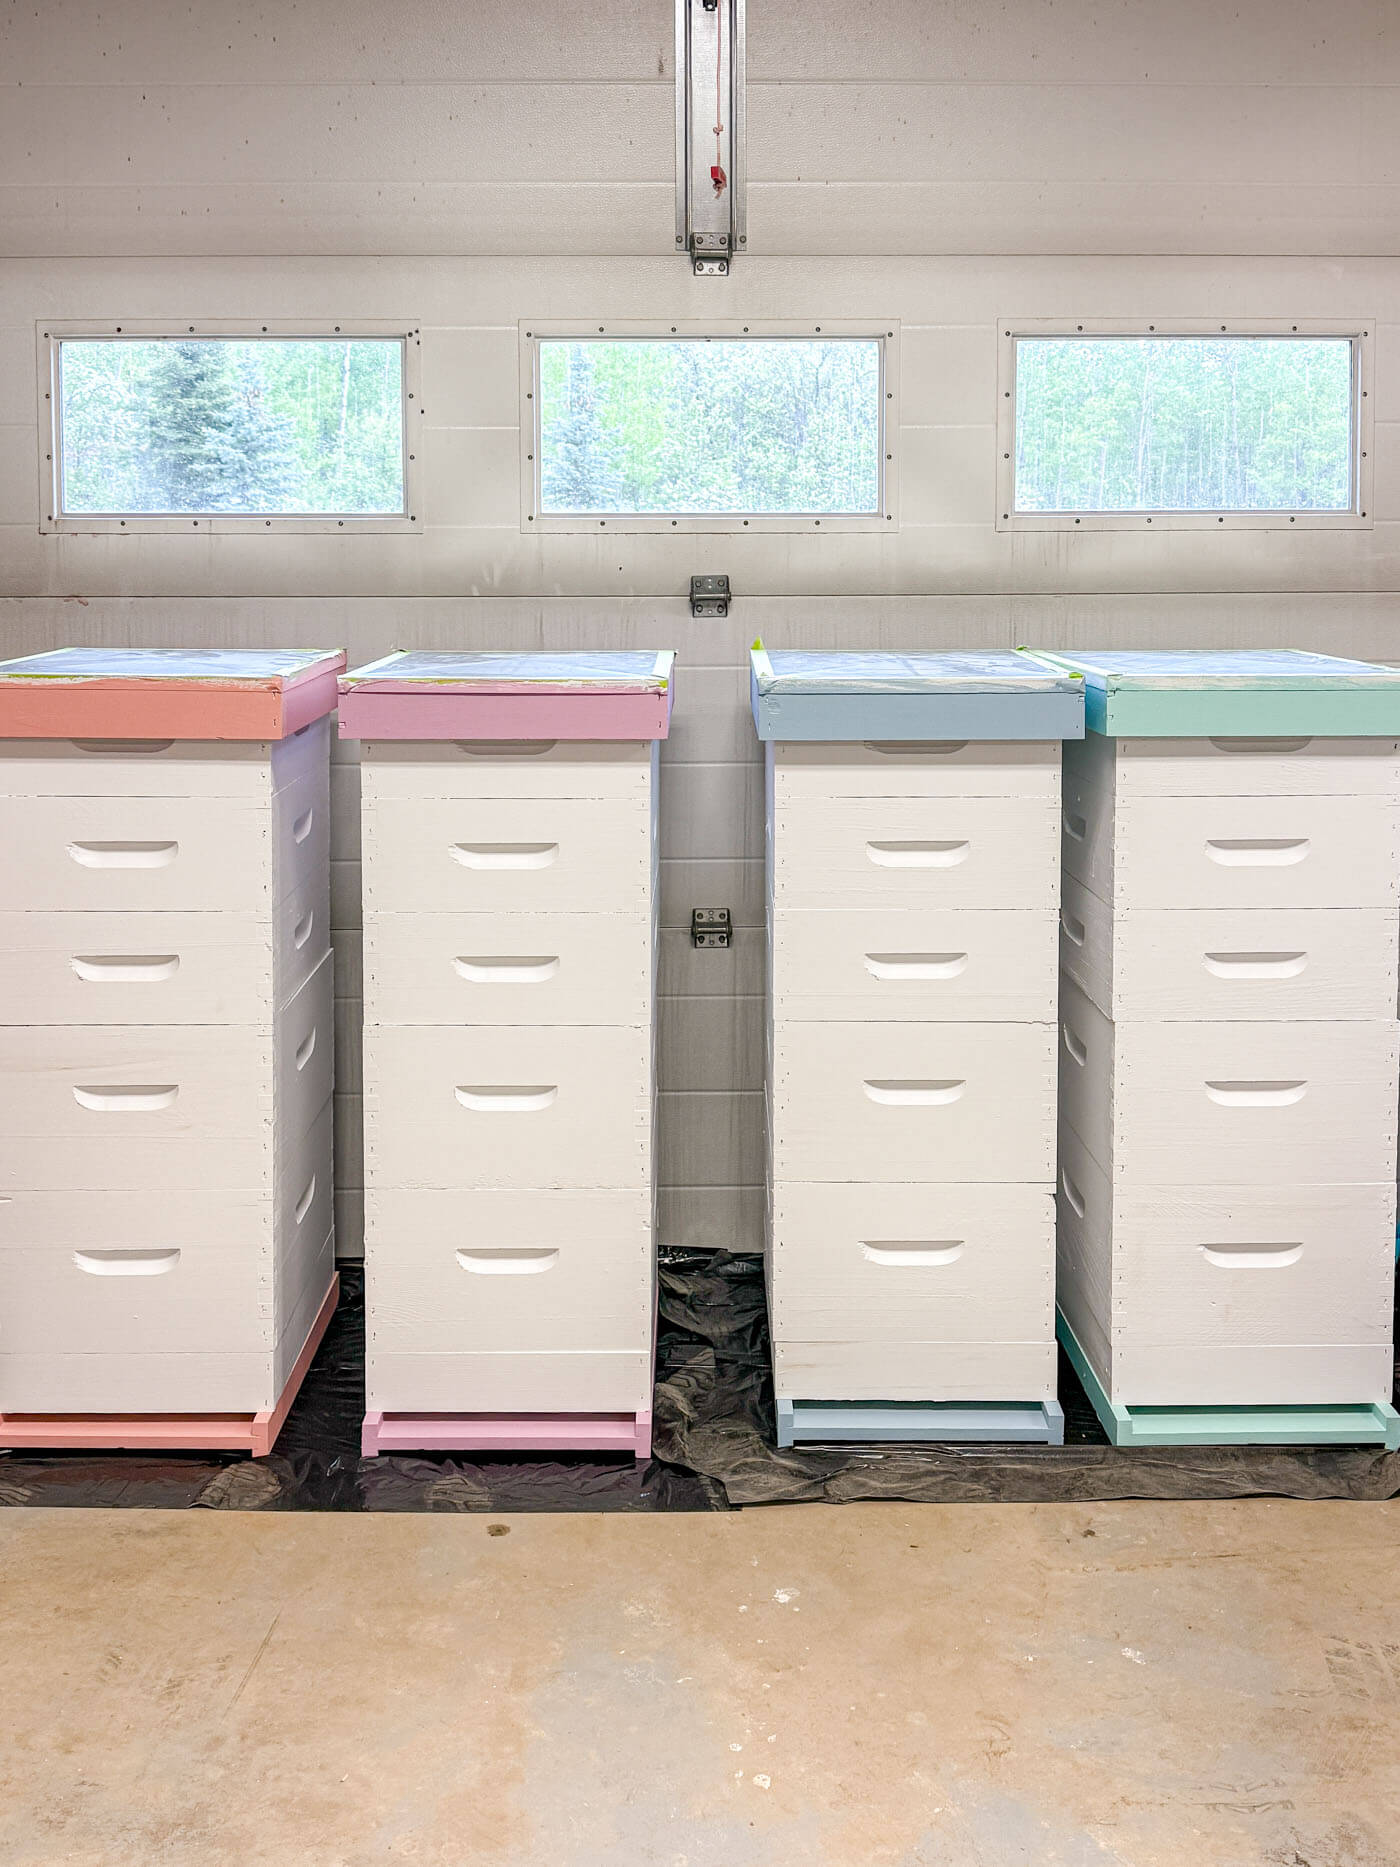
In our bee yard, we've had great success with classic white hive boxes. They stay cooler in summer, and the clean look never goes out of style! To give them a little pizzazz, we paint the telescoping lids and bases different colors.
When to Paint Your Bee Hives
Timing is everything when it comes to painting bee hives. You want to make sure your paint has plenty of time to cure before your bees take up residence.
Plan Ahead
Ideally, you'll want to paint your hive boxes at least 2-3 weeks before your bees arrive or you're ready to take splits. This gives the paint time to fully cure and any residual odors to dissipate completely. Bees have incredibly sensitive smell, and they won't appreciate the scent of fresh paint in their new home.
Weather Considerations
Choose a stretch of dry, mild weather if you're painting outside. Fortunately, we are able to paint inside of our garage - this year, but I had to pick and choose my timing carefully! My painting project needed to be done sometime between when I picked up my new wooden ware and when we brooded this year's batch of meat chicks!
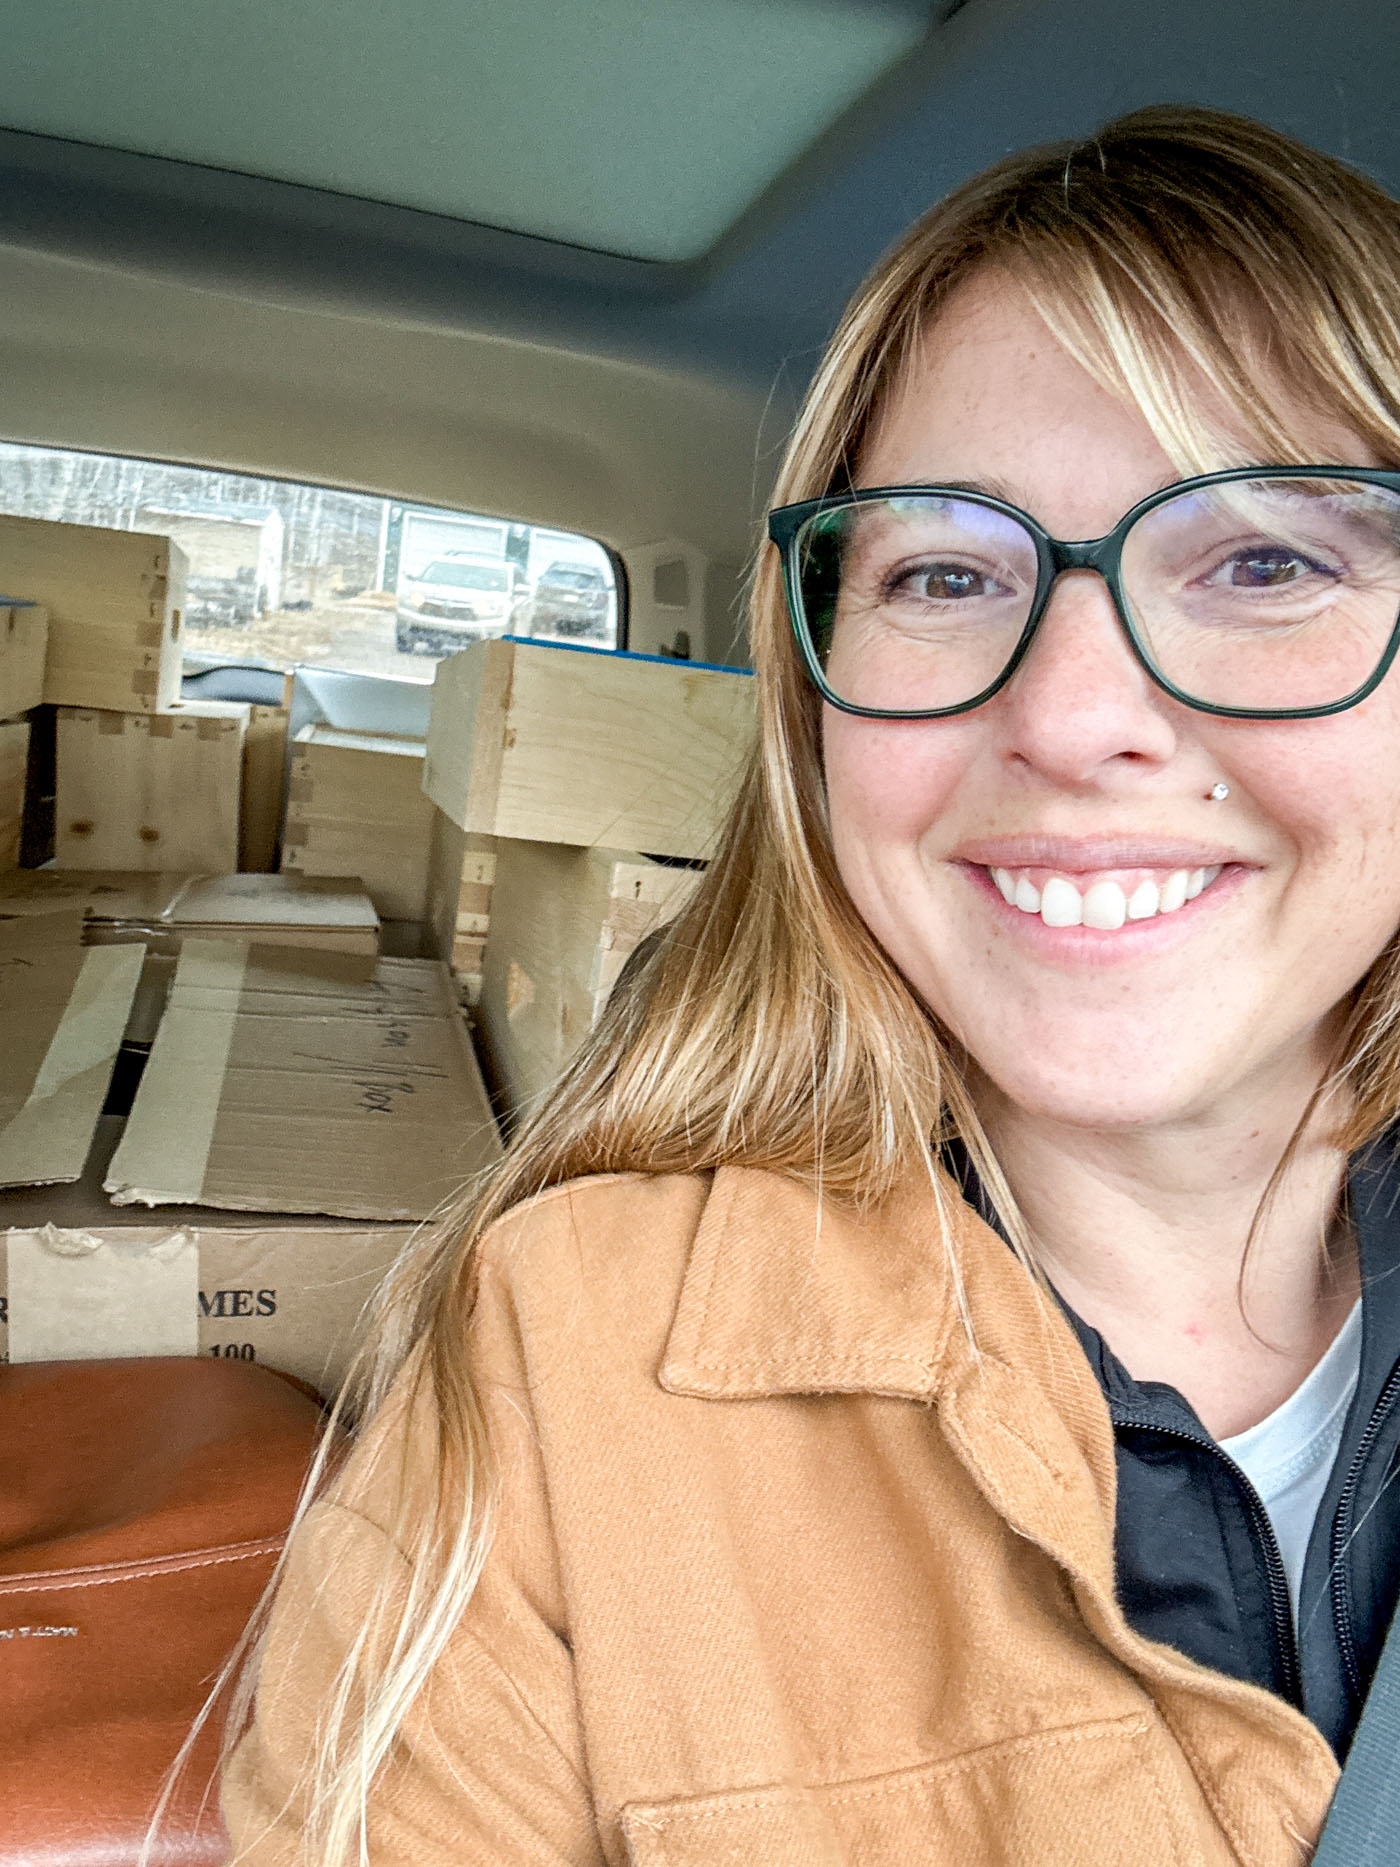
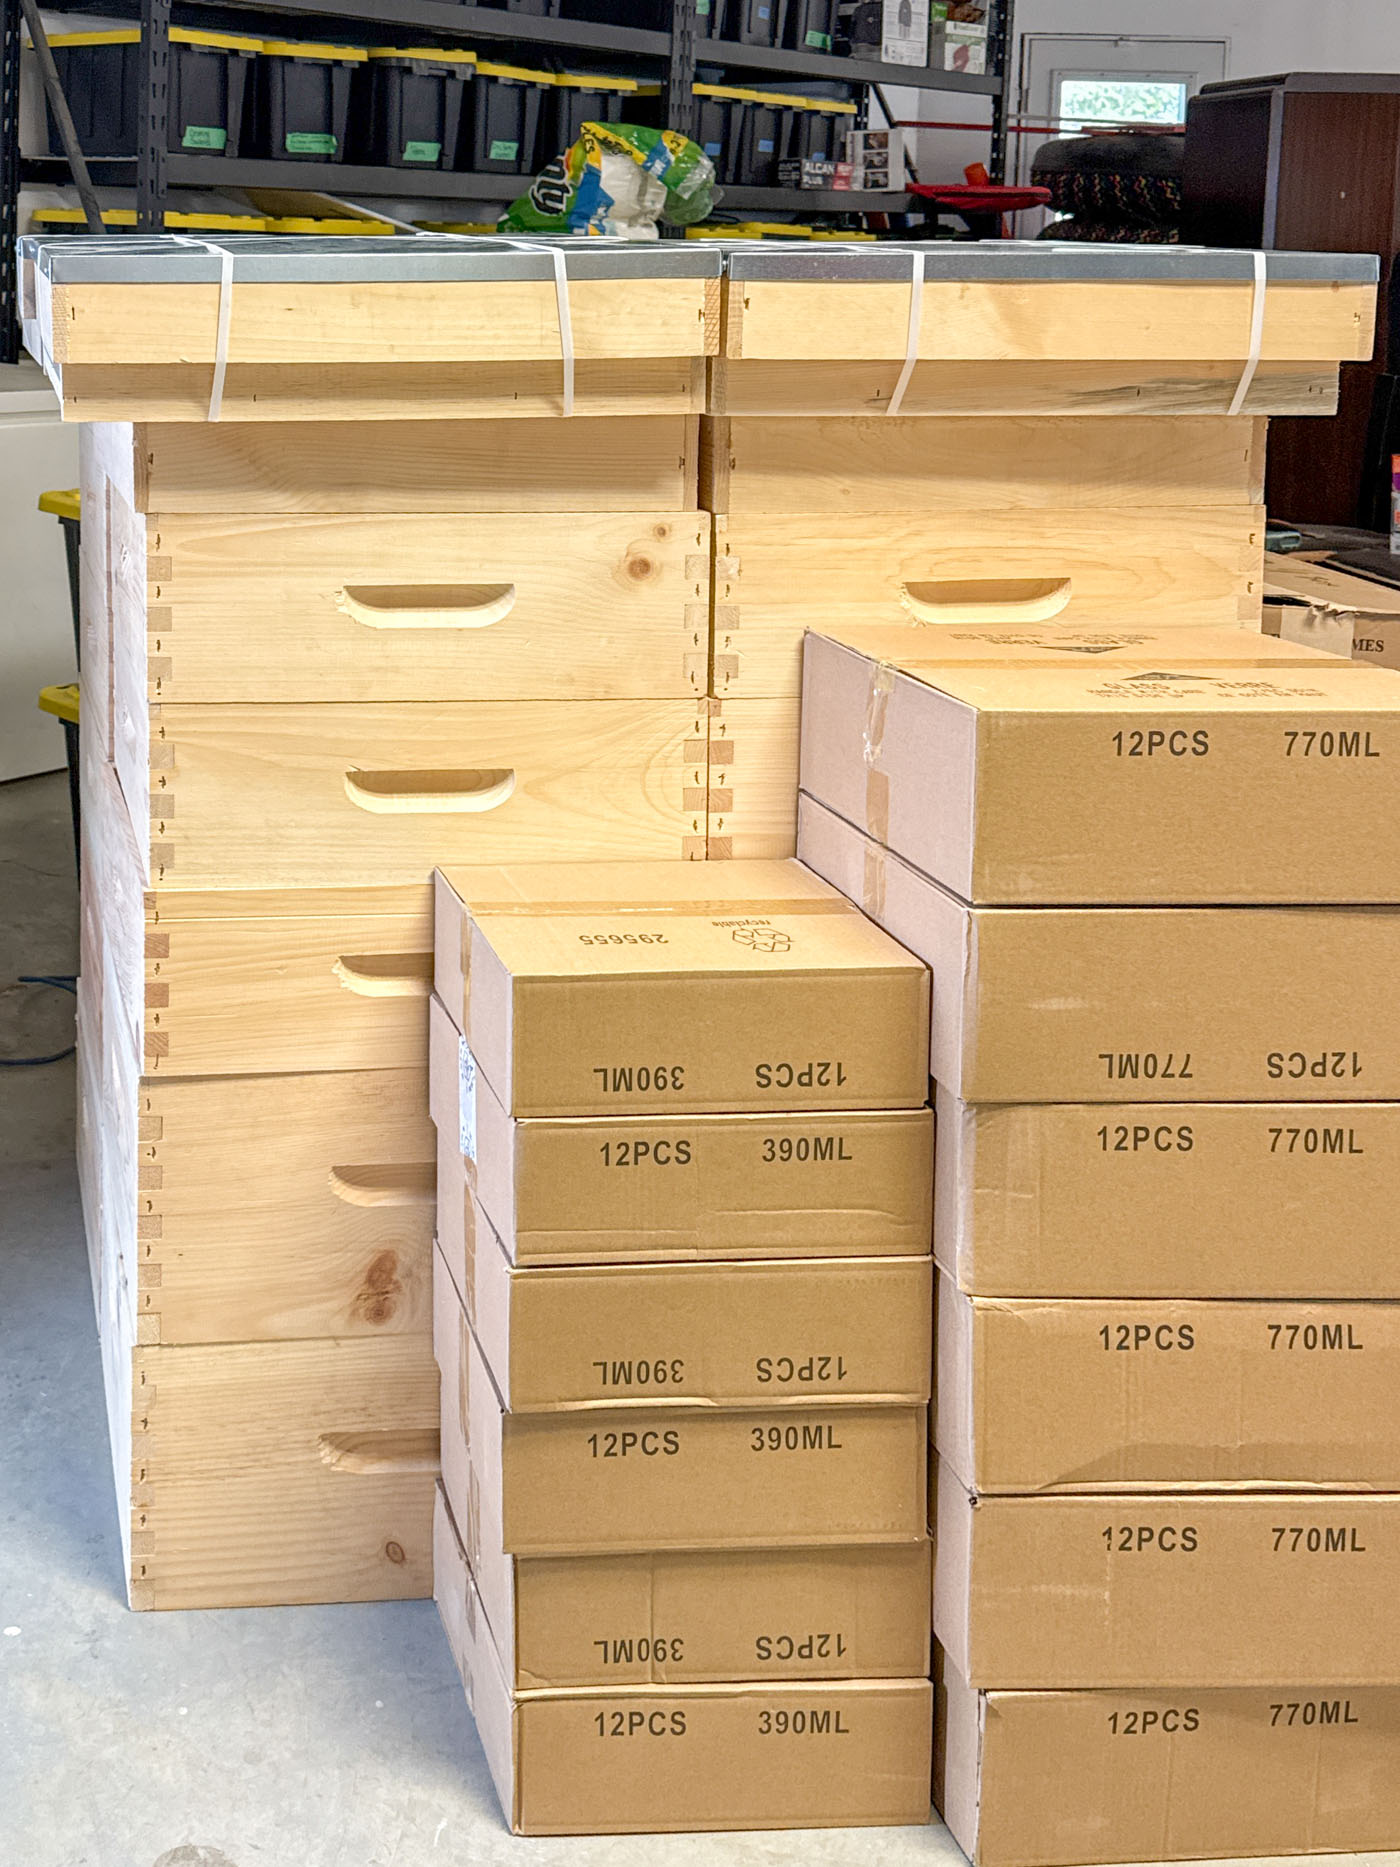
Did you know you can fit 4 full hive kits, 12 dozen jars, and a few more accessories in the back of a Volkswagen Atlas? Neither did I LOL
Tools You'll Need for Painting Bee Hives
Having the right tools makes painting bee hives so much easier! Here's what I always have on hand for hive painting projects:
Essential Tools:
- High-quality brushes (2-3 inch angled brush works great)
- Small rollers for smooth surfaces
- Drop cloths, cardboard, or garbage bags to protect your work area
- Fine-grit sandpaper for prep work
- Clean rags for wiping down boxes
- Paint stir stick
- Small container for holding paint while painting with brushes
Pro tip: Invest in good brushes and rollers - they make a huge difference in the final result and will last for multiple hive painting sessions!
Step-by-Step Painting Process
Ready to transform those plain wooden boxes into beautiful, protected hives? Let's walk through the process step by step.
Important Note: You'll only be painting the exterior surfaces of your hive boxes
1. Set Up Your Work Area
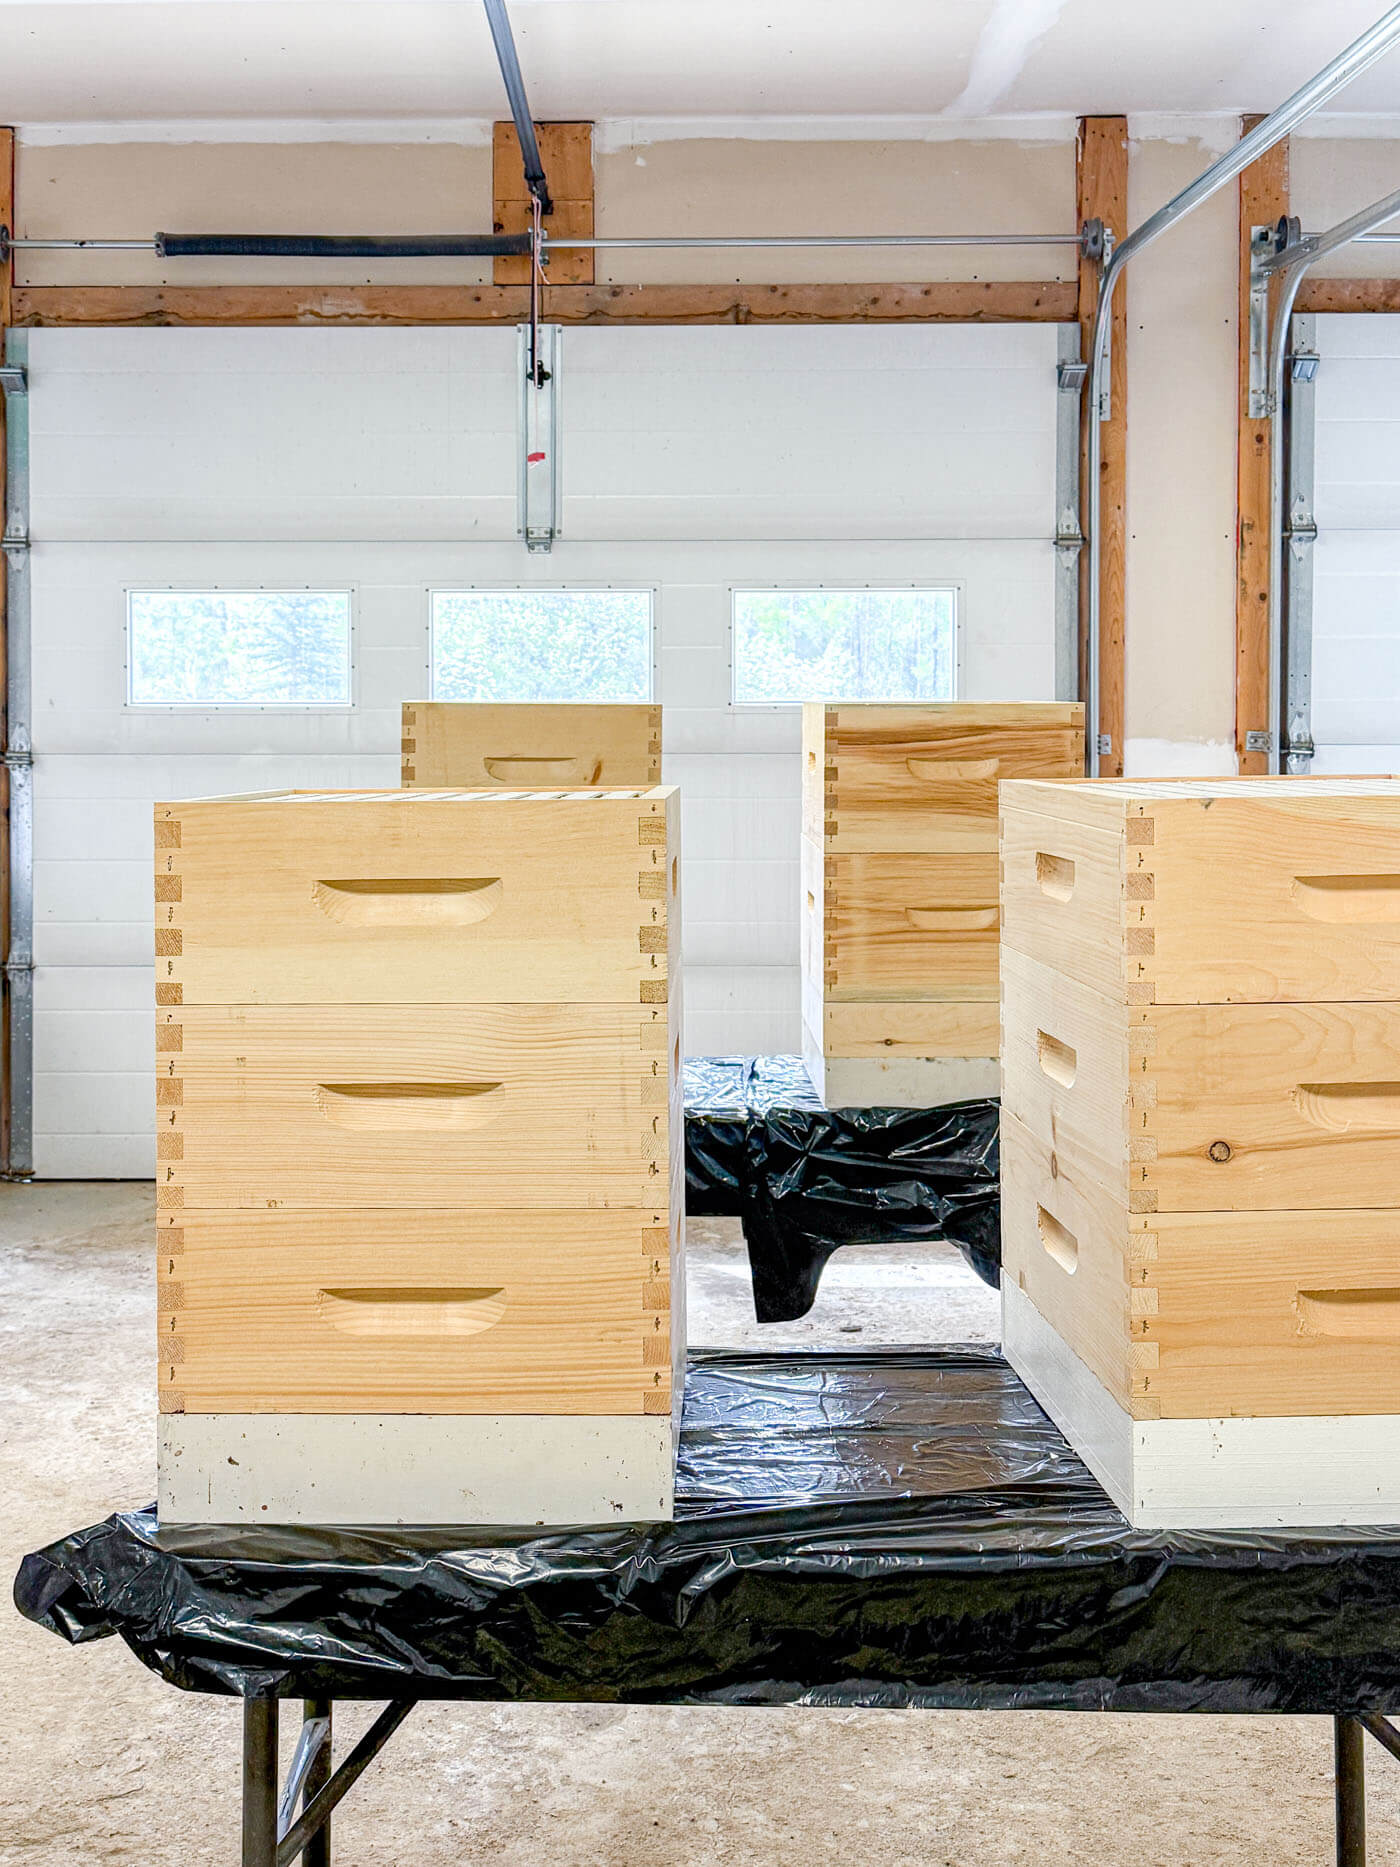
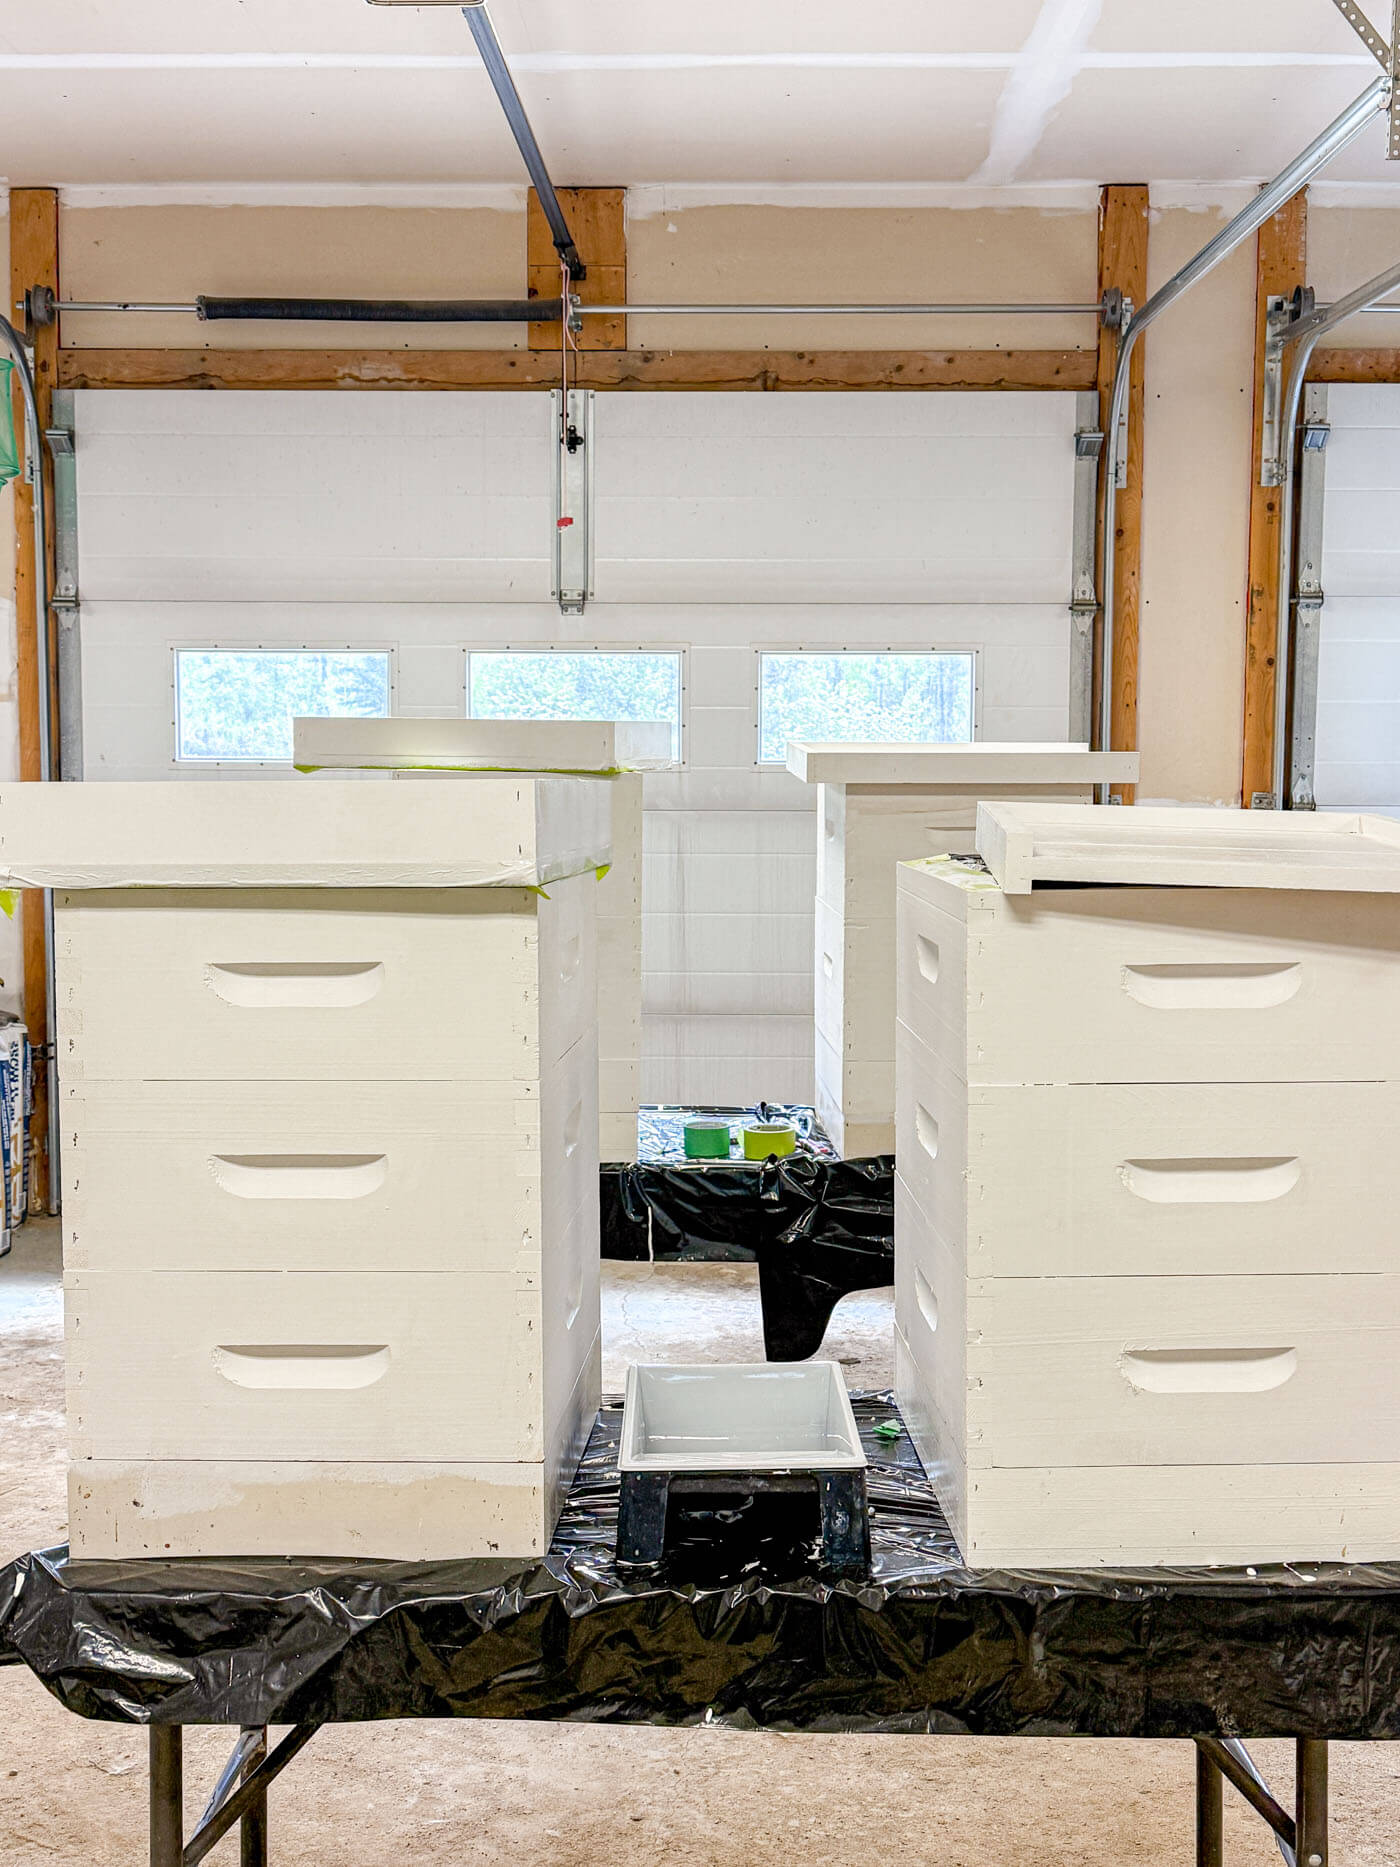
Find a well-ventilated area with good lighting. Lay down drop cloths and arrange your boxes so you can easily access all surfaces. I like to set up folding tables to keep the boxes at a comfortable working height.
2. Prepare Your Hive Boxes
Before you crack open that paint can, spend a little time preparing your boxes. Lightly sanding rough spots and raw edges can help the paint adhere better, especially on rough spots or splinters. Wipe down each box with a clean, dry cloth to remove all dust and debris.
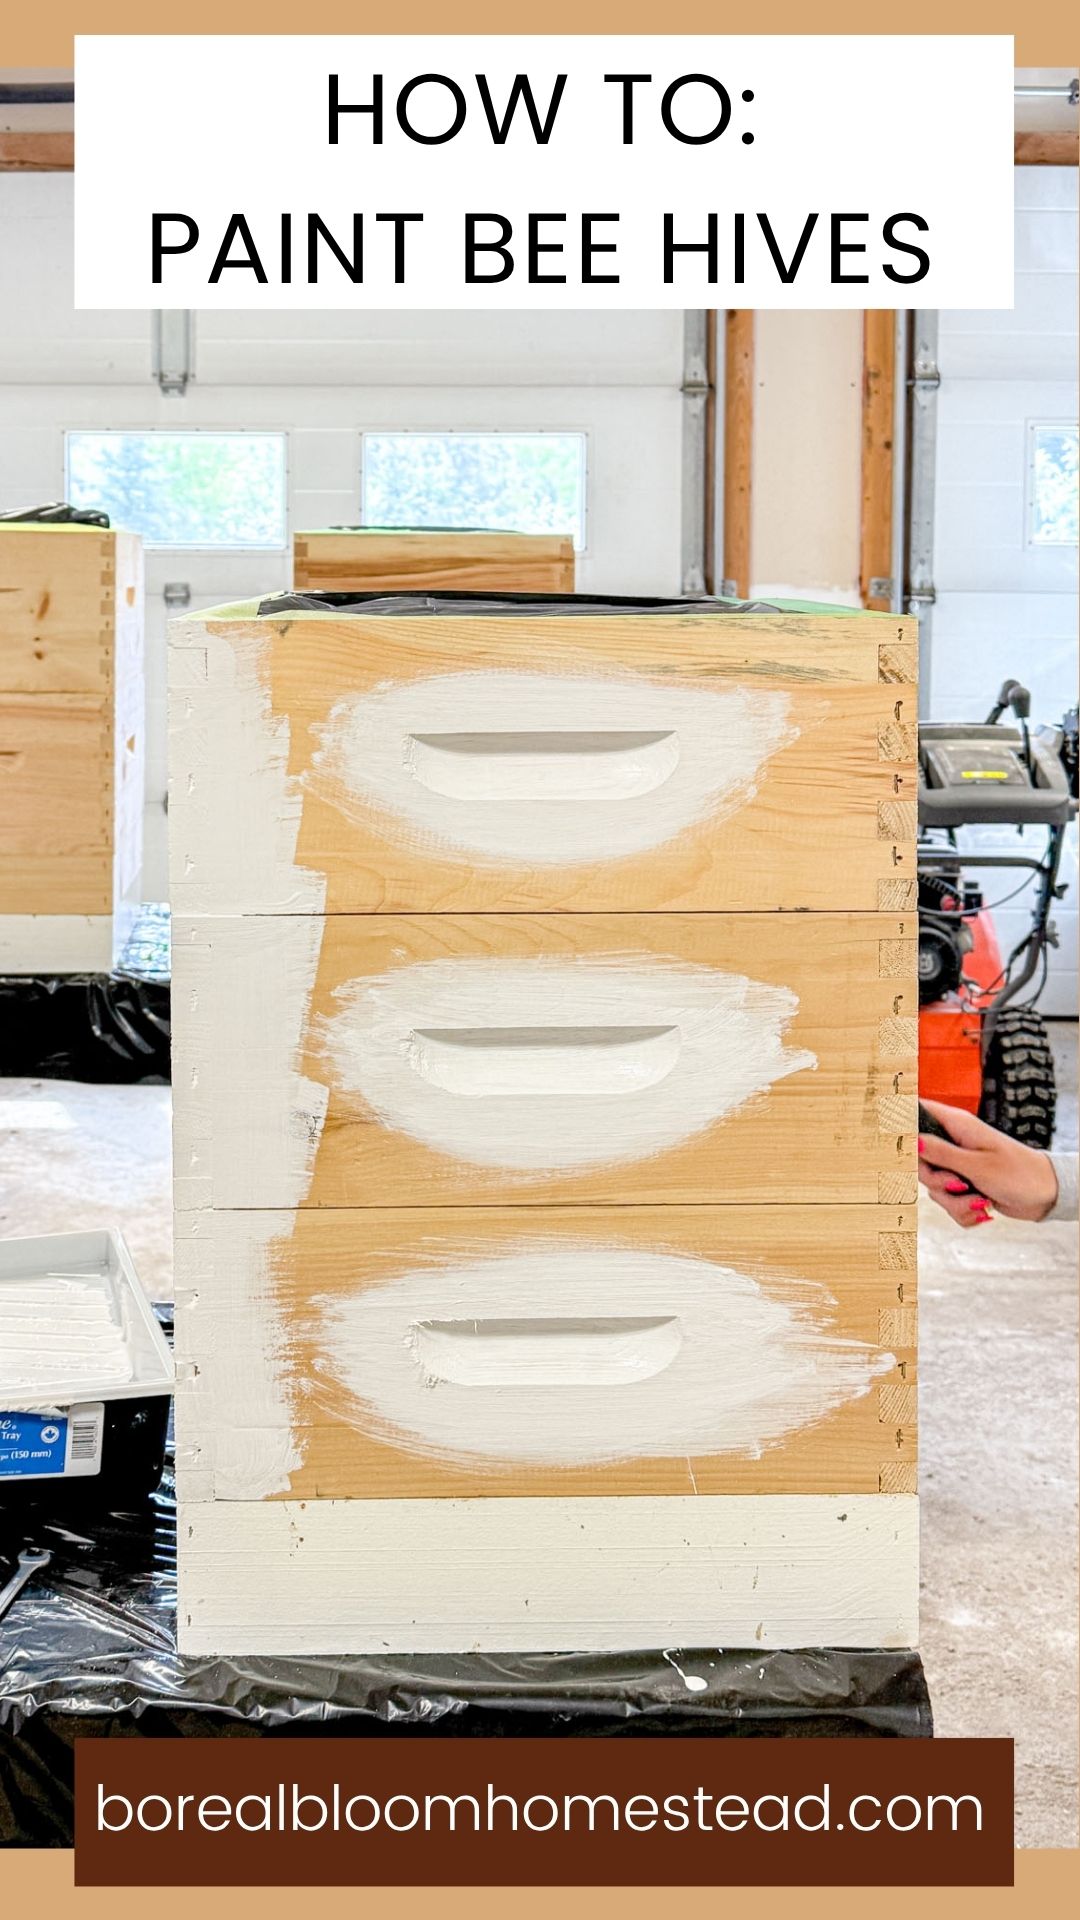
Stack your boxes as tall as is comfortable. For my daughter and I, who are not all that tall, 2 deeps and the feeder frame or 3 mediums was about as tall as we wanted to go!
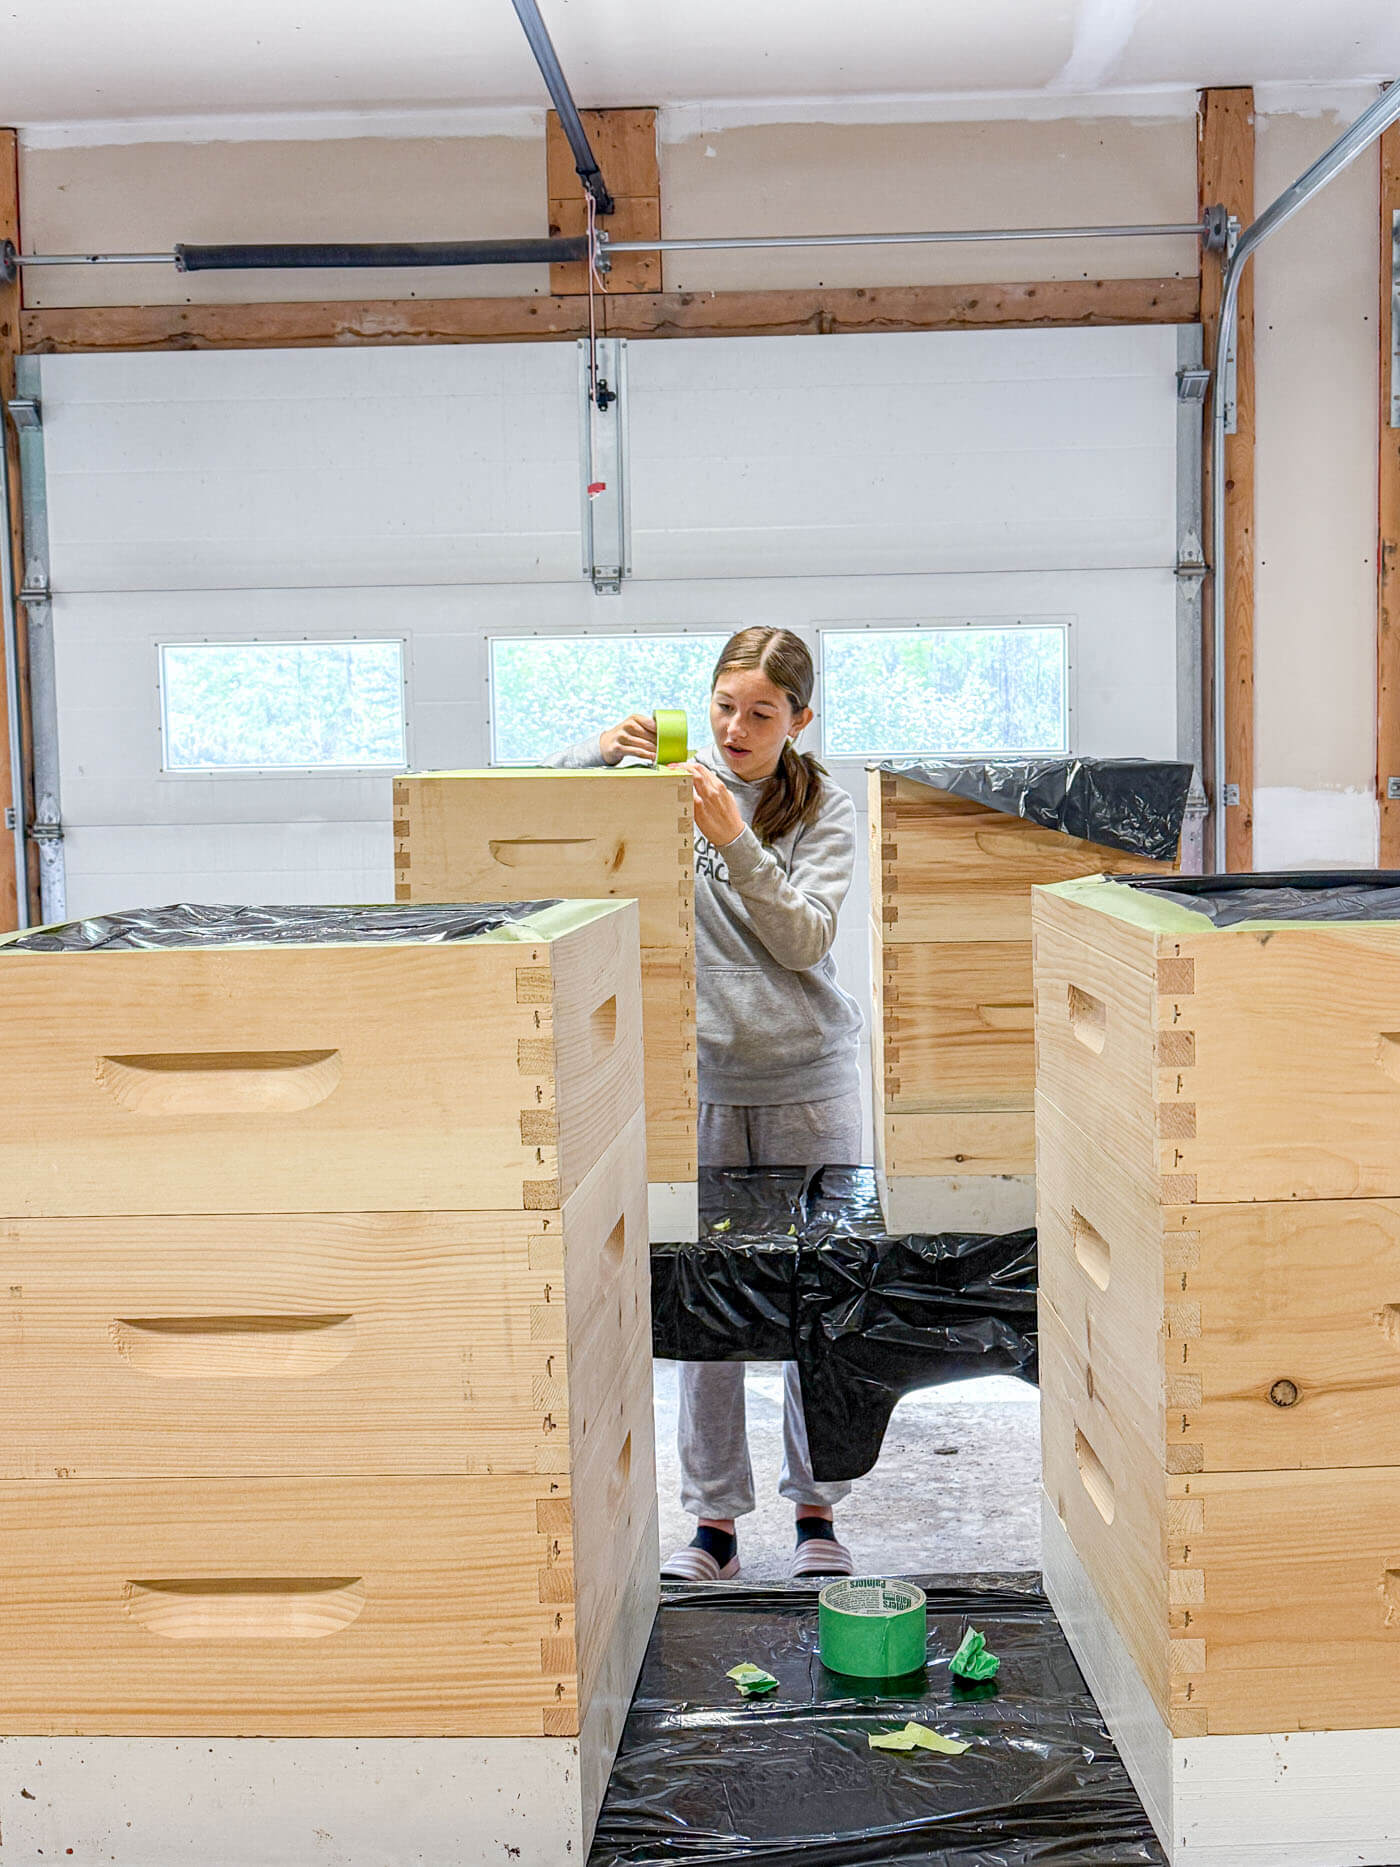
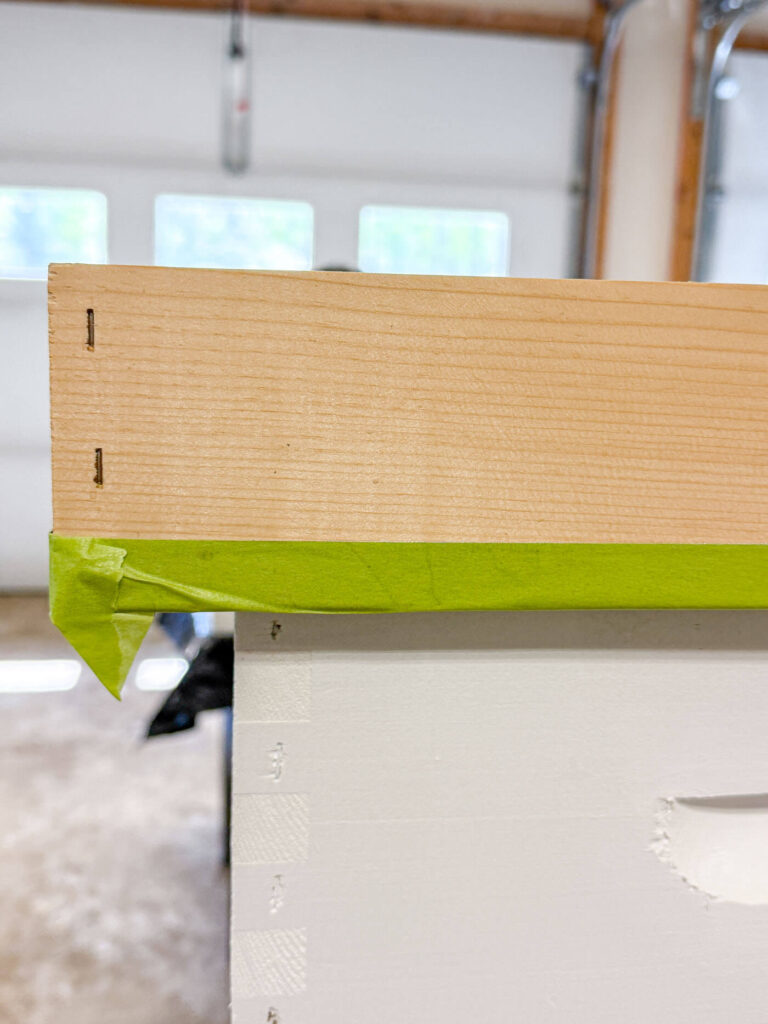
Use painters tape to cover the top raw edge of the top box - this is the edge that the next box would sit on top of. We tape a bag over the top of the frames to ensure we don't get any paint splatter on them. Stacking the boxes ensures the paint does not get on the raw edges of the boxes and saves a ton of time taping!
Pro tip: If you need to pause your paint job, wrap your paint brush or roller tightly in plastic wrap then store it in the fridge or freezer until you're ready to resume!
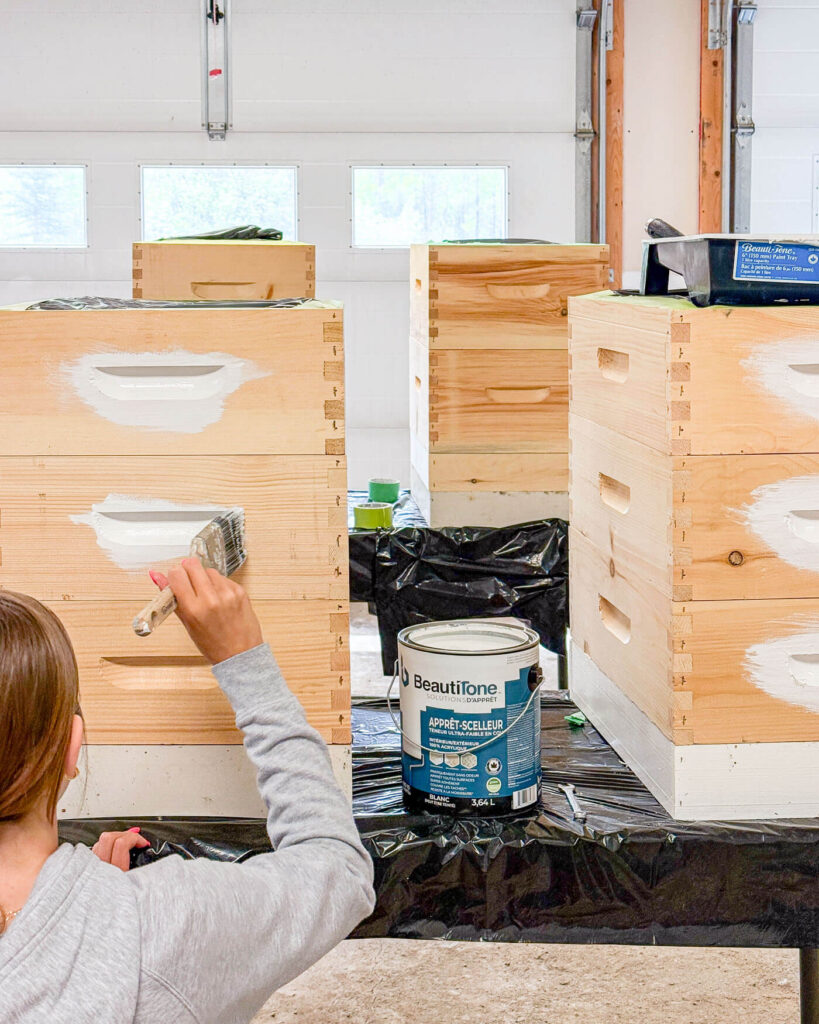
3. Prime
To ensure an even, long lasting finish, it's important to prepare the surface for paint by using primer. I use a paint brush to ensure good coverage in the handles and to really work primer into the cut ends, then a smaller roller to roll primer onto the flat surfaces.
Allow your primer to dry before painting with a high quality exterior paint.
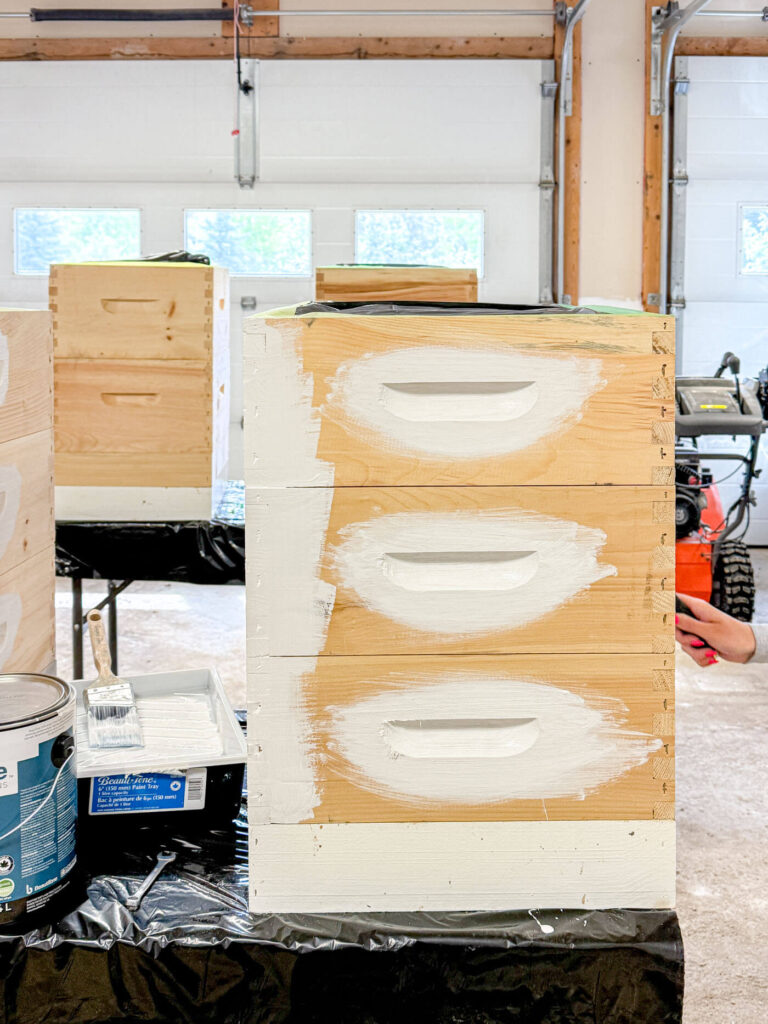
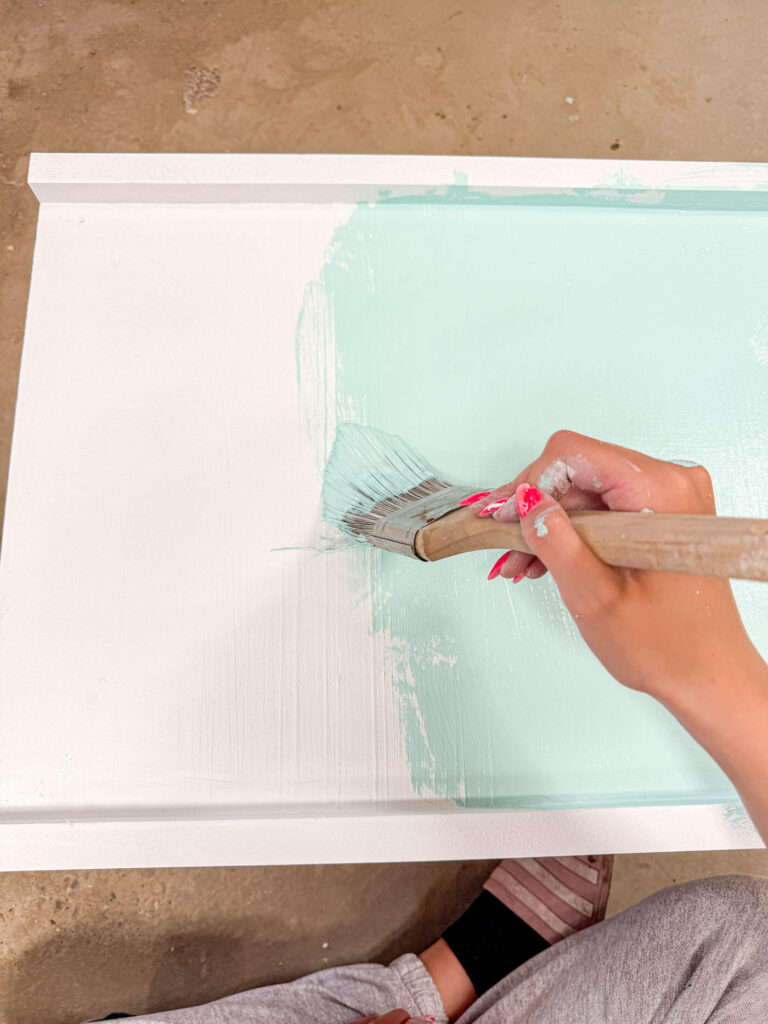
4. Apply the Paint
Use a paintbrush to paint the handle notches and cut ends of the boxes. Use smooth, even strokes and don't overload your brush - multiple thin coats always look better than one thick coat.
Use a smaller paint roller to paint the exterior paint on the smooth surfaces.
5. Let It Cure Completely
Allow each coat to dry at least to the touch before following with the next coat, then allow the hive boxes to cure for at least a week before using.
If you've painted the boxes together, it's easy to separate. Carefully run a sharp utility knife through the seam, then pop them apart with your hive tool.
Special Considerations for Different Hive Components
Not every part of your beehive setup gets the same paint treatment. Here's what you need to know:
Frames - A Big No!
Never paint the wooden frames that go inside your hives. Bees need to chew and modify these surfaces as they build comb and organize their home. Painted frames can interfere with natural hive behavior and even harm your bees.
Hive Bodies and Supers
These are your main hive boxes that stack to create the beehive structure. Paint the exterior surfaces only, leaving the interior natural wood for the bees. I also don't paint the top or bottom lip of the boxes, where they would stack on one another - the bees will use propolis to adhere the boxes together in those spaces.
Bottom Boards and Covers
We paint the entire underside of the bottom board, outsides of the base and the first couple inches of the landing pad.
As for covers, there are different types of inner covers. The first supplier we bought hives ware from had thicker inner covers, which needed the edges painted. But our newer supplier has a much thinner inner cover that will be completely protected by the telescoping lid doesn't need painted at all, these sit right inside of the hive and are well protected by the hive body.
Lids
Telescopic lids do need some love! We tape along the metal cover and paint the exposed wood with primer and then paint them different colors.
More Beekeeping Content!


Making Your Painted Hives Last
Once you've invested the time in painting your bee hives, a little maintenance goes a long way toward protecting that investment.
Annual Inspection
Each spring, take a close look at your painted surfaces. Look for chips, cracks, or areas where the paint is starting to wear thin. Catching these issues early makes touch-ups much easier.
Touch-Up as Needed
Small chips or scratches can be touched up with a small brush and leftover paint. For larger areas, you might need to sand lightly and apply a full new coat to that section.
Proper Storage
If you have extra hive boxes or seasonal equipment, store them in a dry location away from direct sunlight when not in use. This helps preserve both the wood and the paint finish. We store our painted honey supers and extra hive equipment in the garage when not in use.

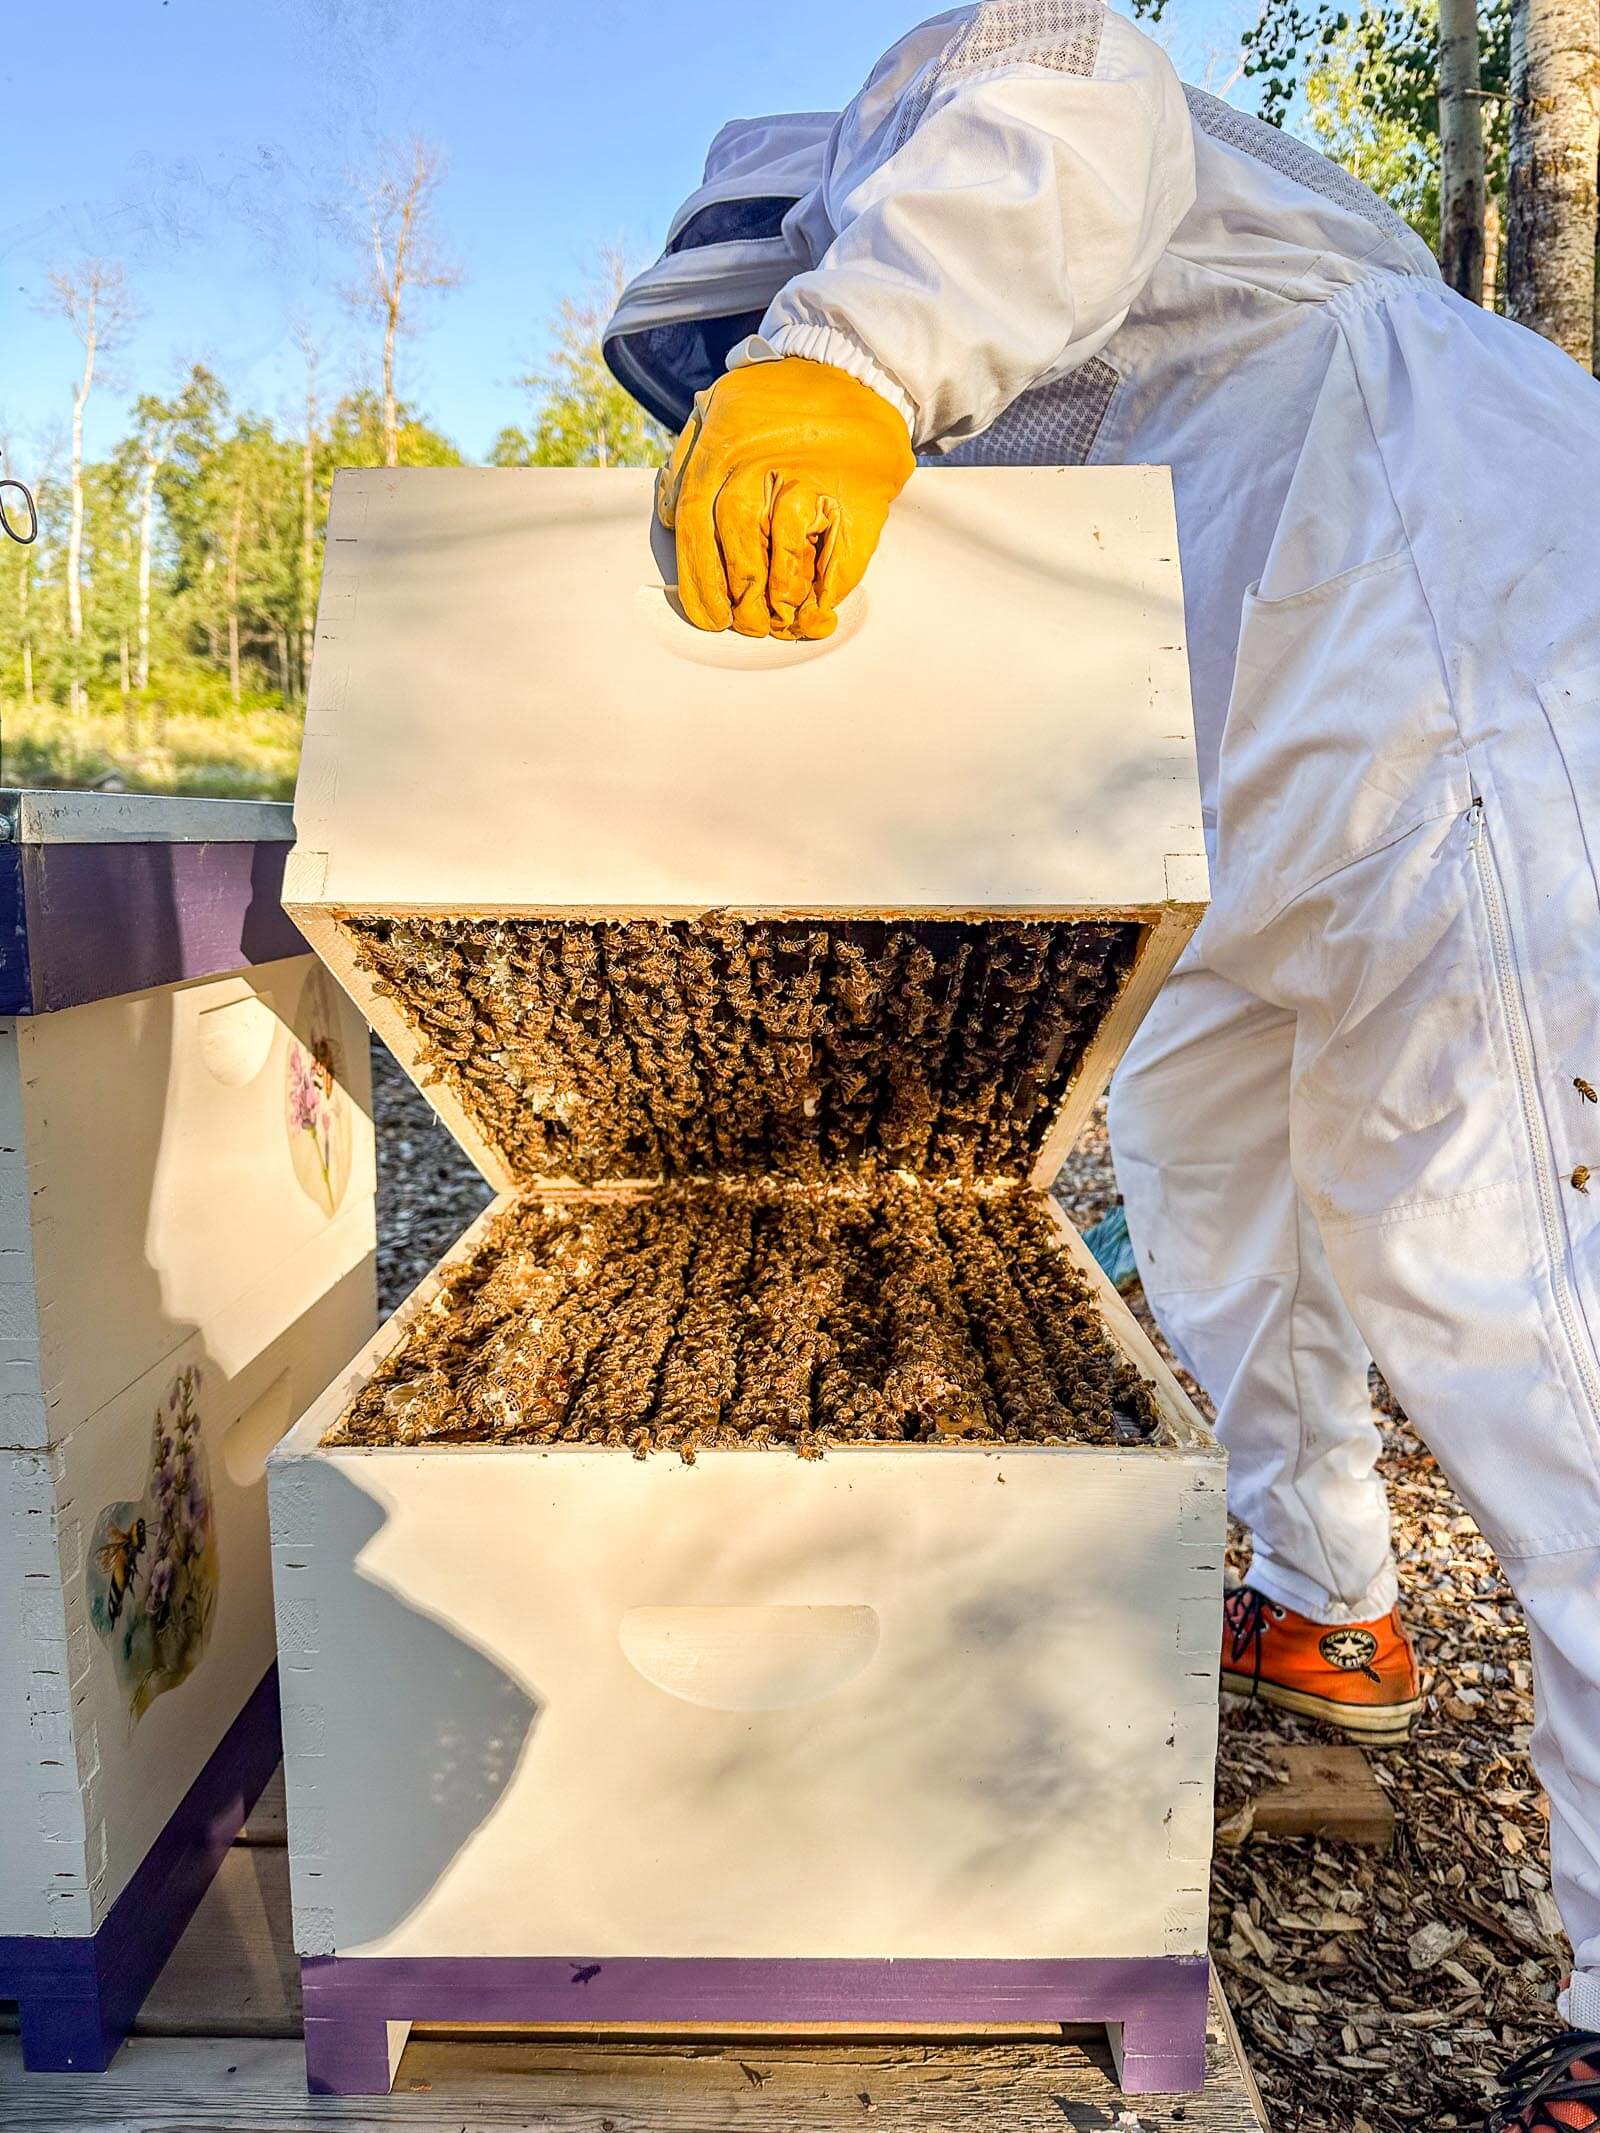
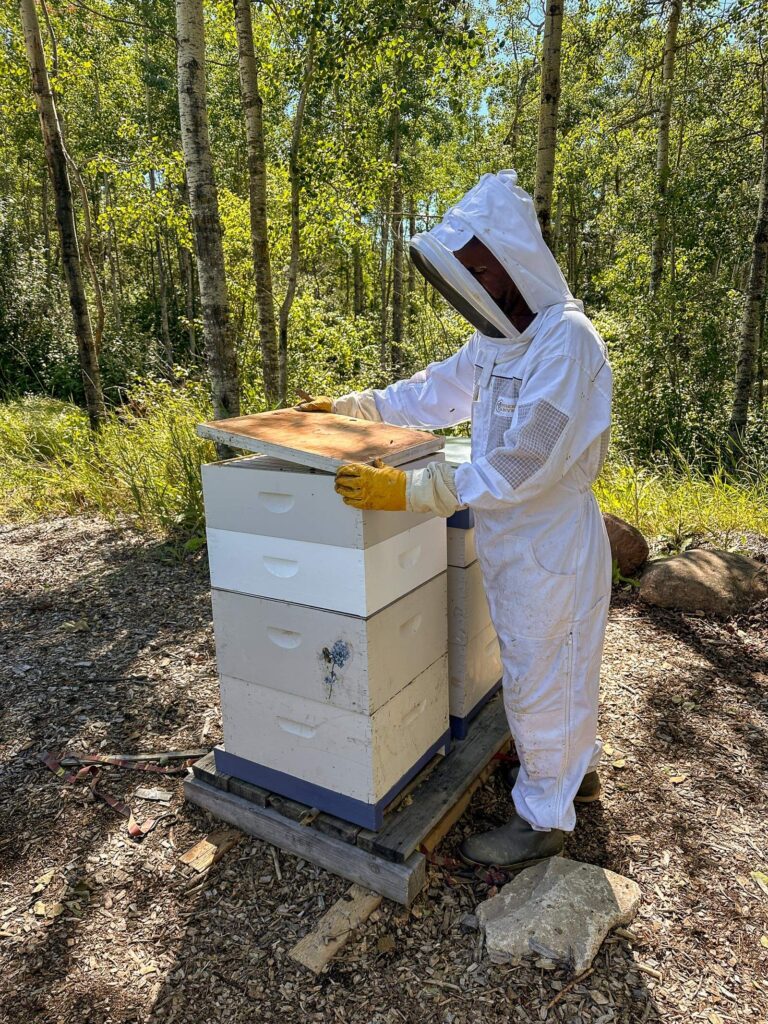
View from Our Bee Yard
Every time I walk through our bee yard and see our crisp, white hive boxes lined up with our busy honey bees coming and going, I'm reminded of why taking time to properly paint bee hives is so worth it. Not only do they look fantastic, but I know they're protected and ready to provide a safe home for our bees for many seasons to come.
There's something deeply satisfying about making your own lip balm and harvesting honey from bees that live in hives you care for yourself. It's all part of the homestead journey - taking time to do things right and creating something beautiful and functional that will serve your family for years.
Pin This Guide To Painting Beehives!
Comments
No Comments