Building A Silvopasture For Homestead Pigs
When we first started dreaming about raising pigs on our homestead, the idea of plopping them into a dense, untouched forest seemed a bit unconventional. But as we learned more about silvopasture or forest pasturing pigs it became clear to us that this was going to work!
On a homestead like ours, it meant turning our densely forested land into a functional and sustainable space for raising pigs without tearing down every tree in sight.
Jump to:
What Is Silvopasture?
Silvopasture is a type of agroforestry management that combines trees, forage plants, and animals in an intentional way. When done correctly, silvopasture is a fantastic tool for soil and ecosystem regeneration.
In commercial operations, this land is intensively managed to maximize grazing benefits in the short term and forestry products in the long term. On the homestead scale, it's a bit more laid back and the short term benefits are often the main priority.

Why Did We Choose Silvopasture?
Silvopasturing, or forest pasturing, our pigs meant that we were able to use our virgin land. It required less disruption to the forest, less time waiting for a new ecosystem to take hold, and allowed us to move forward with our homestead goals without time and labor intensive land clearing of the incredibly dense understory and shrub layer of the forest.
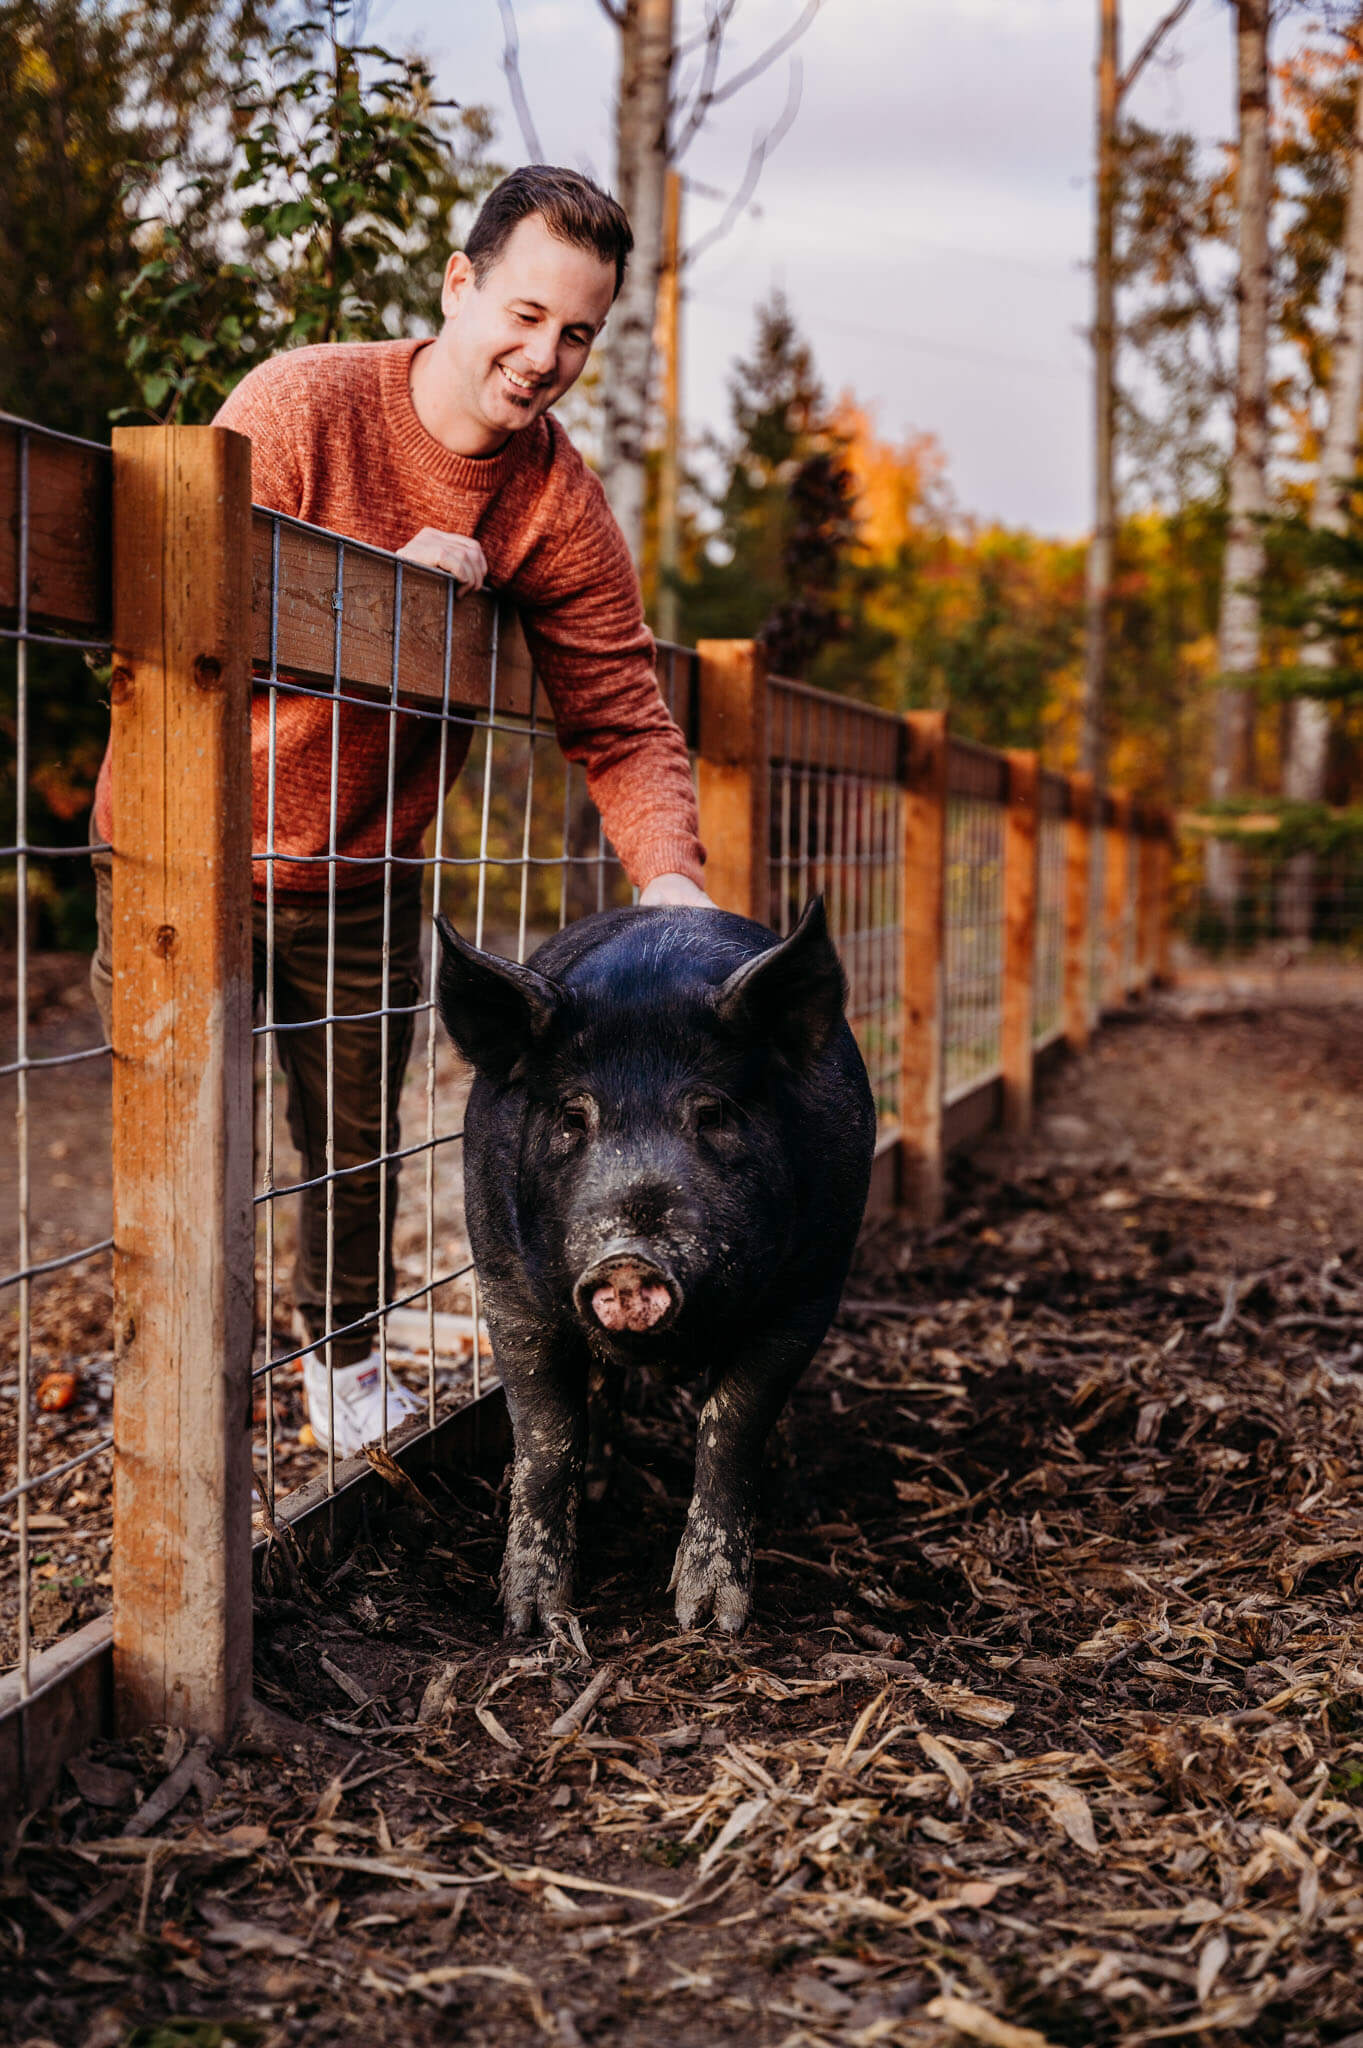
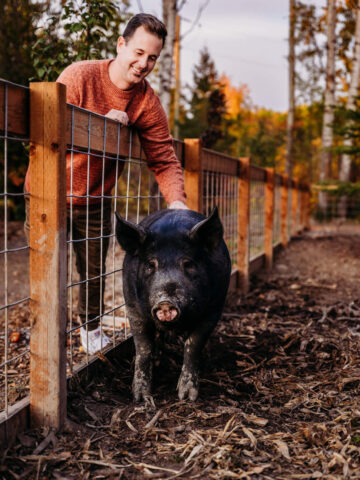
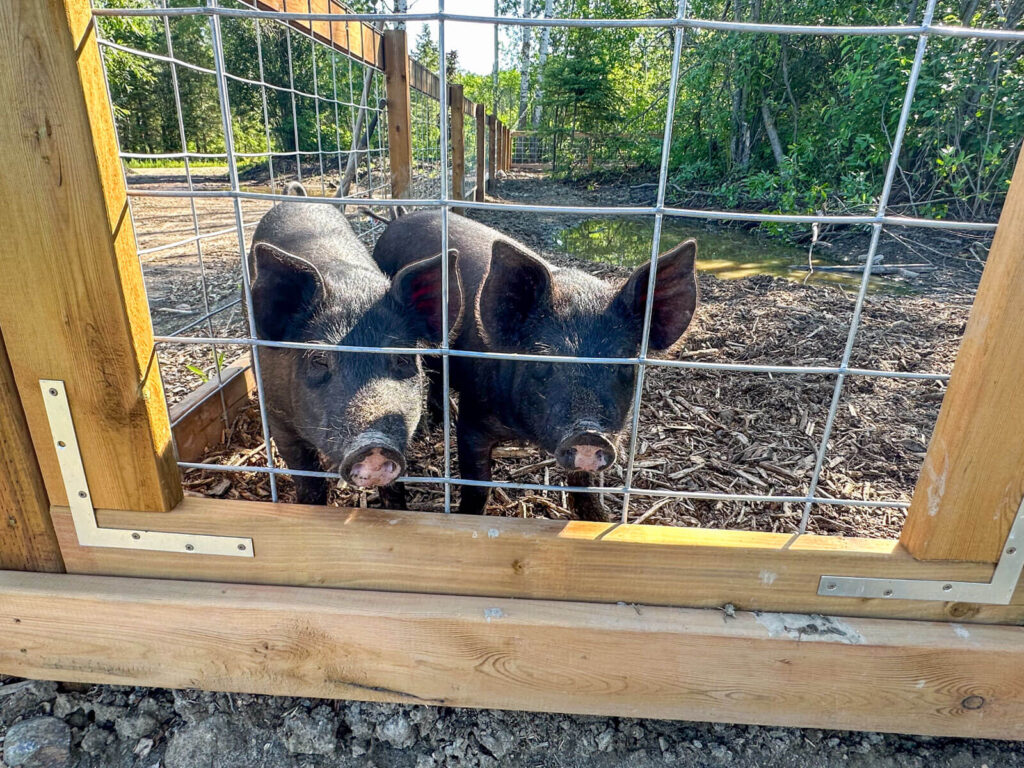
Giving our pigs a pasture with varied plants, trees, and topography ensures they have plenty of things to do, places to root, and stuff to see. Their forest pasture offers them a lot of space to move and roam, working those muscles for tender meat.
We believe our feeder pigs have a comfortable life while they are here and that the trees in and around their pasture are responsible for this. The comfort offered by healthy trees within a healthy ecosystem cannot be understated; from shade to protection to micro climate moderation, trees are incredibly valuable.
While pigs are not renowned for their foraging, we do agree with Joel Salatin's stance and embrace the pigness of the pig. Giving them space to root and upturn the soil increases their dietary variety which improves their health. Trust me, you'd be surprised what those little shovel snouts turn up for the pigs to chomp down on!
By raising our pigs in their densely forested pasture, we actually put them to work for us, and they didn't even know it! Their curiosity and natural instinct worked to thin the underbrush and opened up the forest floor which allowed us to seed forage plants in the spring.

More Pig Content!
Here's How We Did It:
Step 1:
Order pigs in the winter for the spring. Don't have a pen ready yet. Say OH MY GOSH!
This step is completely optional. HA HA!
We took some pictures in front of the pen before we started, which is a great way to document your progress. Take note of that small spruce tree behind Ally, you'll see it later on!

Step 2:
Take some time to plan - consider how many pigs you'll want or need to raise. Consider how often you'll be raising them, and where you'll put them. Think about the materials you'll be using, how to maximize them, and how you want your pasture to look.
Because we are a small family, we decided that raising two pigs would be the sweet-spot on our homestead in any given year, BUT because things change, we also planned for potential expansion. Our kids will likely have families and want homegrown pork one day, family and friends may ask us to raise pork for them in the future.
In the end, we decided that we wanted to use cattle panels for the main fencing material, as they are sturdy enough to handle a big ole pig rubbing on them, and a little taller than hog panels, so we would be able to bury them at least a few inches to deter digging. Because cattle panels are 16 feet long and we didn't want to waste an inch on cut offs, we decided that our pasture would be 64 feet by 64 feet, or 4 panels by 4 panels.
We placed the pig enclosure directly across from my gorgeous chicken coop so we wanted it to look like it belonged. To ensure some cohesiveness, we decided to frame the front face of the enclosure by using matching fence posts and a similar style of fencing to the coop - 4x4 posts and stringers.

Step 3:
Map it! Get out into the bush and figure out where you're pigs are going to live.
The first thing we did was measure off of the chicken coop and chicken run to make sure they were at least somewhat parallel because they two animals are separated by a main pathway in our homestead that allows access to the other side of the property - we didn't want to create an inadvertent pinch point that hindered passage in the process.
Once we knew where the front face of the enclosure would be, it was time to start measuring the rest of the sides. When you're building a square, it's kind of nice to do a little planning up front - especially because our goal was "no panel cutting".
After the measuring was done, then came the string line. Kevy loves a string line. To be honest, it really does help keep you on track. The string lines were pegged in on each corner and run to the next corner. From there, Kevy hand cleared as many trees and shrubs along that line as he could before bringing in the skidsteer. We wanted to minimize the disturbance to the forest, we had to be realistic - we needed place to work.


Step 4:
The string line returned for this section - we remarked all of the corners and ran our string line to ensure that all sides were equal, 64 feet, and that our square was truly square.
With the string line still intact, we marked along the front face of our pig pen, every 8 feet for our fence posts, and the gate post locations. Once the post locations were marked, we augured the holes and placed our fence posts in each hole.
We took it a step further, and this is totally optional, but Kevin broke out my favorite *insert eyeroll* tool, the builder's level (or transit) and we measured the top of each fence post to ensure they were level across the entire 64 foot span of front of the pen.
When we were happy with the fence posts, we secured them and back filled the bottom of the post holes with clay and followed it by Post Fix, but any other expanding foam post fixer or cement would work.


Step 5:
This is the fun part - your hard work starts to take shape by now!
We started by attaching the cattle panels to the fence posts, using strips of strapping. Kevy trimmed them all, and we'd secure one side of the strapping on each side of the wires of the cattle panel.
Once the panels were on, the stringers got placed. We used 16 foot stringers to span 2 fence posts and secured them at the top of the posts and 6 inches from the bottom of the panels - this is our new ground level.
We got the whole family in on this fun part.


Step 6:
With the front face of the pen set, we moved on to the sides. To save money, we decided to run the wood panels only 16 feet back into the bush and the rest would be t-posts. This part was a lot of work due to the rolling hilly landscape and brutal clay subsoil, but Kevy persevered and pounded in all the t-posts by hand. We secured the panels to the posts as we went, this helped to ensure there were no gaps between the panels and fence posts.


Step 7:
Once the fence was done, we shifted our attention to the gates.
Kevin built simple gates for each of the 3 gate locations. The primary gate at the front of the pasture was built with latches and hinges, while the other two gates that were built for future expansion were slotted in between the fence post and a wooden bracket and secured shut by screws.

Step 8:
This part was a little less fun. We back filled the entire fence, inside and out, with clay that Kevin harvested from elsewhere on the property. It was a lot of shovelling and tamping, but it was worth it - because I felt pretty confident that the pigs wouldn't dig out. If you have luck like mine, you know that they'd never escape when Kevy was home, only when I was flying solo at home! haha.


Step 9:
Bring home the pigs! This is the best part.
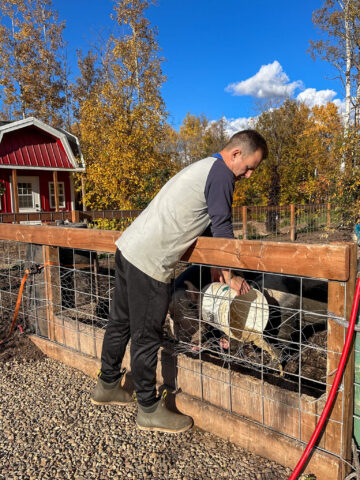
Once you have your secure pen ready to go, it's time to bring home your new pigs. We transported our pigs in a large dog crate and to prevent any unnecessary chaos we just carried the dog crate into the pig pen and opened the door and allowed the pigs to come out of the crate when they were ready.


Step 10:
The second year we had pigs on the homestead, we set up a home base for them. We purchased a used cattle shelter that needs a little love, and had a friend with a picker truck help us lift and position the shelter in the corner of the enclosure. We're hoping to refresh whatever needs it and sheet it with tin to match the chicken coop one of these days!
Because the land slopes towards the front of the pig pen, Kevin did his best to level the ground and built some French drains around the perimeter of the space. He laid down a thick layer of crushed gravel to ensure that the water would drain away from the shelter.


Step 11:
Over the following couple of seasons, we worked really hard to finish the landscaping around the pig pen. Planting HoneyCrisp apple trees, an ornamental crab apple, and a plum tree, and back filling the spaces between with strawberries and perennial flowers. You can see below, spring of 2023 versus spring 2024.


Wrapping It Up
Building our silvopasture pig pen was a labor of love and an investment in our land, our animals, and our homestead. The process was filled with moments of learning, laughter, and, let’s be honest, a bit of hard work! But in the end, the results were more than worth it.
Raising pigs in a forest pasture has given us healthier animals, improved our land, and provided a deeper connection to the natural rhythms of the ecosystem we call home. By embracing silvopasture principles, we’ve found a way to work with nature rather than against it—a philosophy that has become a cornerstone of our homesteading journey.
Whether you’re considering raising pigs, starting your own silvopasture setup, or simply dreaming of a more sustainable approach to homesteading, remember: every step you take, no matter how small, brings you closer to your goals. With a little planning, some creativity, and a dash of determination, you’ll be amazed at what you can accomplish.
Here’s to happy pigs, healthier forests, and thriving homesteads! If you’ve got questions or want to share your silvopasture adventures, drop a comment below—I’d love to hear from you.
Pin This Guide To Building A Forest Pasture For Your Pigs!

Nice looking pen! Just curious - with the way that pigs root and press against things, would it have been better to put the hog panels and boards inside of the posts, rather than on the outside?
Thanks, we are really happy with how it turned out!
Great question! The panels are sandwiched between the 4x4s and the 2x8s along the top and bottom. We are on our 3rd year with the pen, and our pigs have been pretty big near the end of the season and even though they do rub on the fence, they tend to rub on the posts rather than the panels - must scratch the itch better LOL! When they do rub on the panels they don't move at all.
I'll try to get some video later this season when this year's crew gets a bit bigger and rub on the fence!