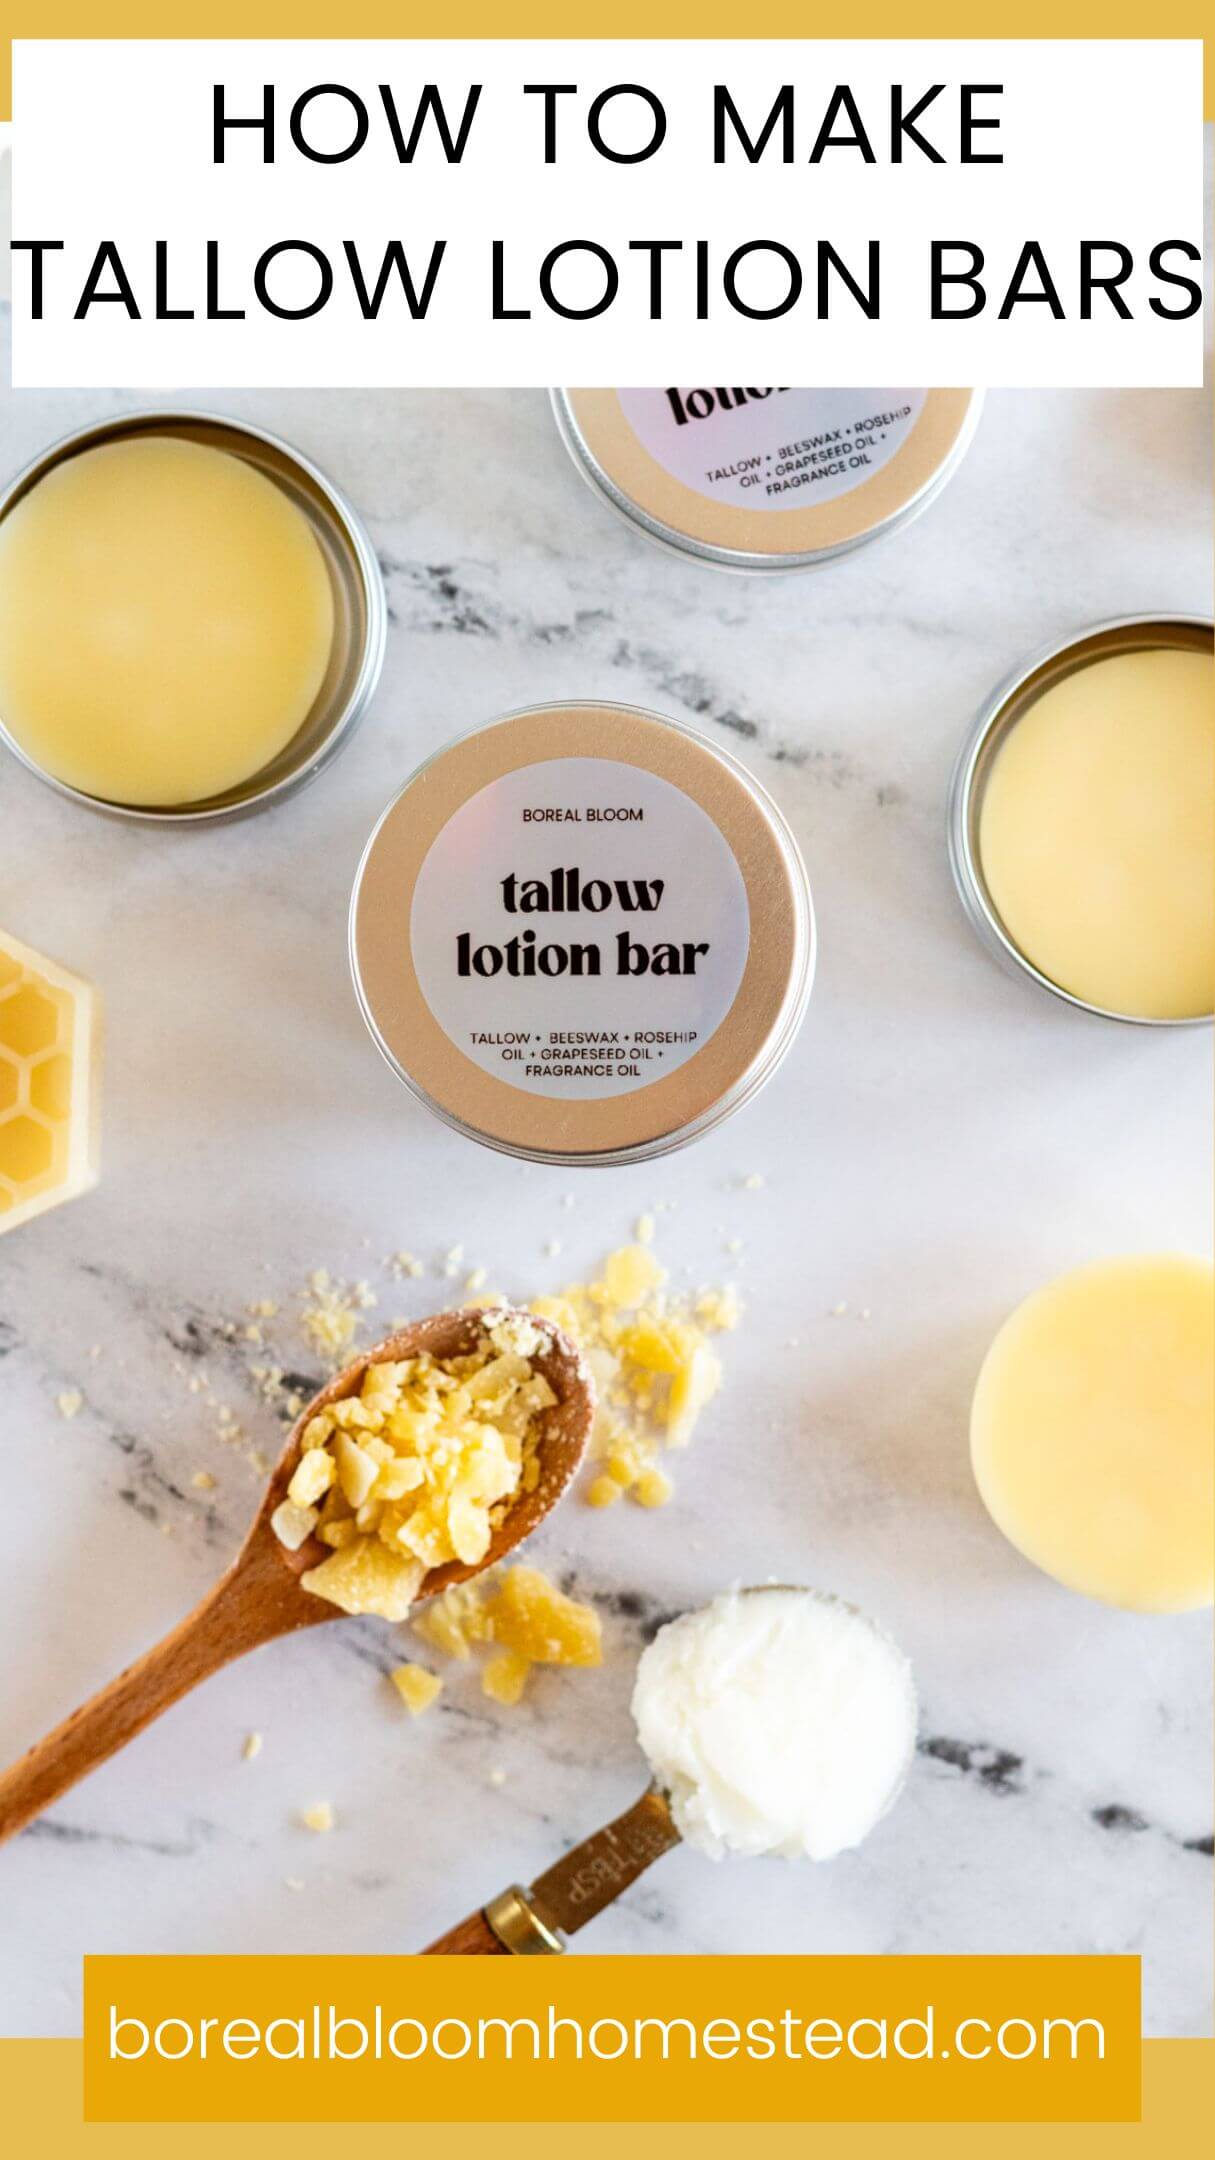
Tallow Lotion Bars
You know those moments when your skin feels so dry, you'd try just about anything?
Well, let me share something that might sound a little weird at first - tallow lotion bars.
Yes, you read that right! Before you click away, hear me out.
I've been making these bars for months now, and let me tell you - they're a game-changer. They melt like butter when they touch your warm skin, and they're not greasy at all.
The best part? You know exactly what's going into them.

Jump to:
The Benefits of Tallow for Your Skin
Tallow is a powerhouse of hydration and nourishment, thanks to its unique composition of fatty acids. It closely mimics the natural oils found in human skin, making it an incredibly effective and gentle skin care ingredient.5
Fatty Acids in Tallow and Their Benefits:
Stearic Acid
With its creamy, waxy feel, stearic acid helps to prevent moisture loss by forming a protective barrier on the skin's surface. This barrier not only keeps skin hydrated but also protects it from external irritants.4
Oleic Acid
Acting as an emollient, oleic acid helps to lock in moisture and keep your skin feeling soft and supple. It also supports the skin's natural repair processes, making it especially beneficial for dry or damaged skin.1
Palmitic Acid
Known for its smoothing properties, palmitic acid is both an emollient and a moisturizer. It creates a protective layer on the skin, promoting a soft and even texture while shielding against environmental stressors. 2 3
Tips + Tricks
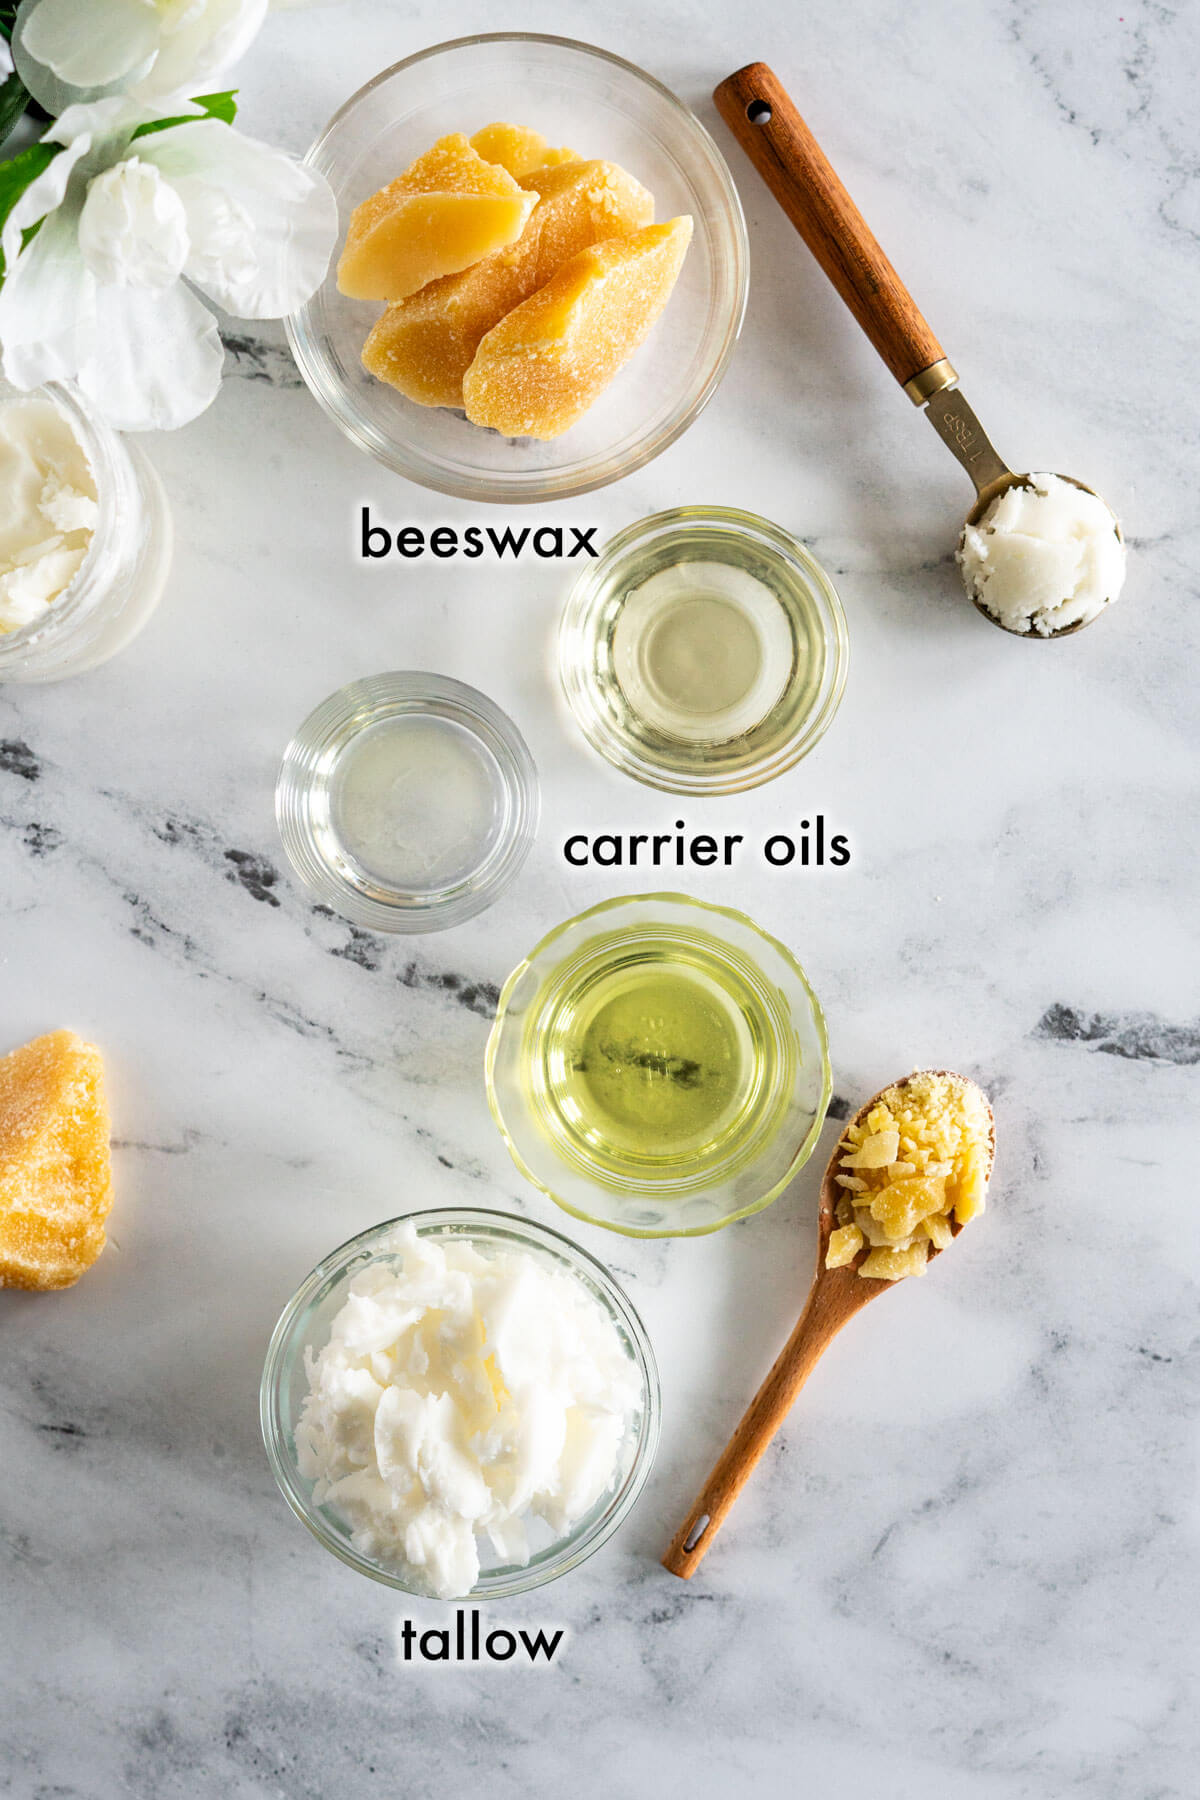
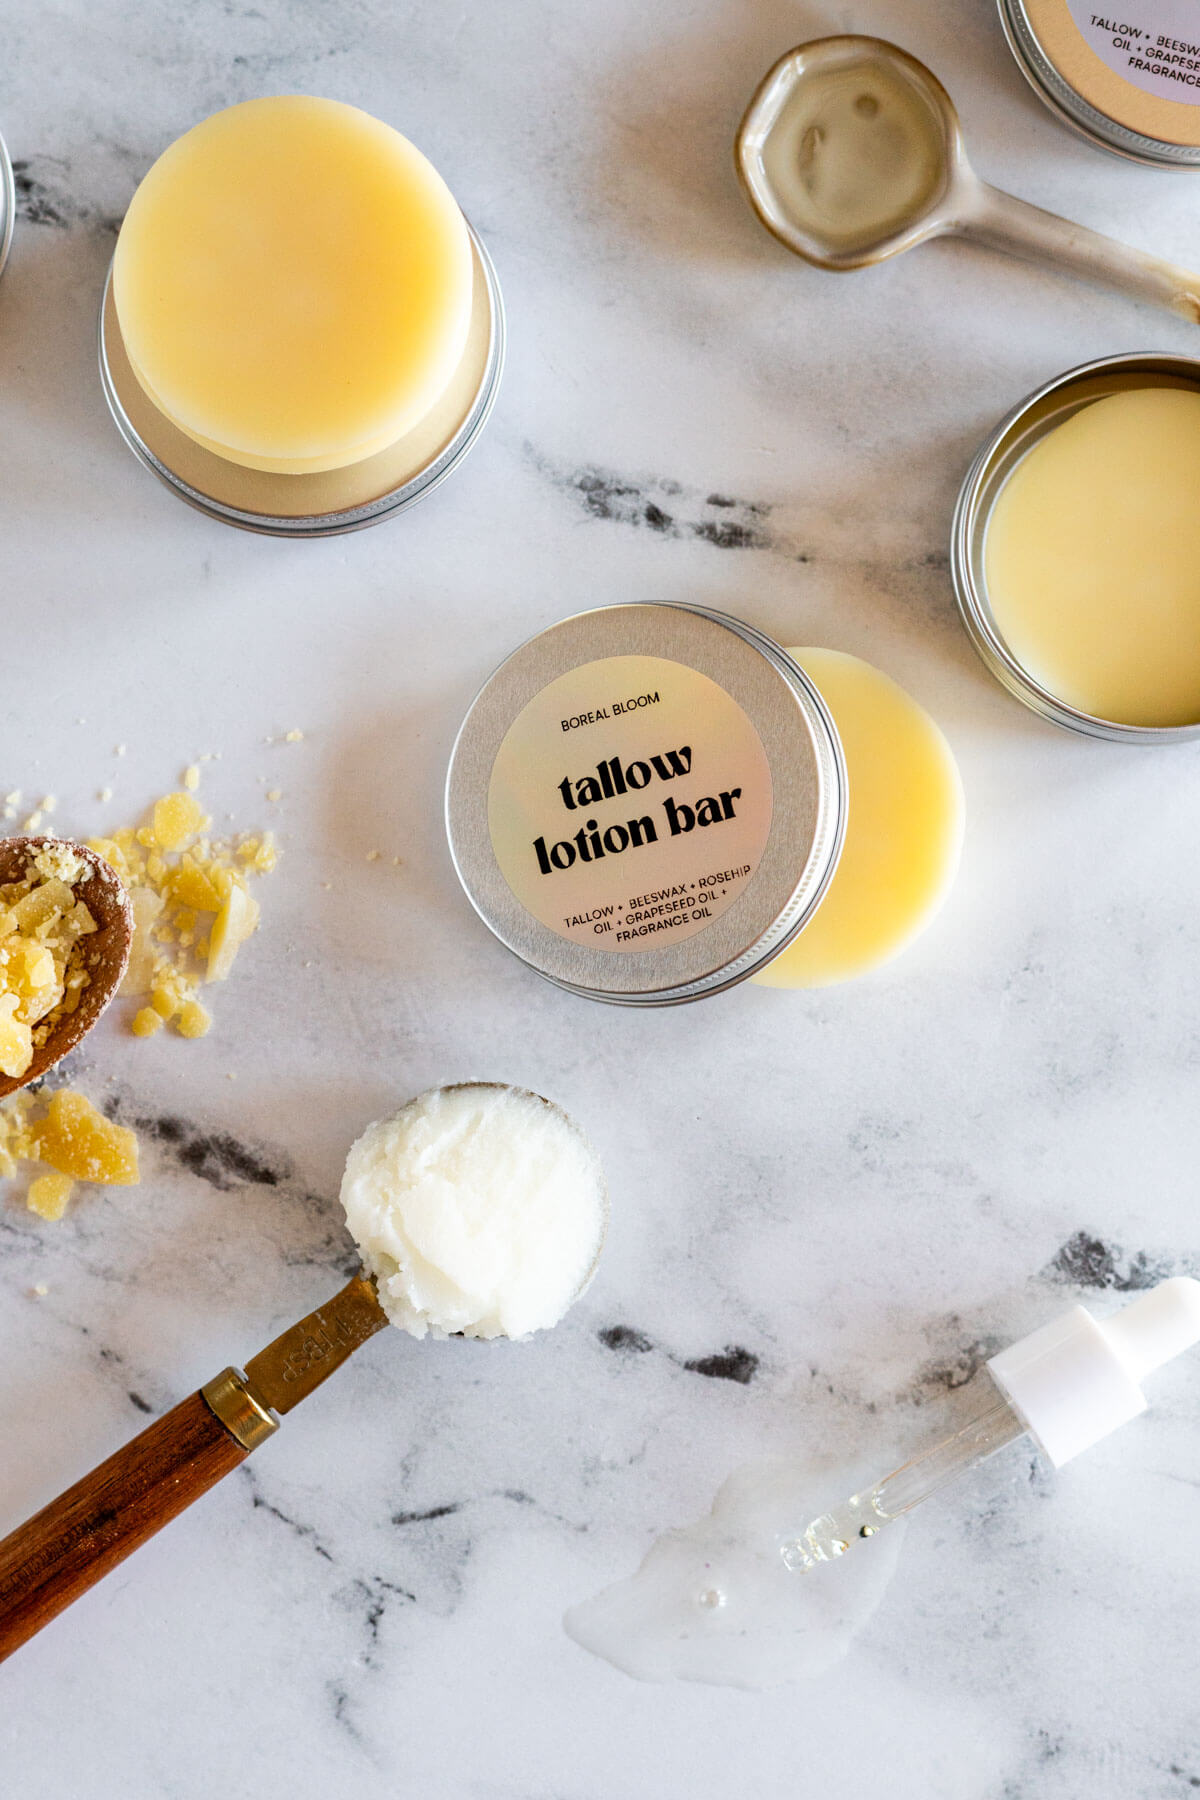
Ingredients You'll Need!
Tallow: Choose a high quality, grass fed tallow that's been purified for skin care use. This type of tallow is more likely to be scentless. If you're not sure, you can always use my guide to purify the tallow you have!
Carrier Oil: You'll need to choose a carrier oil for your tallow balm. I list a few options in the section below. Consider the qualities of your carrier oil when adding to your balm. My favorite is a mix of rosehip and sweet almond oil in this recipe.
Beeswax: Here on the homestead we've got our own beehives, so I am able to use rendered beeswax from my very own hives! If you don't have hives, beeswax pastilles can make it easier to measure.
Choosing Your Carrier Oil
Any oil you choose to blend with your tallow comes with its own qualities and benefits. Here are a couple of suggestions:
Sweet Almond Oil: This smooth liquid oil has a low scent and is light in color, so it won't discolor your lotion bar. It's got an average absorption speed and is great for your skin. Opt for unrefined when purchasing. Choose an alternative oil if you have nut allergies! 11
Grapeseed Oil: This is a great, inexpensive oil to have on hand if you're into DIY skincare and body formulations. It's a mild oil, with a neutral color, little to no scent, and absorbs quickly into the skin. 6
Jojoba Oil: Unrefined, golden jojoba oil has a pleasant, mild scent. Jojoba mimics our own skin's sebum which makes it great at locking in moisture. This is a more expensive option. 7
Olive Oil: We all have olive oil in the cupboard making olive oil an easy option. Olive oil is heavy and takes a while to absorb into the skin, it also comes with a hint of color, and is somewhat fragrant, so it's not my first choice. If you do want to use it, opt for a high quality, extra virgin oil. 8
Sunflower Oil: This is another great inexpensive, low odor, low color carrier oil that you should add to your DIY body care stash. It's a fast absorbing oil that is great in balms and butters. Look for sunflower seed oils that say "high oleic" on the label for the best skin benefits. 10
Rosehip Oil: Unrefined rosehip oil is made my pressing the seeds of the rosehip plant. This oil absorbs very quickly and leaves a luxurious dry feeling on the skin. 9
Making Tallow Lotion Bars
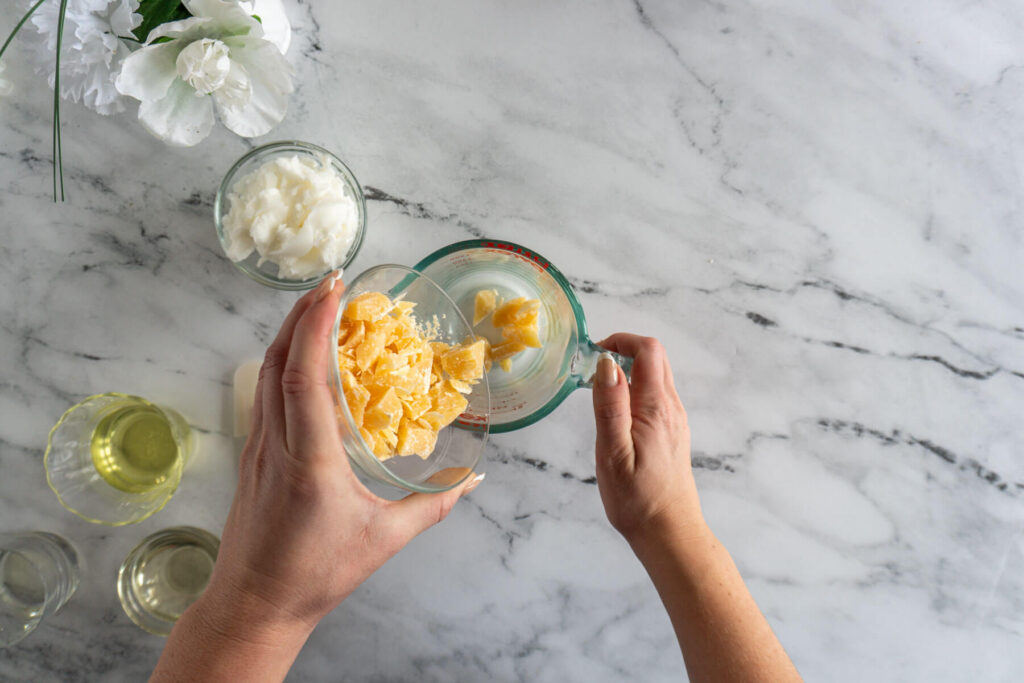
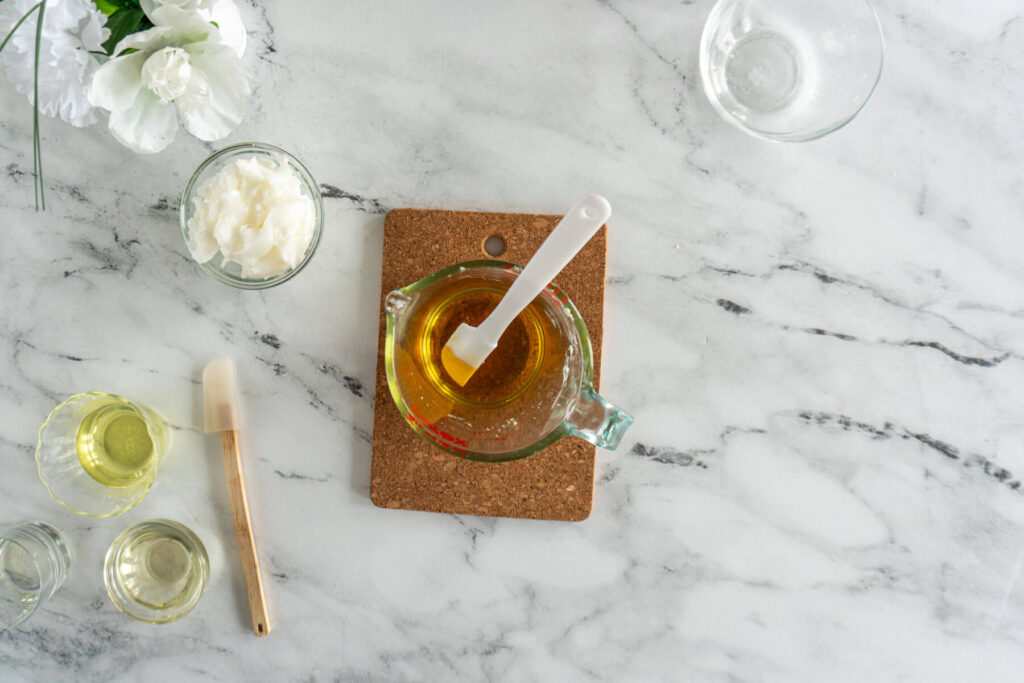
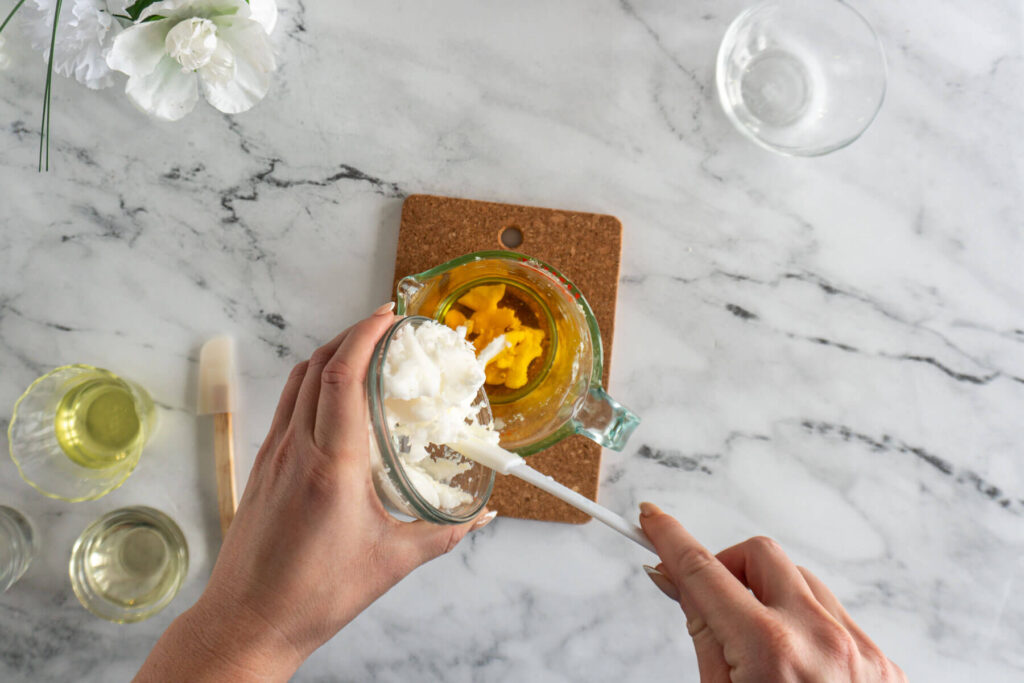
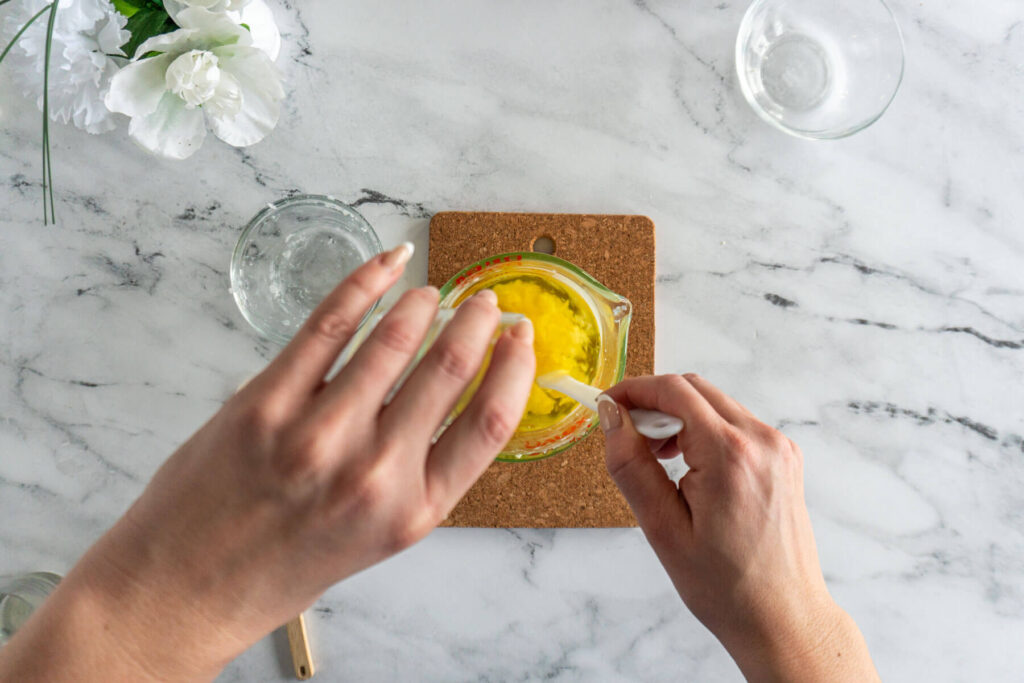
Melt The Oils
- To make unscented tallow bars:
Add 100g beeswax to a double boiler and melt over medium high heat. Reduce heat to low and stir in 100g tallow, heat until completely melted and combined. Stir in 100g carrier oils and stir until all waxes and fats are combined.
To make scented tallow bars:
Add 99g beeswax to a double boiler and melt over medium high heat. Reduce heat to low and stir in 99g tallow, heat until completely melted and combined. Stir in 99g carrier oils and stir until all waxes and fats are combined.
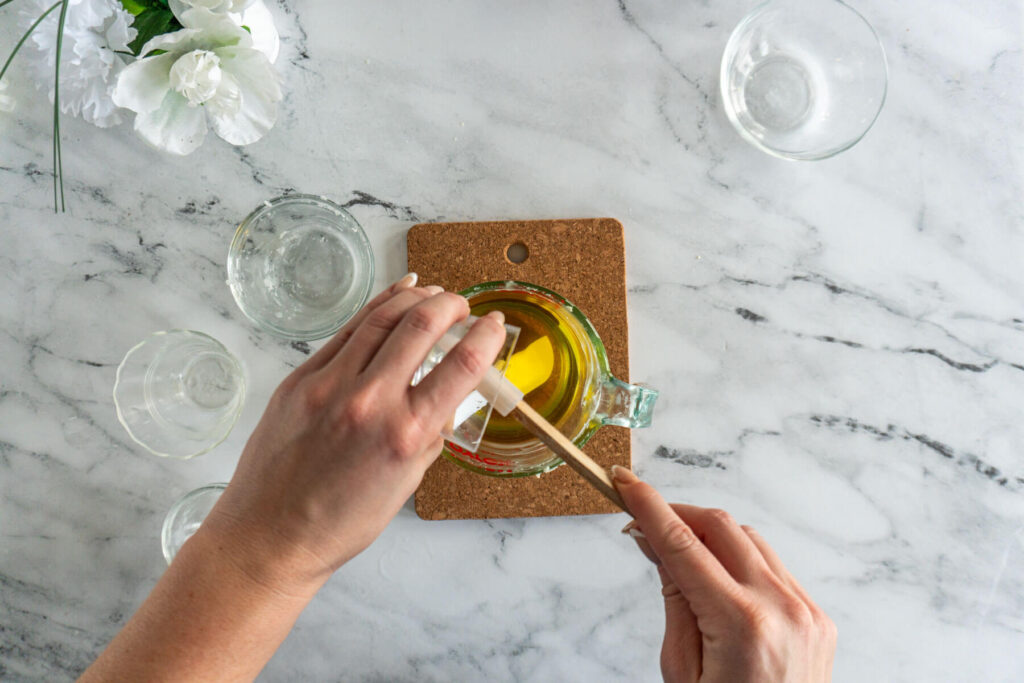
Once completely melted, remove the melted oils and waxes from heat and add 3g chosen essential oils or fragrance oils, stirring well to combine.
Note: Make sure that the oils chosen are not skin irritants and are used in safe quantities. Check EO Calc for safe usage rates. If you're using fragrance oils, ensure that you're checking the IFRA safe usage percentage limits. You can find these by checking the supplier's website.
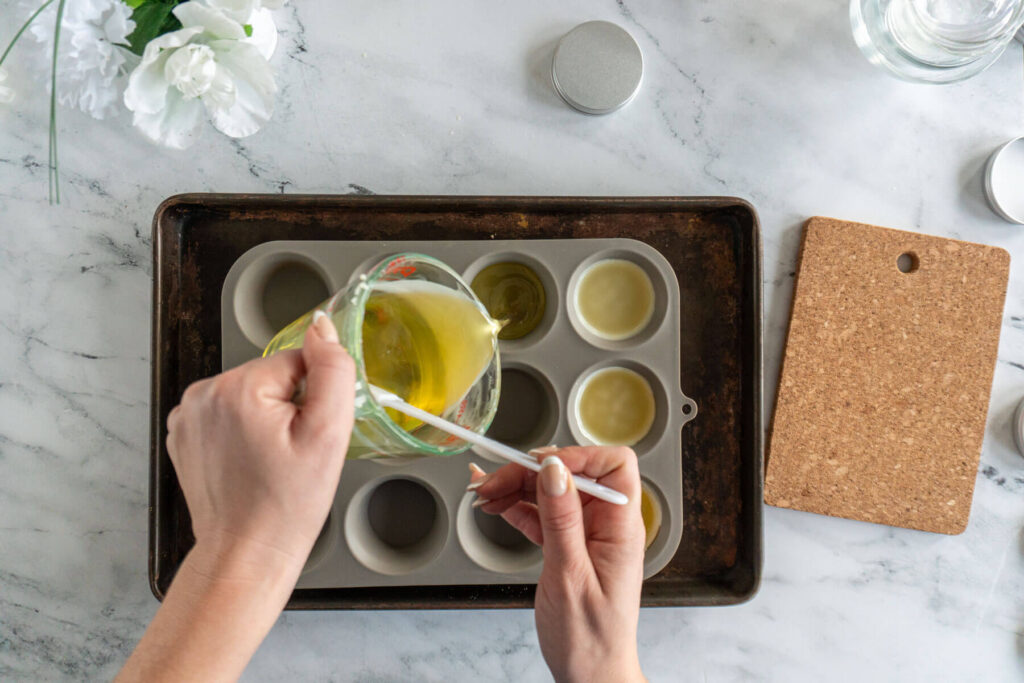
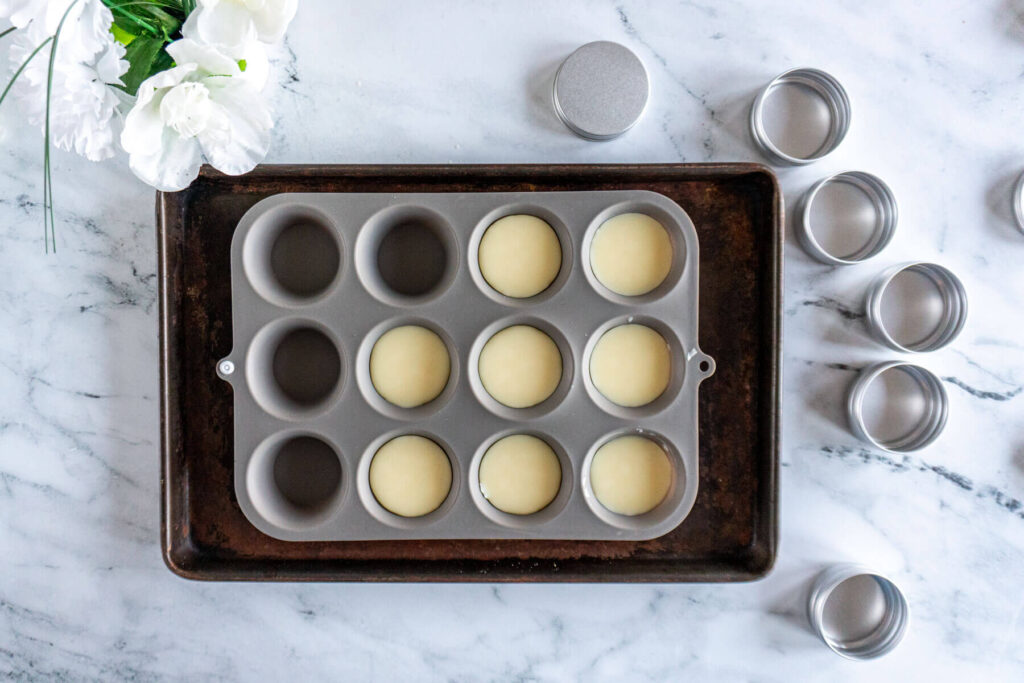
Fill The Lotion Bar Molds
- Set your lotion bar molds onto a cookie sheet.
- Pour the lotion bar base into your prepared molds.
- Transfer the baking sheet to the fridge to allow the oils to cool quickly. This ensures the best consistency and can prevent grittiness.
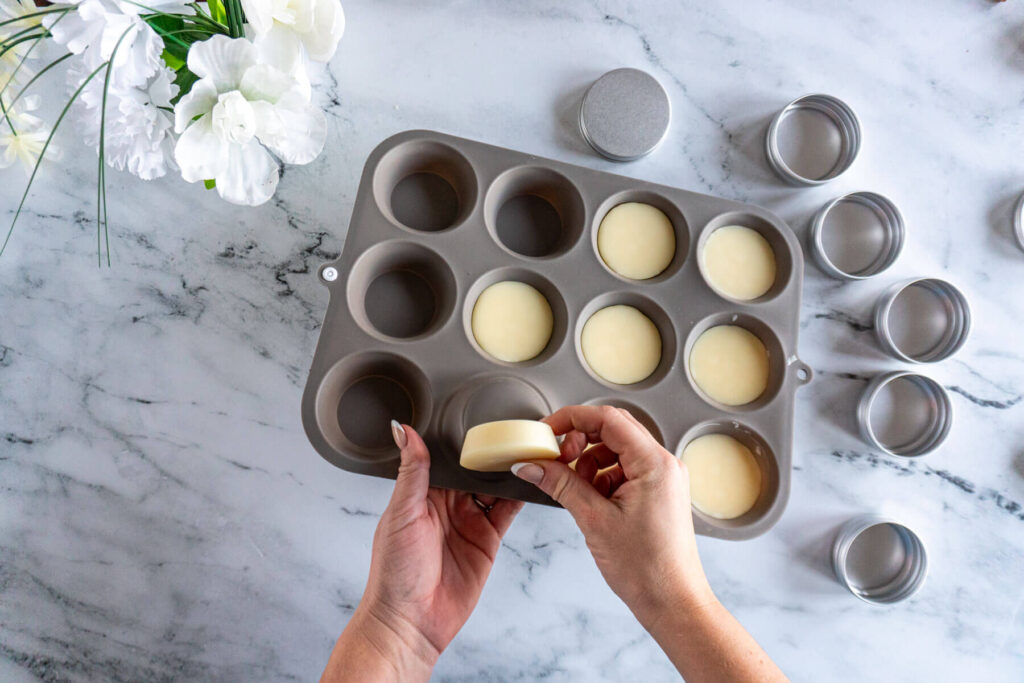
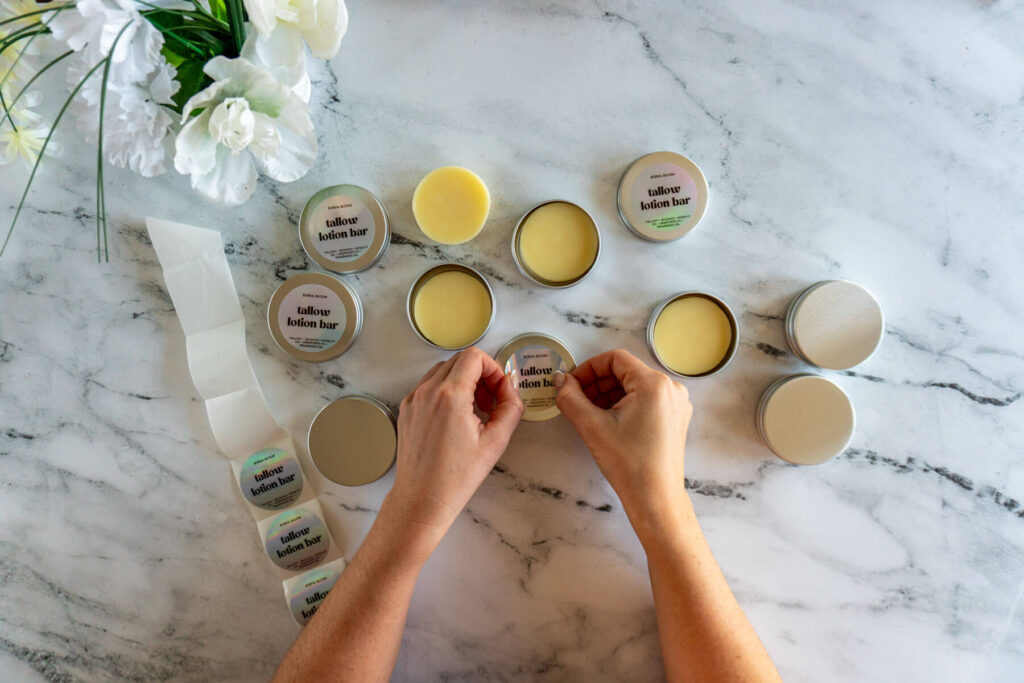
Package And Label Your Lotion Bars
- Remove bars from molds and place in storage containers.
I love to label my lotion bars and other handcrafted goodies. I used my Munbyn thermal printer and holographic labels for this project.
You can get the label template for free as part of your Bloom Membership!
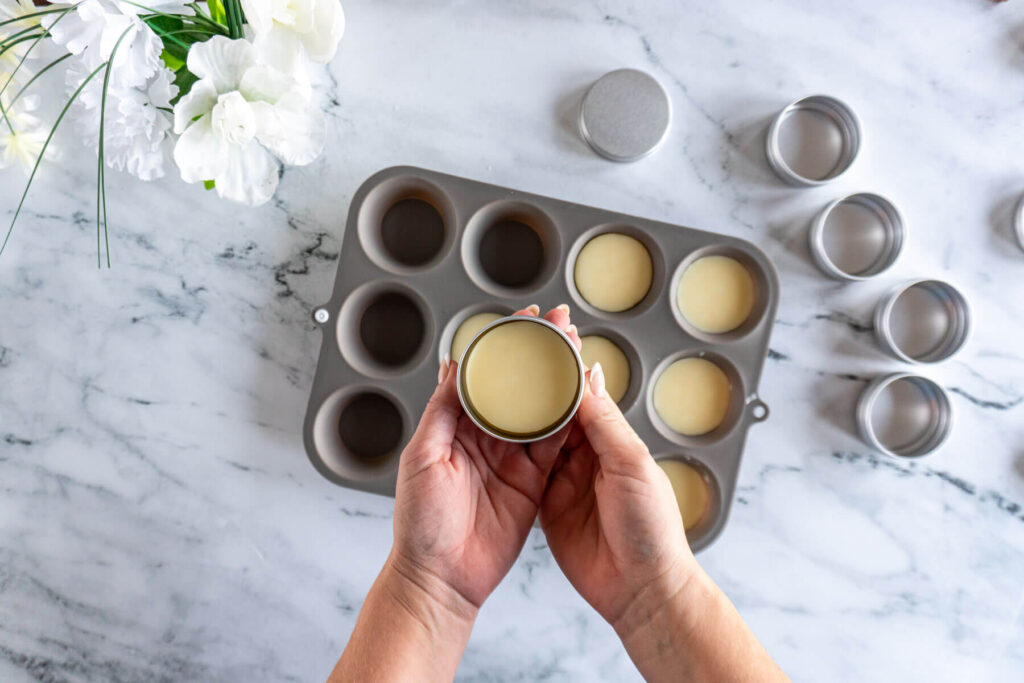
How To Use Lotion Bars
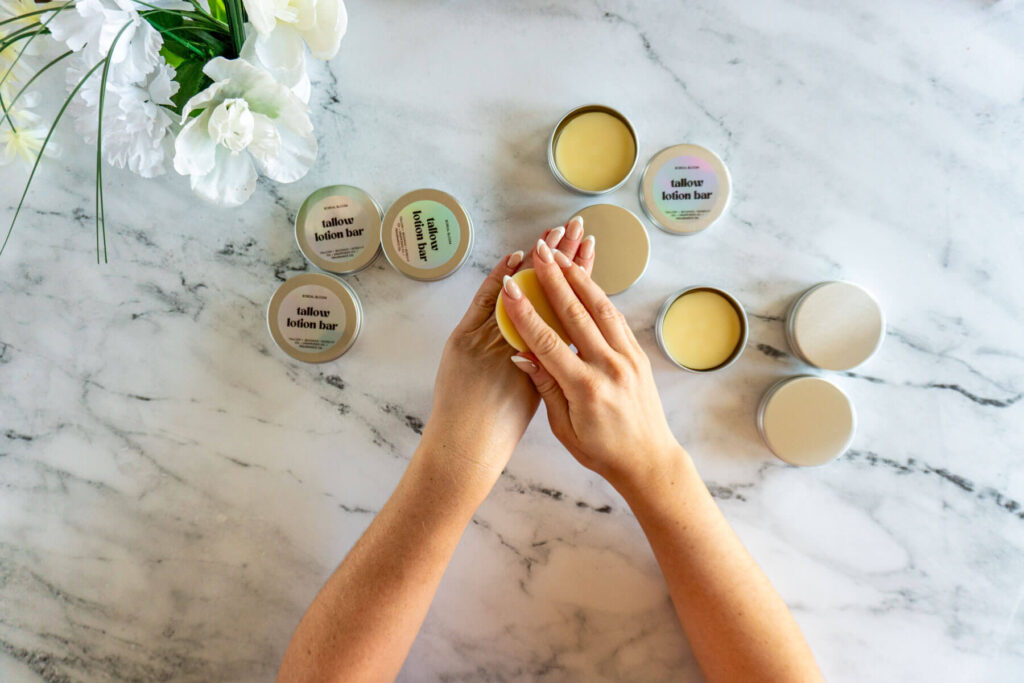
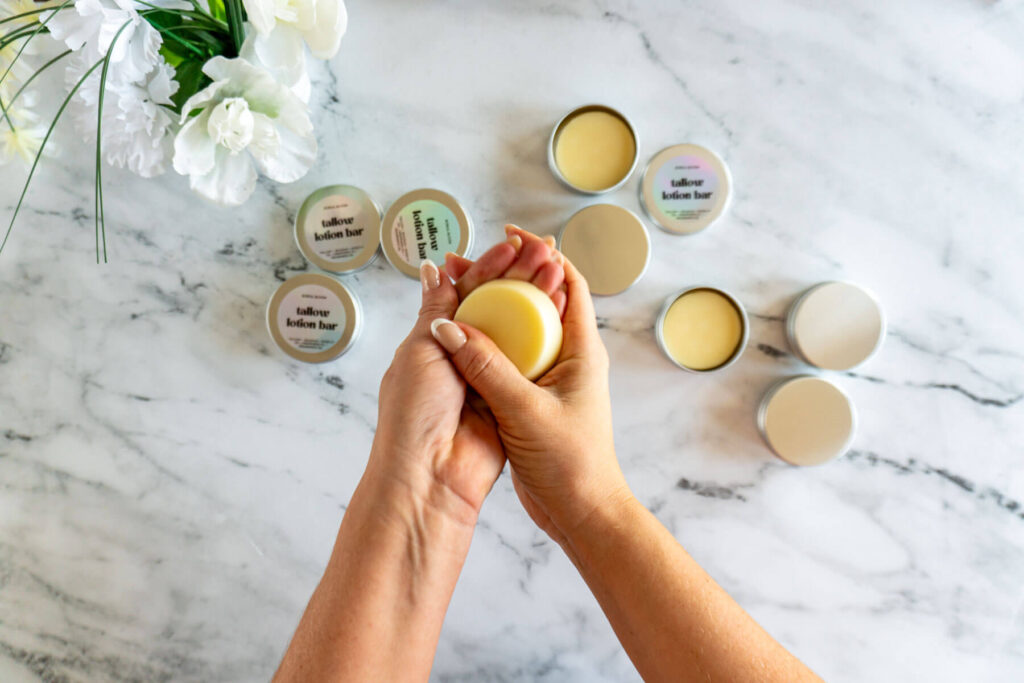
Using your homemade lotion bars is easy as pie!
Just rub the lotion bar between your hands or wherever you'd like to add a little nourishment. The heat from your body will soften the oils and the bar will glide across your skin leaving a luxurious layer of tallow anywhere the bar is swiped.
Return your lotion bar to the container. Rub in the tallow lotion.
Formula
Unscented Formula
| Ingredient | Percentage | ~300g Batch |
|---|---|---|
| Tallow | 33.33% | 100g |
| Beeswax | 33.33% | 100g |
| Carrier Oil | 33.33% | 100g |
Formula with 1% fragrance oil or essential oils
| Ingredient | Percentage | 300g Batch |
|---|---|---|
| Tallow | 33% | 99g |
| Beeswax | 33% | 99g |
| Carrier Oil | 33% | 99g |
| Fragrance | 1% | 3g |
Measuring By Weight
I use my kitchen scale to weigh the ingredients for this recipe because I’m a firm believer in the accuracy that weighing provides. Beeswax often comes in irregular, inconsistent shapes, and tallow can be difficult to measure volume because it's firm.
Measuring them by weight is not only easier but also ensures precision, especially when scaling the recipe for larger or smaller batches.

Why Use Beeswax?
Beeswax is a crucial ingredient in solid lotion bars because it provides structure to keep the lotion in its bar form and from melting in warm temperatures. It also contributes a smooth finish and pleasant texture.
The key to a perfect tallow lotion bar lies in finding the right ratio of beeswax to oils - too little will result in an overly soft product, while too much creates a waxy balm that's difficult to apply. I think I've found it!
Beeswax Alternatives
If you don't have beeswax or can't use it due to an allergy, there are great alternatives on the market.
Common plant-based alternatives to beeswax include candelilla wax, carnauba wax, and soy wax. Candelilla wax is the most popular substitute, using about half the amount as beeswax since it's harder. Carnauba wax makes your bars very glossy and firm but can feel brittle if used alone - caranuba should be used at about half the amount of beeswax, and may be better if used in conjunction with candelilla, as it can be gritty.
Arrowroot Or Don't?
Lots of people make lotion bars with arrowroot powder and I add it to my whipped tallow balm.
It is a very useful ingredient, but it's really up to personal preference. The starch can help cut the greasy feeling left behind by certain fats and oils, but it can also add a 'draggy' feeling when you're rubbing the lotion bar across your skin.
My recommendation is to try a small batch of this recipe without the arrowroot, and once the bar is cured, if you find it still greasy, you can remelt and add some arrowroot powder and try again. Some people actually find increasing the beeswax by a couple of percent improves the greasy feeling too.
More Tallow Recipes + Projects!


Batch + Storage
Batch:
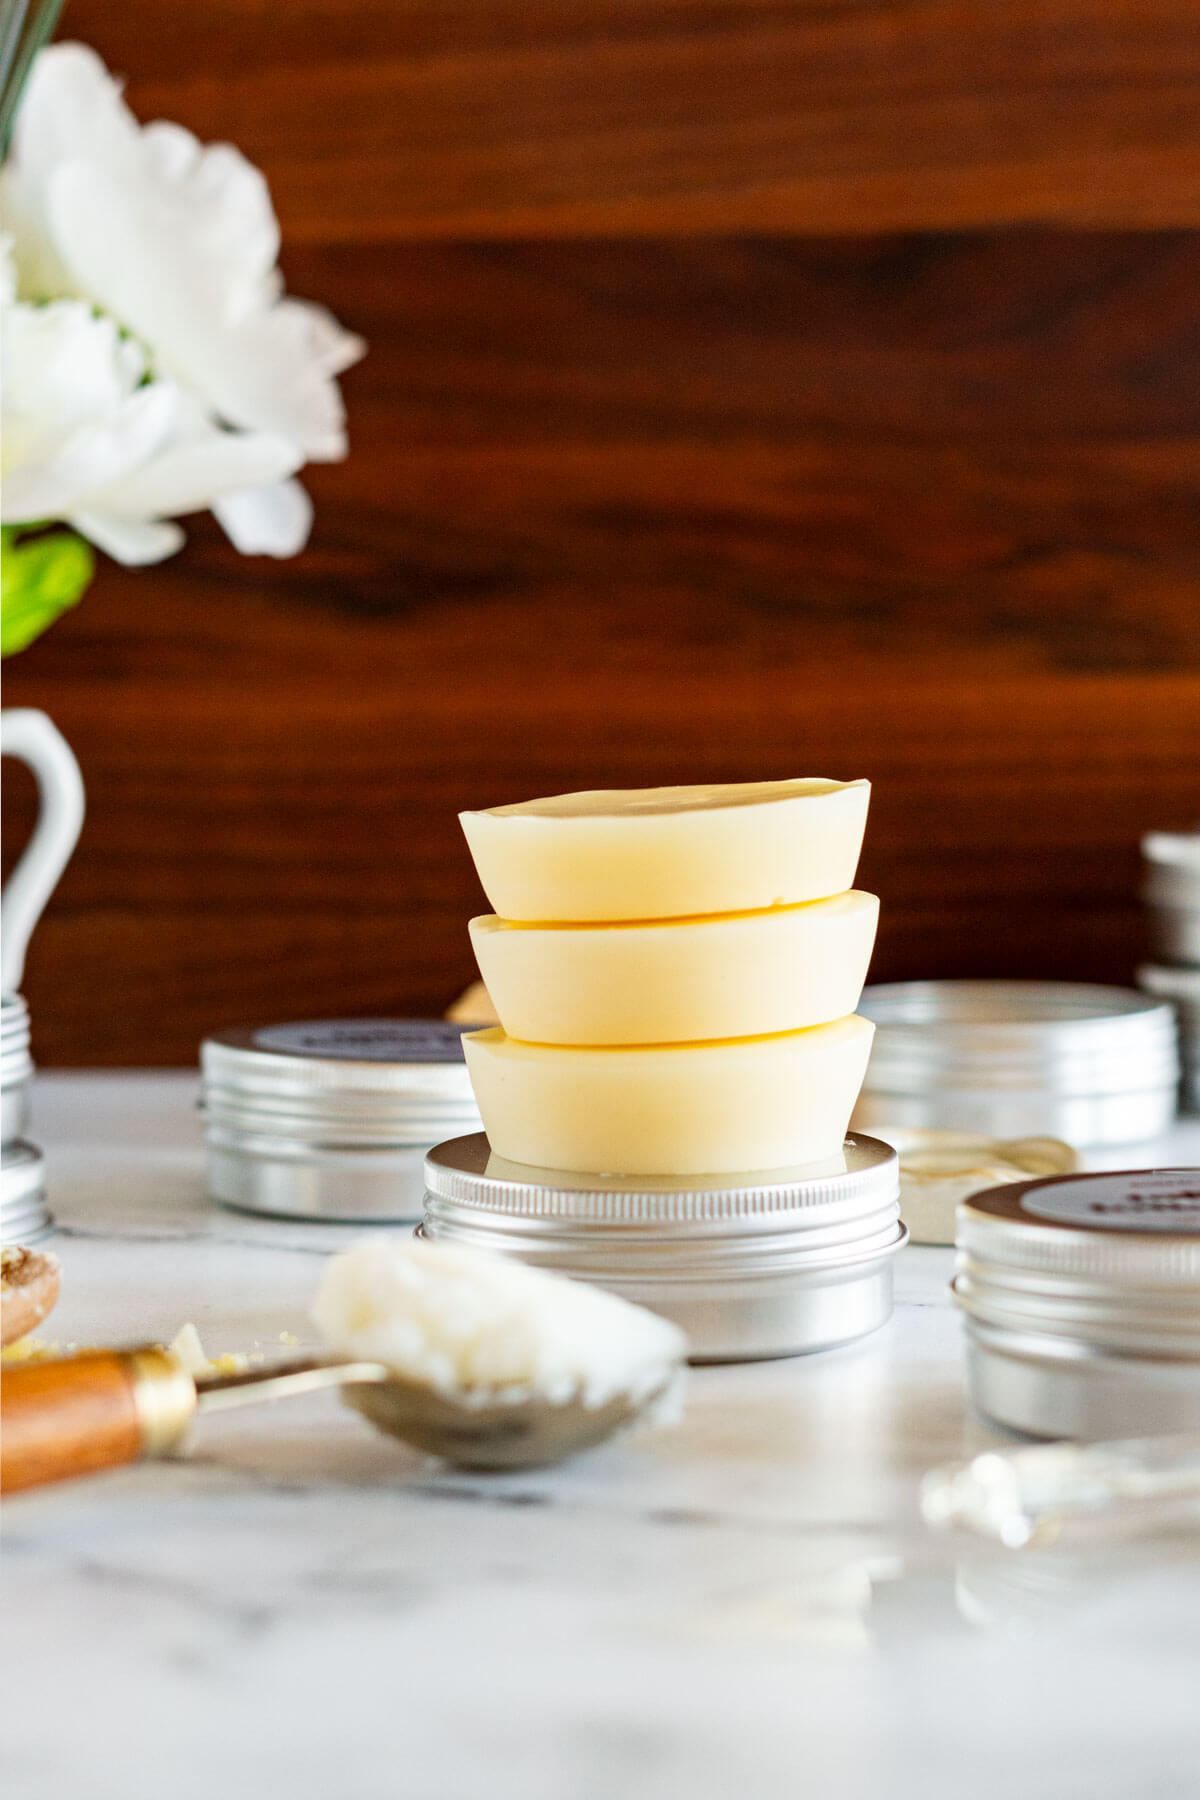
Although the ingredients seem like they are in small quantities this recipe gives about 8 tallow lotion bars as pictured. I like working with this quantity because I'm not making these to sell, I just like to have small lotion bars around, and to gift it to friends and family.
That said, if you love the recipe, feel free to scale it up - the results will stay consistent across batch sizes because I have developed this recipe by weights versus volume.
Storage:
I find the shelf life of homemade tallow lotion bars to be about a year, so keep that in mind while you're making it - I try to only make up what I can use or gift within a reasonable timeframe.
I store mine anywhere and everywhere you may keep a tube of lotion. Pockets, nightstand, purse, car, computer bag, desk, makeup drawer. It doesn't require any special storage considerations beyond comfortable room temperature, though I'm sure the extras would last longer if stored in a cool, dark place until you're ready to use.
Ingredients + Supplies Links
- beef tallow
- jojoba oil
- sweet almond oil
- grape seed oil
- rose hip oil
- beeswax
- 2.5" round tins
- Munbyn thermal printer
- holographic labels

Tallow Lotion Bar Recipe
Equipment
- double boiler or heat proof bowl
Materials
- 100 g grass fed tallow
- 100 g beeswax
- 100 g carrier oil of choice
- essential oils or fragrance oils optional
Instructions
Melt The Oils
- To unscented tallow bars: Add 100g beeswax to a double boiler and melt over medium high heat. Reduce heat to low and stir in 100g tallow, heat until completely melted and combined. Stir in 100g carrier oils and stir until all waxes and fats are combined.To make scented tallow bars: Add 99g beeswax to a double boiler and melt over medium high heat. Reduce heat to low and stir in 99g tallow, heat until completely melted and combined. Stir in 99g carrier oils and stir until all waxes and fats are combined.Once completely melted, remove the melted oils and waxes from heat and add 3g chosen essential oils or fragrance oils, stirring well to combine.Note: Make sure that the oils chosen are not skin irritants and are used in safe quantities. Check EO Calc for safe usage rates. If you're using fragrance oils, ensure that you're checking the IFRA safe usage percentage limits. You can find these by checking the supplier's website.
Fill Lotion Bar Molds
- Set your lotion bar molds onto a cookie sheet.
- Pour the lotion bar base into your prepared molds.
- Transfer the baking sheet to the fridge to allow the oils to cool quickly. This ensures the best consistency and can prevent grittiness.
Unmold + Package The Lotion Bars
- Remove bars from molds and place in storage containers.
Notes
Batch:
Although the ingredients seem like they are in small quantities this recipe gives about 8 lotion bars as pictured. I like working with this quantity because I'm not making these to sell, I just like to have small lotion bars around, and to gift it to friends and family. That said, if you love the recipe, feel free to scale it up - the results will stay consistent across batch sizes because I have developed this recipe by weights versus volume.Storage:
I find the shelf life of homemade tallow lotion bars to be about a year, so keep that in mind while you're making it - I try to only make up what I can use or gift within a reasonable timeframe. I store mine anywhere and everywhere you may keep a tube of lotion. Pockets, nightstand, purse, car, computer bag, desk, makeup drawer. It doesn't require any special storage considerations beyond comfortable room temperature, though I'm sure the extras would last longer if stored in a cool, dark place until you're ready to use.Pin This Tallow Lotion Bar Recipe!
Sources:
1 https://draxe.com/nutrition/oleic-acid/#Benefits
2 https://www.webmd.com/diet/what-is-palmitic-acid
3 https://draxe.com/nutrition/palmitic-acid
4 https://draxe.com/nutrition/what-is-stearic-acid/
5 https://pmc.ncbi.nlm.nih.gov/articles/PMC11193910
6 https://www.humblebeeandme.com/project/grapeseed-oil/
7 https://www.humblebeeandme.com/project/jojoba-oil/
8 https://www.humblebeeandme.com/project/olive-oil/
9 https://www.humblebeeandme.com/project/rosehip-oil/
Thanks for this recipe 🙂 may I ask which label maker you use?
Hey Em!
I use this Munbyn thermal printer and these holographic labels
I will add the links to the article!